DraftSight Enterprise 2019 - Installation
DraftSight 2019 was launched this past March with a plethora of new tools and features. There have been many updates to the leading 2D software package, including the phase-out of the free version and the transition into new offerings such as DraftSight Enterprise and DraftSight Enterprise Plus. For this article, we’re going to focus on the installation of those Enterprise offerings.
These products require the installation of a network license manager, in this case, the SOLIDWORKS SolidNetwork License Manager (SNL). The SNL installation and configuration will be presented in two scenarios:
- Installing SNL for the first time
- Adding the DraftSight Enterprise or Enterprise Plus entitlement to an existing SNL installation
Installing the SNL Manager for the First Time
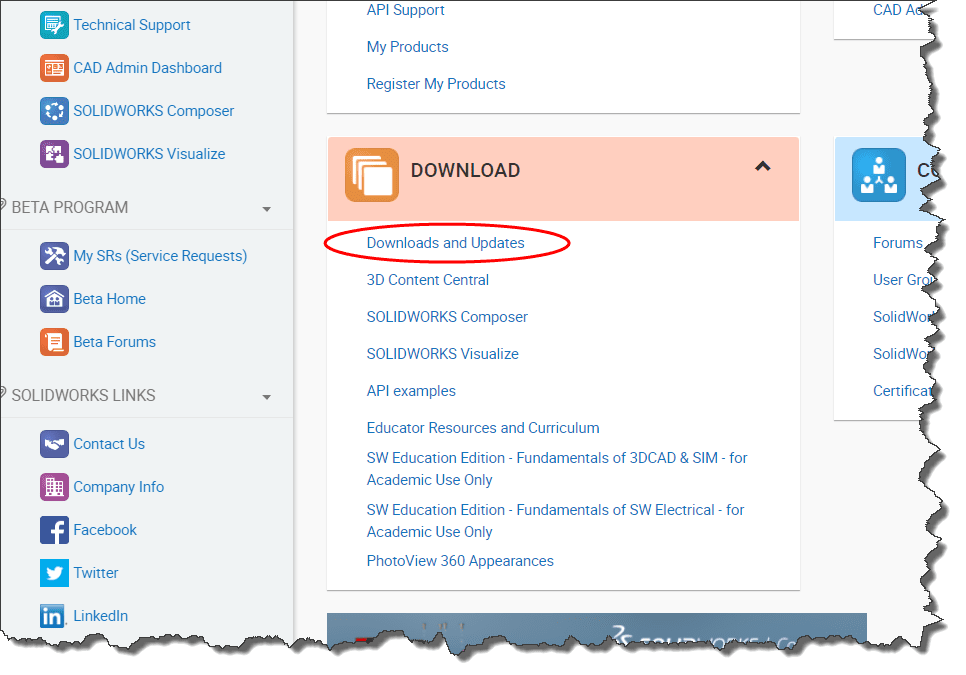
The installation software for the SNL is part of the download for Solidworks. You can log into your customer portal and then click on the Downloads and Updates link on the Home page.
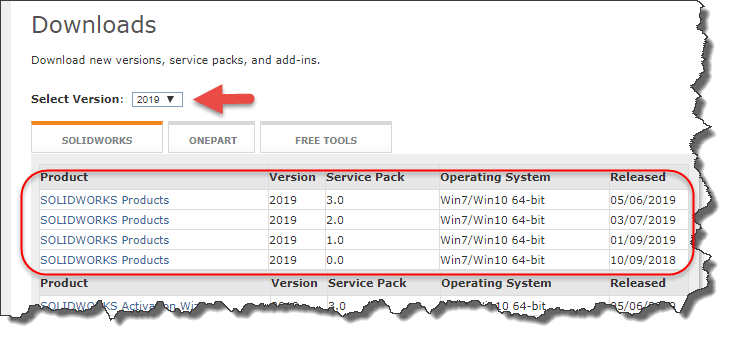
PLEASE NOTE: DraftSight 2019 requires the same version of the Solidworks Network License manager.
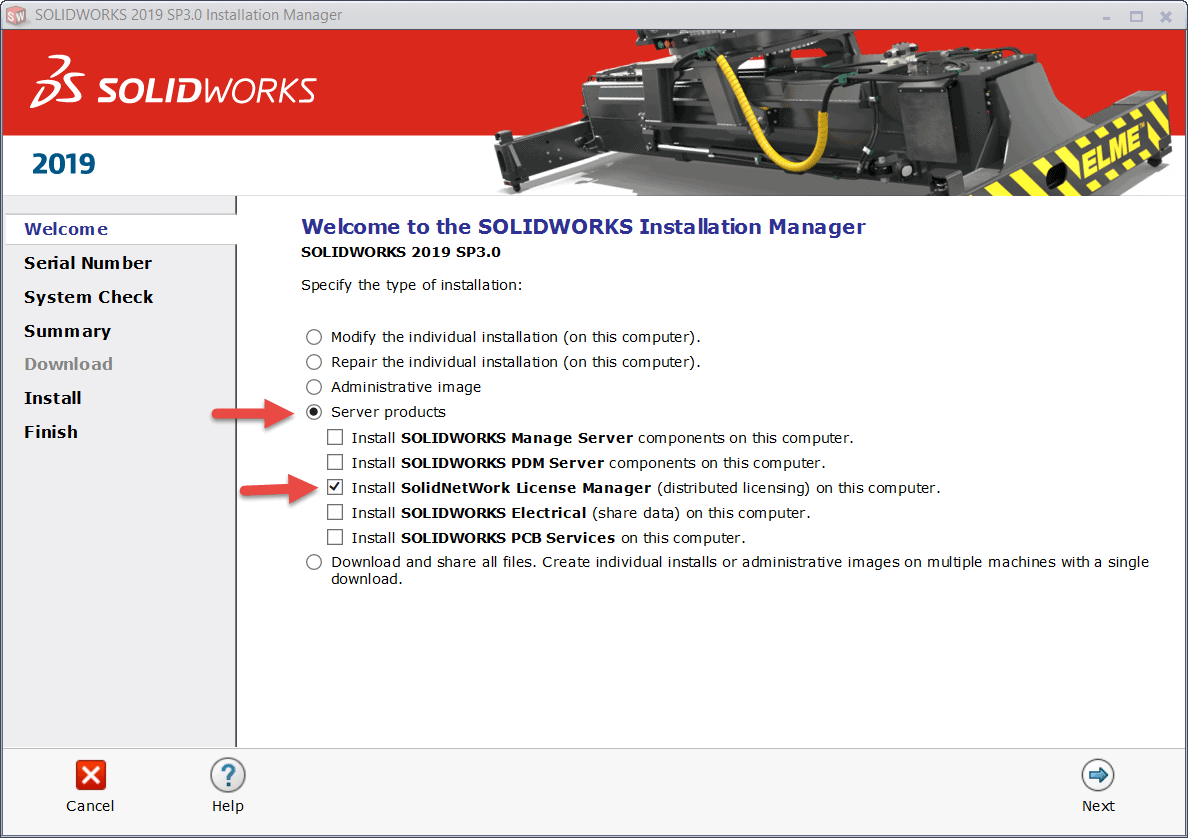
After unzipping the downloaded file and accepting the Service Agreement, you’ll eventually land on the Solidworks Installation Manager. At this point, you’re only installing a server product so select that option as well as the one for the SNL.
PLEASE NOTE: You will require Administrative privileges assigned to your user profile to complete the installation.
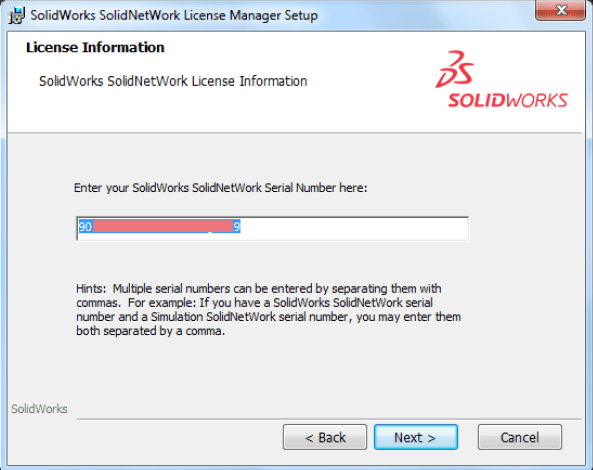
Apply your serial number to the blank field and click “Next.”
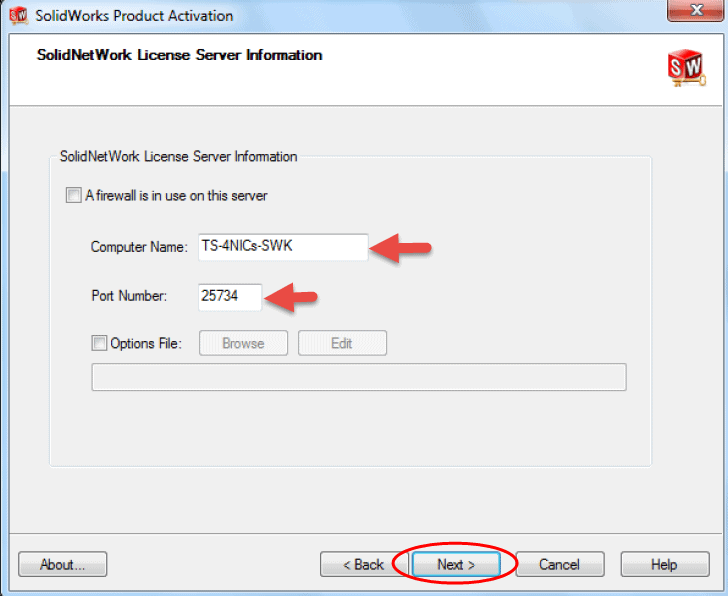
Once you step through and complete the installation process, you’ll be prompted for activation. That’s when the port number and server name need to be specified for communication over the network. Once the fields are confirmed, click “Next.”
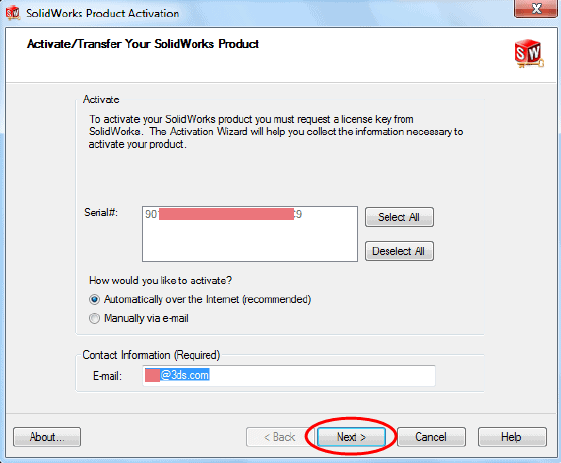
Enter a valid email address and ensure the option for “Automatically over the Internet” is selected and click “Next.”
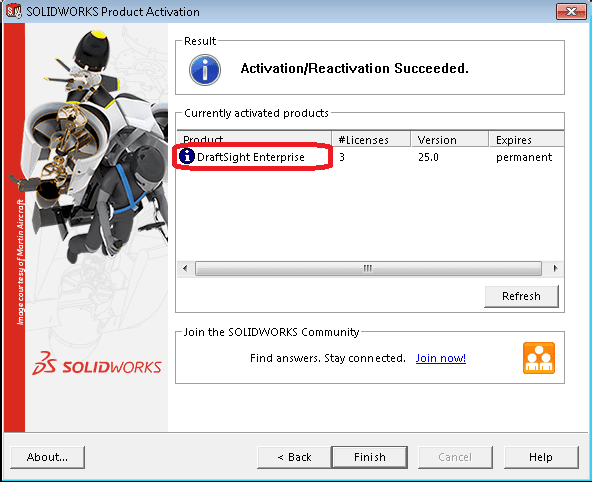
Once your activation is successful, your license count should be reflective of your current asset for DraftSight. Click “Next.”
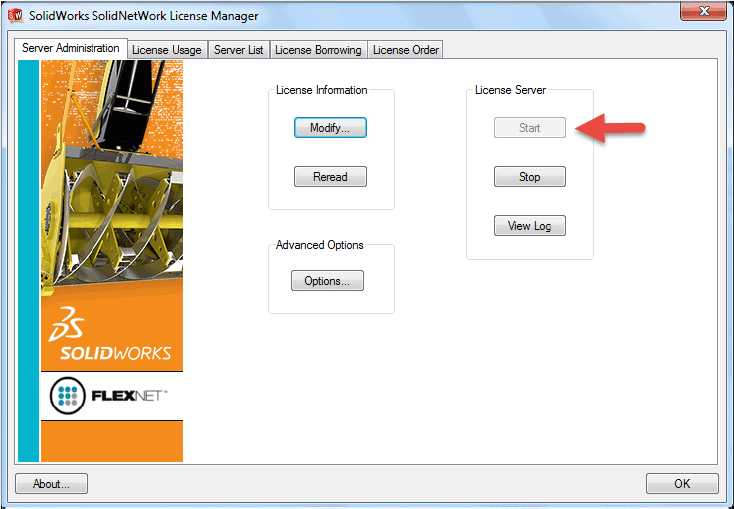
The SolidNetwork License Manager dialog appears. The service needs to be started so that the client machines can connect to this server. Click on the “Start” button to do so.
Now the SNL Manager should be operational. The next step is to install DraftSight on the client machines. Please skip ahead to that section in this article for that procedure.
Adding DraftSight to an existing SNL Manager
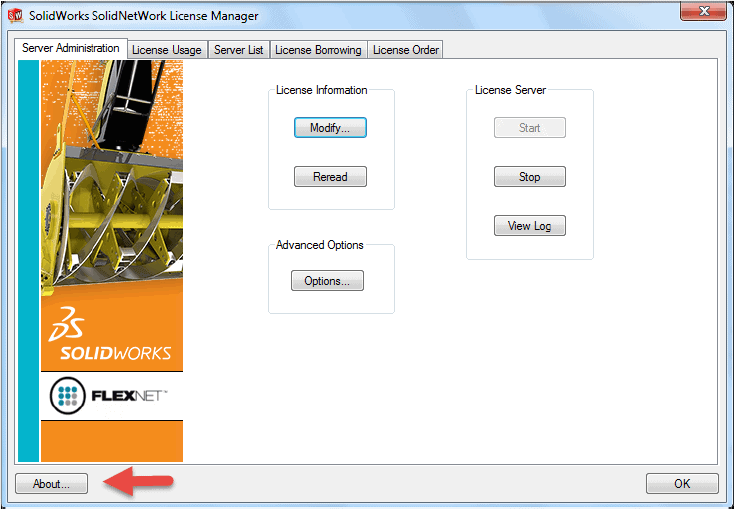
The first thing we should ensure is that the version of the SNL is the one required to run version 2019 of DraftSight. Launch the SNL Manager and click the “About” button on the “Server Administration” tab. The leading numbers should be 27 as that is the correct number for version 2019.
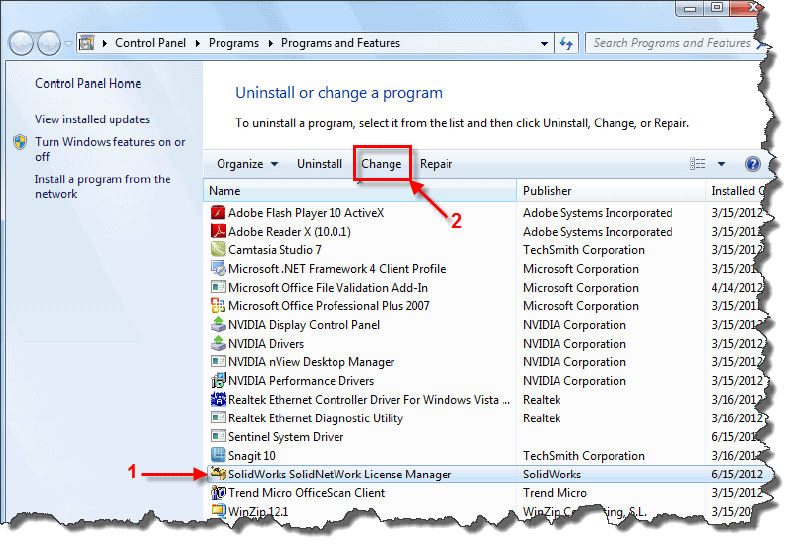
From Control Panel > Programs and Features, select Solidworks Network License Manager from the list and click “Change.”
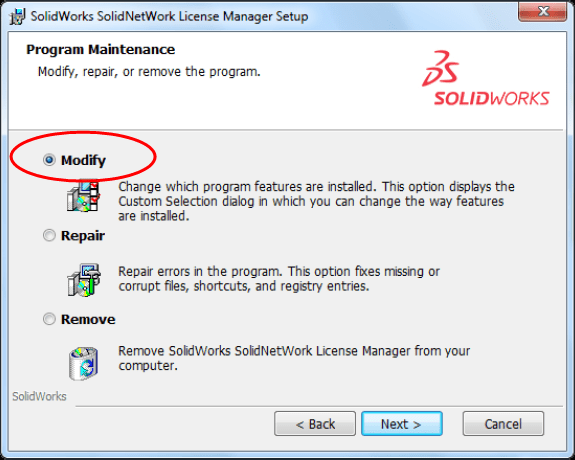
In the next dialog box, select “Modify” as the option.
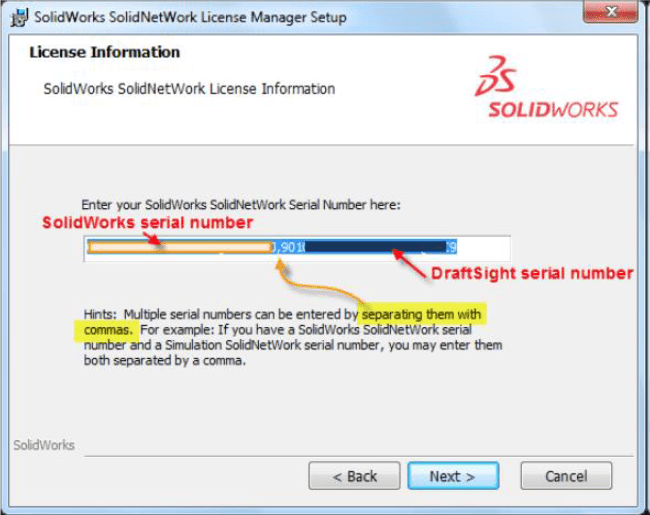
Next to the existing serial number, type in a comma and then enter your DraftSight serial number. Click “Next” to move onto the next screen and then “Install.”
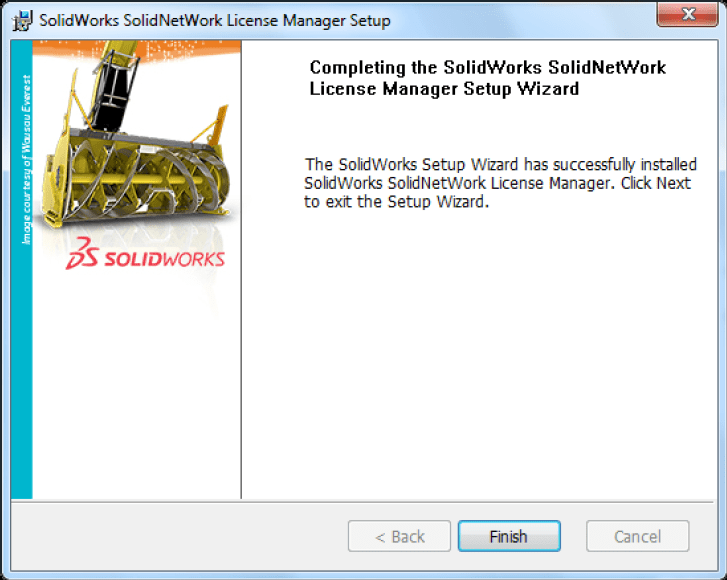
You should reach the end of the SNL Manager part of the DraftSight installation.
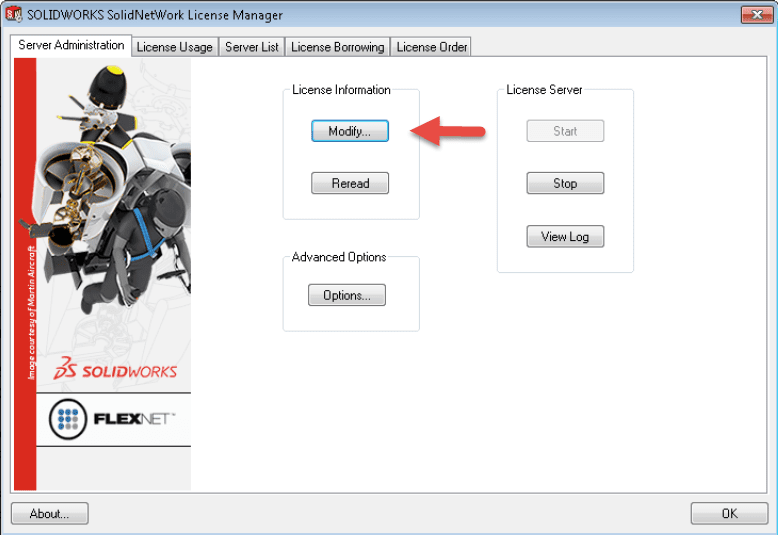
Launch the SolidNetwork License Manager and this dialog appears. The license needs to be activated so that the client machines with DraftSight can connect to this server. Click on the “Modify” button to do so.
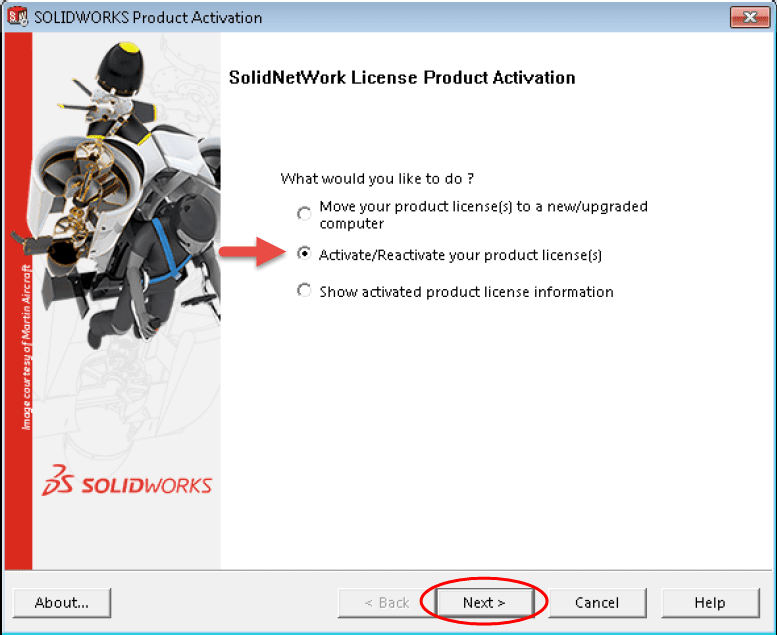
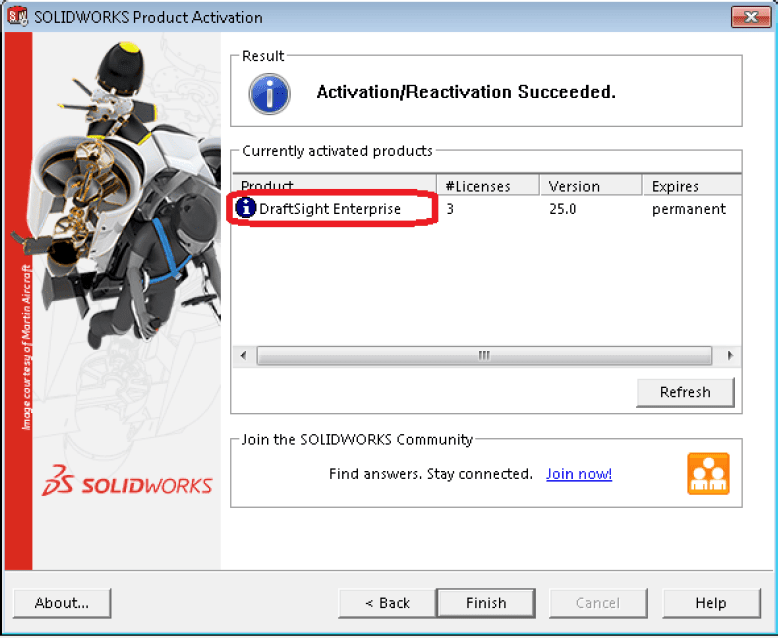
Select the option to “Activate/Reactivate your product license.” Click “Next.”
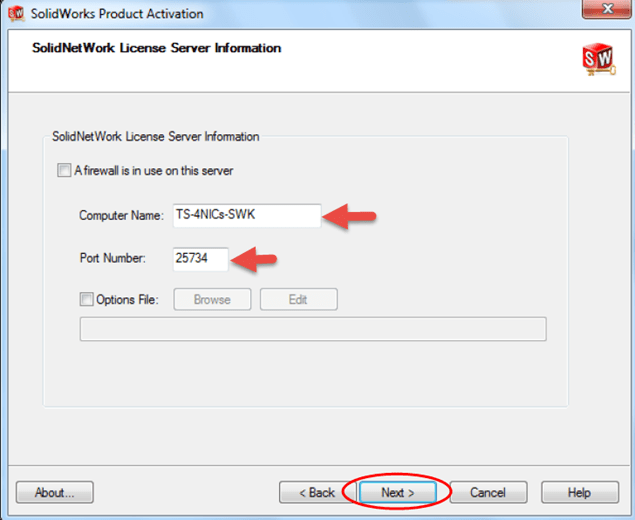
The Solidworks Product Activation dialog box appears. The computer name and port number should already be populated. Ensure the fields are correct and click “Next.”
Select the DraftSight serial number in this dialog and the option for “Automatically over the internet.” Enter a valid email address and click “Next.”

Select “Finish” on this dialog.
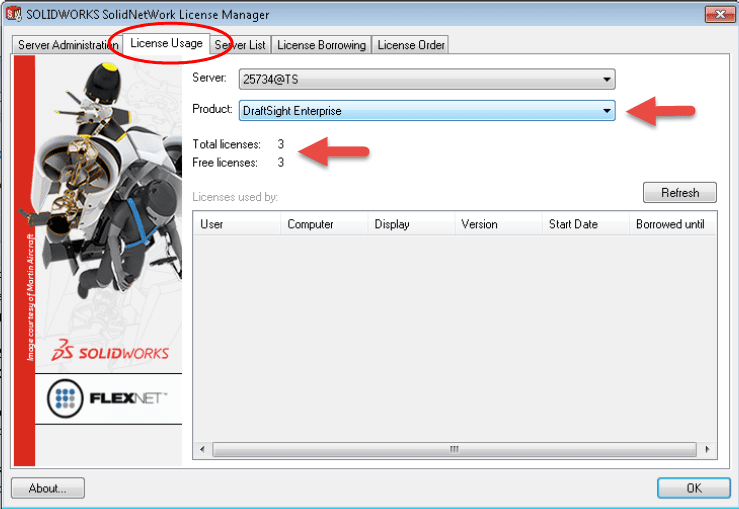
When the SNL Manager appears, select the License Usage tab and then the Product drop-down to display the number of licenses available for DraftSight.
Installation of the DraftSight Client
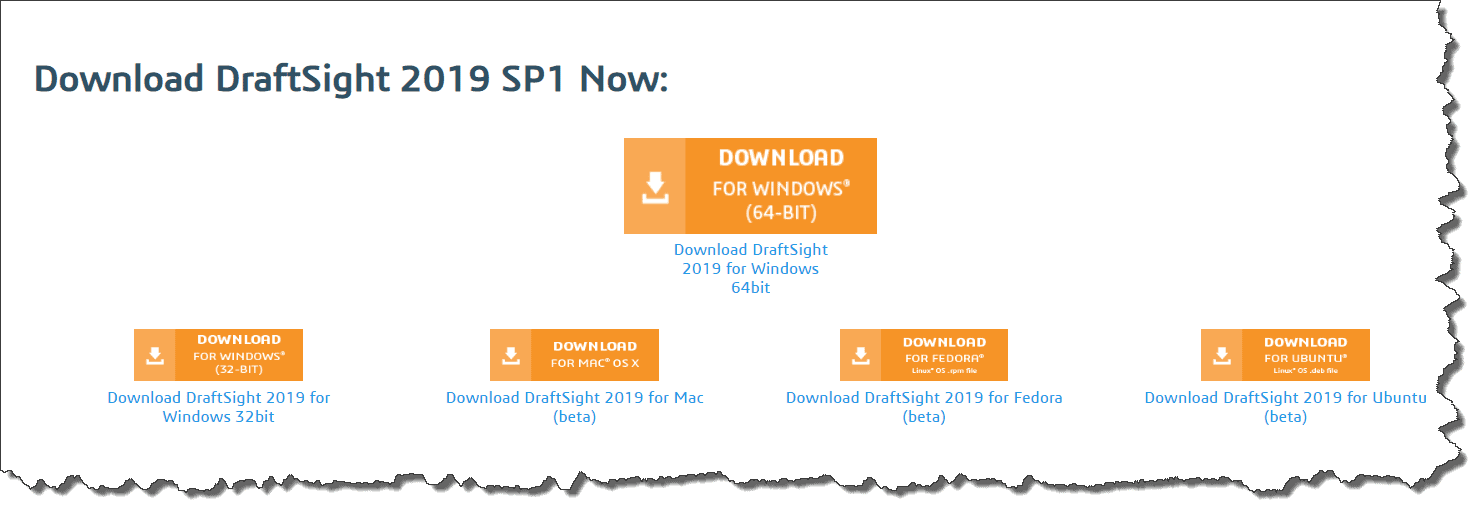
Now it’s time to install the actual DraftSight software on the client machines. First, download the installation file from this web site: www.draftsight.com/download Please note that there are different downloads for the 32-bit and 64-bit operating systems.
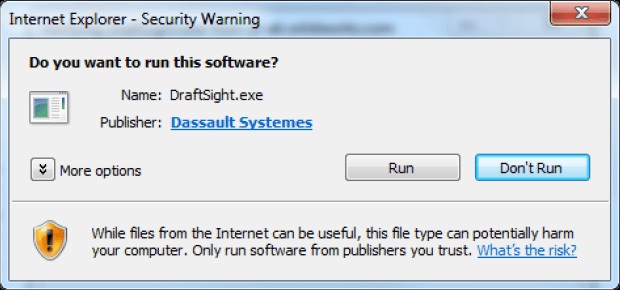
After you click “Accept” at the end of the Subscription Service Agreement, you’ll land on this dialog. Click “Run” to just begin the installation, or “Save” to save this file on your local drive. If you choose “Save,” you’ll have to double click the EXE to begin the installation.

Click “Run” at this dialog box.
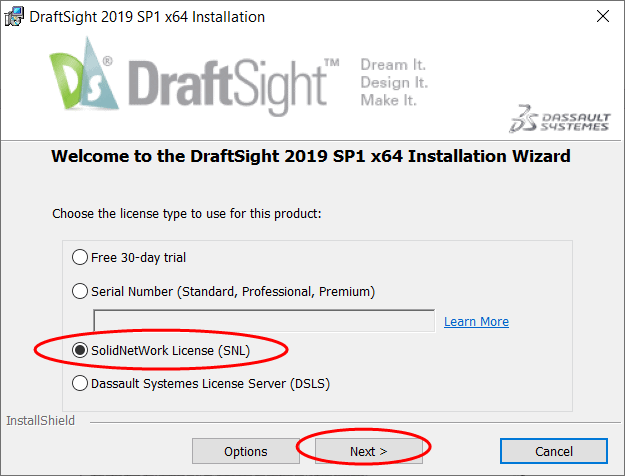
Make sure you specify the option for “SNL” and click “Next.”
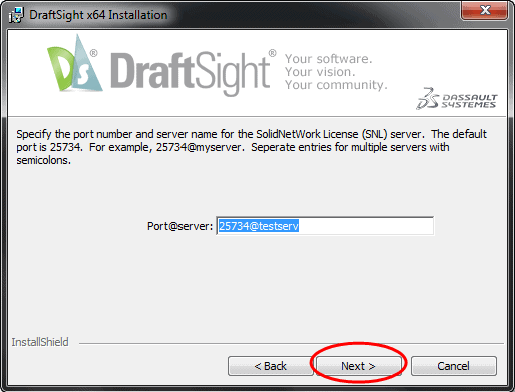
Ensure the port number and server name are correct and click “Next.”
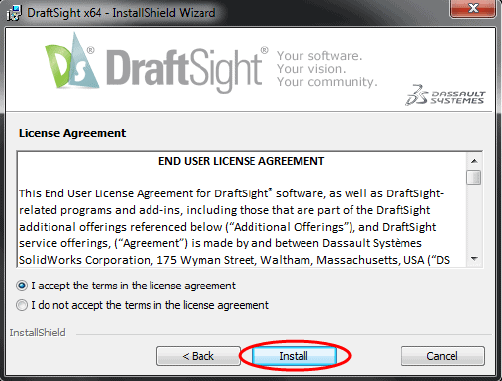
Accept the End User License Agreement and click “Install.”
The installation will proceed until this dialog and that completes the installation. Click “Finish.”

We hope this part of this series gives you an understanding of how to get your network version of DraftSight installed and functioning. Please check back to the CATI Blog as the team will continue to break down the new functions or products from Dassault Systemes.
George Brañes
Technical Support Team
Computer Aided Technology, LLC