SOLIDWORKS Dialog Box Off Screen Solutions
Have you ever had a dialog box not appear on your screen, causing SOLIDWORKS to become unresponsive? This can happen for a variety of reasons, including an external monitor being disconnected or even a malfunction in Windows.
Solutions for SOLIDWORKS Off Screen Dialog Boxes
So what can be done to resolve SOLIDWORKS off screen dialog boxes? There are a few different options; keep in mind that not all of these suggestions will resolve the issue, but they will be listed in order of difficulty, starting at the most simple fix.
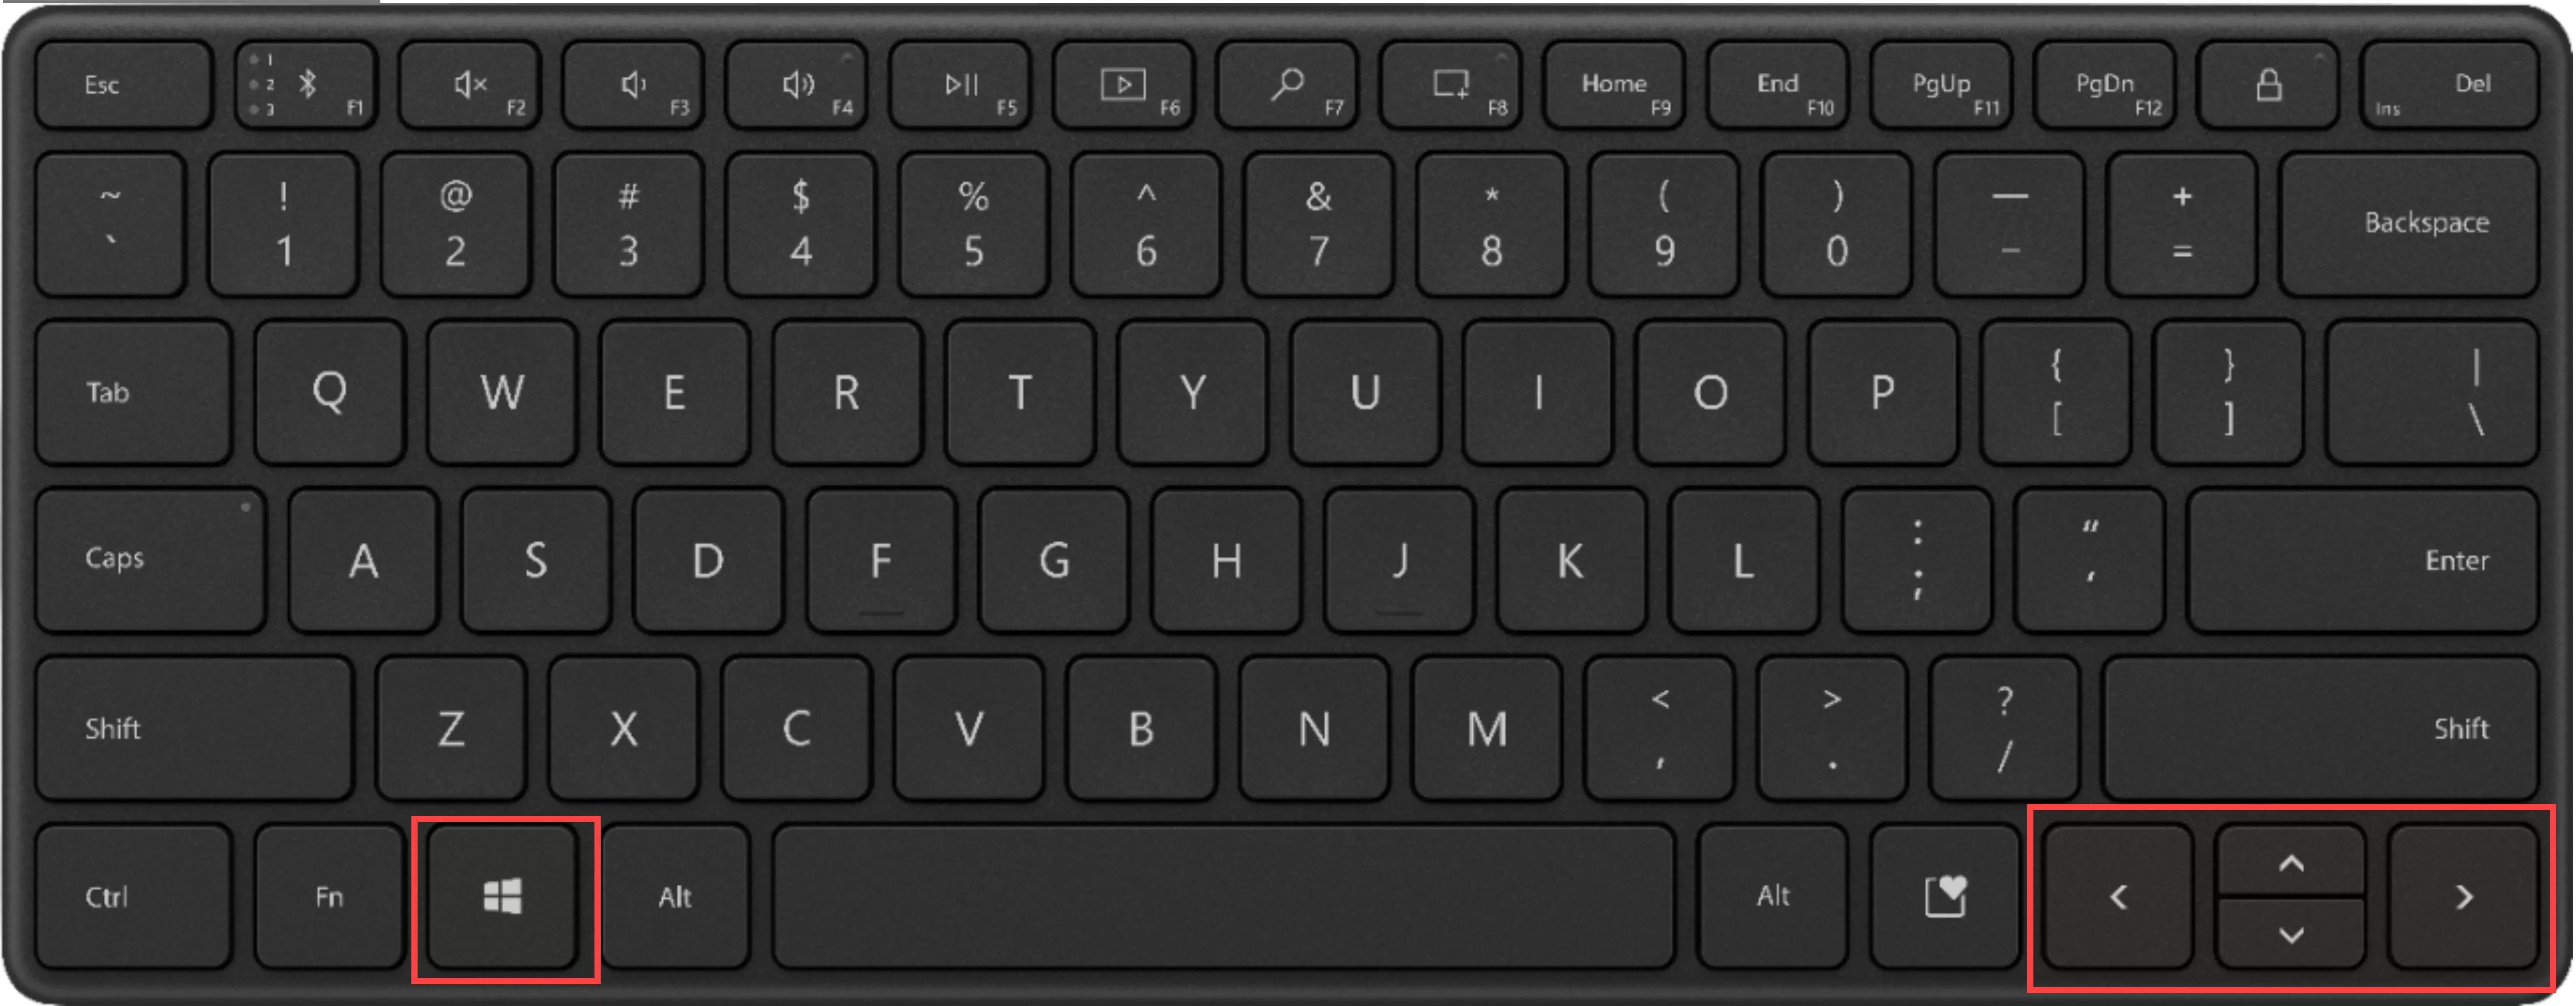
#1. Windows Key + Arrow Keys
Hold down the Windows Key, while attempting different variations of the arrow keys. For example, if you used to have a monitor on the left side of your main monitor, hold down the Windows Key and push the right arrow key a few times to try and move the dialog to the right.
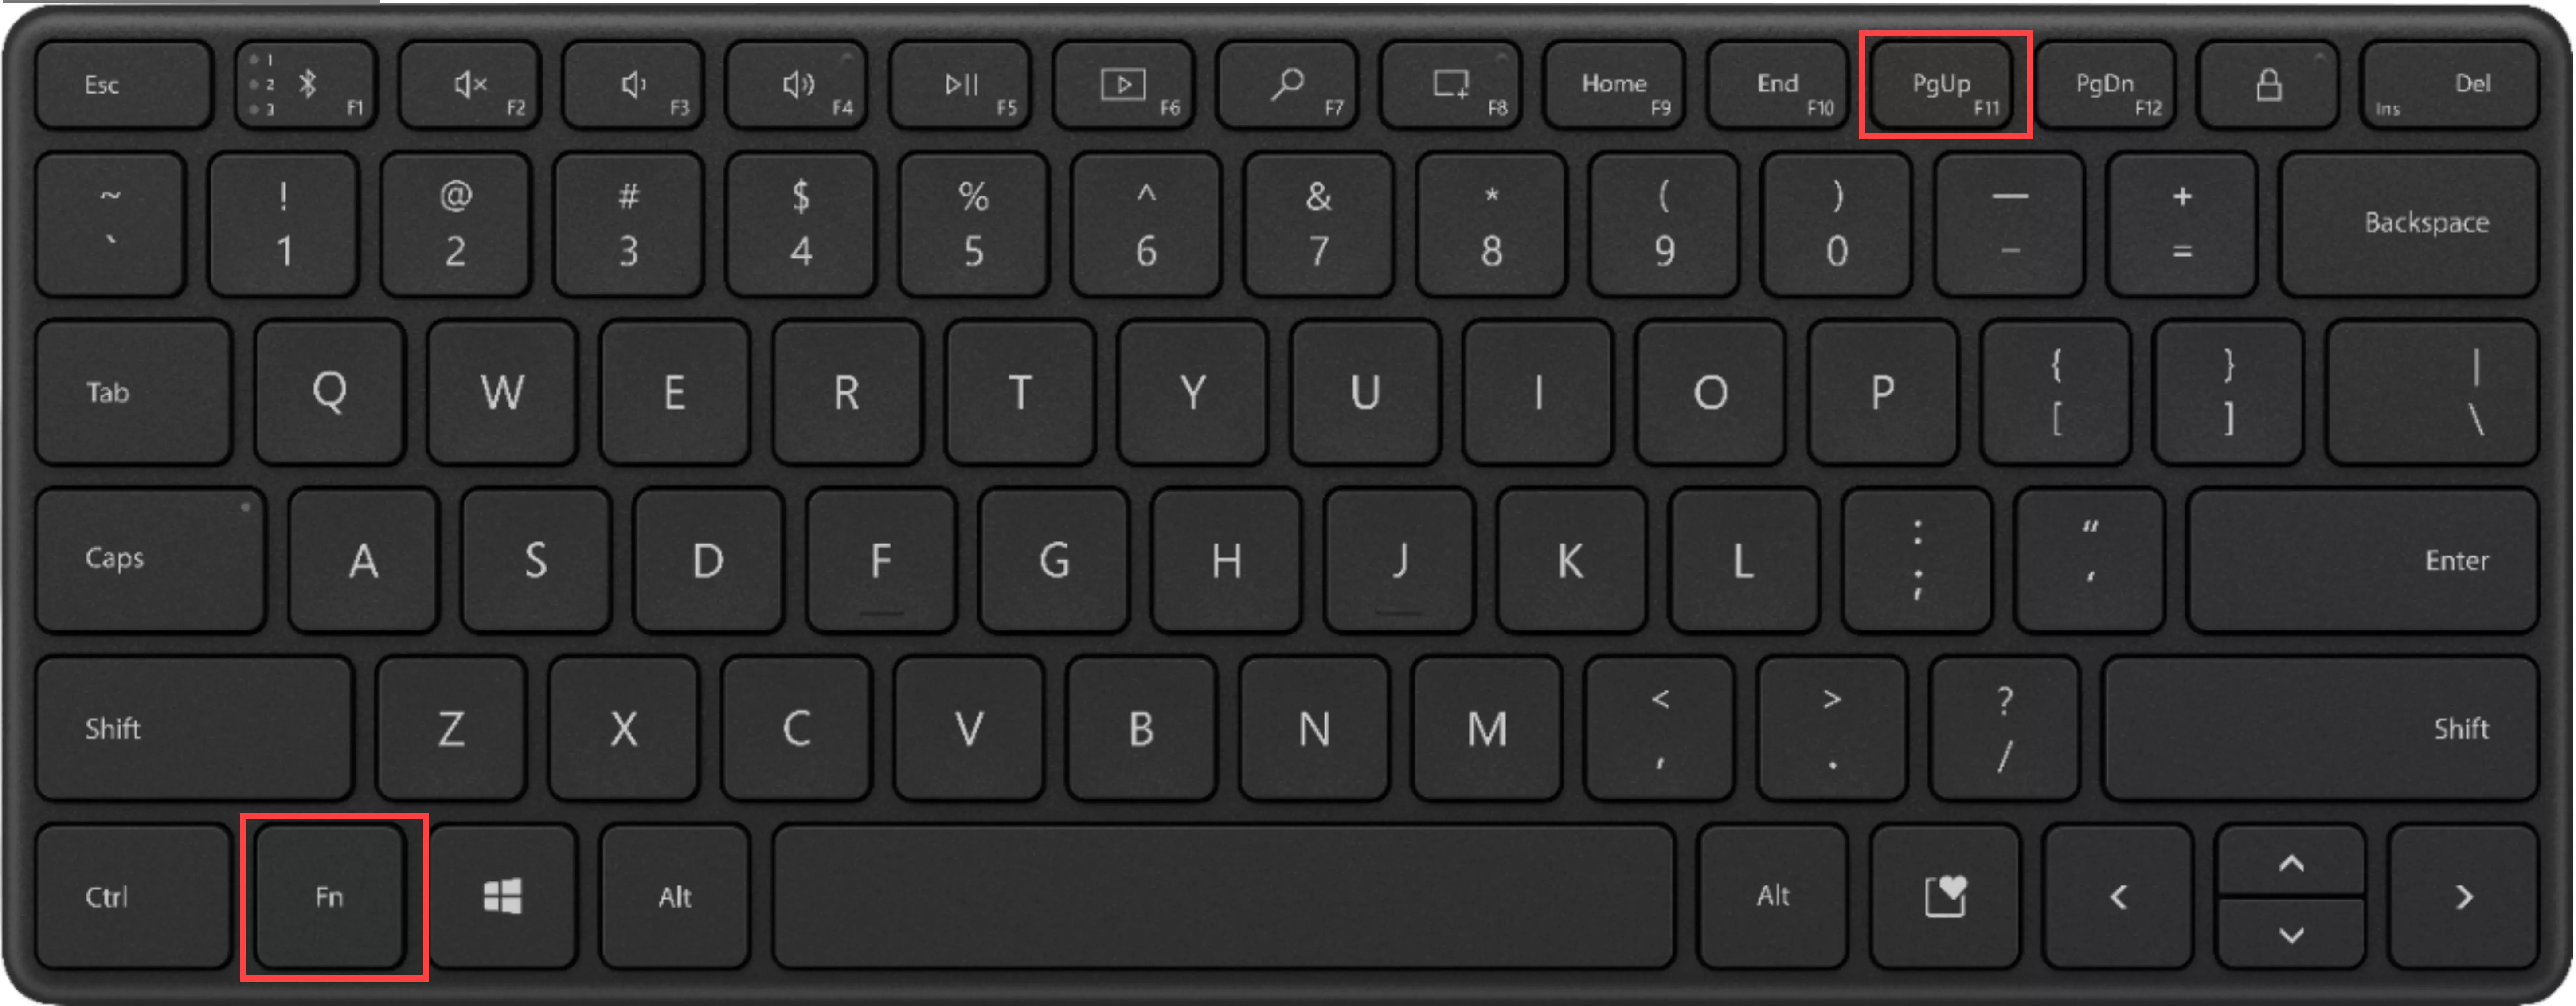
#2. F11 Key
Select the F11 key. This will change the main SOLIDWORKS screen to fullscreen mode.
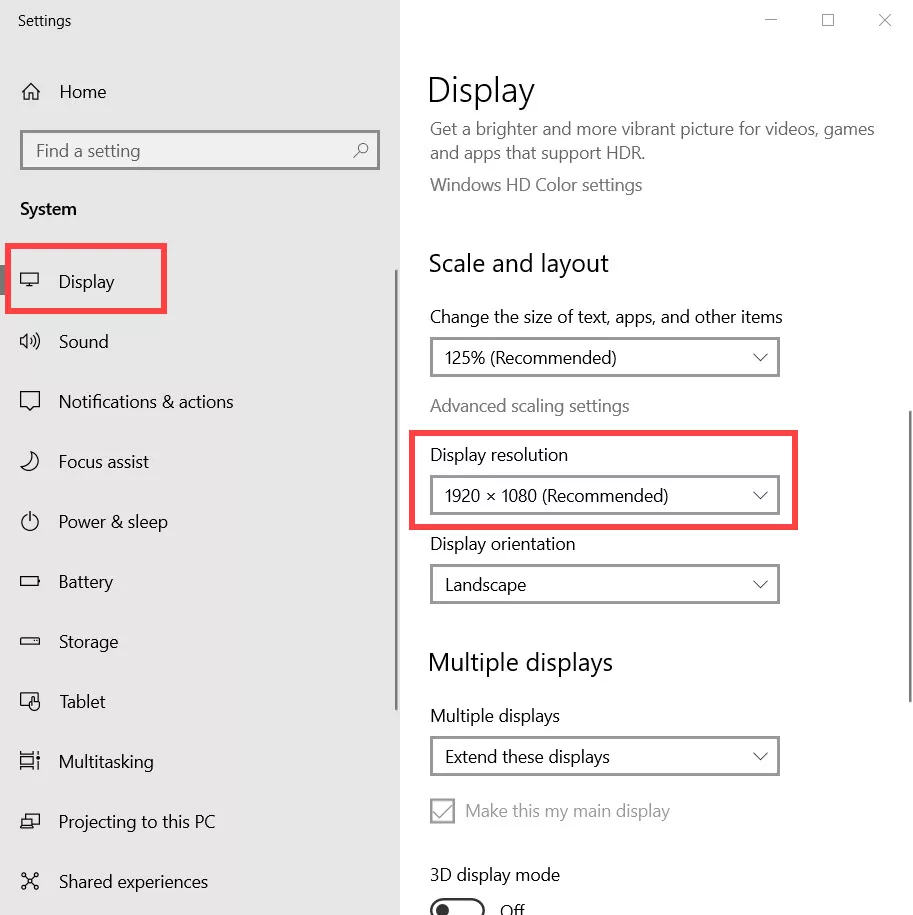
#3. Modify Screen Resolution
Right-click on the Desktop and select Display settings. Try a couple of different values for Display resolution.
#4. Disconnect External Monitors
If there are multiple external monitors, disconnect one at a time. This can force dialog boxes that may be off screen onto connected screens or laptop screens.
If you're on a laptop and it is connected to a docking station, try disconnecting from that.
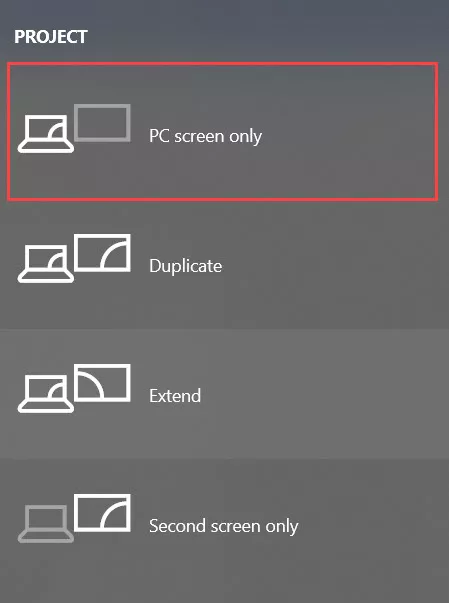
#5. Windows Key + P
Hold down the Windows Key and select P, for a laptop choose PC screen only.
#6. Reset SOLIDWORKS Dialog Registry Key
- Make sure SOLIDWORKS is closed, if needed, end the task in the Task Manager.
- Run a Windows search (select Windows Key and start typing) for “regedit”, it may appear as “regedit.exe” or “Registry Editor”, select the one that appears and run as an administrator.
- Find this key
- HKEY_CURRENT_USER\SOFTWARE\SolidWorks\SOLIDWORKS <version>\User Interface\Dialogs
- Right-click on Dialogs and select Rename.
- Add a “.old” to the end of the name and select Enter. The name should now read “Dialogs.old”.
- Relaunch SOLIDWORKS and test the issue again. (Relaunching the program will recreate the Dialogs folder.)
- A walkthrough of a complete SOLIDWORKS registry reset can be found here: How to Rebuild the SOLIDWORKS Registry
- Keep in mind you will go a couple of folders deeper than explained here.
#7. Test in a Brand New Windows User Account
Make sure not to clone the current account, create one from scratch and test the behavior again.
#8. Clean Uninstall and Reinstall of SOLIDWORKS
I hope you found this tutorial helpful. Check out more SOLIDWORKS tips and tricks on our YouTube channel and listed below.
More SOLIDWORKS Tutorials
SOLIDWORKS Mold Tools: Split Line & Parting Line Explained
How to Use Layers in SOLIDWORKS Drawings
SOLIDWORKS Pipe Route Overview
SOLIDWORKS Mold Tools - Shut Off Surfaces, Parting Surfaces, and Tooling Split

About Tashayla Openshaw
Tashayla Openshaw is a SOLIDWORKS Technical Support Engineer based out of our Headquarters in Salt Lake City, Utah. She earned her Bachelor’s degree in Mechanical Engineering from the University of Utah in 2018 and has been part of the GoEngineer family since February 2019.
Get our wide array of technical resources delivered right to your inbox.
Unsubscribe at any time.