SOLIDWORKS Autotrace Tool Tutorial
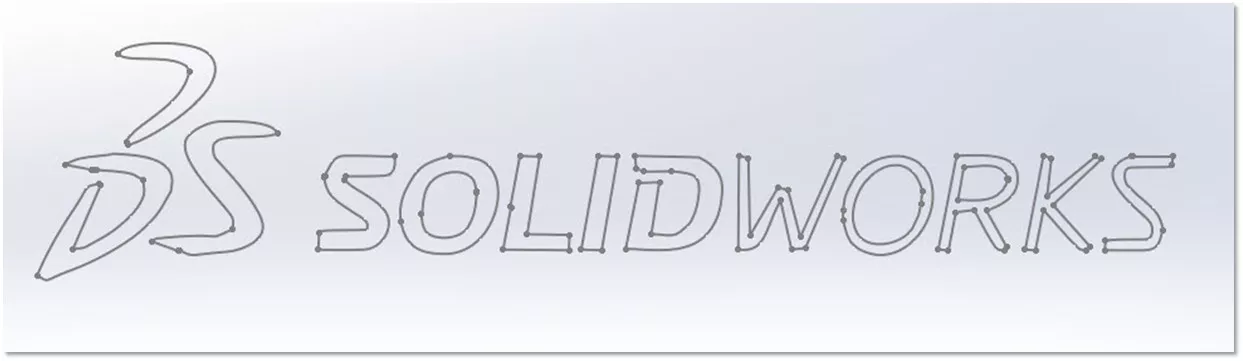
The SOLIDWORKS Autotrace tool is an add-in that can help users quickly create 3D objects from an imported picture. The 3D logo below was created using this tool.

How to Access Autotrace
Access the Autotrace feature by enabling it in Add-Ins.
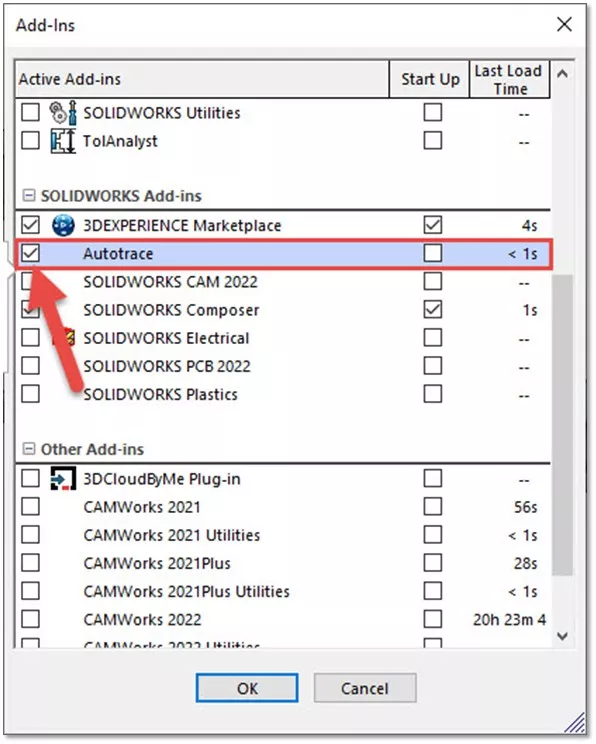
Checking the left check box will activate Autotrace. Checking the right check box will automatically launch it on start up.
How to Use Autotrace
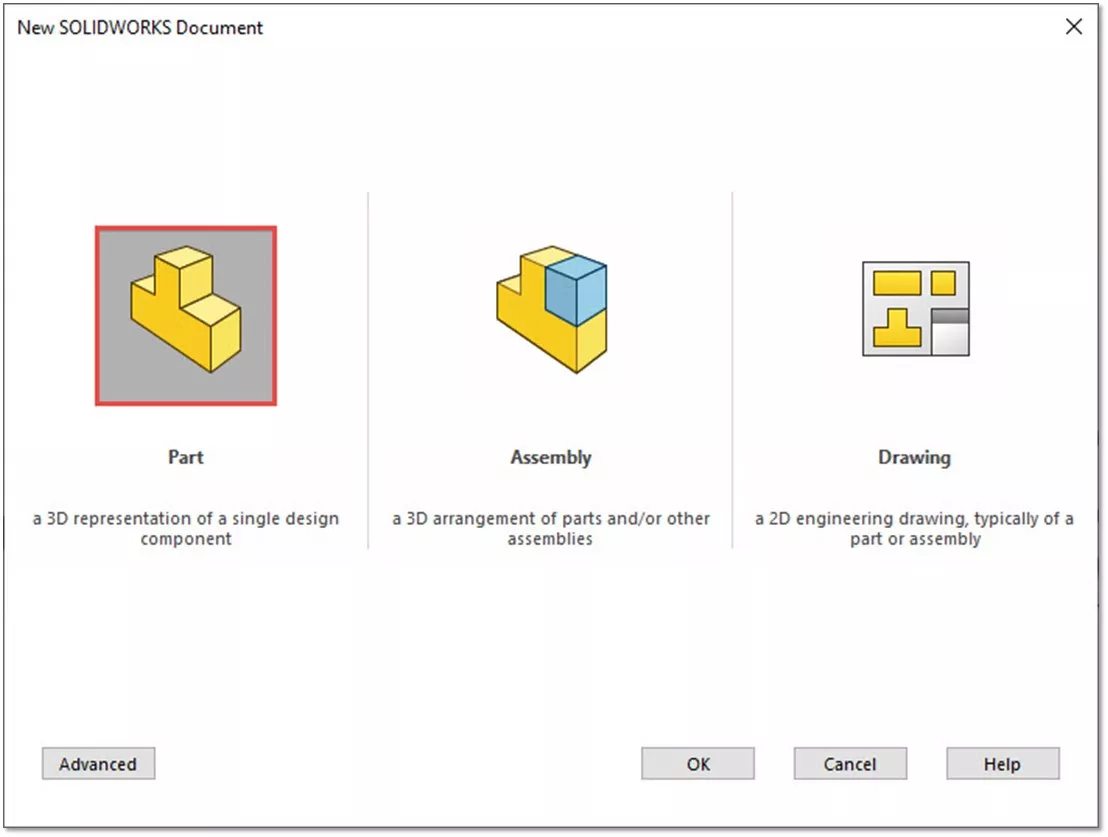
To start, open a blank new document.
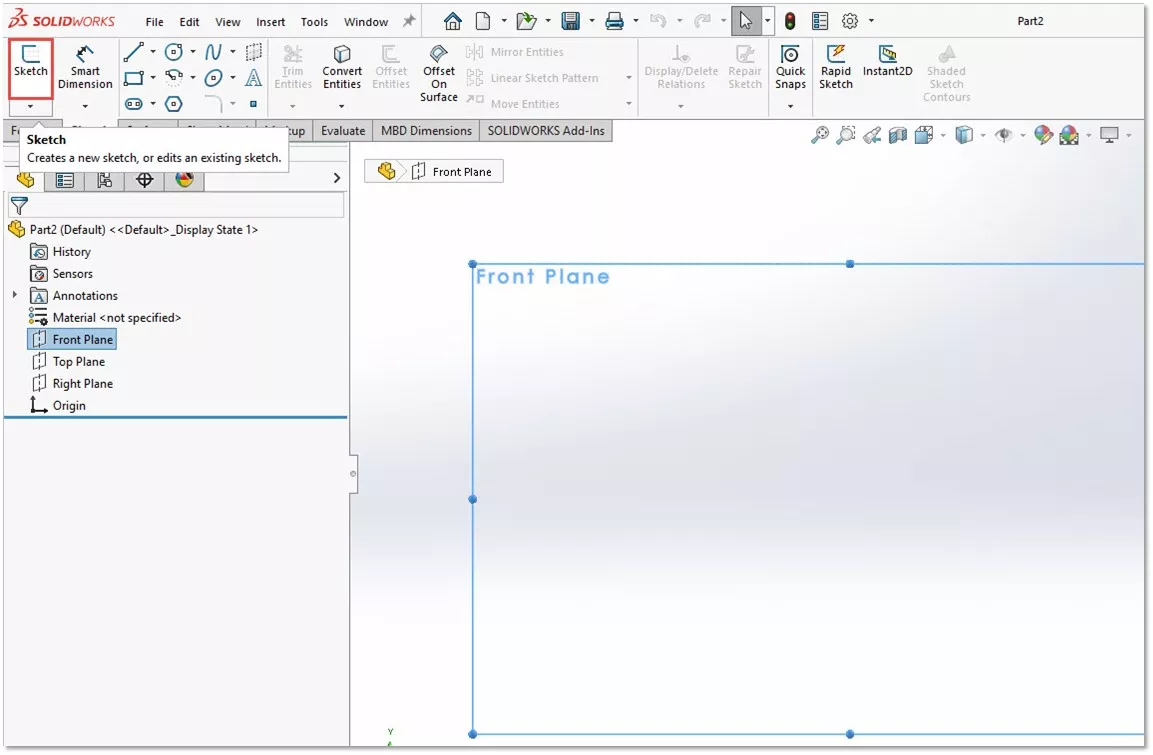
Then, select which plane you want to begin with and start a new Sketch.
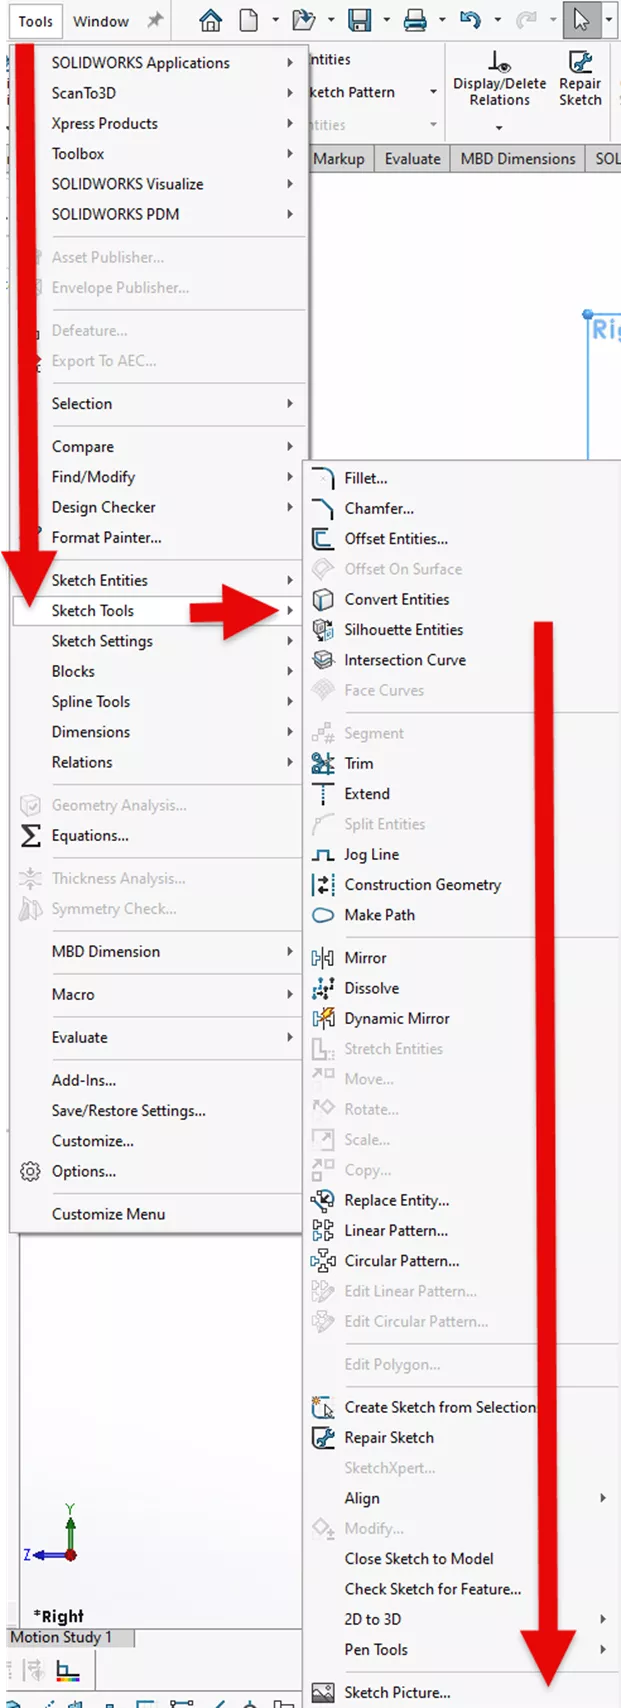
On the menu bar, select Tools > Sketch Tools > Sketch Picture...
Select the sketch image you want to import from the File Explorer window and select Open. The sketch picture will import into the selected plane.
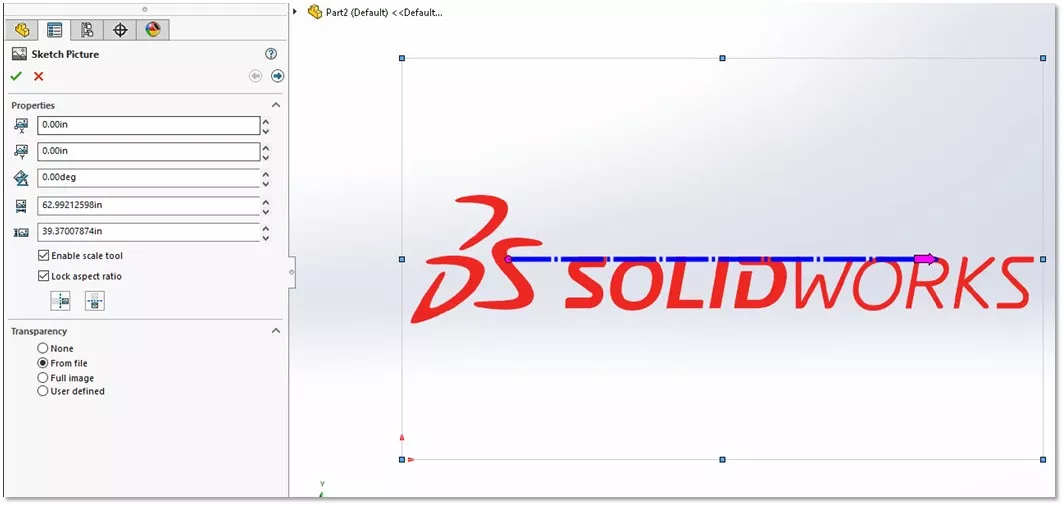
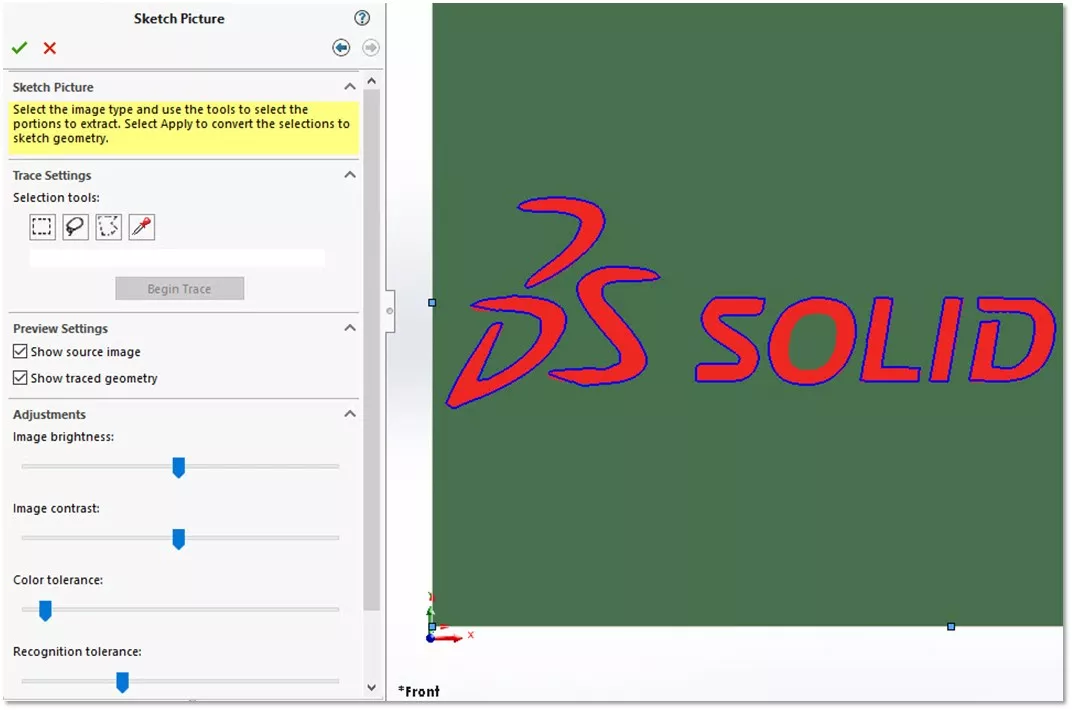
With the Autotrace add-in turned on, notice that there is now a "next arrow" in the Sketch Picture dialog.
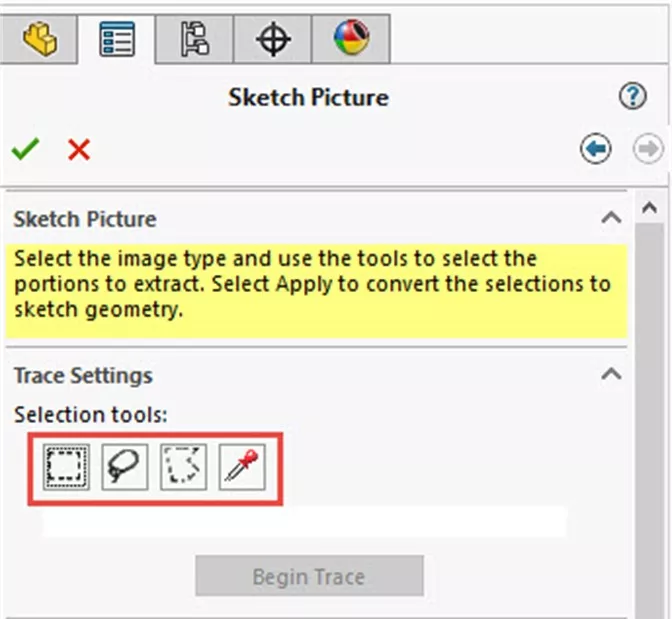
Here, we can use intelligent tools to automatically select the outline of the logo.
![]()
In this case, we'll primarily use the Trace Selection tools.
Let's start by using the rectangle selection tool to select most of the image in a single go.
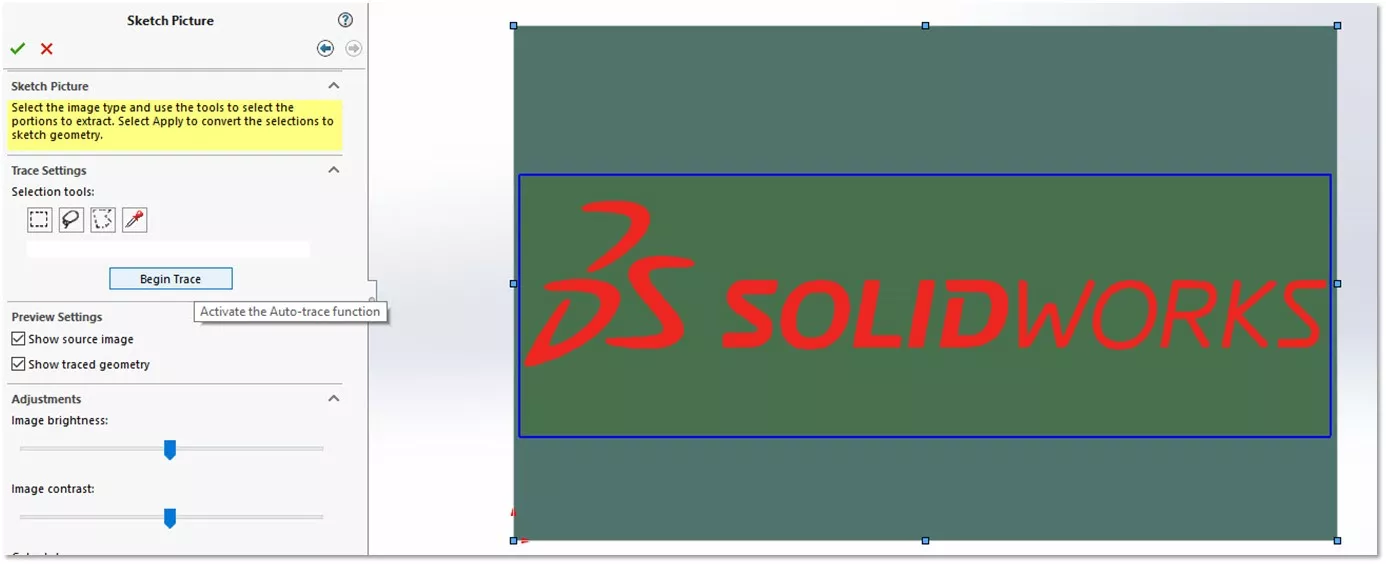
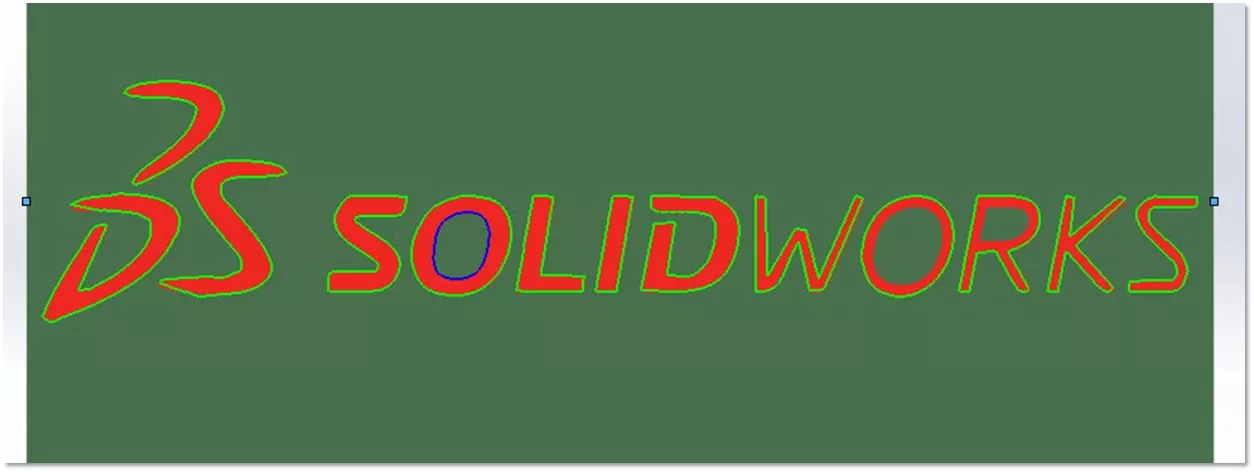
The result of the initial selection is decent, but it looks like it needs some refinement as we are getting some odd artifacts on the DS selection of the logo.
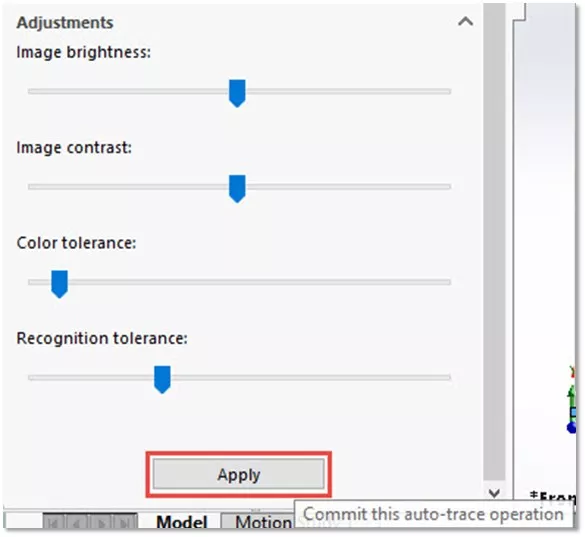
To adjust the selection, use the aptly named adjustments section. In this case, we'll use the Recognition tolerance to fix up these lines.
Next, click the Apply button to set the selection as permanent. This can be useful as it will allow us to select more from the image. As you can see, the inside loop of the O didn’t get selected.
Using the dropper selection tool, choose a point in the center of the O and select Begin Trace, repeating until everything is selected.
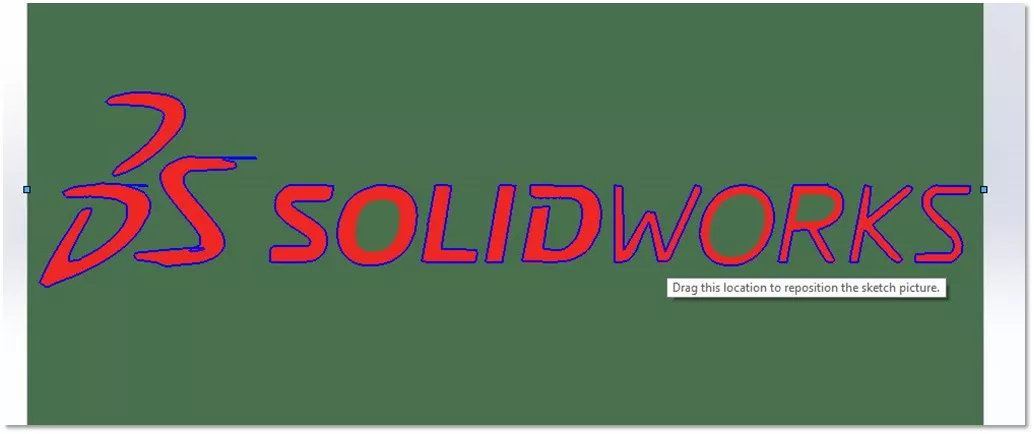
The tool will take care of the bulk of the selection very quickly, but the tool isn’t perfect and will often need refining such as this resulting sketch on the D.
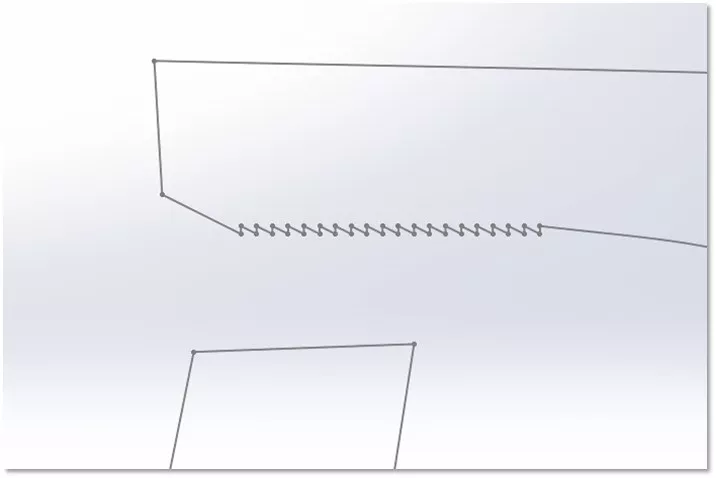
While the tool will quickly take care of the bulk of the selection, it isn't perfect and can require some refining. (Shown on the letter D below)
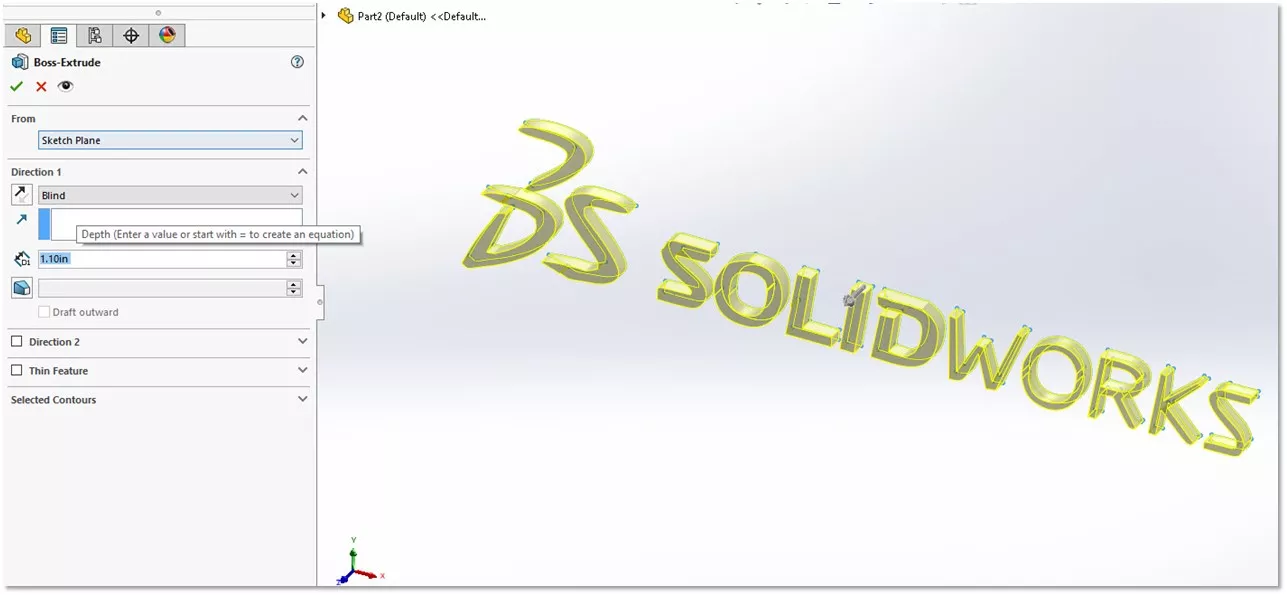
After editing the sketch and removing any odd portions, the result will be a complete sketch that can be extruded.
Now that we have our sketch, we can select the extrude feature and produce the 3D extruded logo.
I hope you found this SOLIDWORKS Autotrace tool tutorial helpful. Check out more SOLIDWORKS tips and tricks below.

SOLIDWORKS CAD Cheat Sheet
Our SOLIDWORKS CAD Cheat Sheet, featuring over 90 tips and tricks, will help speed up your process.
More SOLIDWORKS Tutorials
Why SOLIDWORKS Mates Can Cause Slow Assemblies
Show Sheet Metal Bend Lines in a SOLIDWORKS Drawing
SOLIDWORKS Face Curves Explained
How to Change Orientation of an Existing SOLIDWORKS Part
SOLIDWORKS: Creating a Derived Centerline in a Twisted Sweep
About Nick Stanley
Nick Stanley is a SOLIDWORKS Technical Support Specialist at GoEngineer.
Get our wide array of technical resources delivered right to your inbox.
Unsubscribe at any time.