Using the DraftSight Image Tracer
Have you ever run into the problem where you need to duplicate a floorplan or a logo onto your CAD document and you can only get a screen capture, or a pdf to use? Well, there's a very useful tool in DraftSight called Image Tracer. The Image Tracer tool lets you convert raster images in .bmp, .png, and .jpg formats to vector format. The images can be architectural plans, floor plans, logos, or curved images.
Let me show you how this great tool works. If you want to follow along, first, open DraftSight and create a new drawing. You will want to save this as Trace Practice.dwg
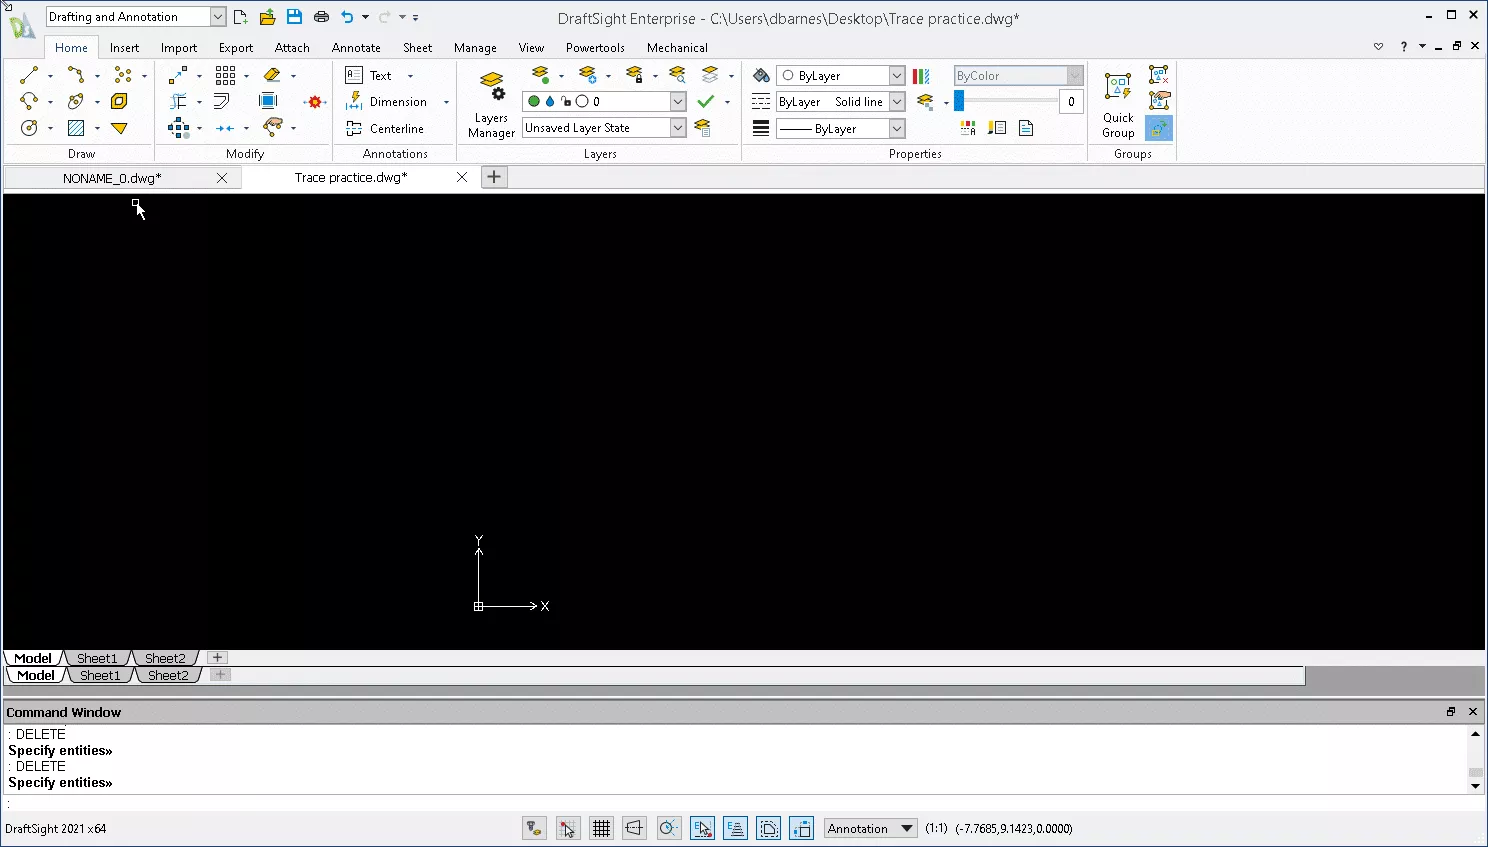
Next, set up a new layer. This is where we're going to place the image. To do this, open the Layers Manager and click New.
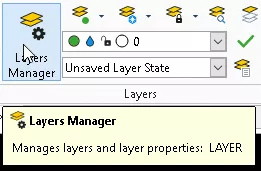
Name the new layer Image and make it the active layer by clicking Activate or by using the shortcut ALT+A.
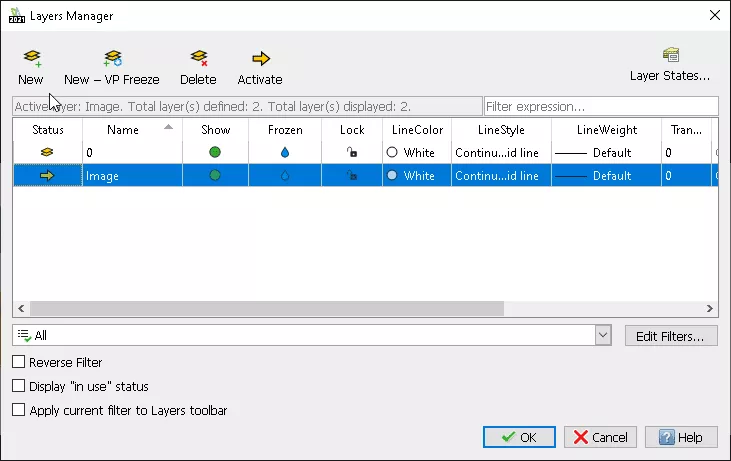
Next, attach an image file (in this example it's the GoEngineer Logo) using the ATTACHIMAGE command. Alternatively, you can find this under the Attach tab and select Image.
The file browser will open so that you can pick an image file:

After selecting the image file (in this example the GoEngineer Logo Text No Bug.png) there is a placement, scale, and rotation dialog:
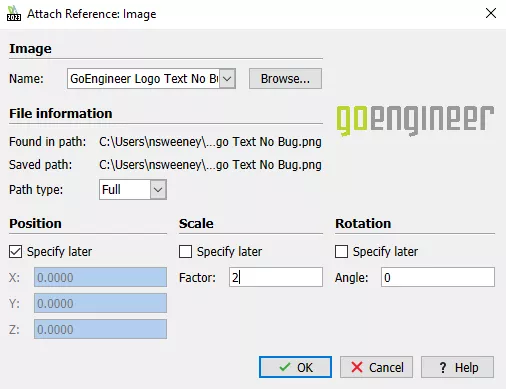
By removing the check marks, you can specify to the position, scale size, and rotation angle. You should uncheck the Position, leave it at (0,0,0), and then set the scale to 2 before clicking OK.
Now, DraftSight should look like this:
![]()
Next, we need to change the active layer to the default layer to place the image tracer lines. Do this in the Layer Manager as discussed above.
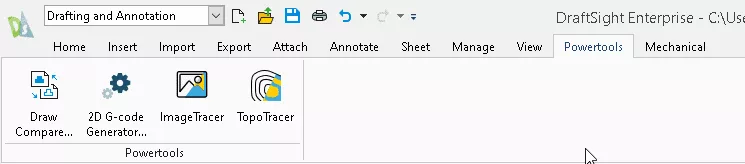
Now, go to Powertools and select Image Tracer.
This is what the properties of the Image Tracer look like:

By using the Image Profile type to select the type of graphic, the profile for specific settings will be used. There is also the option to select the geometry options for Lines, Fitted polylines, Polylines, and Splines.
The cursor will be highlighted for you to select the area for the Image Tracer to recognize.
Once the image has been traced, you can adjust the settings to get the best result possible.
Note: An image with high contrast and few colors produces the best results.
![]()
Once you're happy with the tracing, click OK.
Then, if you hide the image layer, you will see the traced logo.
![]()
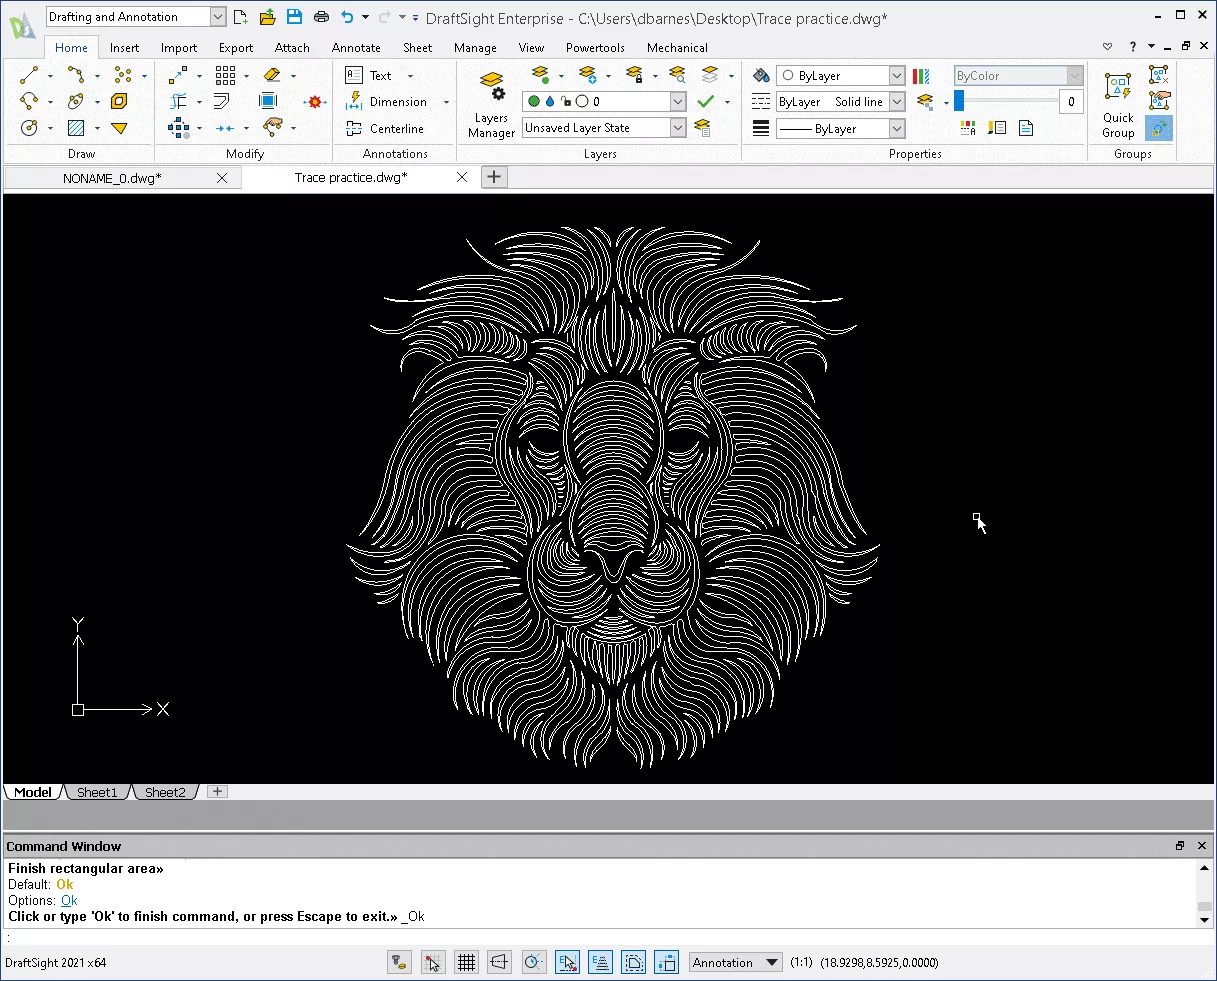
Below is an example of something a little more complicated. The image file is Lion.jpg and it looks like this:

After using the Image Tracer tool, I got this in my drawing.
I hope this tutorial was helpful. Try using Image Tracer to add your company logo to your DraftSight drawing.
More DraftSight Tutorials
DraftSight Quick Access Toolbar Customization Tutorial
DraftSight Draw Compare Tool Explained
Customize DraftSight Keyboard Shortcuts

About Dennis Barnes
Dennis Barnes is a CSWE, CSWI and a Sr. Applications Engineer based out of the Albuquerque, NM office since 2012. He has a BS in Computer Science from Chapman University and has been using SOLIDWORKS since 2005.
Get our wide array of technical resources delivered right to your inbox.
Unsubscribe at any time.