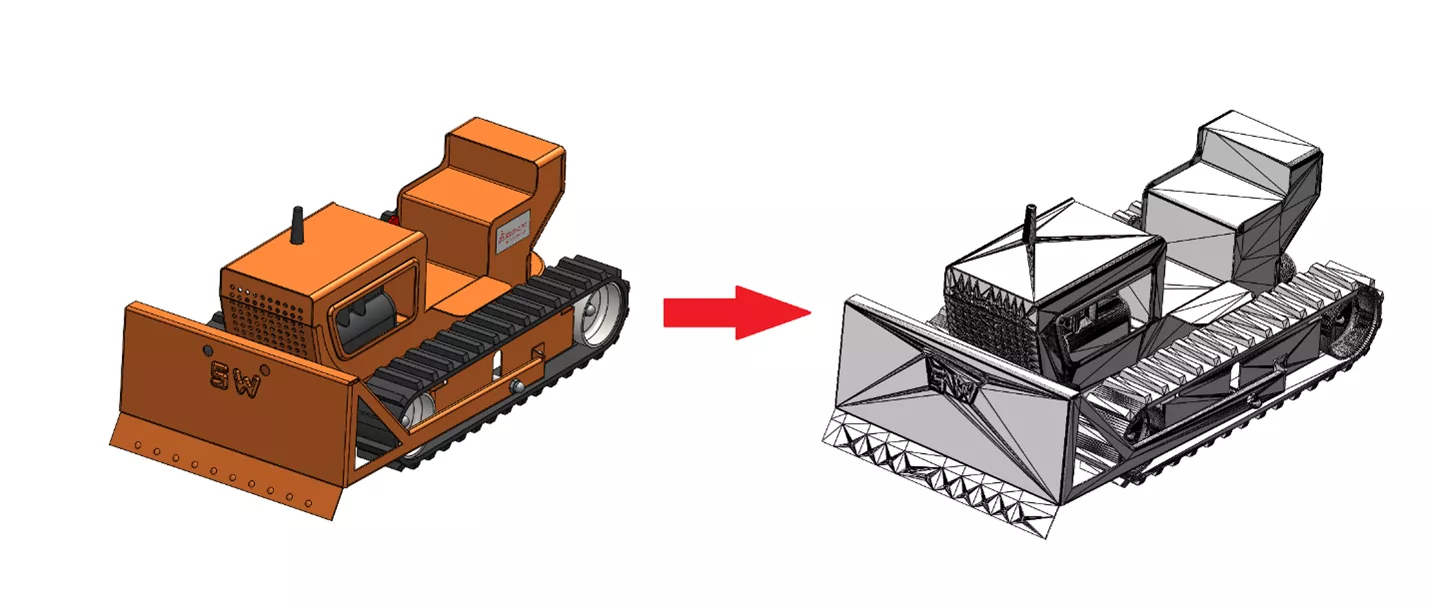
How to Save a SOLIDWORKS Assembly as an STL File
There are several ways to save a SOLIDWORKS assembly as an STL file for 3D printing (some more tedious than others).
Printing an assembly with all the components at once takes advantage of natural clearances between the components.
Printing the components all at once using support material creates a fully built assembly with no need for fasteners.
To 3D print an assembly all at once, you will need a multiple body STL file where there are multiple closed meshes representing each component in a single file. A single print job will need multiple solid meshes in a single STL file.
Below are two different methods for how to export out the SOLIDWORKS assembly as a single STL file. You'll also learn how to export a subassembly as a single STL file using a virtual subassembly.
![]() This tutorial is a companion to a video on our YouTube channel. Watch it here.
This tutorial is a companion to a video on our YouTube channel. Watch it here.
Method #1. Save Assembly as a Part
The first method is a brute force, two step way of getting a single STL file.
First, save the assembly as a part.
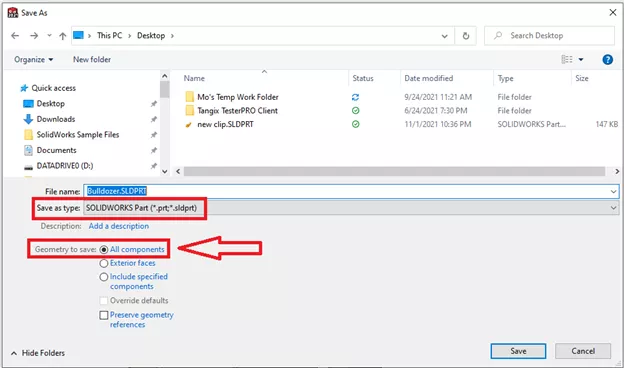
Open the assembly then select File > Save As… select Save as type: select SOLIDWORKS Part (shown below).
Select the option All Components for Geometry to save:.
Once the part file is saved, open it in SOLIDWORKS.
You will notice that it is a multi-body part where every single assembly component is now represented by a body.
Save out the part as an STL file by selecting File > Save As… select Save as type: STL, which will create the separate Graphics Bodies but in a single file.
This first method adds the overhead of having an extra part file to manage. The file will need to be updated if there are any changes to the assemby by resaving out the assembly to a part again.
While this method is adequate, there is a better, more direct way to get the single STL file.
Method #2. Save as STL
A more direct method saves a single STL file from an assembly in one step.
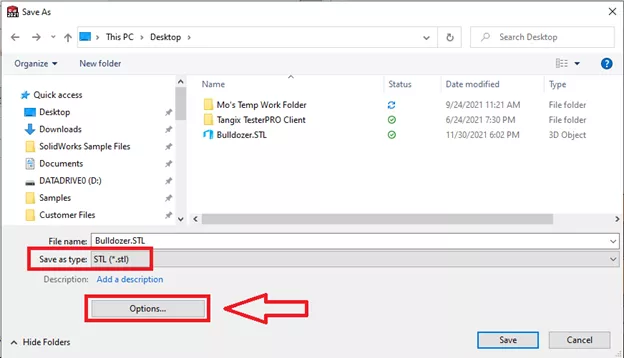
Open the assembly and select File > Save As… select Save as type: STL (shown below). Then select the Options… button.
Enable the option Save all Components of an assembly in a single file.
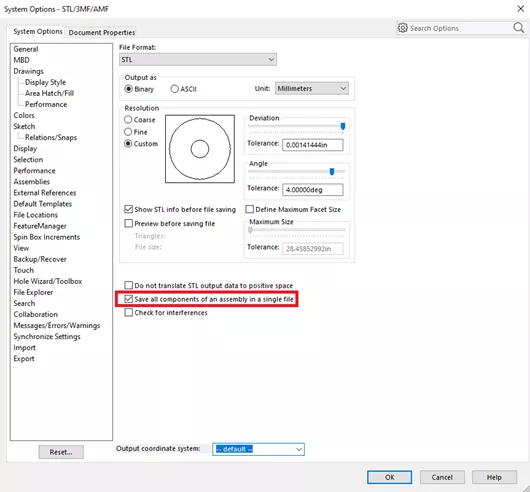
Using the option Save all Components of an assembly in a single file will export multiple graphics bodies in the STL file as expected just like the Save As Part method above.
If you don’t use this option, SOLIDWORKS will create multiple files and the mesh bodies will then need to be reassembled in a slicer software (like GrabCAD Print or Insight).
This is obviously not very efficient when there are multiple components.
Exporting a sub-set of Components not already in a subassembly
If you need to export a subset of an assembly but do not have an existing subassembly already in place, there is a quick way to do so that doesn't require having to permanently change the subassembly structure.
First, create a virtual assembly in the top level assembly by selecting Insert Components > New Assembly.
Move the desired components into the new virtual or “in-context” assembly by dragging them on top of the new assembly in the FeatureManager Design Tree. You can use CTRL and SHIFT select to move the desired components.
The virtual subassembly will keep all the original assembly mates intact. Open the subassembly file in its own window and save out the STL file as explained above.
In the STL options, use the same setting shown above; select Save all Components of an assembly in a single file. You can now close the original top level assembly without saving the virtual assembly to avoid changing the original assembly structure.
I hope you found this tutorial helpful. Check out more SOLIDWORKS tips & tricks below.

SOLIDWORKS CAD Cheat Sheet
Our SOLIDWORKS CAD Cheat Sheet, featuring over 90 tips and tricks, will help speed up your process.
More SOLIDWORKS Tutorials
Save SOLIDWORKS Assembly as Part and Preserve Geometry References
7 Ways to Improve SOLIDWORKS Large Assembly & Drawing Performance
SOLIDWORKS Mate Controller Explained
Using the SOLIDWORKS Temporary Fix/Group Command
![]()
About GoEngineer
GoEngineer delivers software, technology, and expertise that enable companies to unlock design innovation and deliver better products faster. With more than 40 years of experience and tens of thousands of customers in high tech, medical, machine design, energy and other industries, GoEngineer provides best-in-class design solutions from SOLIDWORKS CAD, Stratasys 3D printing, Creaform & Artec 3D scanning, CAMWorks, PLM, and more
Get our wide array of technical resources delivered right to your inbox.
Unsubscribe at any time.