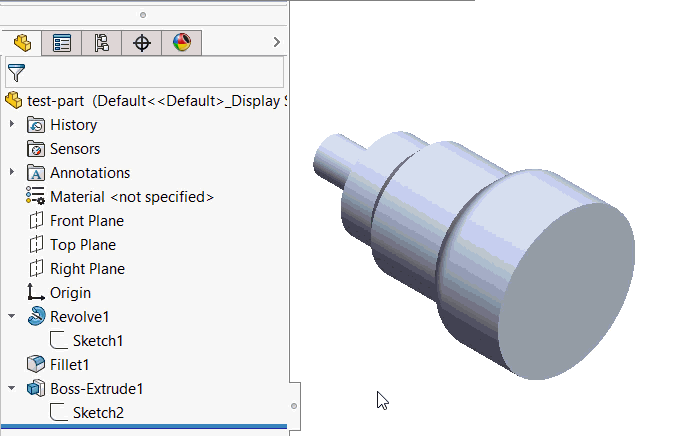
How to Copy a Sketch in SOLIDWORKS
Atoms are the building blocks of matter. We’ve been hearing this since about the third grade. Sketches? Sketches are some of the most basic building blocks of SOLIDWORKS 3D CAD files. We use them to define boundaries for adding and removing material in all sorts of ways – boss features, revolve features, loft features, and more.
During the course of your SOLIDWORKS career, you will come across times when it will seem advantageous to copy a sketch you’ve already created to a new destination. Using SOLIDWORKS, there are several ways to do so. In this article, I’ll reveal a couple of ways we can do this. Each way has a different end result – and for good reason. Using my own experiences, I’ll be sure to talk through each method (the ‘what’ and the ‘why’) of how to copy sketches in your designs. Let’s get started.
Method 1: Right-click > Copy; right-click > Paste
How familiar! In SOLIDWORKS, as in Microsoft Word and almost every Windows application, you can copy/paste data from one environment to another. This doesn’t apply to everything in SOLIDWORKS, but it does apply to sketches and/or sketch entities.
In the header for this item, I describe the method you’d use in Notepad. You select what you want to copy, you click ‘Copy’ from the right-mouse button menu, then Paste after selecting the destination location for the contents you’ve copied.
As you may have noticed, most copy/paste operations don’t result in a link maintained by the source and the copy. In SOLIDWORKS, this holds true. It’s also true that you can use Ctrl+C, Ctrl+V (the keyboard shortcut combo for copy/paste) if you wish.
The simple workflow is: select a sketch/sketch entity, copy it, and then go to the destination location. This can be in the same file or a different open file. Select a plane or a planar face, then paste away. You should see a totally detached duplicate of the sketch entities you copied now placed in the target area.
Method 2: Convert Entities
Method 1 describes total severance at a relationship level between the source sketch entities and the copy. You may want this behavior in several instances, but what if you don’t want to sever the relationship?
There will be times when you want to take an existing profile – be it a sketch elsewhere in the design, or a facial profile – and convert it into new sketch entities that will mimic the selection if/when it changes.
This is a parametric, rules-based way of copying. One way to accomplish this effect is the Convert Entities tool.
The Convert Entities tool allows users to make a copied projection of a given sketch, face, or set of edges onto the active sketch plane. These sketch entities will update their size and/or positioning if either of these characteristics changes in the source sketch.
To accomplish this, follow these steps:
- Make a new sketch.
- Select the sketches/faces/edges you want to copy in this manner.
- On the Sketch tab on the CommandManager ribbon, select Convert Entities
- Observe that the entities have been copied to the active sketch plane. All entities should now have an ‘On Edge’ relationship automatically added. This keeps the destination entities synced to the source entities.
Method 3: Derived sketches
Convert Entities can be a little restrictive. It only allows you to obtain a direct projection of the chosen entities. You can’t reposition the profile about the active sketch plane without breaking the On Edge relationships altogether, which defeats the purpose of using Convert Entities vs copy/paste.
Using a derived sketch is a little-known method providing the best of both worlds. When using a derived sketch, you can copy and paste a duplicate of a given sketch while retaining maneuverability in its destination location.
This means the overall profile shape will remain in sync; however, as it isn’t tied to being a direct projection, you can rotate or move the copy on its own sketch plane as you see fit. If the profile of the original changes at all, the profile of the copy will still update just fine.
To accomplish this, follow these steps:
- Select a sketch you’d like to copy.
- Holding the Ctrl key, select a plane or planar face you’d like to insert a derived version of this sketch onto.
- Go to Insert > Derived sketch
Each of these methods gives you a different end result. Unlike reading up on different ways to make a cube, the ramifications of choosing one copy method over another are inescapably present. No one way of copying sketches is appropriate for every case; however, knowing multiple ways to do so provides excellent flexibility moving forward!
Professional SOLIDWORKS Training from GoEngineer
Learn more about the essential modeling techniques in SOLIDWORKS in our SOLIDWORKS Essentials training courses. These courses are offered in person, live over the web, or on-demand.
![]()
About GoEngineer
GoEngineer delivers software, technology, and expertise that enable companies to unlock design innovation and deliver better products faster. With more than 40 years of experience and tens of thousands of customers in high tech, medical, machine design, energy and other industries, GoEngineer provides best-in-class design solutions from SOLIDWORKS CAD, Stratasys 3D printing, Creaform & Artec 3D scanning, CAMWorks, PLM, and more
Get our wide array of technical resources delivered right to your inbox.
Unsubscribe at any time.