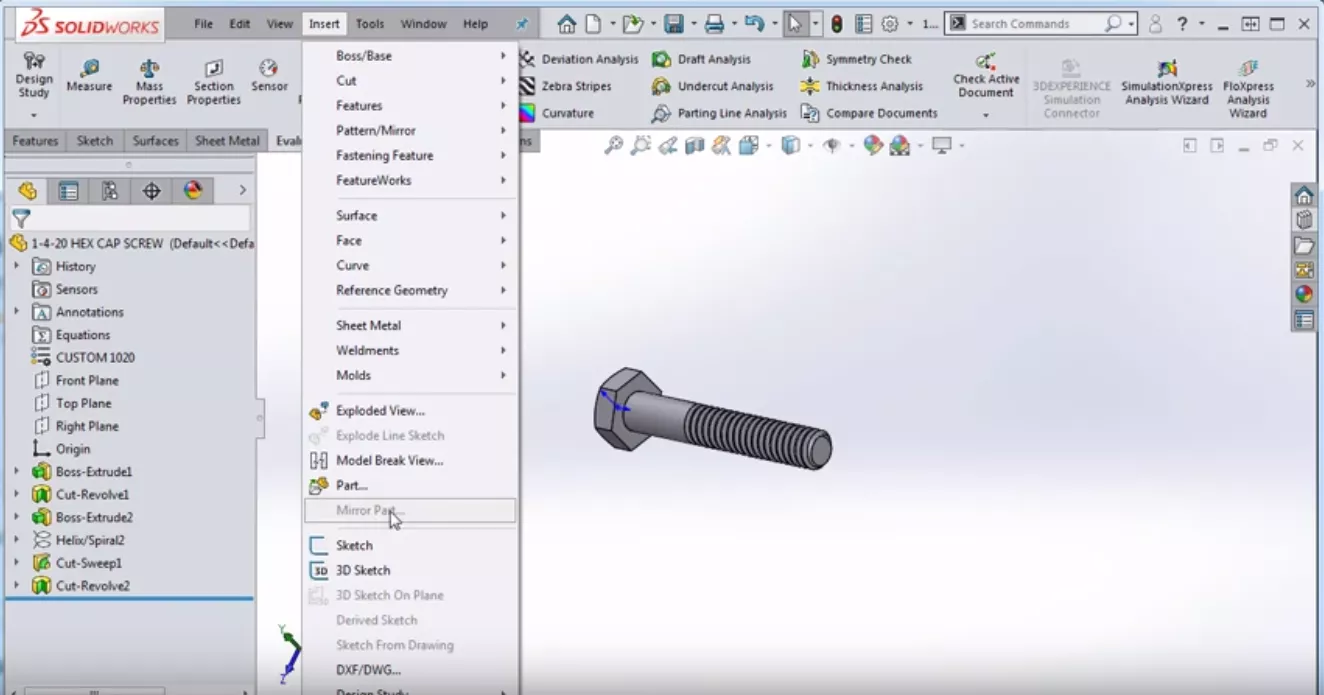
How to Mirror a Part in SOLIDWORKS
In SOLIDWORKS, we often run into situations where we need to make both a left-hand and a right-hand version of the part. If that’s the case, what we can do is we can go into our SOLIDWORKS environment and choose a plane that we want to mirror the part. Mirrored parts are copies of an original file that maintain their reference to the original. This means any changes to the original propagate to the mirrored component as well.
We'll start by picking our mirror plane. For example, I’m going to choose the Right Plane. Once I choose the Right Plane I’m going to go into the command Insert > Mirror Part. (Note: If you don’t choose a plane and go to Insert > Mirror Part, Mirror Part will be greyed out so make sure you choose the plane you wish to mirror).
Once we choose the mirror part command, SOLIDWORKS is going to bring up a dialog box where we’re going to choose our template. Then we’re going to choose what we want to bring with it from the original part.
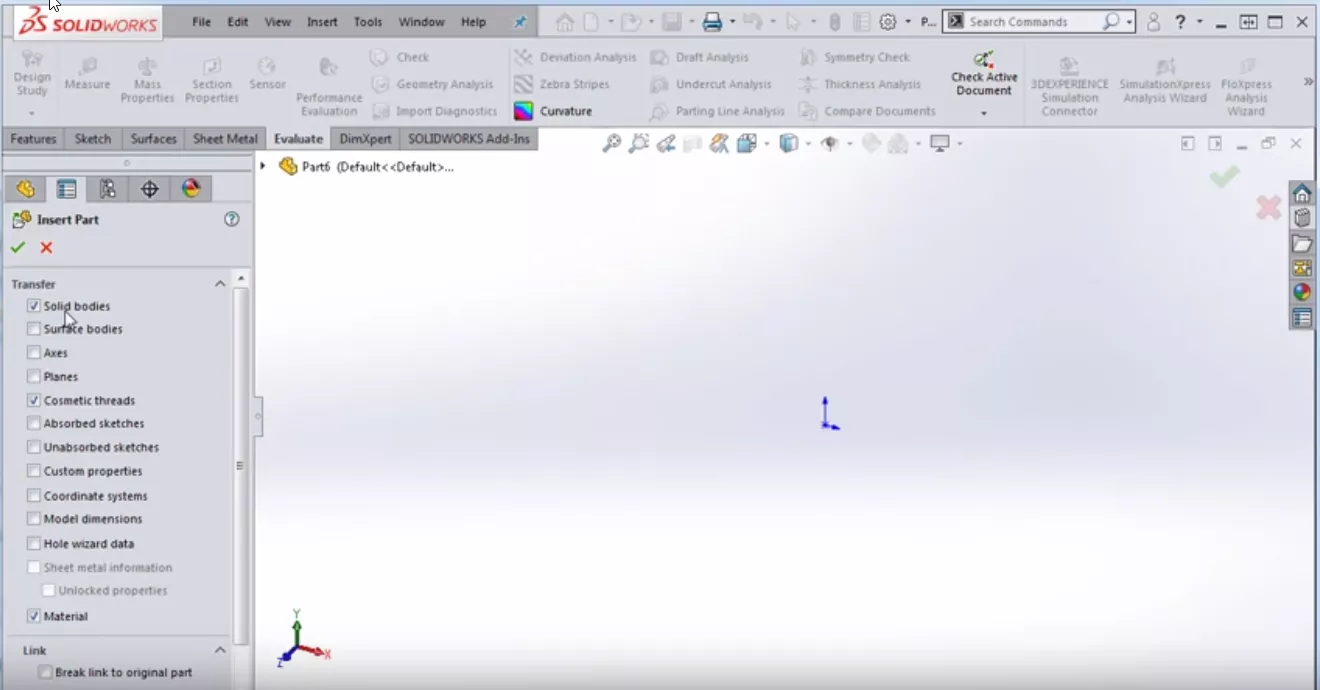
We can bring in solid bodies, any surface bodies that we’ve created, cosmetic threads, and you can even bring along sketches and dimensions from the original model. Most of the time, however, we just want to bring over the solid body and maybe some of the properties from the original model such as the custom properties that we’ve assigned such as the material, the vendor, or any other custom property – those are examples of what we’d like to bring.
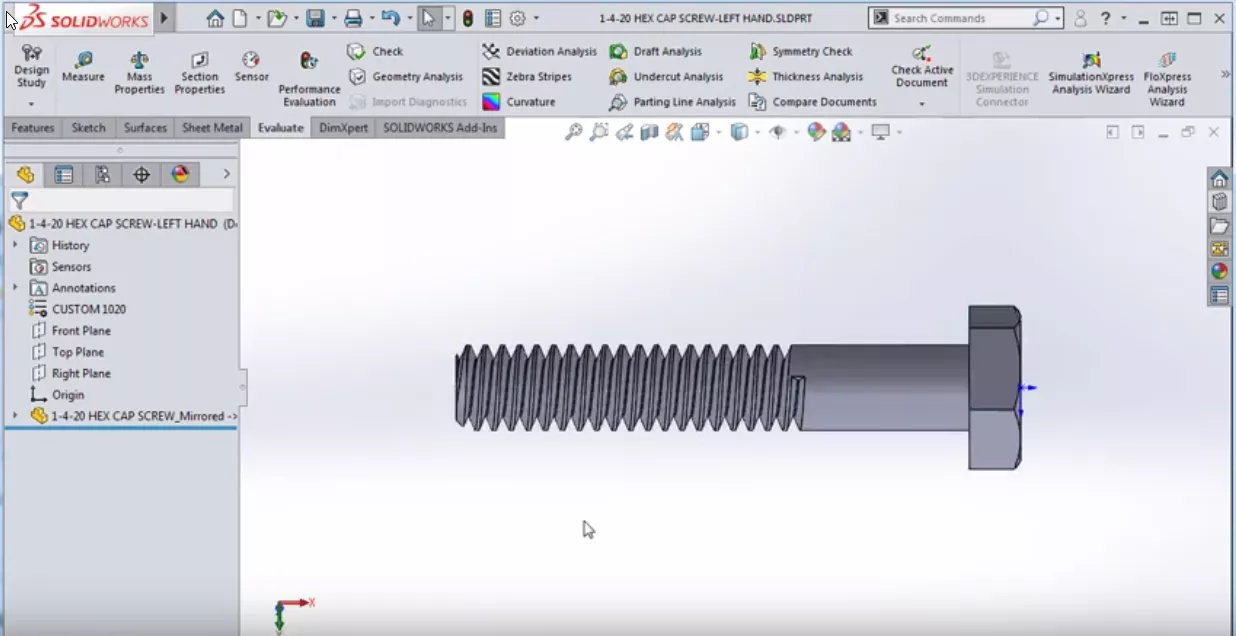
In my example, I’m going to bring over the solid bodies from my original part file. I’m going to hit the green checkmark and I can see that my part has been dropped into my new environment. I’m going to save the model as ¼ 20 hex cap screw, which is the right-handed thread. And that’s all there is to it! That’s how you mirror a part in SOLIDWORKS.
Professional SOLIDWORKS Training from GoEngineer
Learn more about the essential modeling techniques in SOLIDWORKS in our SOLIDWORKS Essentials training courses. These courses are offered in person, live over the web, or on-demand.
![]()
About GoEngineer
GoEngineer delivers software, technology, and expertise that enable companies to unlock design innovation and deliver better products faster. With more than 40 years of experience and tens of thousands of customers in high tech, medical, machine design, energy and other industries, GoEngineer provides best-in-class design solutions from SOLIDWORKS CAD, Stratasys 3D printing, Creaform & Artec 3D scanning, CAMWorks, PLM, and more
Get our wide array of technical resources delivered right to your inbox.
Unsubscribe at any time.