PhotoView 360 for SOLIDWORKS Retirement: What to Know
PhotoView 360 for SOLIDWORKS is being retired after version 2023 SP5. If you currently use PhotoView 360 and have already updated to SP3, you might have seen a message about this.
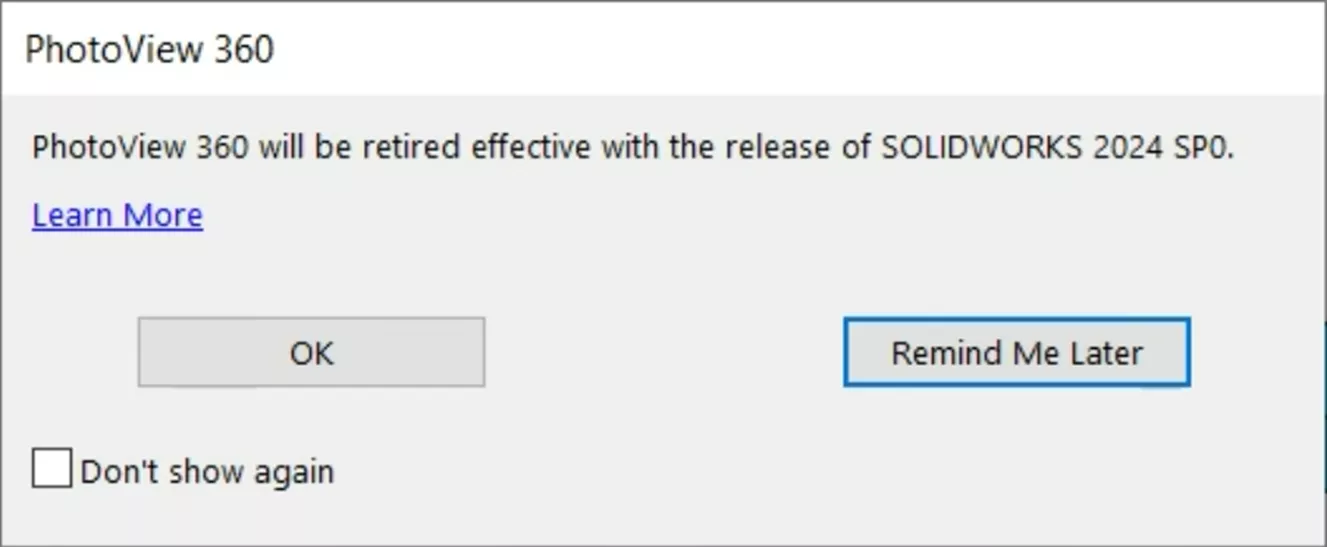
Starting with SOLIDWORKS 2024 SP0 (released in November 2023), the PhotoView 360 add-in will no longer be included with SOLIDWORKS Office, SOLIDWORKS Professional, and SOLIDWORKS Premium. Users will instead have access to Visualize for all of their rendering needs.
Note: All prior versions of PhotoView 360 (SOLIDWORKS 2023 and earlier) can still install, activate, and run PhotoView 360 with an appropriate license of SOLIDWORKS.
What is Visualize?
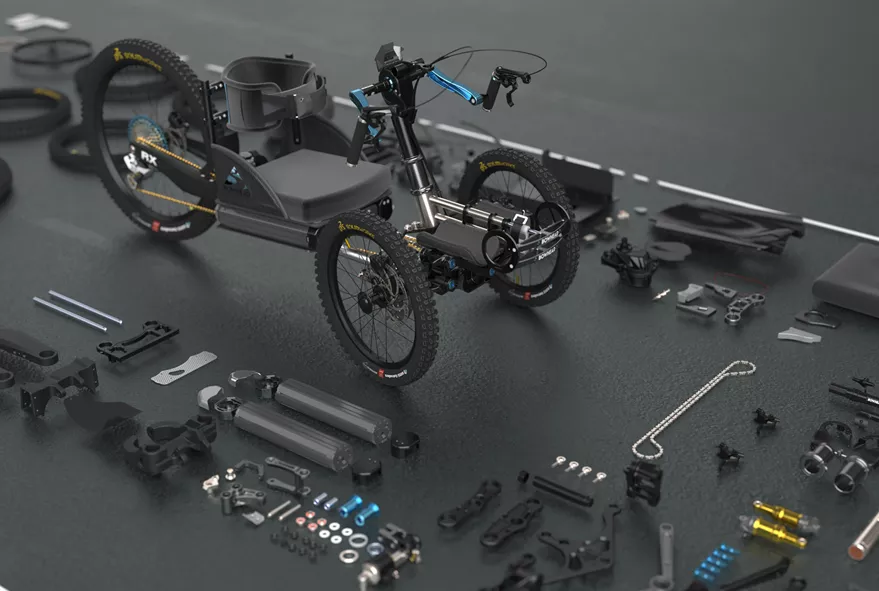
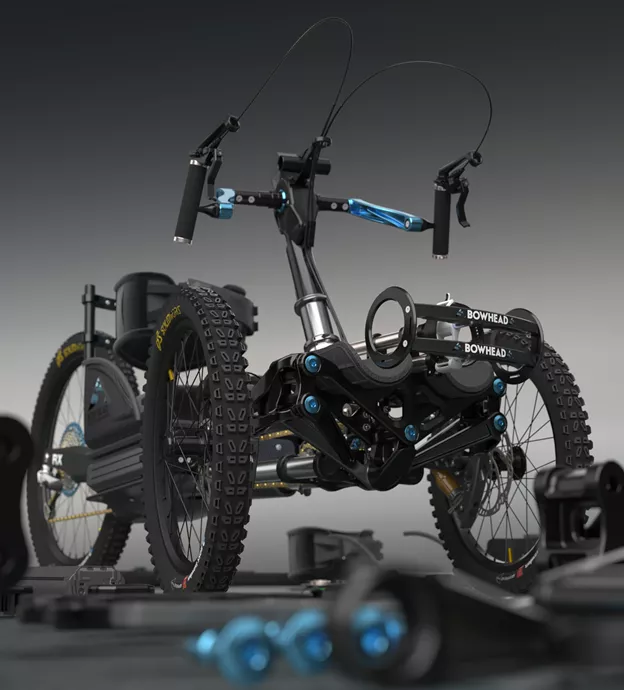
Visualize (released in 2015) is one of the easiest and quickest ways to produce photorealistic renderings of SOLIDWORKS CAD models.
Some of the top features of SOLIDWORKS Visualize include:
- Hybrid render mode: Visualize can use both the CPU and the GPU for rendering. Optionally, choose to only render with the CPU or GPU. The GPU option makes rendering with Visualize light-years faster over PhotoView 360.
- Denoiser: Users with more than 4GB of VRAM have access to AI to help cut noise from your Visualize renders. Typically, you can reduce the number of passes by a factor of 10 and still get the same level of render refinement without that extra render time.
- Advanced Materials with DSPBR: Physically Based Rendering (PBR) materials use photographs as the basis for the texture assets that describe the visual properties of a model in a more physically plausible way. Without getting too far into the weeds on this topic, all materials in Visualize 2024 will use this new appearance type. This new format aligns appearance models across Dassault Systemes entire product line and opens the door to many new possibilities.
- Render Engine: Visualize includes three render engines to choose from: NVIDIA - iRay, Dassault Systemes - Stellar, and AMD - Pro Render. Choose the version that suits your style or hardware and render faster and with more accuracy than PhotoView 360 ever could.
- PDM and 3DEXPERIENCE Integration: If you need to track revisions on rendering projects, this is the easiest way to do so. Having rendering info tied to CAD data with PhotoView 360 meant if you wanted to save your rendering work, you would need to revise the CAD model in PDM or 3DEXPERIENCE. With Visualize, the data is standalone, so you can easily keep engineering and marketing revisions separate.
- Standalone Interface: While SOLIDWORKS is an excellent tool for making models and assemblies, this functionality is not always needed while rendering. For instance, we can set up an assembly scene for rendering, while someone else is updating parts, or even updating parts in the same assembly in CAD. Once they’ve completed their work, a notification will appear stating that the CAD files have been changed and we can choose to update the render project now or later on.
Where is Visualize & How Do I Install it?
SOLIDWORKS Visualize Standard is included and available for all SOLIDWORKS Professional and SOLIDWORKS Premium users with an active subscription service (view matrix). These licenses are readily available for use if using a network license.
For standalone licenses of SOLIDWORKS Professional or Premium, contact your Technical Support to obtain your Visualize Standard serial number.
SOLIDWORKS Visualize is separate software from SOLIDWORKS CAD, meaning you can install Visualize on a computer without installing SOLIDWORKS. You can also install both SOLIDWORKS and Visualize alongside one another on the same computer.
If SOLIDWORKS is already installed on a computer, you can modify your installation to add Visualize. Open the Control Panel / Apps & Features, scroll down to SOLIDWORKS 20xx, and click Modify.
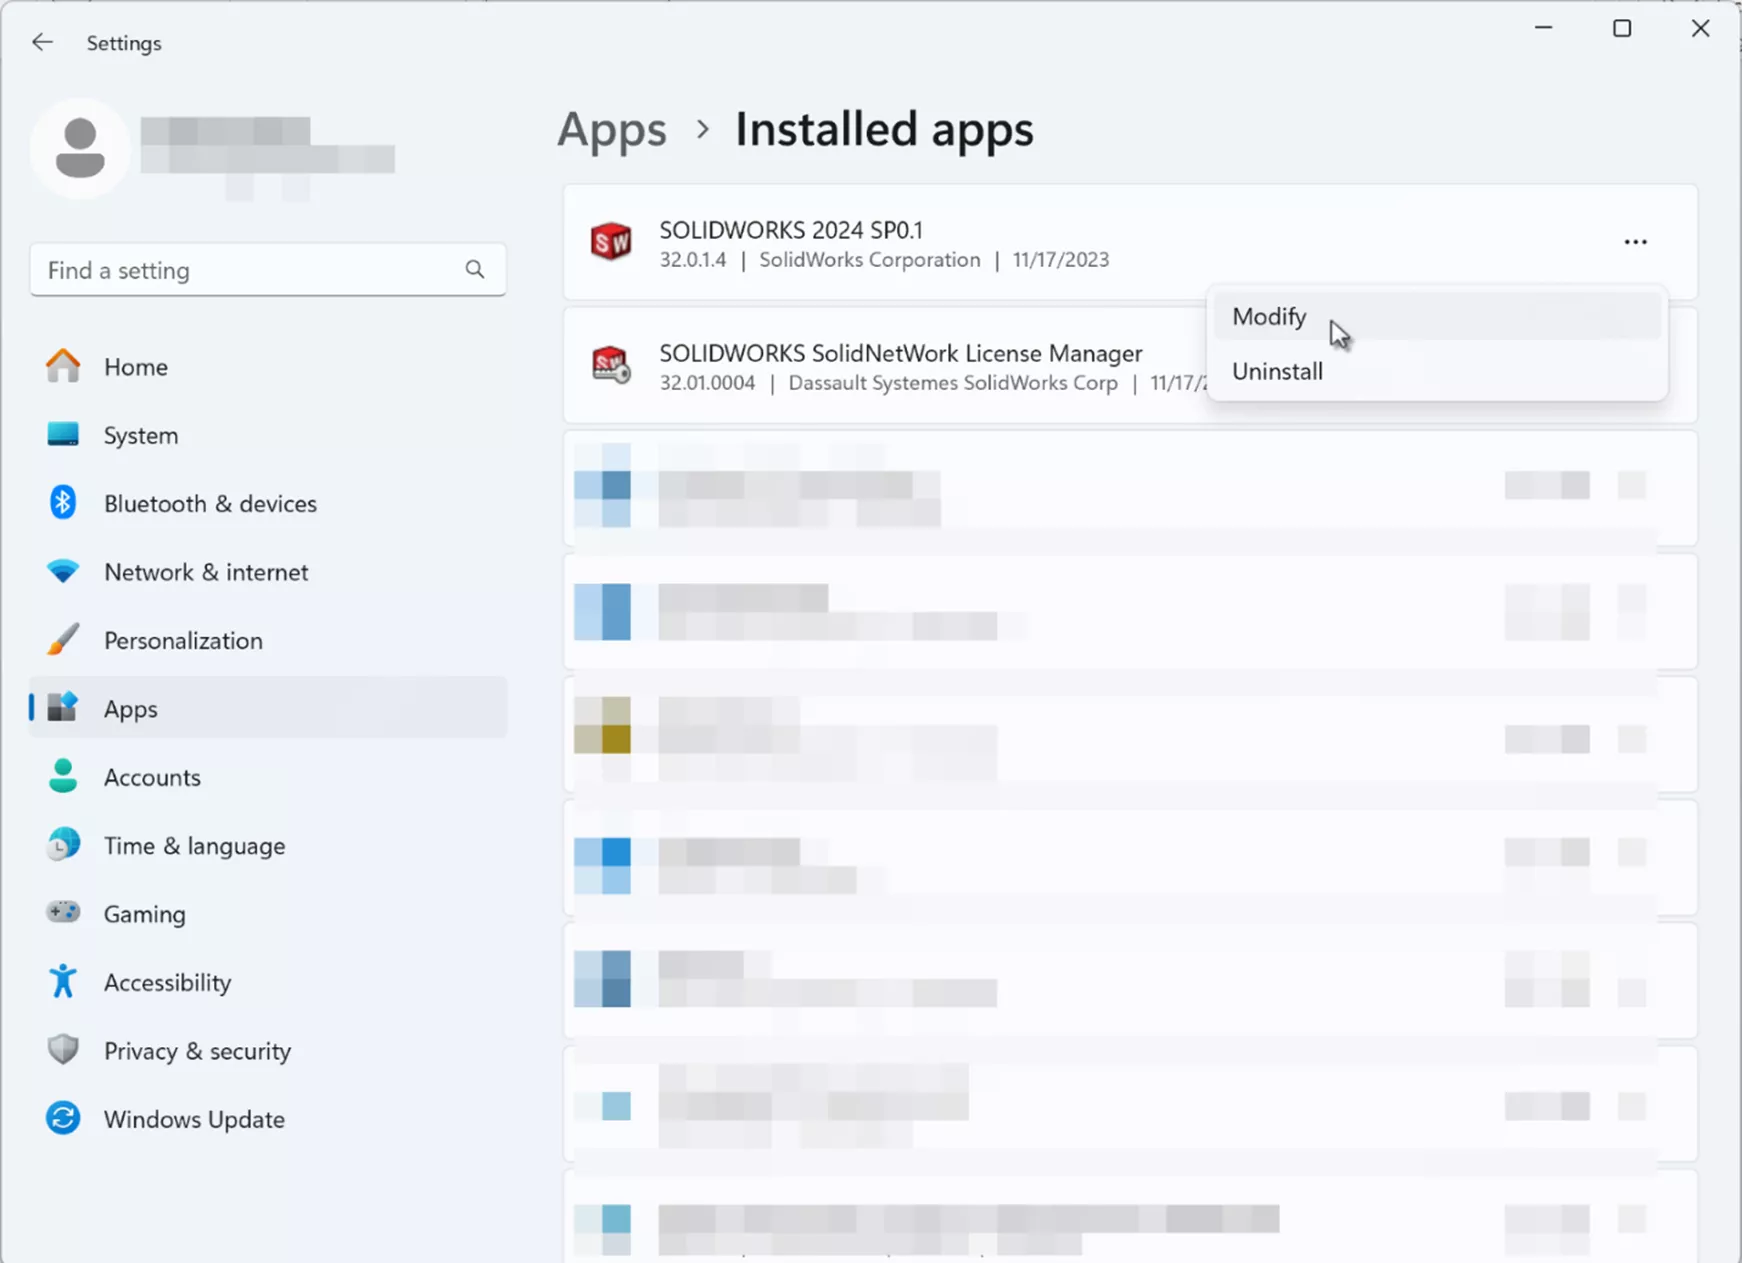
Once the Installation Manager appears, select the Modify option and click Next.
If running a standalone license of SOLIDWORKS, insert the unique SOLIDWORKS Visualize Serial Number in the respective SOLIDWORKS Visualize fields.
Click Next and, under Software to Install, click the Change button and verify that SOLIDWORKS Visualize is checked on to be included in the install. Click Modify Now when finished, and Visualize will install.
Suggested Article >> What's New SOLIDWORKS Visualize 2024

Visualize Professional
If you use Visualize Standard, you already know just how much easier and faster it is to render a scene. It’s incredibly easy to get in and start rendering with little to no instruction. However, there are some powerful features only included with Visualize Professional, such as:
- Animations: Full key-frame support for appearances, models, cameras, and more. Export SOLIDWORKS CAD animations and even motion studies created with Motion Simulation.
- Visualize Boost: Use a secondary machine as a render queue workhorse and share it with others in the office. Using Power Boost, render in real-time by sending render data to the boost machine while working from your laptop.
- Web Browser-based Interactive Images and Panoramic Output: Create interactive web content that allows users to interact with a 3D-rendered model. New to 2024, one can now export animations to this format without hacking the output with different frames!
- Photographic Camera Filters: Adjust exposure, brightness, color balance, contrast, etc.
- Render Queue: Stack up multiple jobs to render later when away from the computer.
- Configurations: Not to be confused with Confurations in SOLIDWORKS, in Visualize, users can save different versions (configurations) of a project using different lighting, materials, cameras, etc., and switch between them with a simple click.
- Lighting: Though “lights” can be defined in the standard version using a model with an emissive appearance, lighting in Visualize Professional makes adding and adjusting lights a breeze. IES profiles are also supported.
- VR Content: While it isn't yet possible to fully interact with a rendering in full 6 degrees of freedom, a VR Experience can be rendered to allow a “ride along” experience with a 360-degree spherical camera. Define the path for the user, while they look around the environment.
- Basic Physics: Need to shake things up? Want to see where objects fall naturally? Visualize Professional has you covered. Its simple physics engine lets users randomize the placement of parts. Also included is a Vehicle system that lets us define wheels, brakes, suspension, and more. Use a game controller to pre-record a vehicle path and render it later.
- Interactive Images: Create immersive 360-degree rotations of your products and let the end-user experience the model fully rendered.
Have questions? We're here to help. Contact us for more information about SOLIDWORKS Visualize rendering tools or the retirement of PhotoView 360.
Contributing Author: Nathan Marsh, Sr. Technical Support Engineer, at GoEngineer
Related Articles
How to Fade Geometry in SOLIDWORKS Visualize Professional
About Alex Worsfold
Alex Worsfold is a Sr. Application Engineer at GoEngineer.
Get our wide array of technical resources delivered right to your inbox.
Unsubscribe at any time.