Creaform 3D Scanning Tips
Creaform 3D Scanning Tips
The Creaform handheld 3d scanners are very easy to use and acquire data very quickly. In fact, the scanners are so easy to use with their ability to self-position in relation to the parts being scanned that you can just hold the part in one hand and the scanner in the other to create the entire mesh of the part.
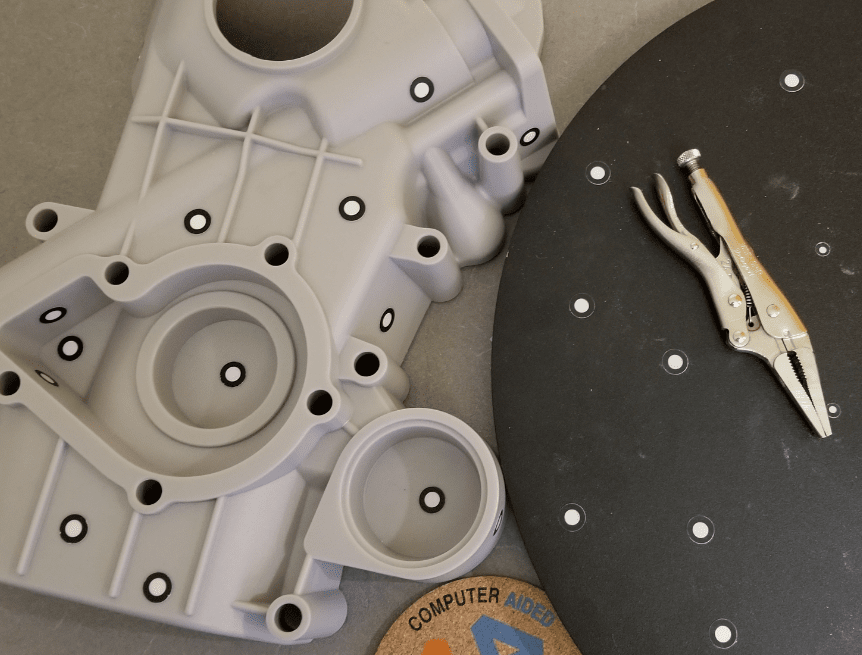
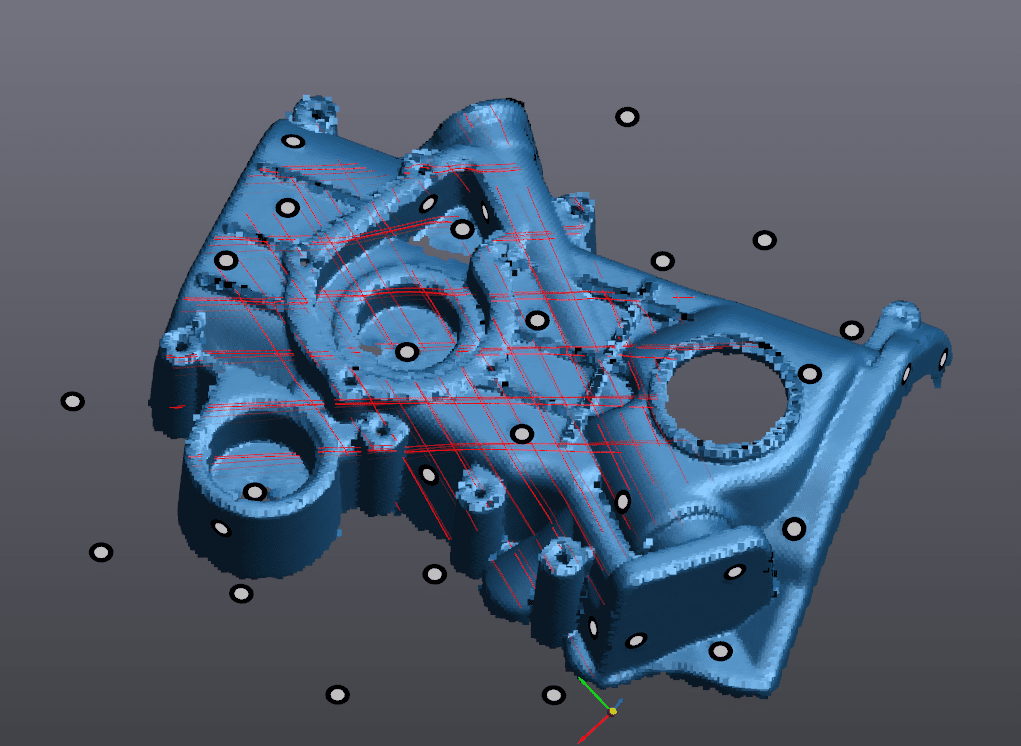
With that being said, it does come down to what you are trying to get out of the scan and also how much accuracy you are needing. For example, the HandyScan 700 has an accuracy of 0.030mm but if I am waving a large, rigid plastic, part around in the air to scan it will be experiencing stresses and deforming slightly. This will throw off the measurements of the scanner despite its best efforts. So, if you are looking to achieve the maximum accuracy of the scanner you will want to place the scanner on a turn table. This way you can easily rotate the part to get to all the surfaces easily without having reach around your part awkwardly. Side note: If you also put positioning targets on the turn table while scanning you just have to keep I mind that you can not shift the part in respect to the turn table anymore. This mainly comes up from scanning smaller parts that can not have the enough targets applied to it solo. Two parts in the example picture below.
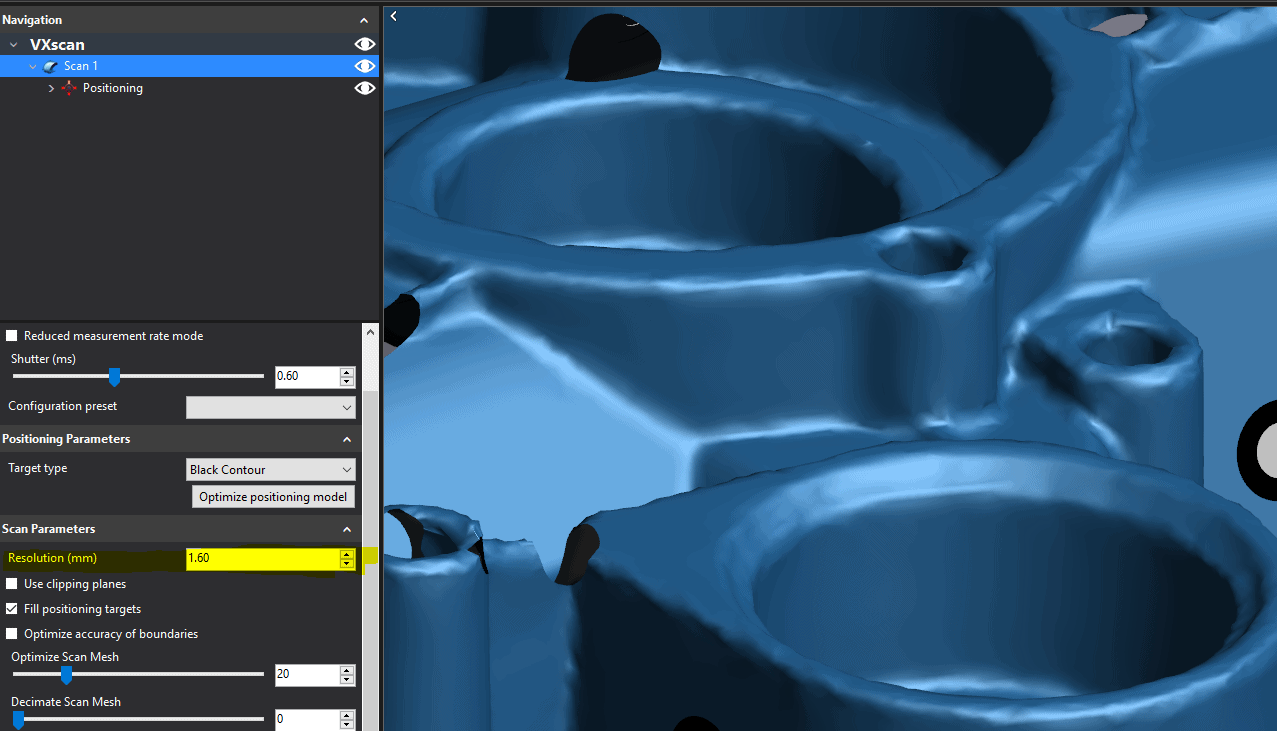
Another tip would be for acquiring higher (or lower) resolution scan data if needed. A big benefit of the Creaform scanners and VXelements software is that when you are scanning something it is always collecting data at the maximum resolution but will only give you the output mesh file for the resolution you have it set to. Below is what a finished mesh would look like with a low resolution setting.
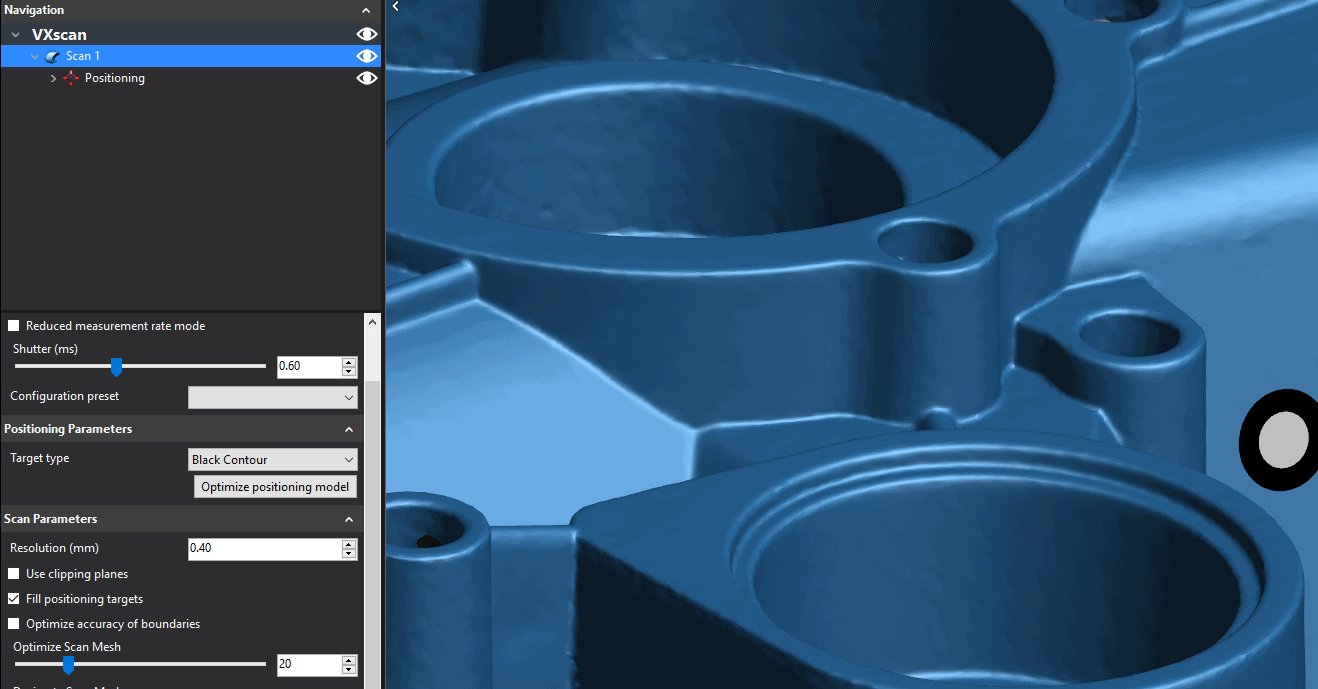
This is extremely useful when you scanned something and then decide that you want to get a higher resolution scan to bring out more details like embosses text or make the corners crisper. Instead of having to go back and set a new resolution to and scan the part again we can just change those resolution setting in the software and have it export a higher quality mesh.
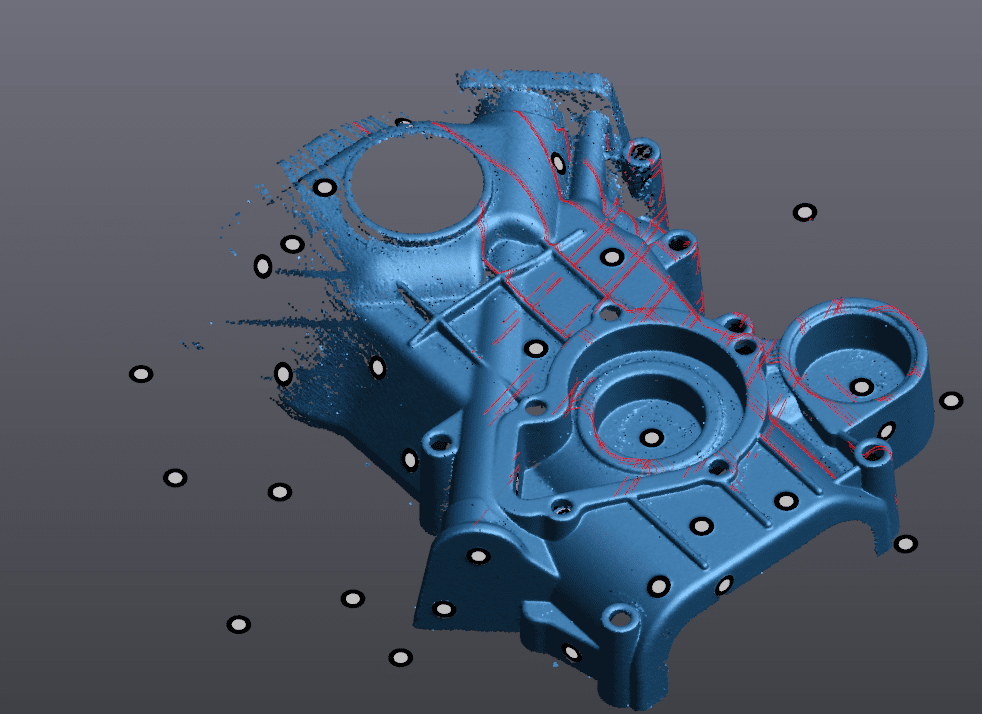
Even though you can go back and change out the resolution later there is a reason to have your resolution set to a specific setting before you scan though. The resolution you have the scan set to when you start scanner impacts how VXelements will show the live mesh on the screen. As you are scanning the part the program will be building a live mesh to show you where you have already acquired your data, but in lower resolution while scanning so it can spend computing power on acquiring the points mainly. Once you stop scanning it will compile your mesh into a more refined version to be able to use. The live view mesh when you are scanning is based on your resolution settings. So if you have a very low starting resolution it will show that large areas are mostly scanned well (because it can bridge bigger gaps between points). Below is a live mesh with a low starting resolution.
Then if you up your resolution of the scan to much higher, and it can not bridge as large of gaps between points, you will see lots of missing data sections. To avoid this you can start with a higher resolution scan, this can cause more RAM usage but you will be able to much better see areas that you need to focus on and scan better live. Below is a picture of a live mesh with a higher resolution set.
So if you are planning on getting a very high resolution scan, start your scan at the resolution or at least close to it so you see a better live mesh as you are acquiring data.
Tim Crennen
Application Engineer, Additive Manufacturing/Scanning
Computer Aided Technology