Wrapping a decal on sheet metal
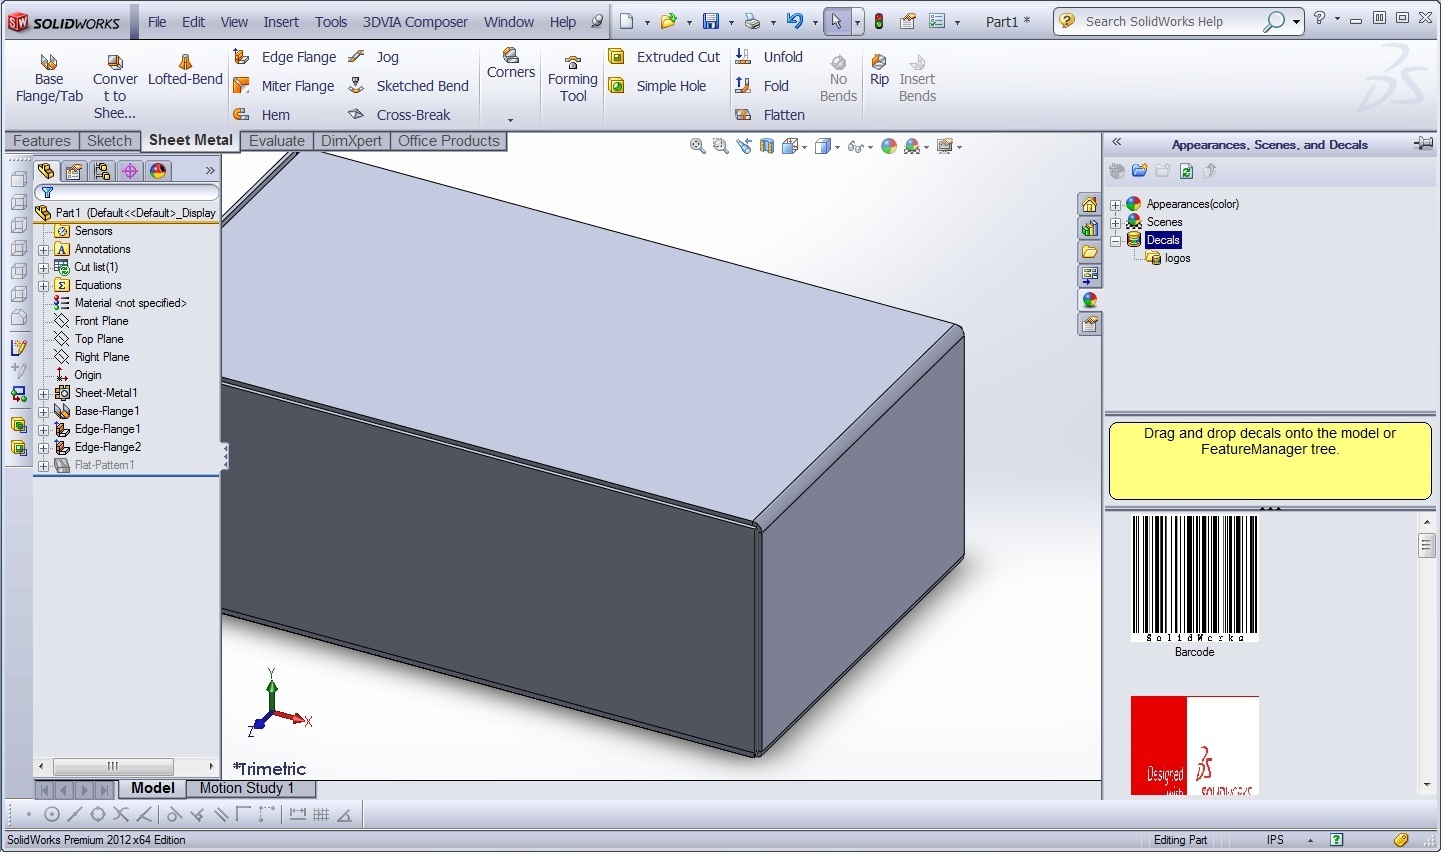
Placing a decal on a sheet metal part is similar to any type of part file. The steps are as follows. Drag a stock decal from the Appearance task pane to a face. To do this click on the beach ball from the task pane on the right. Then browse to the decals folder. From here simply drag it onto a face.

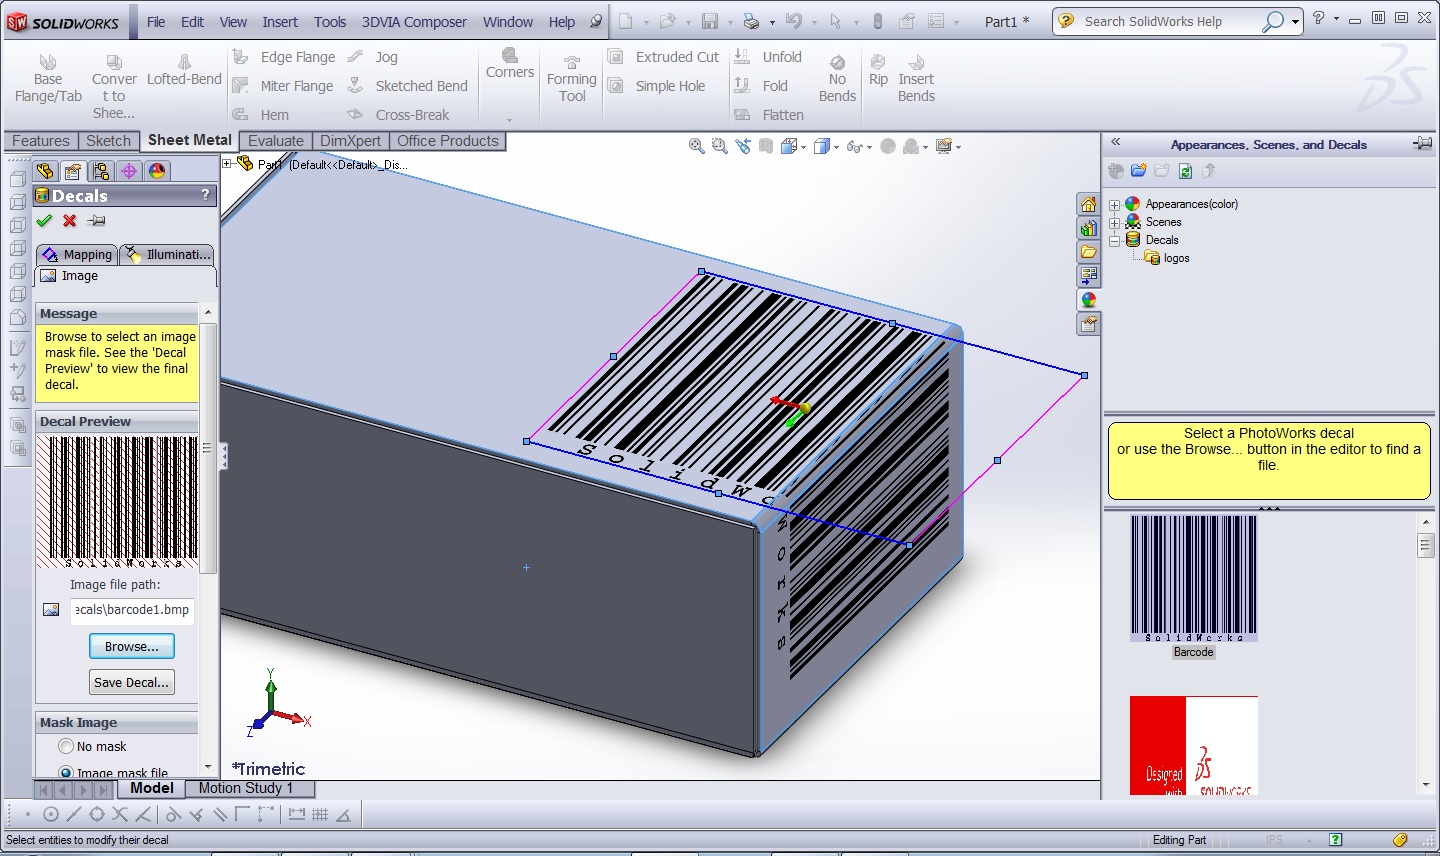
Change the image file to your decal. Under the image tab there is an button to browse. Select your decal image file to replace it.

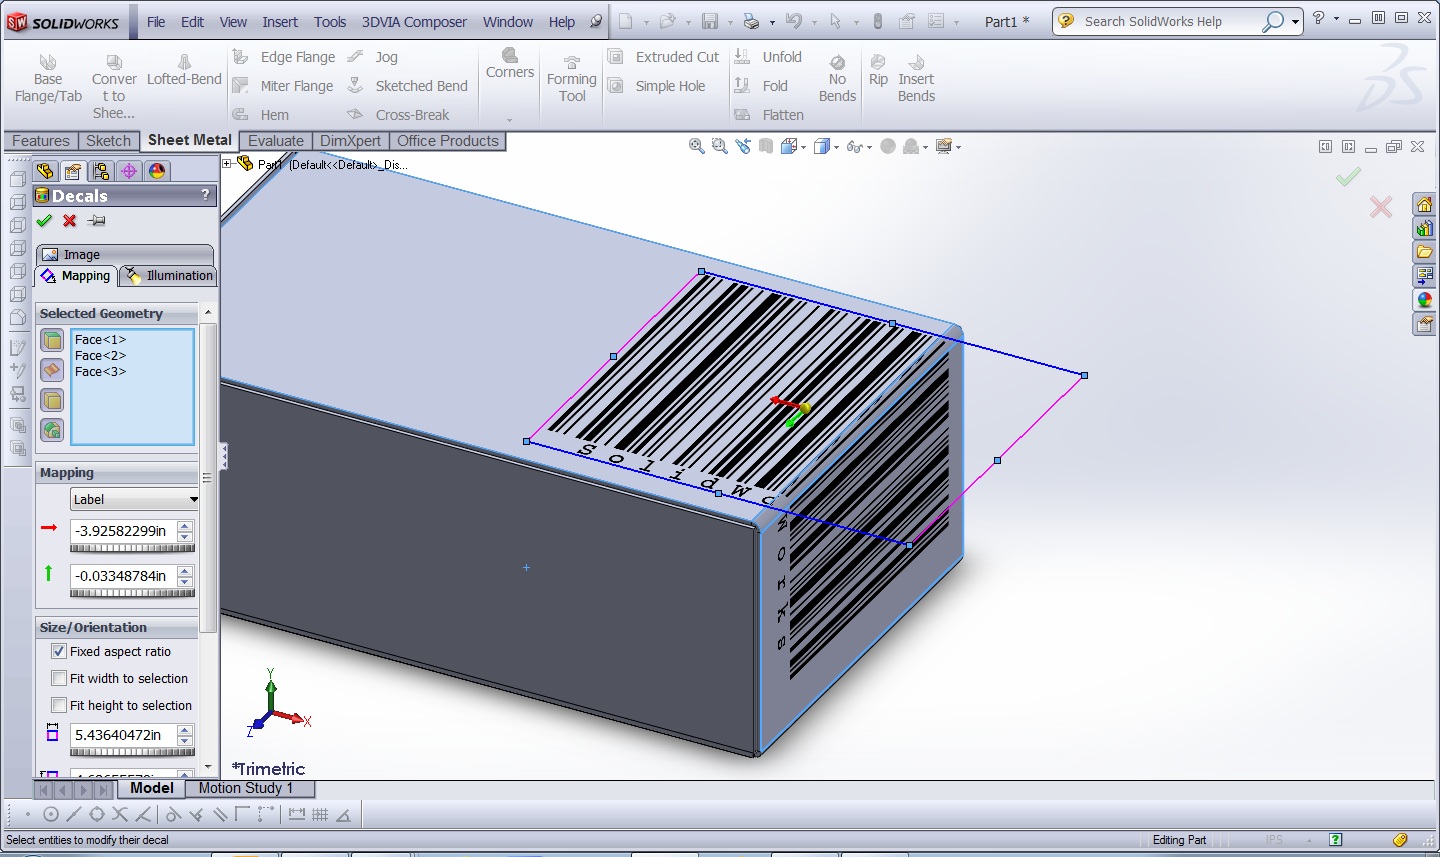
The final step is to choose additional faces for the decal to wrap around. When the mapping tab is selected click in the selected geometry box. Then choose the bent face as well as the 90 degree face.

The decal can be moved to any location with a numeric value or dragging the red and green arrows, sized up or down, flipped, and rotated.

 Blog
Blog