Add Volumetric Effects to Your SOLIDWORKS Visualize Professional Renders!
Did you know that you can add fog and volumetric effects to your scene in SOLIDWORKS Visualize Professional? I didn’t either until I found that a specific material could be used for this purpose, and what an awesome effect! Let’s find out how.
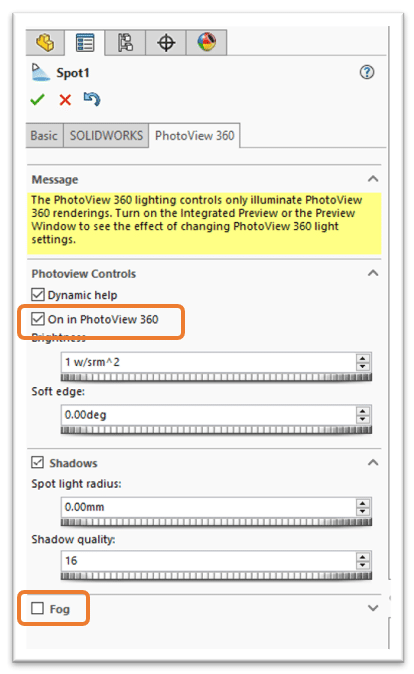
In PhotoView360 this effect was enabled easily when using spotlights; simply enable fog in the Spotlight PhotoView360 Properties and the effect can be seen.
Below is a simple scene rendered with PhotoView360, however its lacking REAL fog properties like depth, bouncing light, and shadow effects.

In Visualize this effect can also be reproduced, but with much more detail. It is due to the material we need to use; Subsurface. More on that later but let’s first import the model and see the setup.
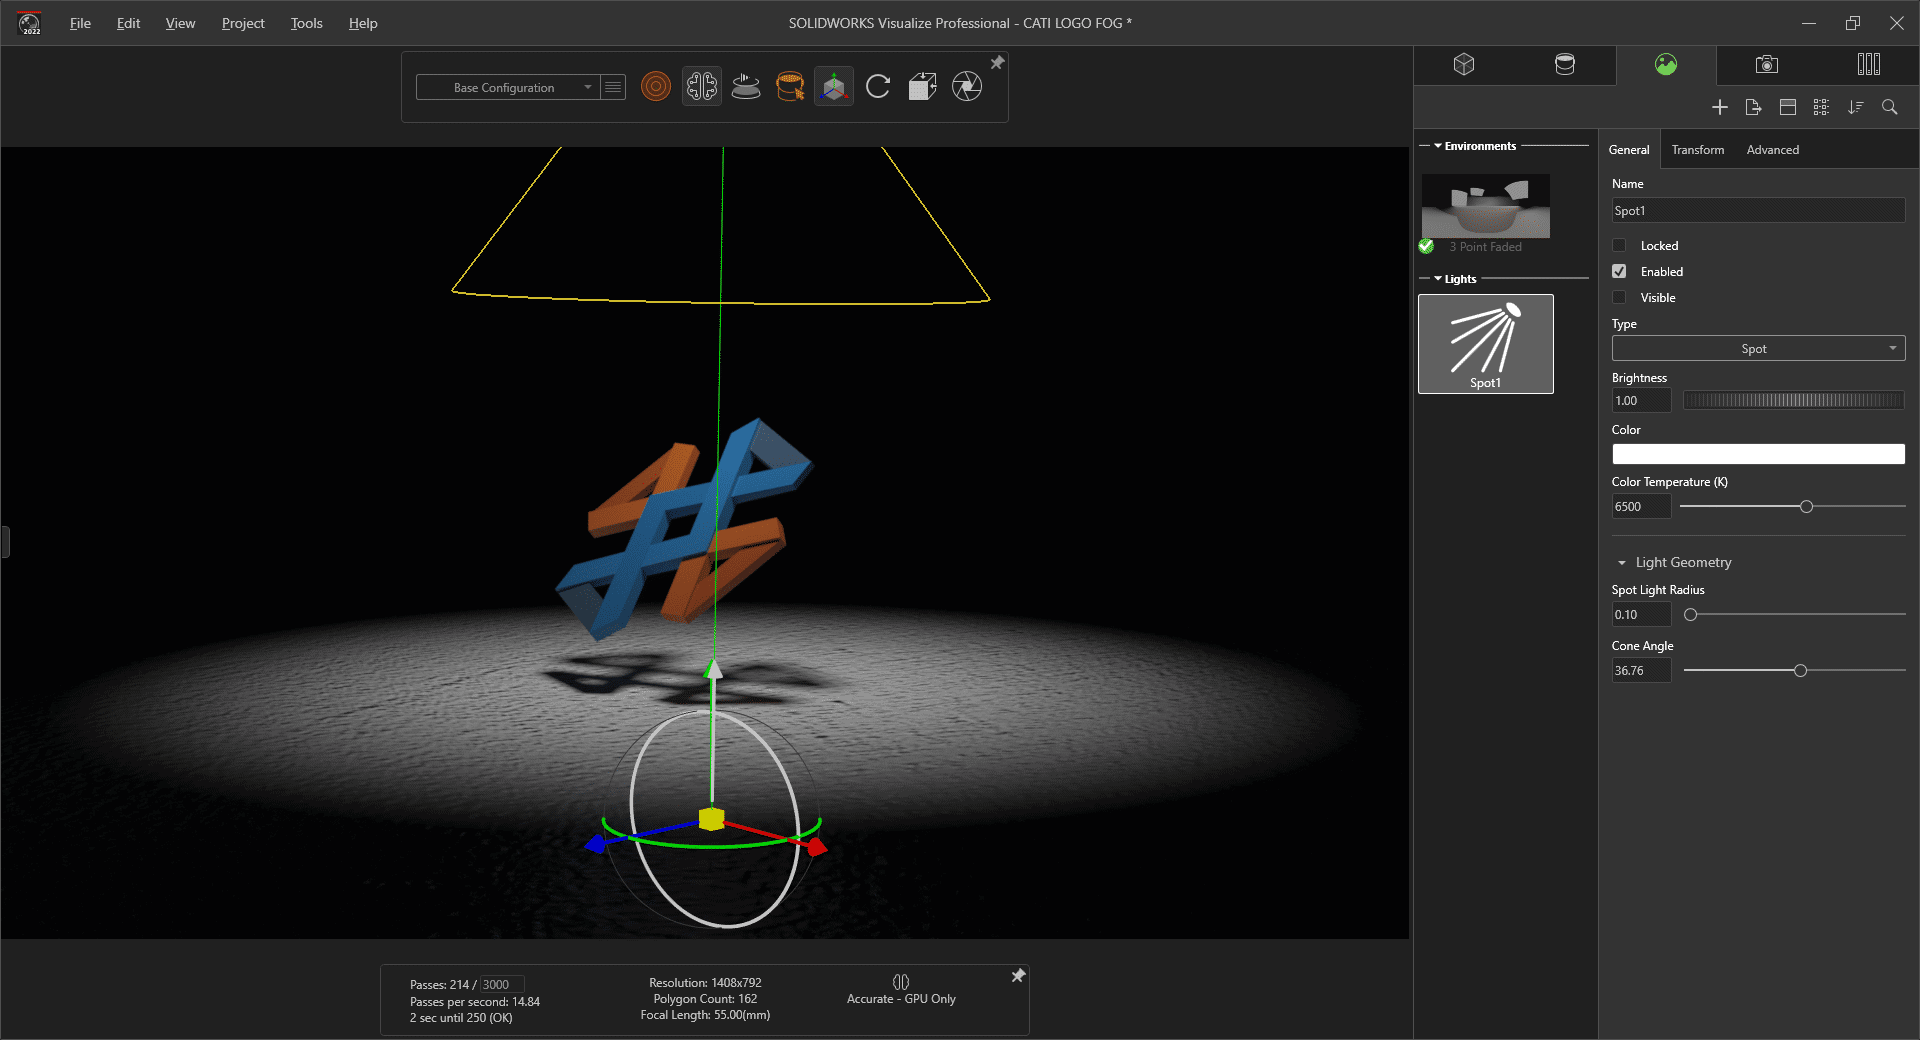
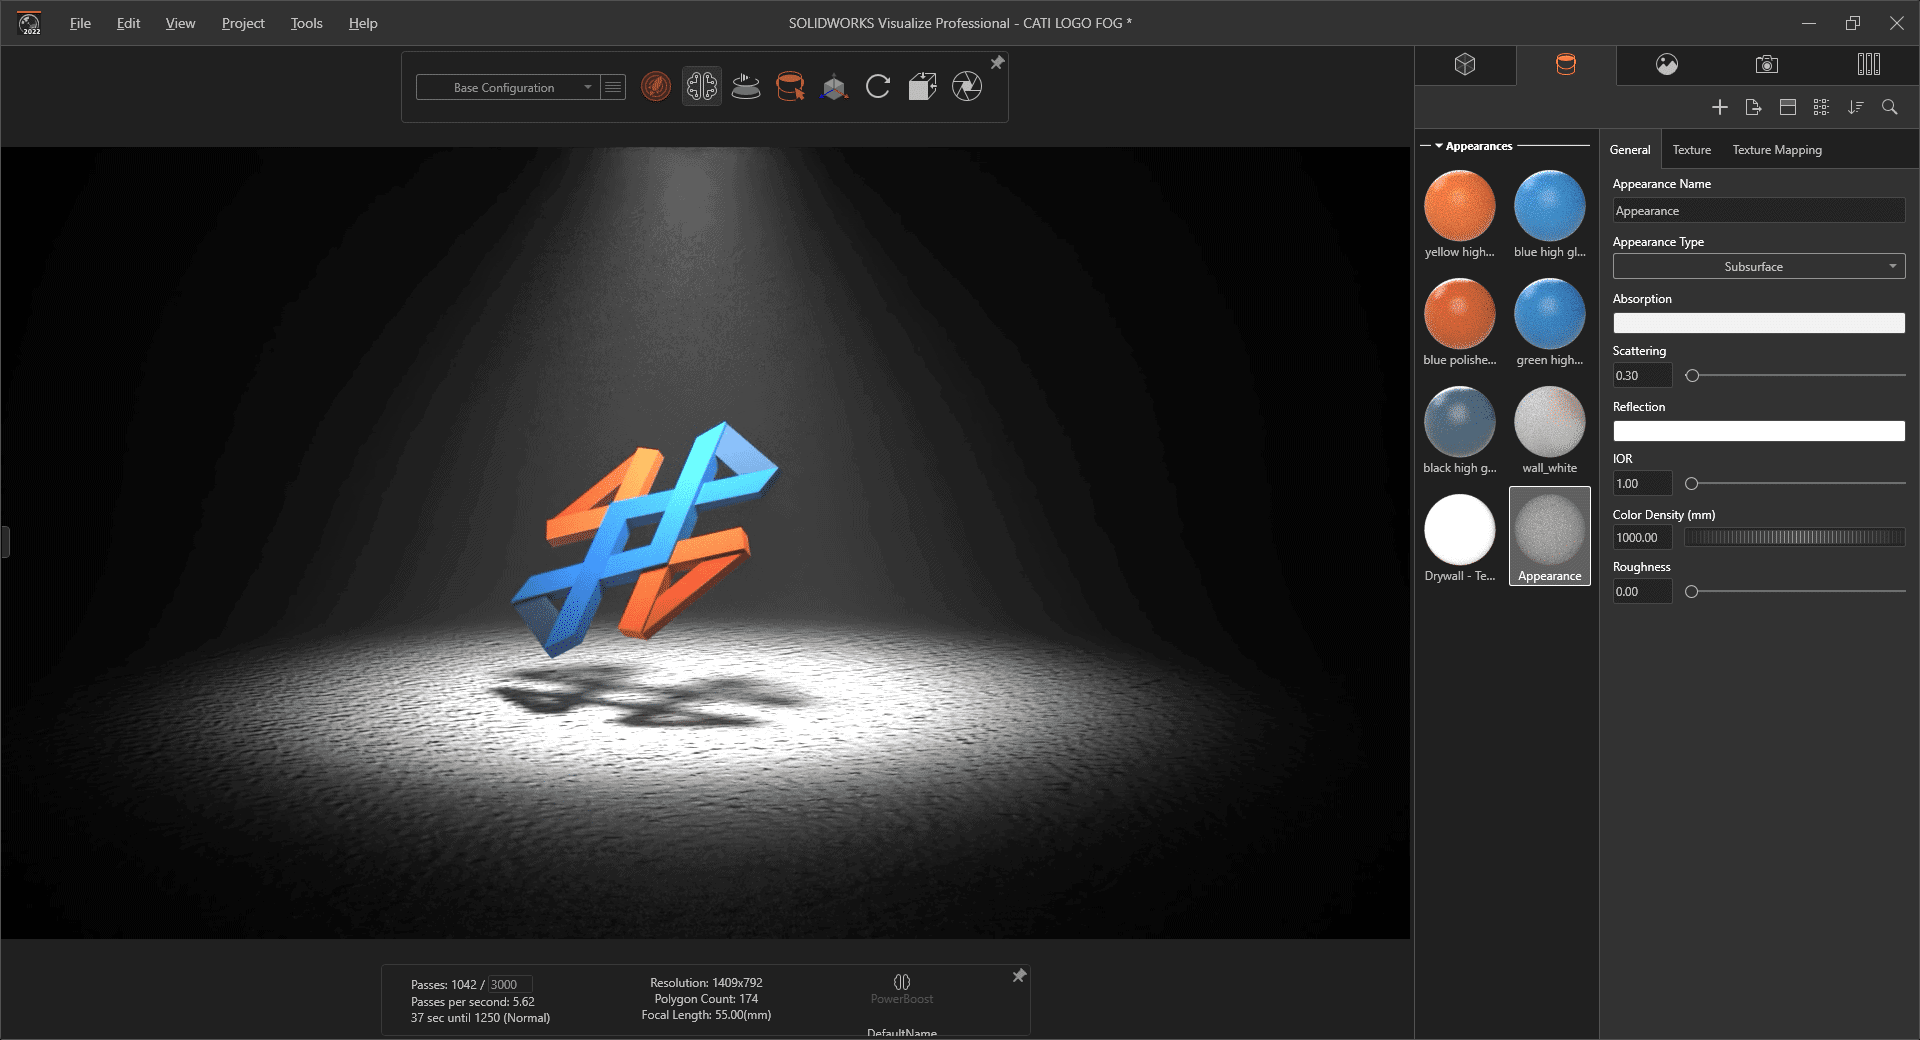
Below you can see there is much more detail in the shadow due to how objects closer to the Spotlight produce a blurry shadow. Also, the floor and light were imported directly from SOLIDWORKS. Note I have also turned off the environment light (set to 0) so that the only light source is the spotlight.
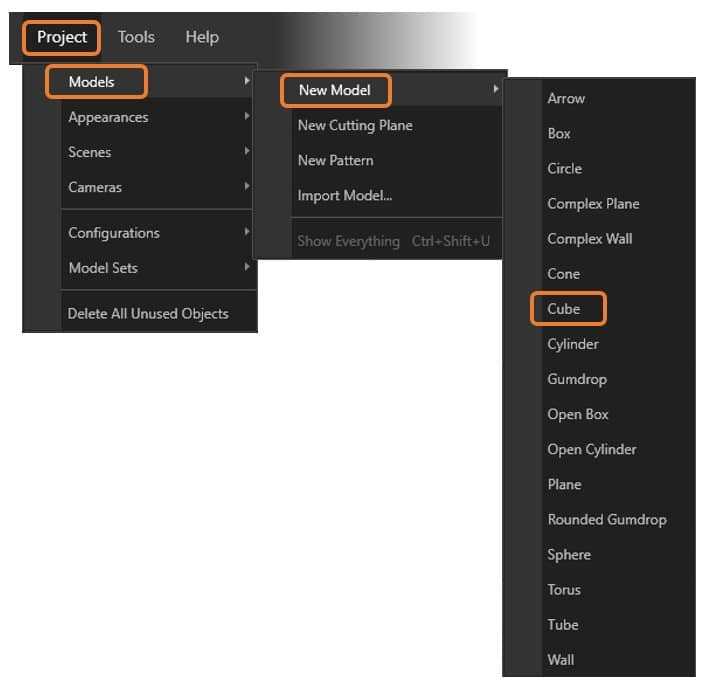
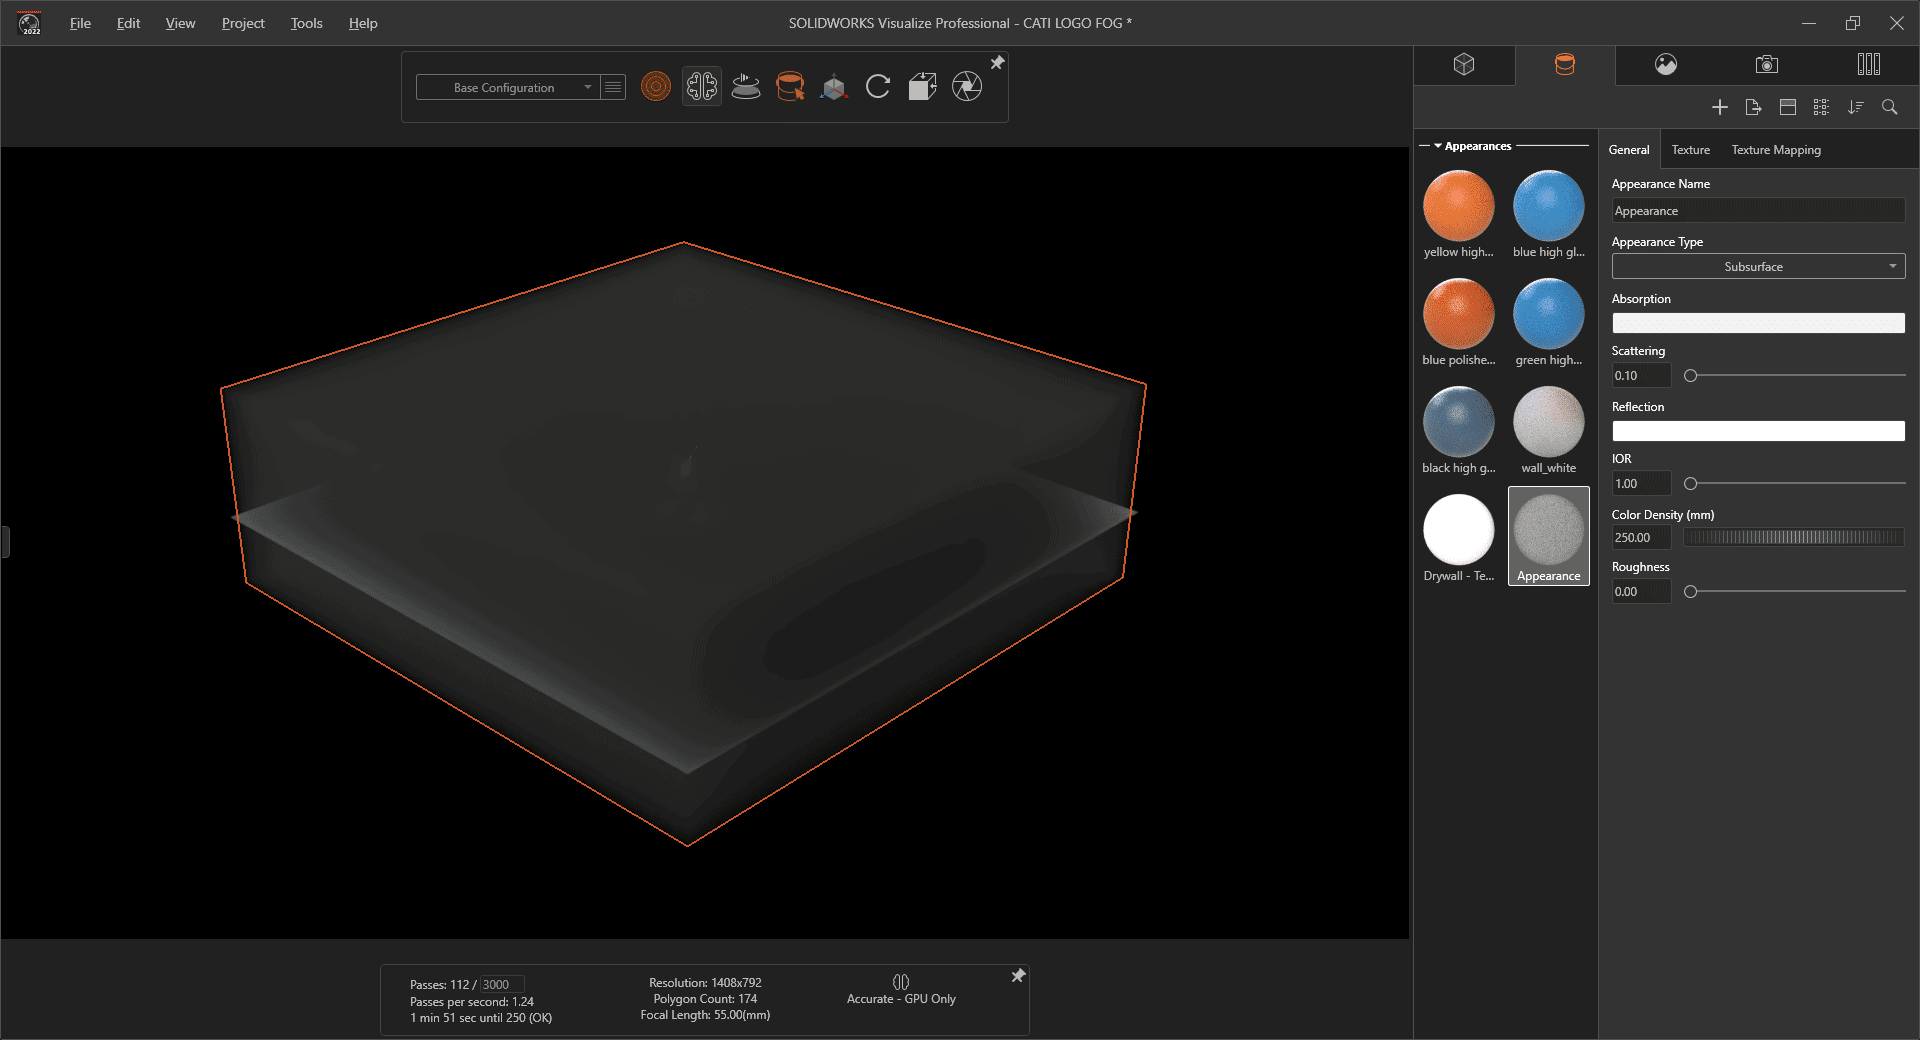
The trick to adding fog in this scene is to add a cube around the scene, and then giving it a Subsurface type appearance. Primitive models like cubes, planes, and spheres can be added directly to the project.
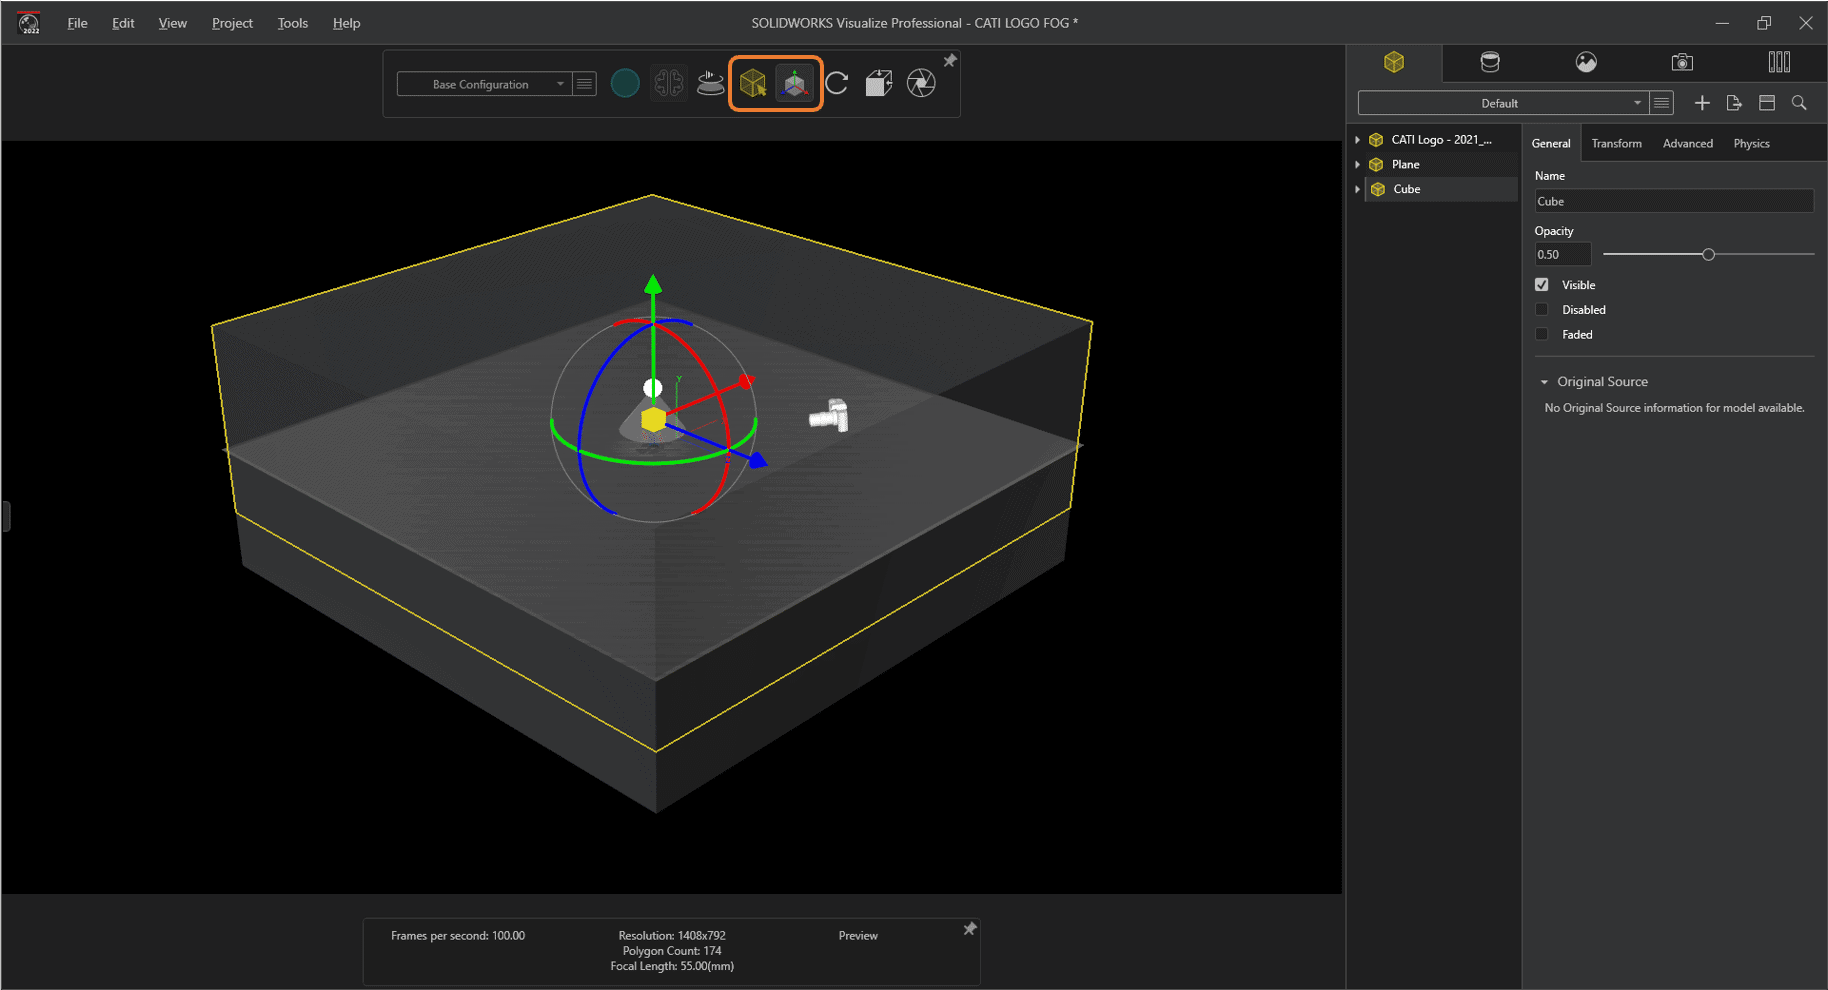
Make sure the cube is large enough to encompass the light, floor, and camera. Use the move and scale tool to position it appropriately. (Cube opacity shown below for clarity, don’t use for your render or you won’t see any fog!)
Next add a new appearance and set the type to Subsurface. This appearance will scatter light through the medium, which will also help to illuminate the scene. This method could also be used to add some atmosphere to your scene to occlude objects in the distance. It’s also useful for making other substances like milk, honey, teeth, some stones and even beer.
Set the IOR (index of refraction) to 1. IOR controls the SURFACE reflectivity and diffraction. Since our camera is inside the material, we don’t care about this property, and we don’t want our render distorted, so this should be set to 1, which is the same as air. (For reference air is slightly refractive, about 1.000293)
Adjust the Scattering and Color Density values to your liking. You can define how effective the fog will appear. Scattering sets the degree of bouncing light withing the appearance. More scattering makes a cloudier appearance. Color Density determines the density of the color applied to your cloud. Lower numbers will increase the density of the fog.
Also, make sure roughness is set to 0 otherwise you won’t get a proper fog effect. Below you can see the fog appears quite thick at this camera distance and settings, but when I switch back to my render camera, the effect can be seen clearly.
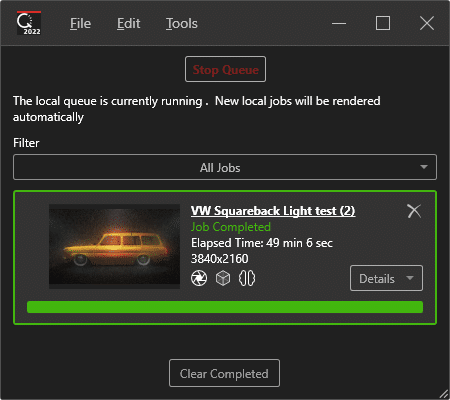
Note that the subsurface material and scattering effect can be quite taxing on the system and GPU. Increase the scattering value sparingly. Higher values will increase render times exponentially. Also notice the number of passes in this preview below. To resolve much of the noise in the scene from the scattering effect, you must let Visualize render for longer. In this instance, I’m also using Denoiser, so if I didn’t have enough VRAM (4GB required) to use this feature, I would have needed to let this render 10,000 passes for this level of quality!
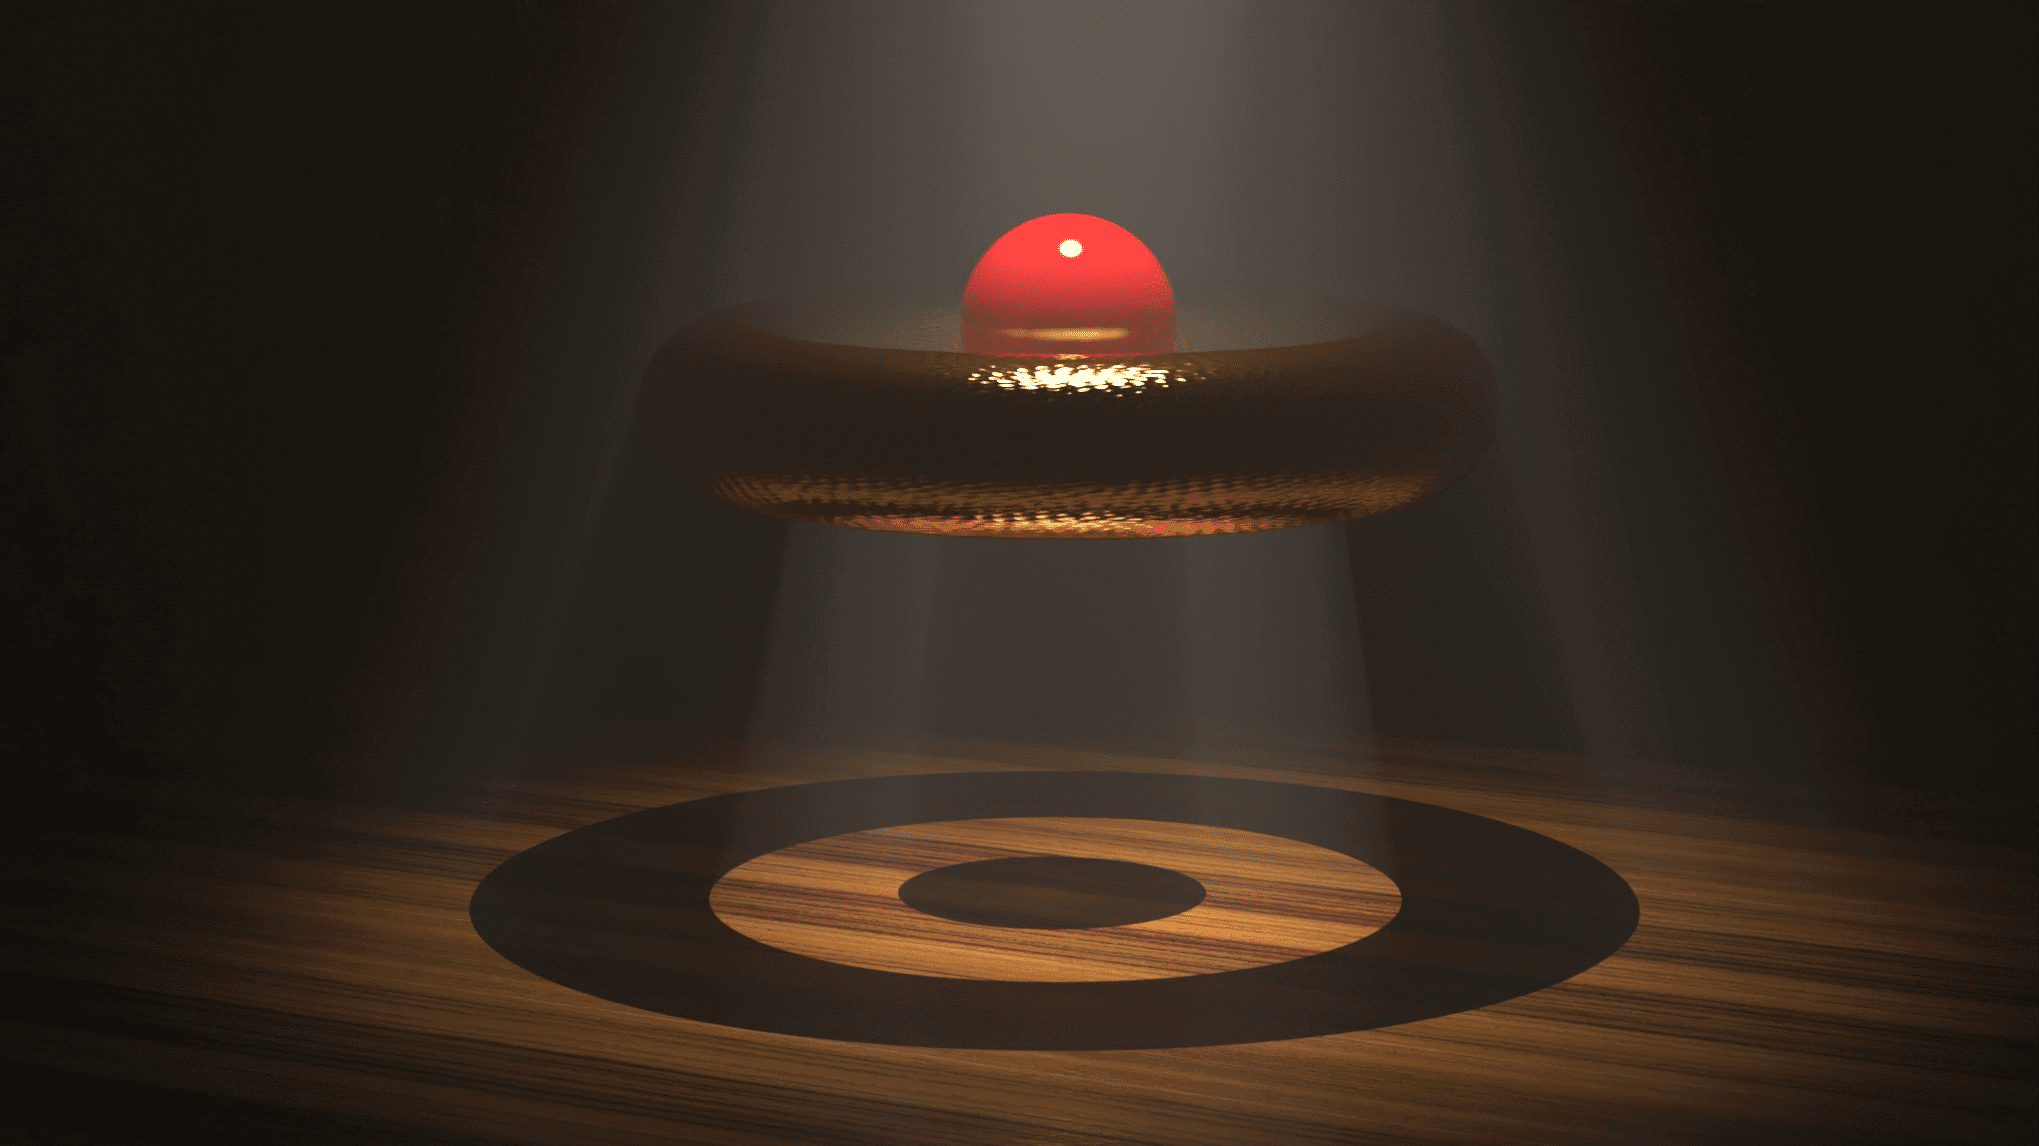
Another example showing how the fog is in shadow under the objects. The effect is less pronounced if the diameter of the spotlight is larger.
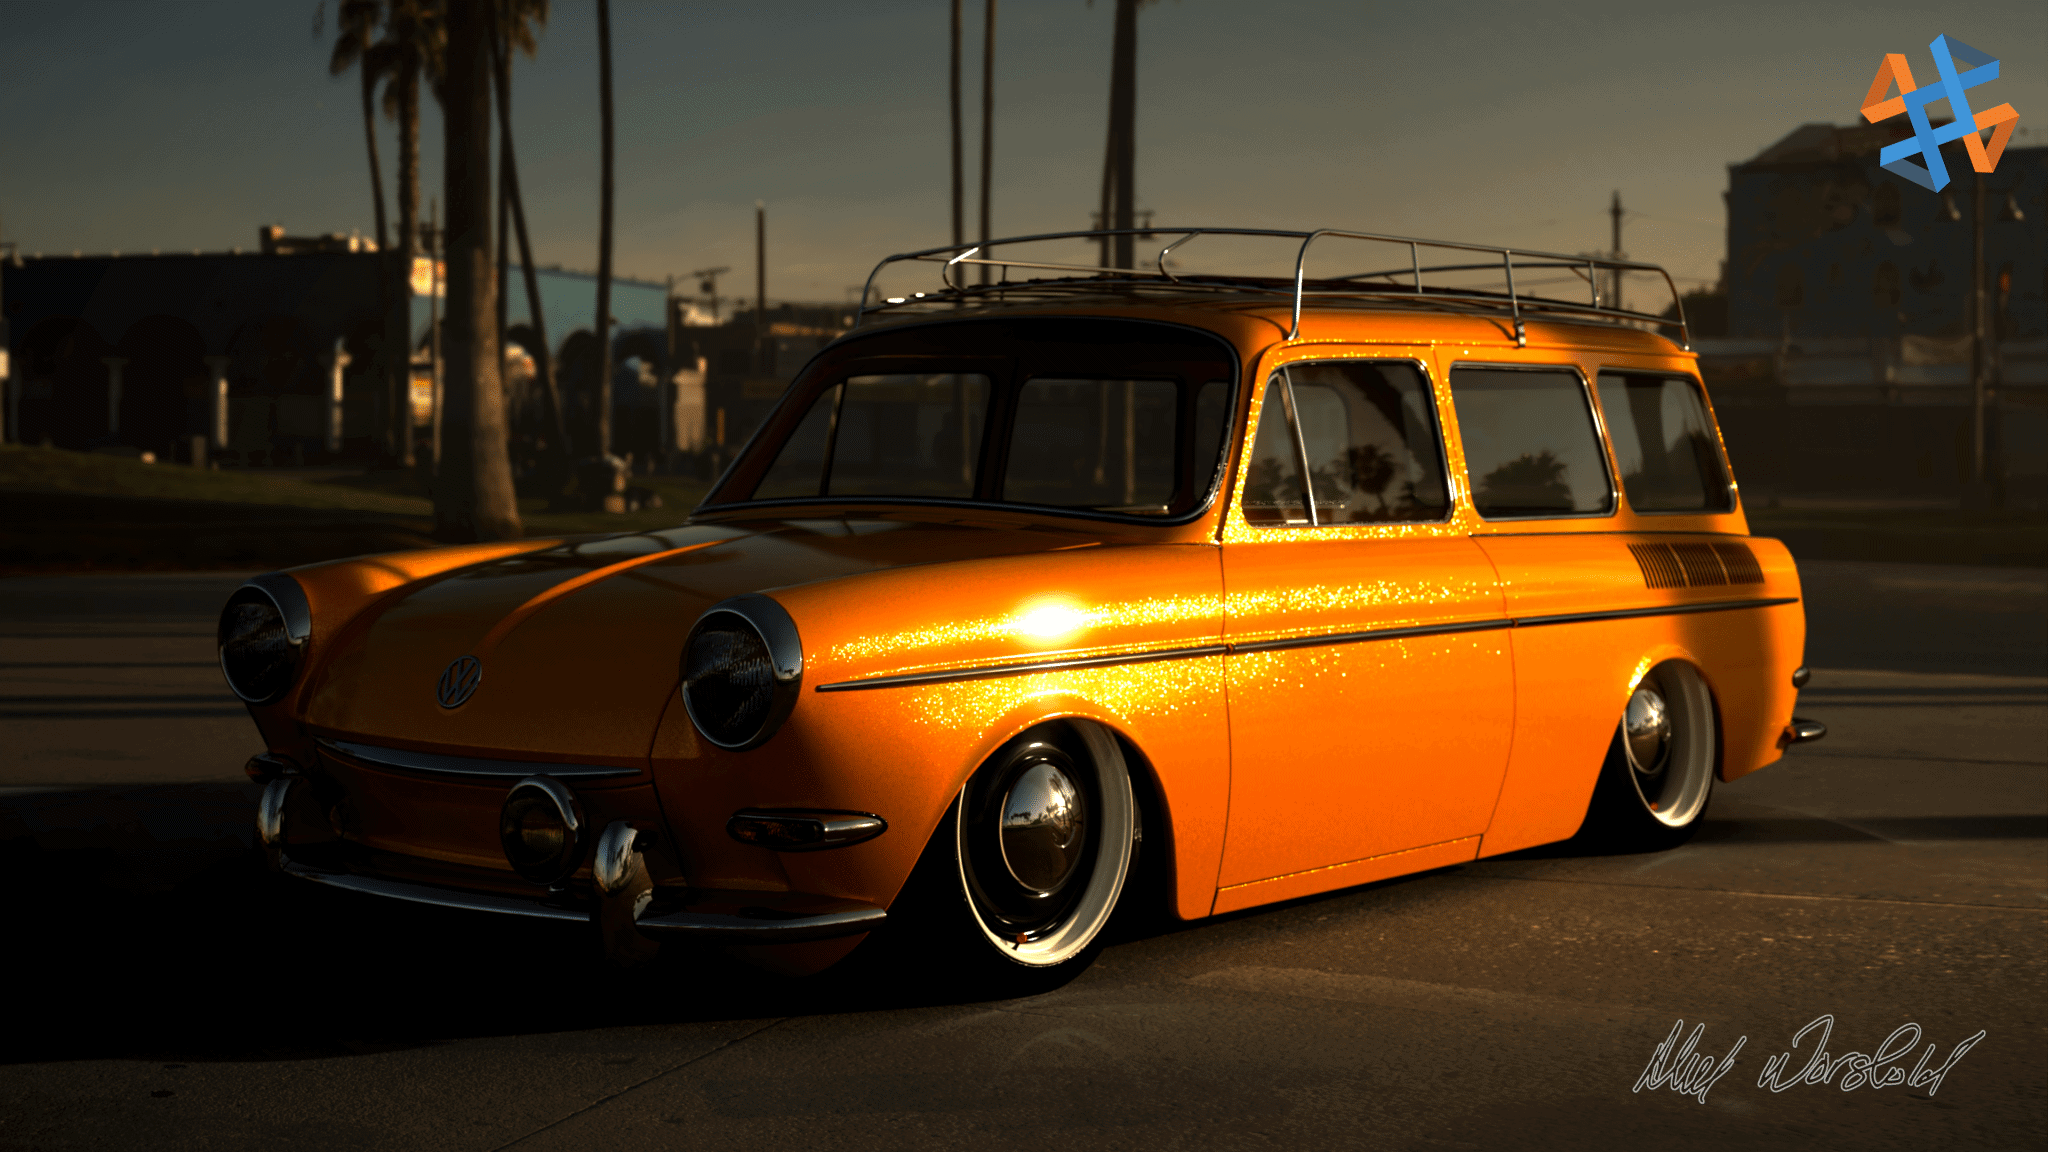
Studio colored IES lights, headlights, fog light, marker and taillights, and an orange back light… Mmmm, delicious! Note that the below render used denoiser with 3000 passes.
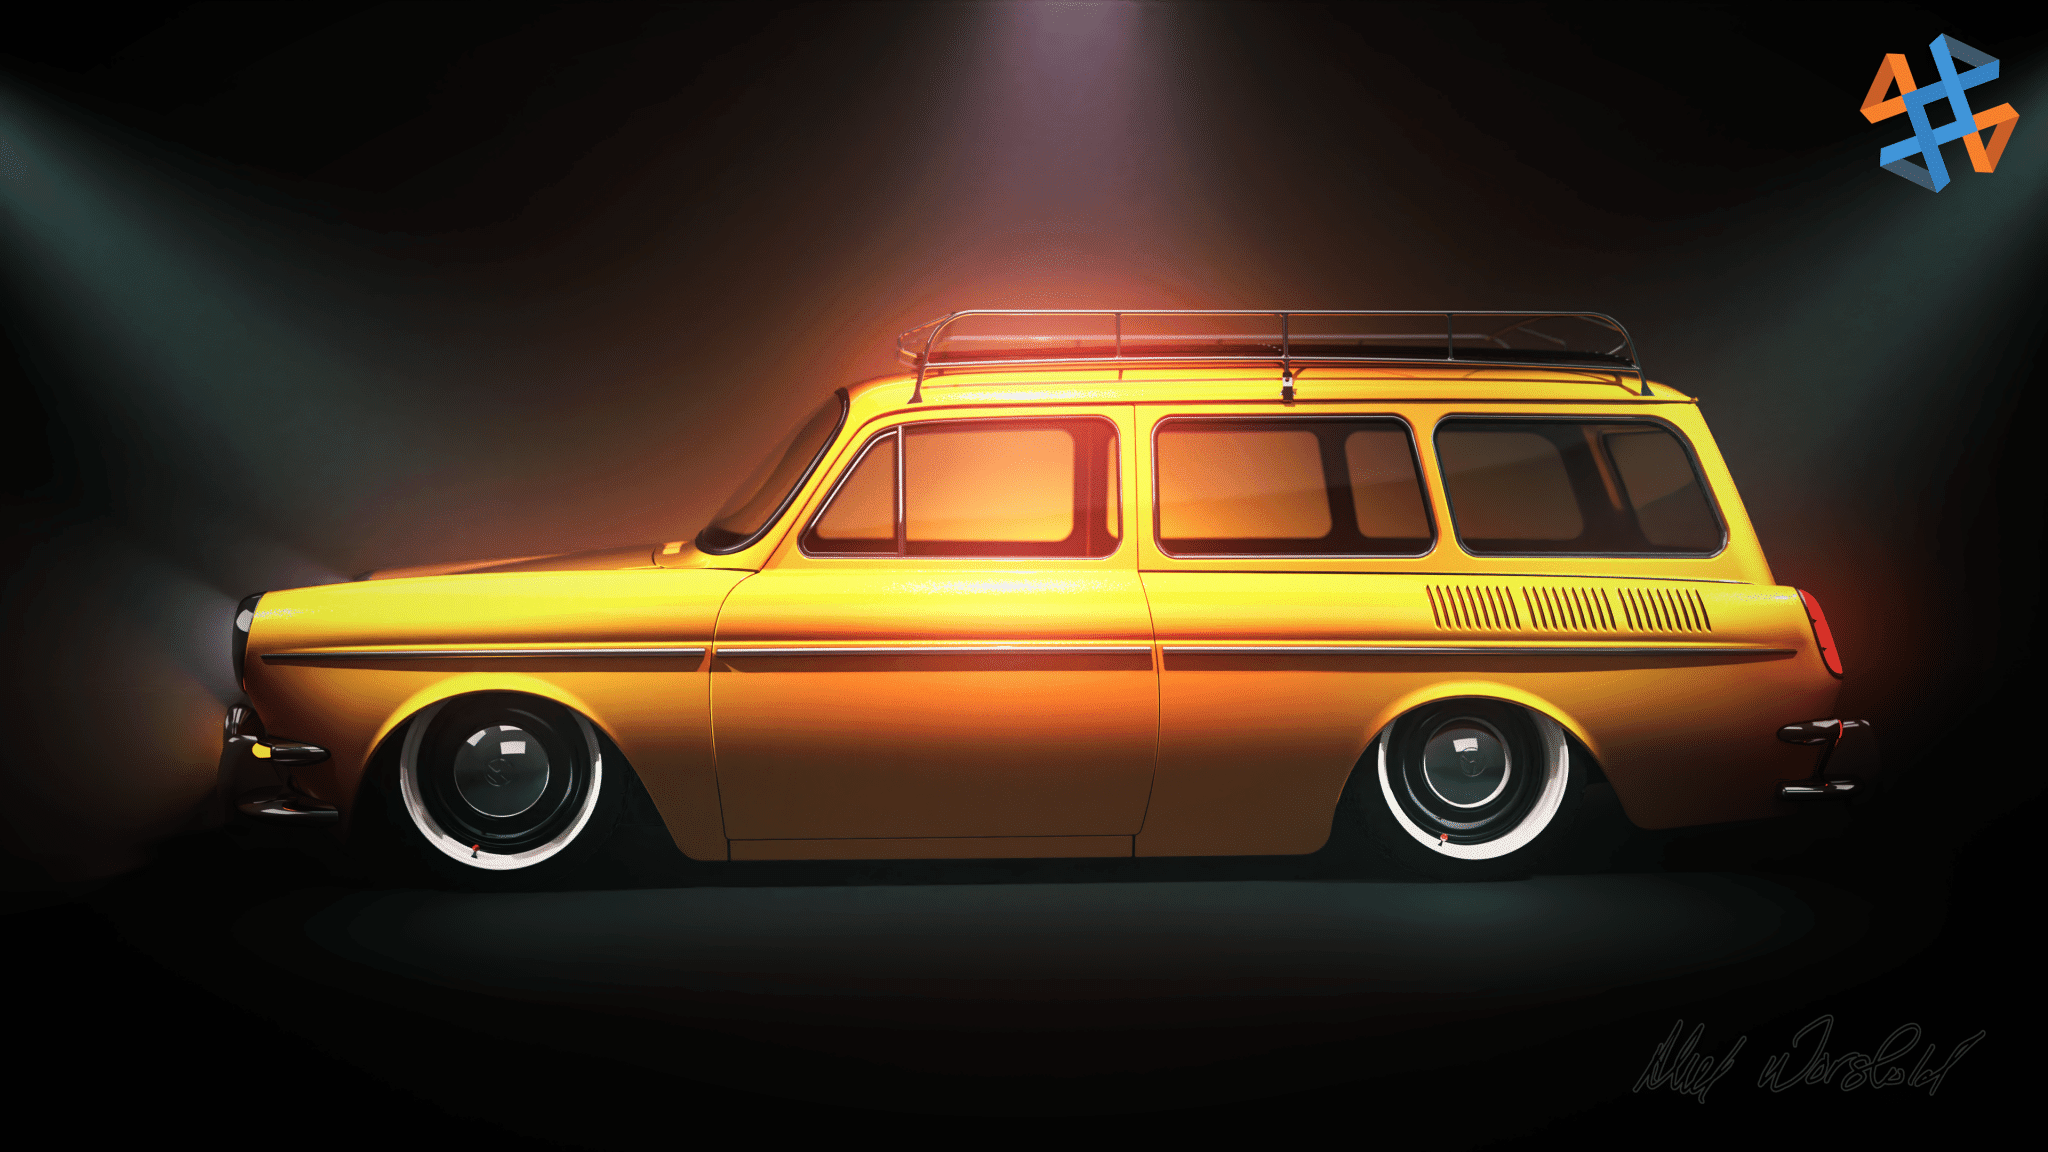
The above 4k render at 3000 passes took 49 minutes to complete on an NVIDIA RTX 2080 Super.
One more with some atmospheric effects. This one took about 56min to render.
So, there you have it, fog effects using the subsurface appearance. Render times are much higher, but a very cool convincing effect!
Happy Rendering!
Alex Worsfold, CSWE
Sr. Application Engineer, Visualize Specialist
Computer Aided Technology