CATIA V5-6 Moving of License Servers
CATIA V5-6 Moving of License Servers
Moving license servers for CATIA V5-6 can seem like a daunting task, especially for users who may not have been involved with setting up the original server, or who are new to the software. In this blog, we will break down all the necessary steps you will need to move over a license server and make the process as smooth and efficient as possible.
Though the name implies that you will need an actual server, the Dassault Systemes License Server (DSLS) is simply a program that needs to be installed on a dedicated machine. For best practice, it is recommended to install the DSLS on a physical dedicated machine rather than a virtual machine.
Target ID
The first piece of information we will need is the Target ID of the new license server. This Target ID is used to identify the computer ID for which the DSLS key will be installed. To do this, use the following steps:
Step 1: Open a web browser on your new server and go to https://www.3ds.com/terms/software-keys/
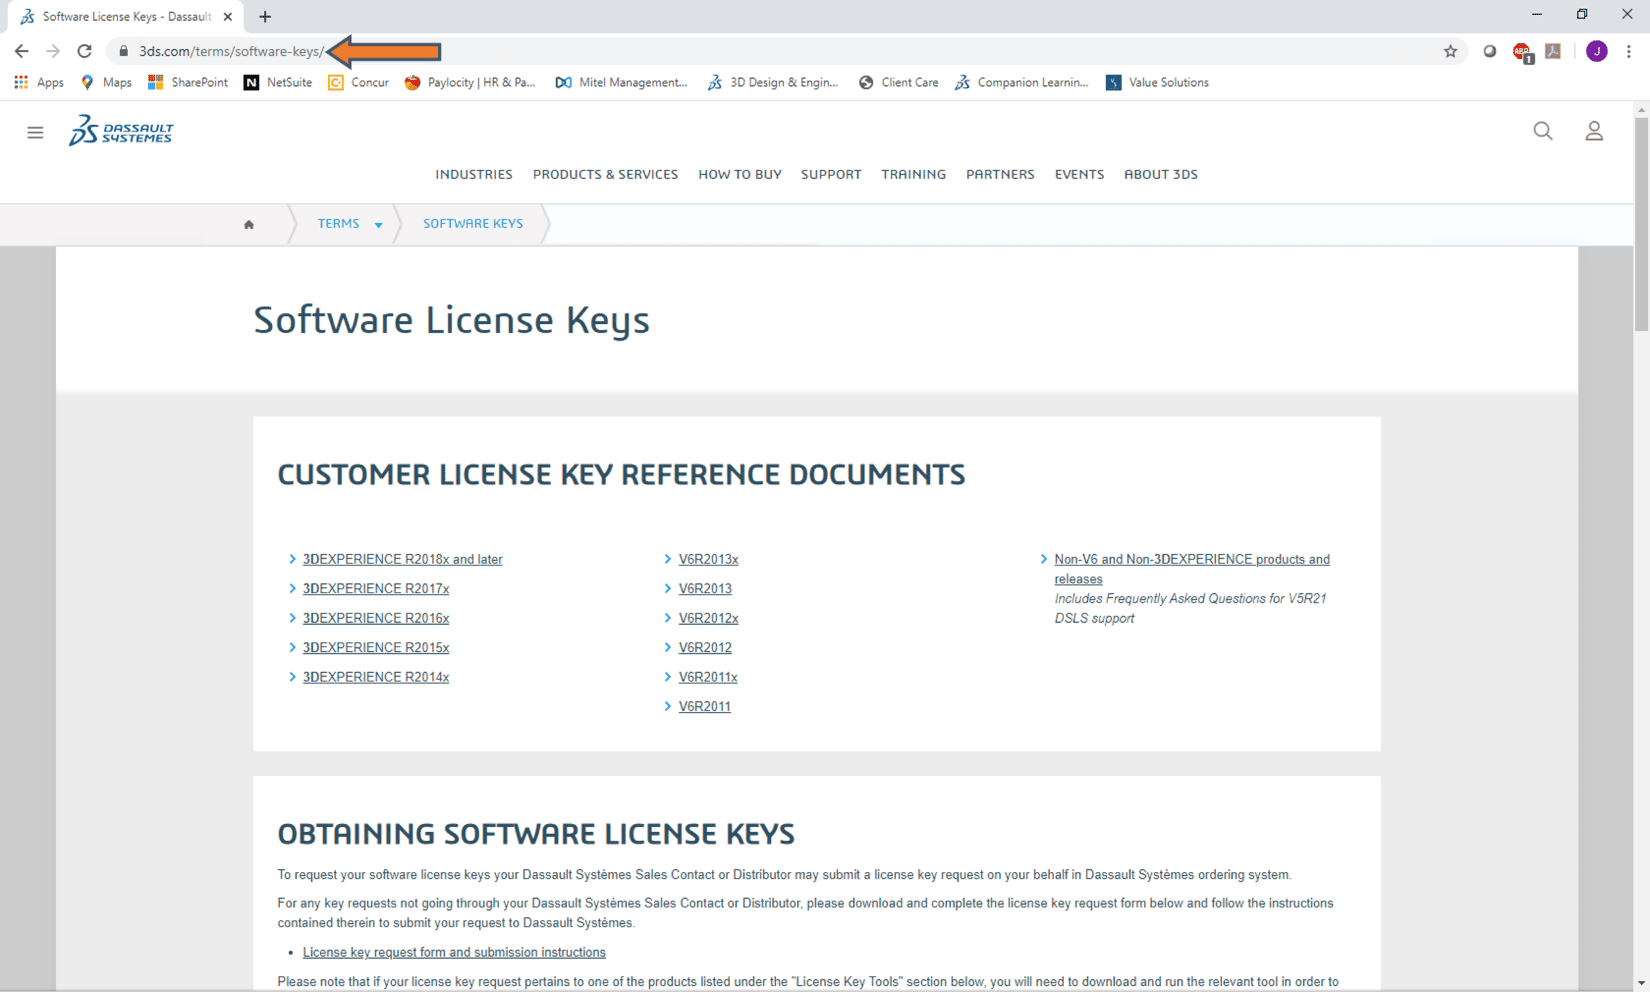
Step 2: Scroll down to the License Key Tools section. Click on the “DSLS target ID executable” link. This will start the downloading of the DSLicTarget118.zip file.
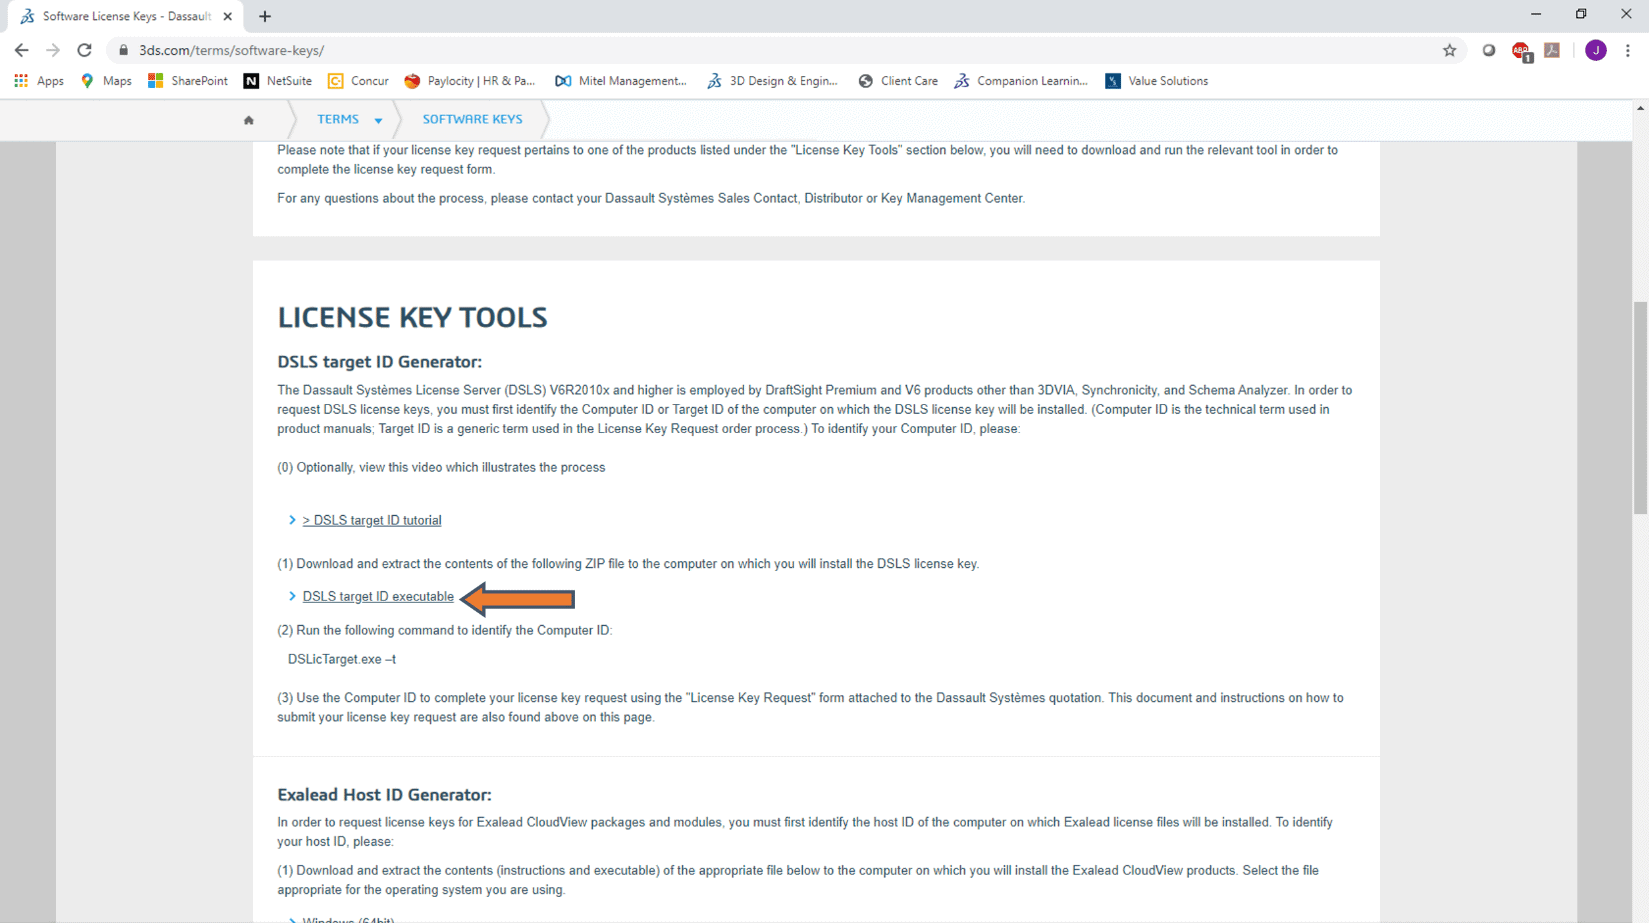
Step 3: Once the DSLicTarget118.zip file has downloaded, create a new folder on your Desktop to extract the DSLicTarget118.zip files into. For this example, the files are extracted into the newly created “Target ID” folder.

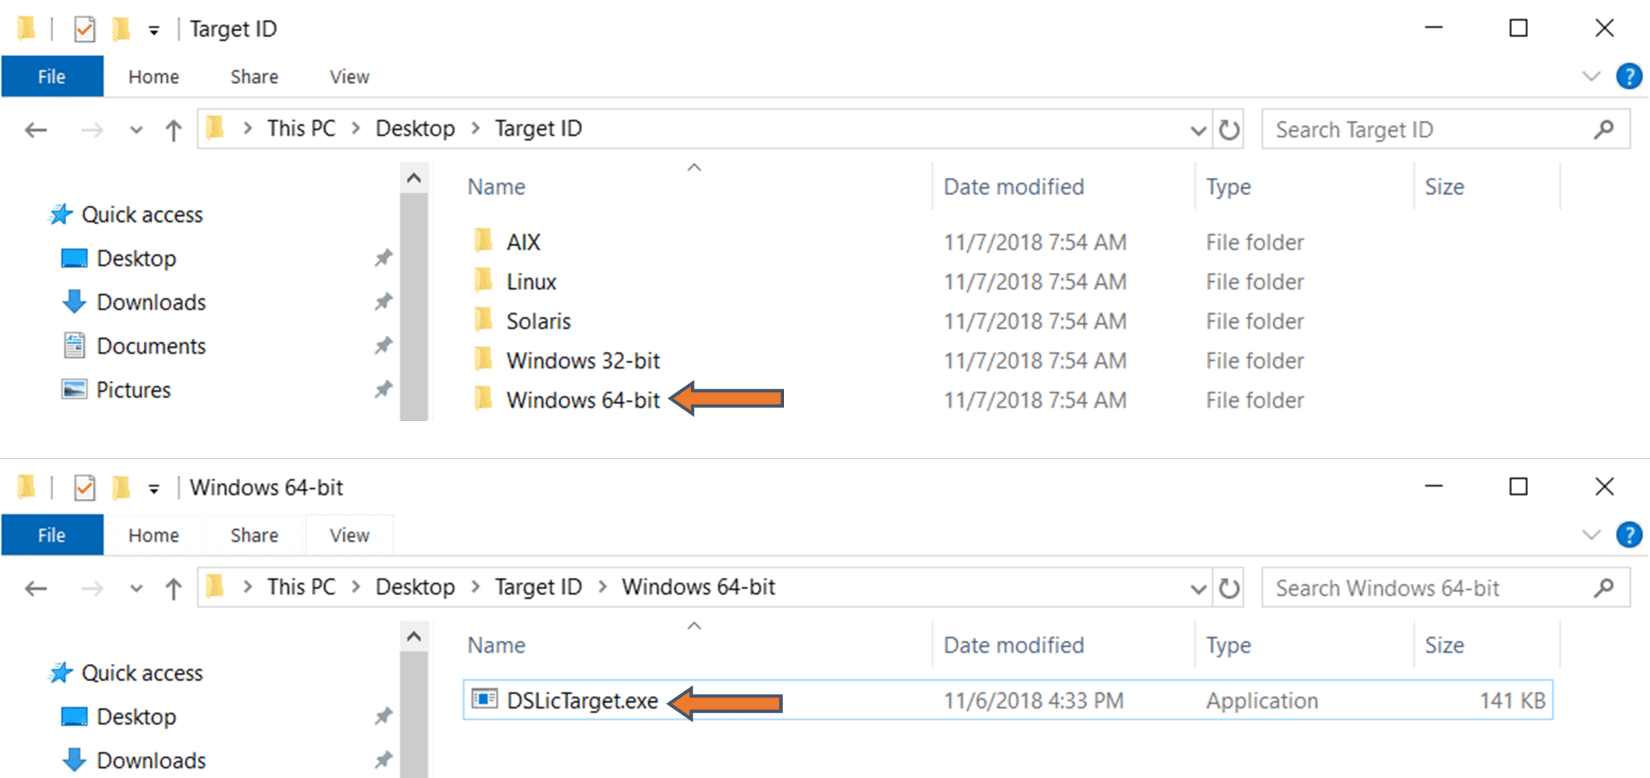
Step 4: Open the newly created folder with the extracted files. From here, you will see several options for different operating systems. Open the appropriate folder for your computer. Inside the folder will be a DSLicTarget.exe file. For this example, we will be opening the “Windows 64-bit” folder.
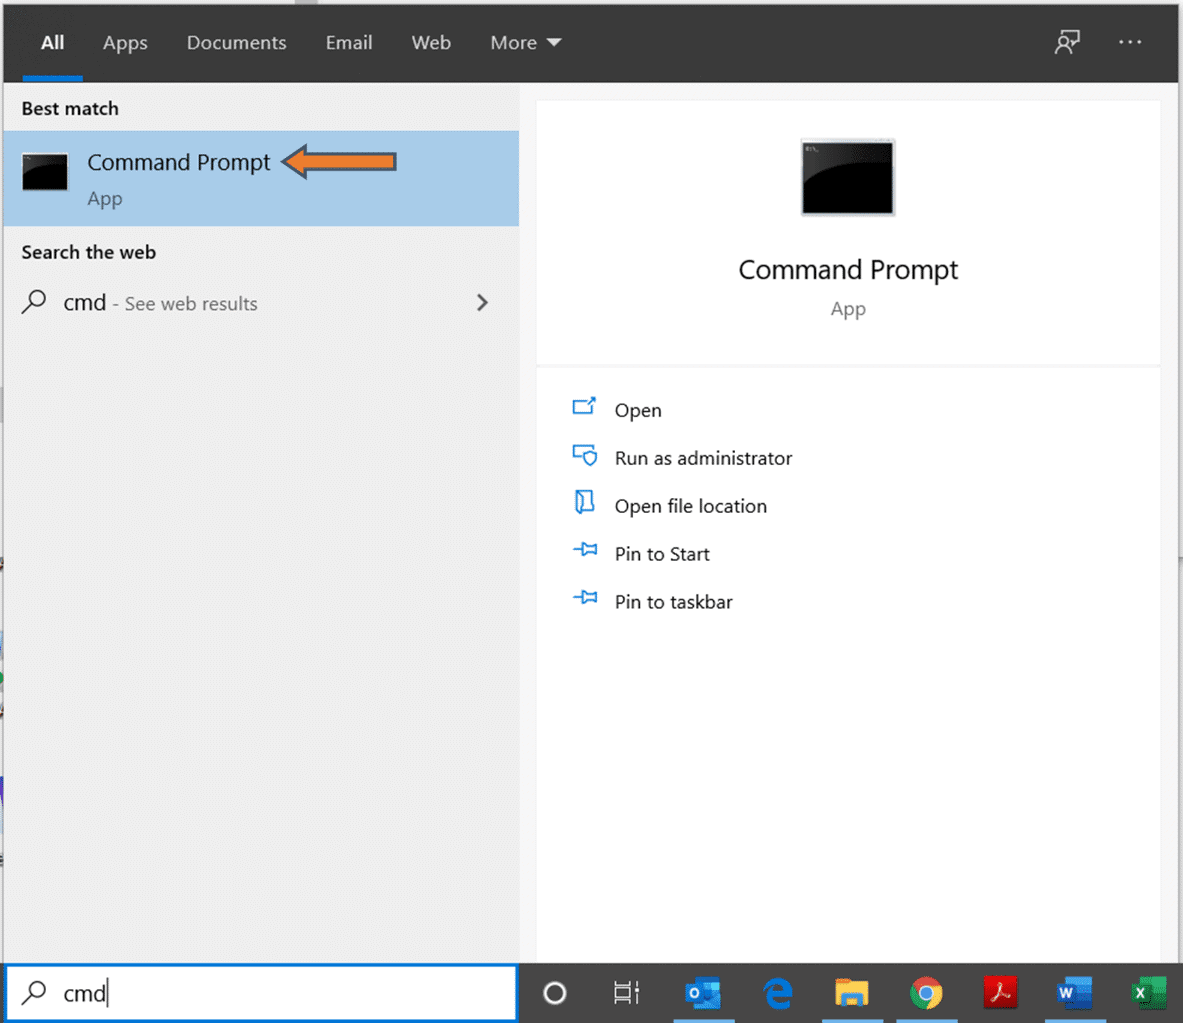
Step 5: Go to your Windows Search Bar and type in “cmd”. This will bring up the Command Prompt application. Open it.
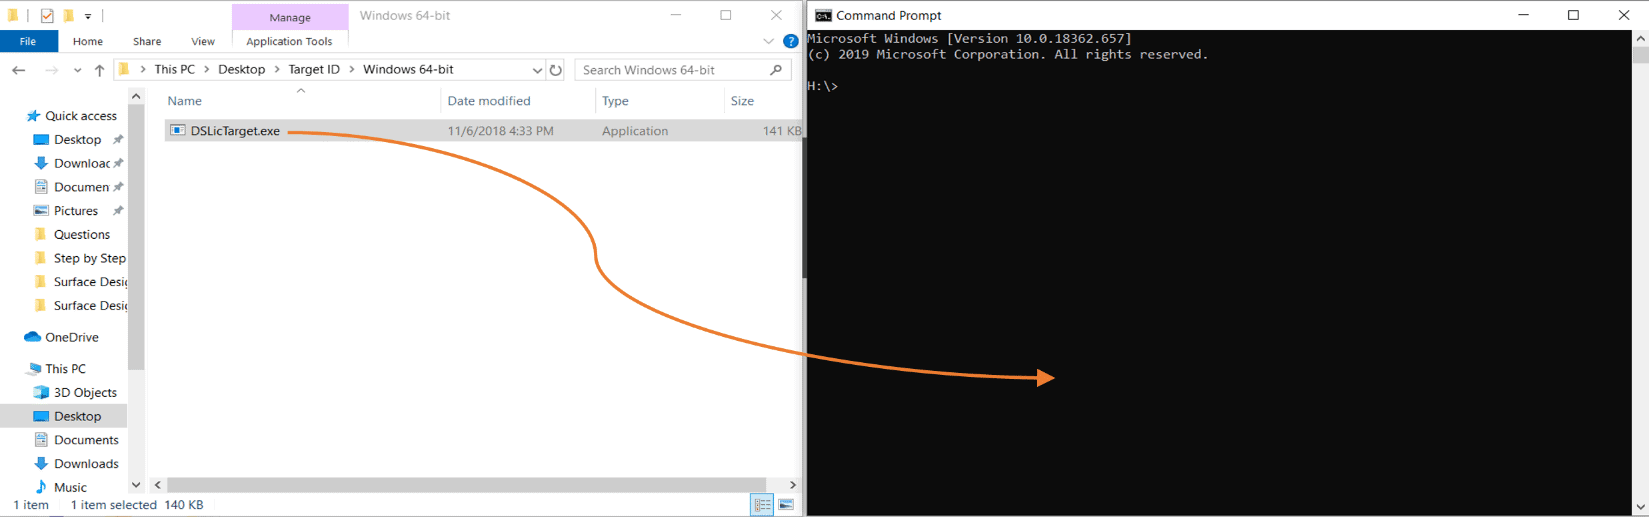
Step 6: With the Command Prompt open, drag and drop the DSLicTarget.exe file into the Command Prompt window.
Before Drag and Drop:
After Drag and Drop:
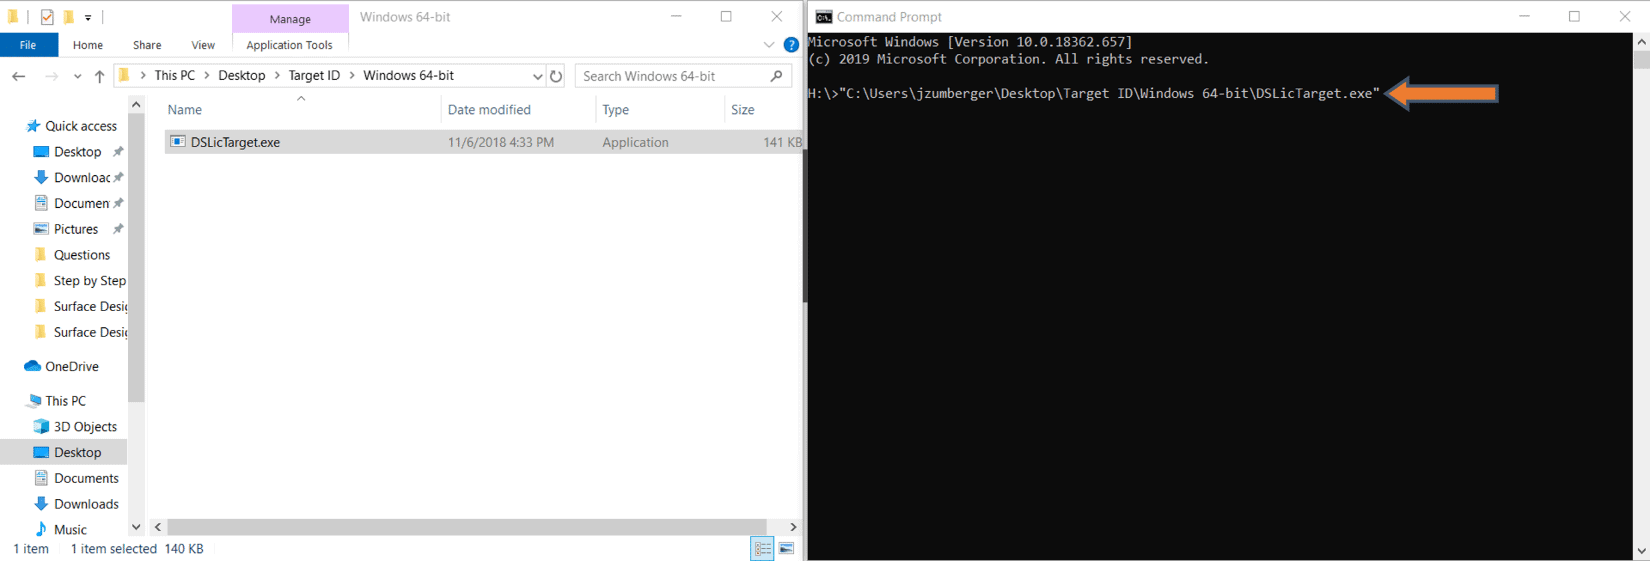
Step 7: In the Command Prompt, after the last character in the newly added line, hit the space bar one time, followed by -t
Step 8: Hit Enter. The Target ID for your computer will be displayed by the “Computer ID”.
With this ID, you can request to have new License Keys sent that are targeted at the new server.
Dassault Systemes License Server (DSLS)
The next step to moving the license server is to download and install the DSLS onto the new server. To do this, use the following steps:
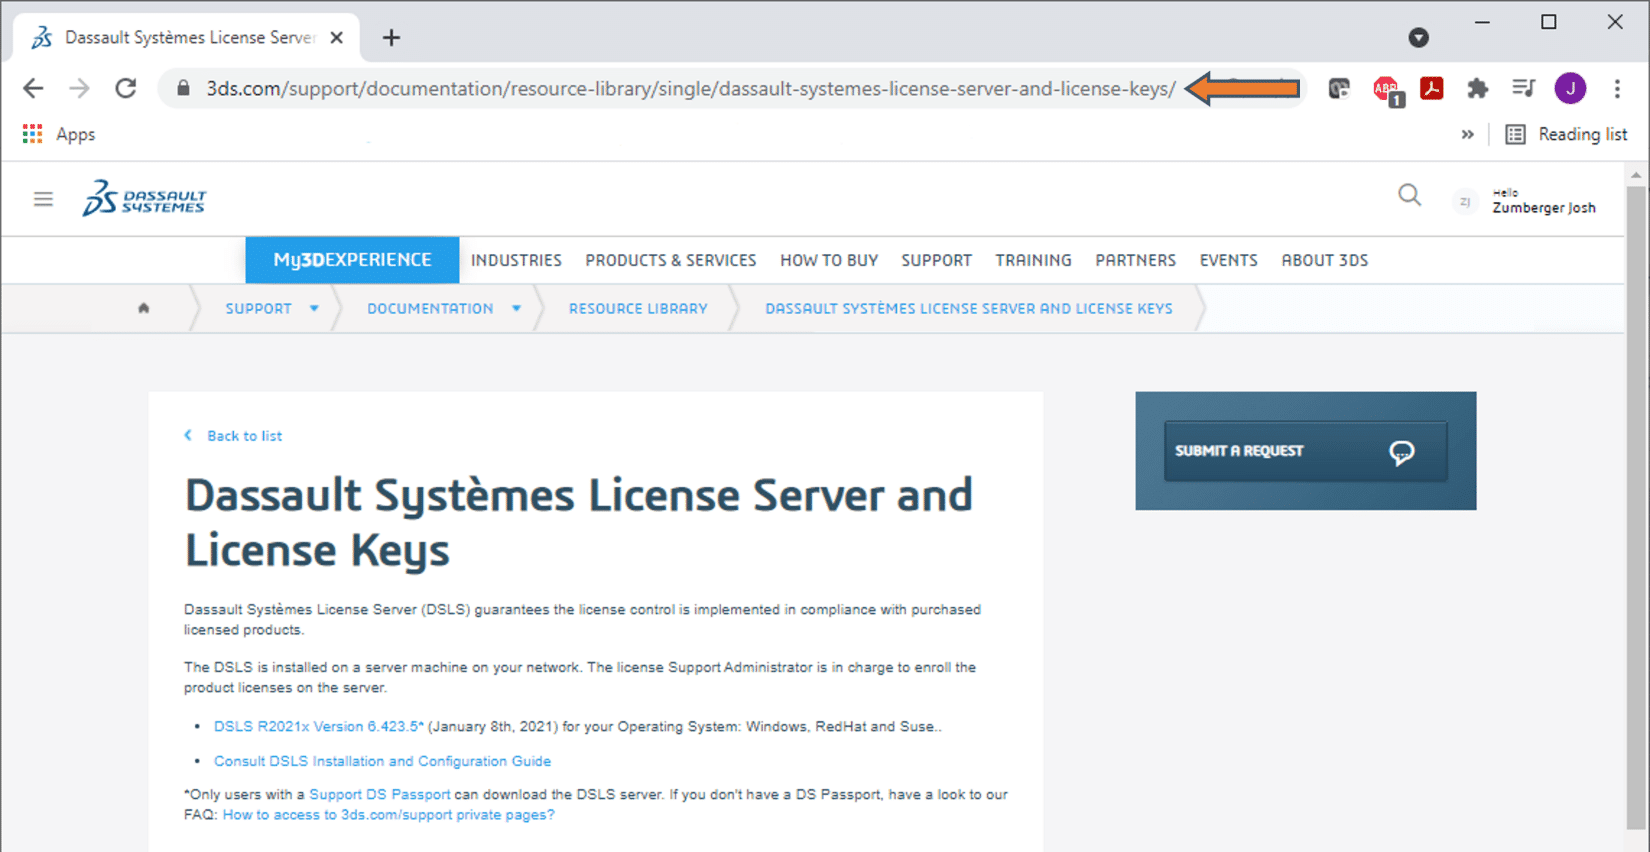
Step 1: Open up a web browser on your new server and go to https://www.3ds.com/support/documentation/resource-library/single/dassault-systemes-license-server-and-license-keys/
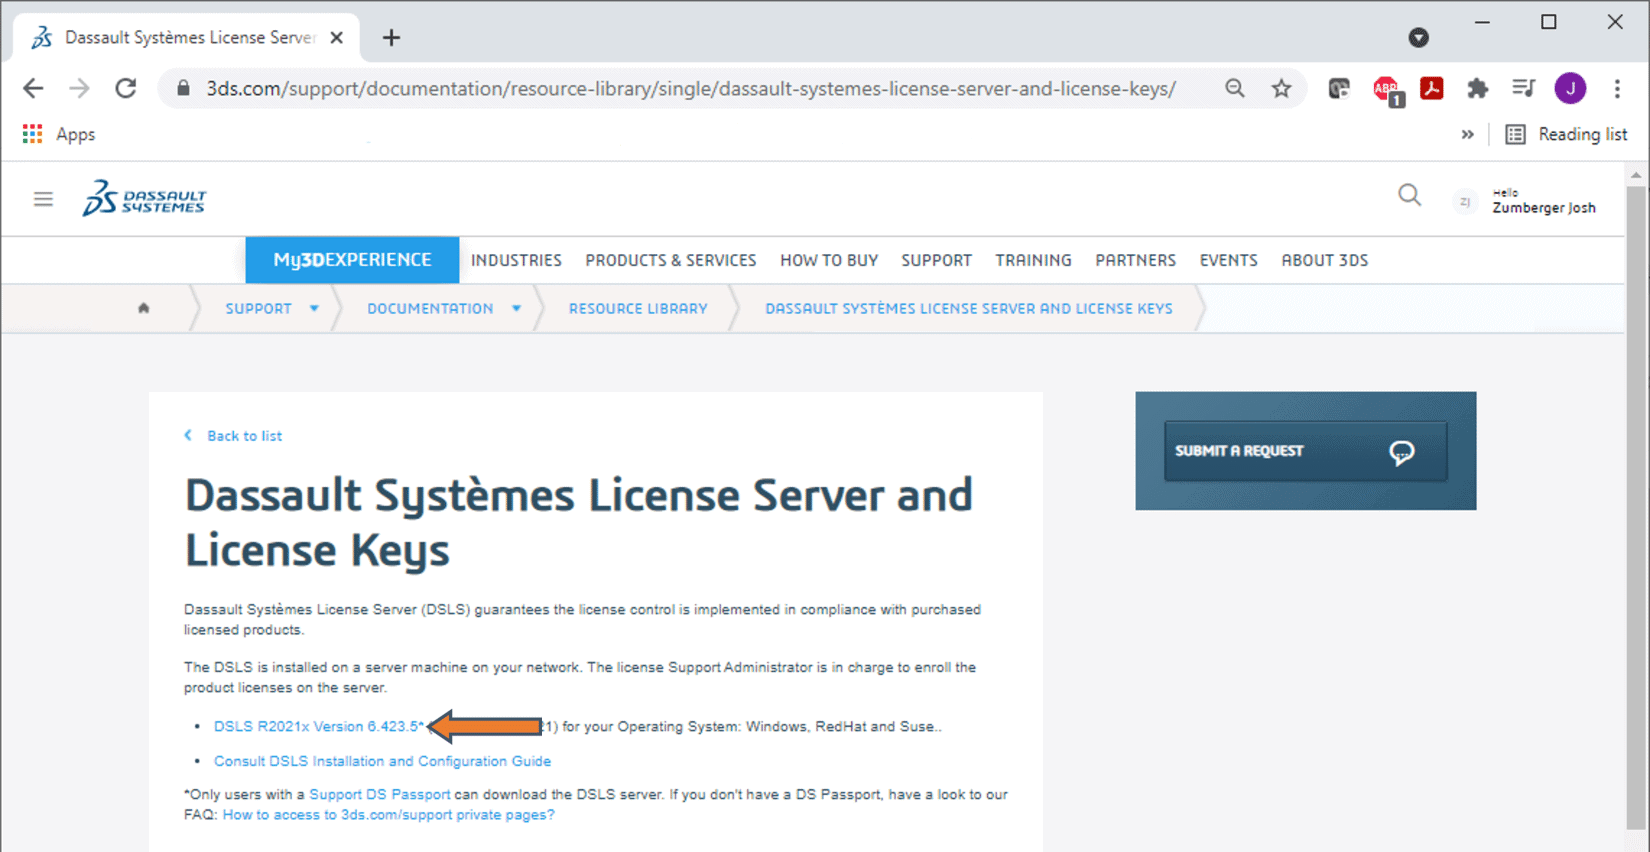
Step 2: Under the “Dassault Systemes License Server and License Key” section, click on the link to download the latest DSLS. For this example, the latest version is the “DSLS R2021x Version 6.423.5. After clicking the link, you may be prompted to log into your 3DEXPERIENCE ID. This will begin the download of the DSLS.
Step 3: Once the DSLS file is downloaded, unzip the file into a secure location. For this example, the file was unzipped onto the (C) drive and into a folder named “CATIA_Install”.
The directory path for the file must follow some specific criteria for the install to work properly. There must be no spaces or special characters in any directory path, and the total number of characters in a directory path must be less than 260 characters. For best practice, it is encouraged to keep the unzipped data at a higher level to help keep the directory path as short as possible.
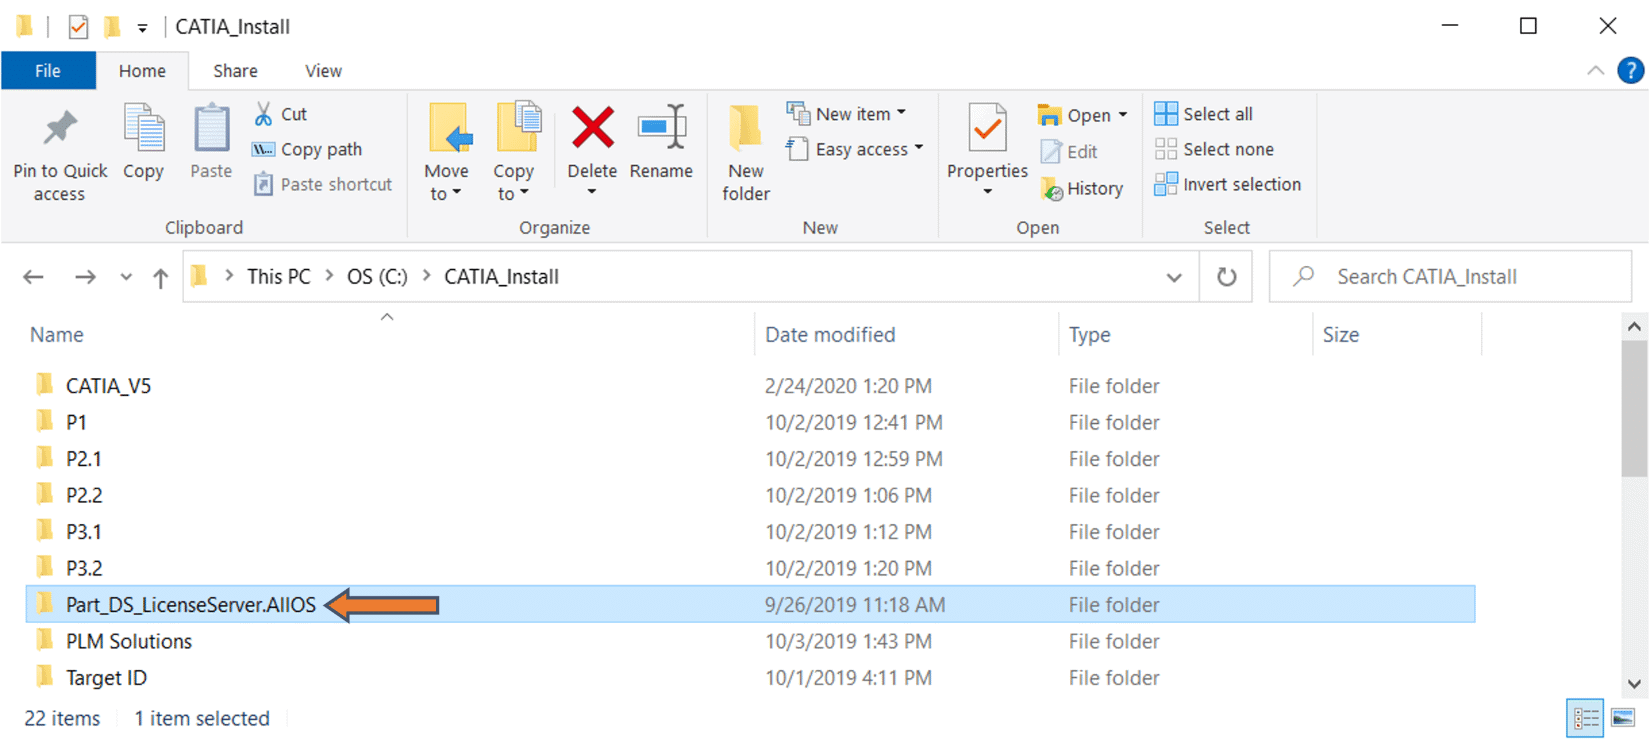
Step 4: Open the unzipped Part_DS_LicenseServer.AllOS file and navigate to the following file location: Part_DS_LicenseServer.AllOS\1\DS_LicenseServer\1. From here, double click and launch the SetupDSLSmsi.exe to install the DSLS.
Step 5: Once installed, you will be able to access the License Administration Tool.
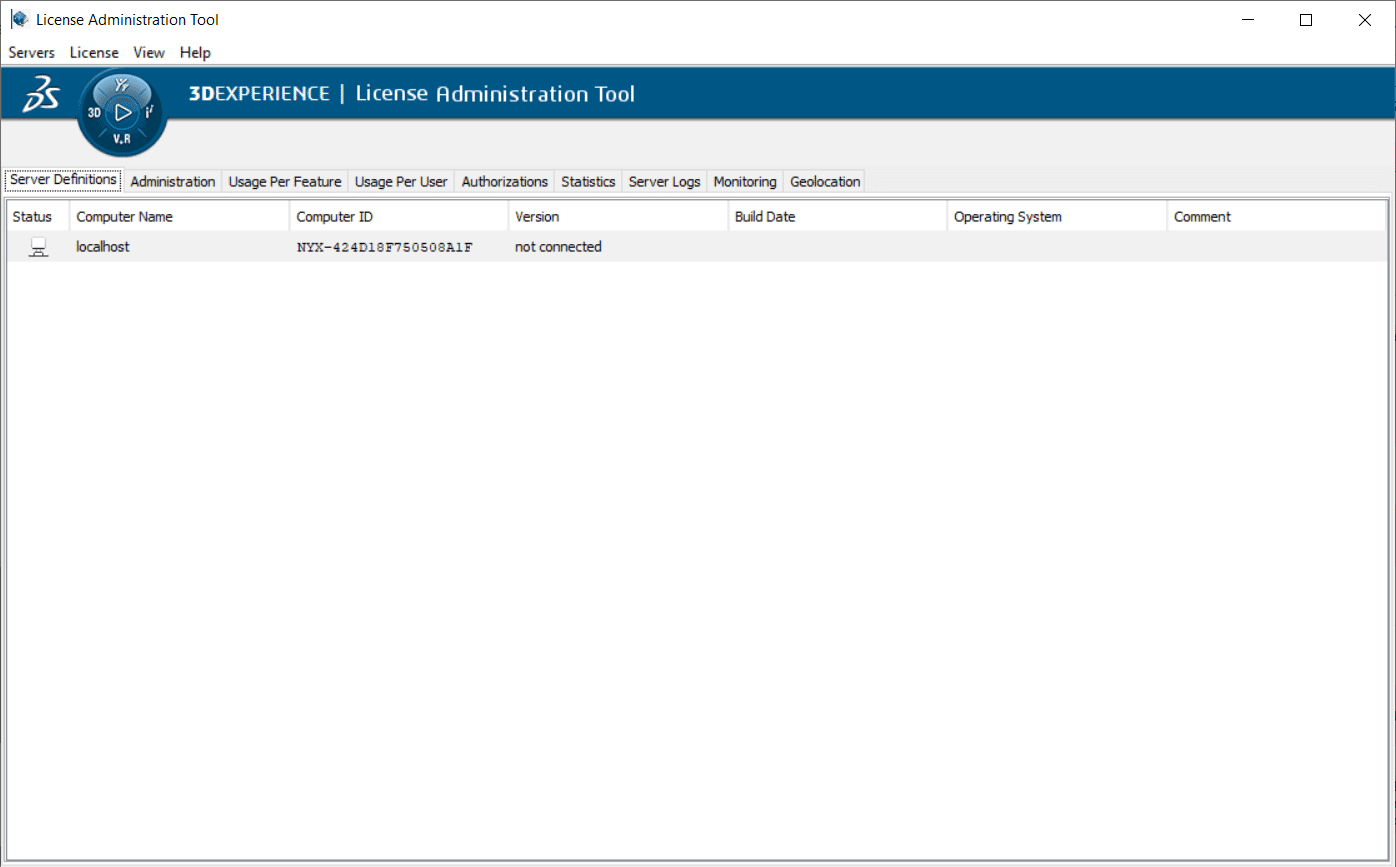
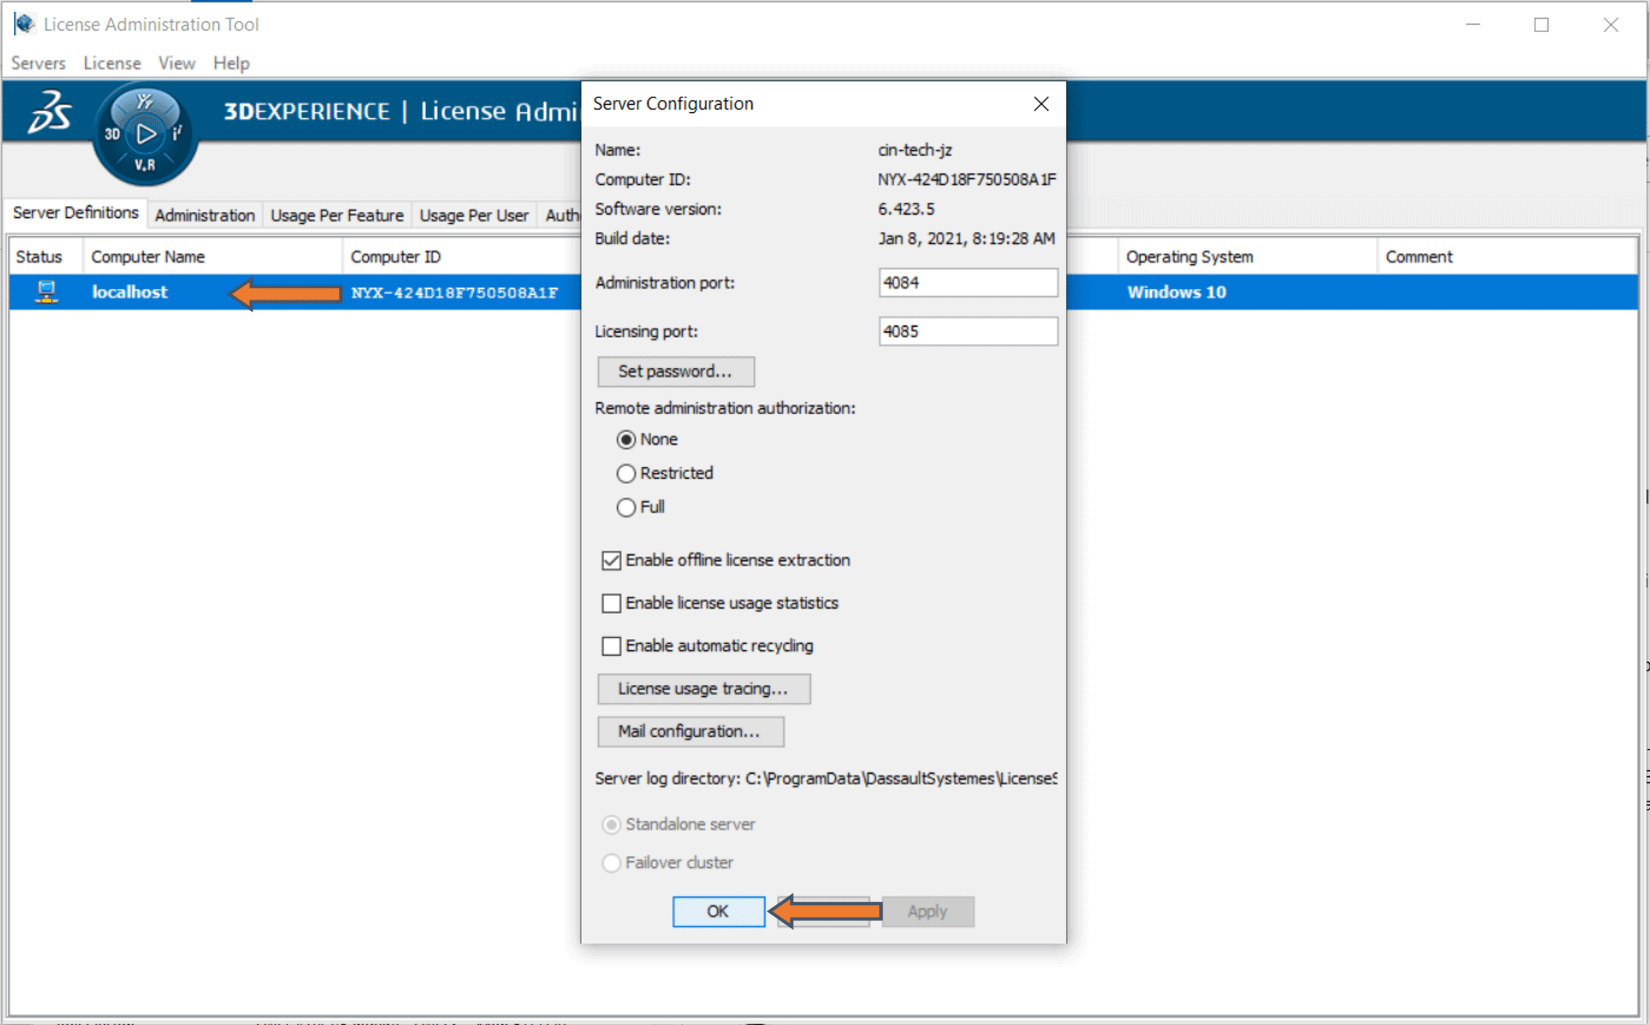
Step 6: To configure the server, simply double click anywhere in the row with “localhost”. This will prompt the Server Configuration window. From here, select “OK”. This will put the “localhost” in the connected state, which must be done to enroll your licenses. An alternative method to connecting the “localhost” is to right click “localhost” and select “Connect”.
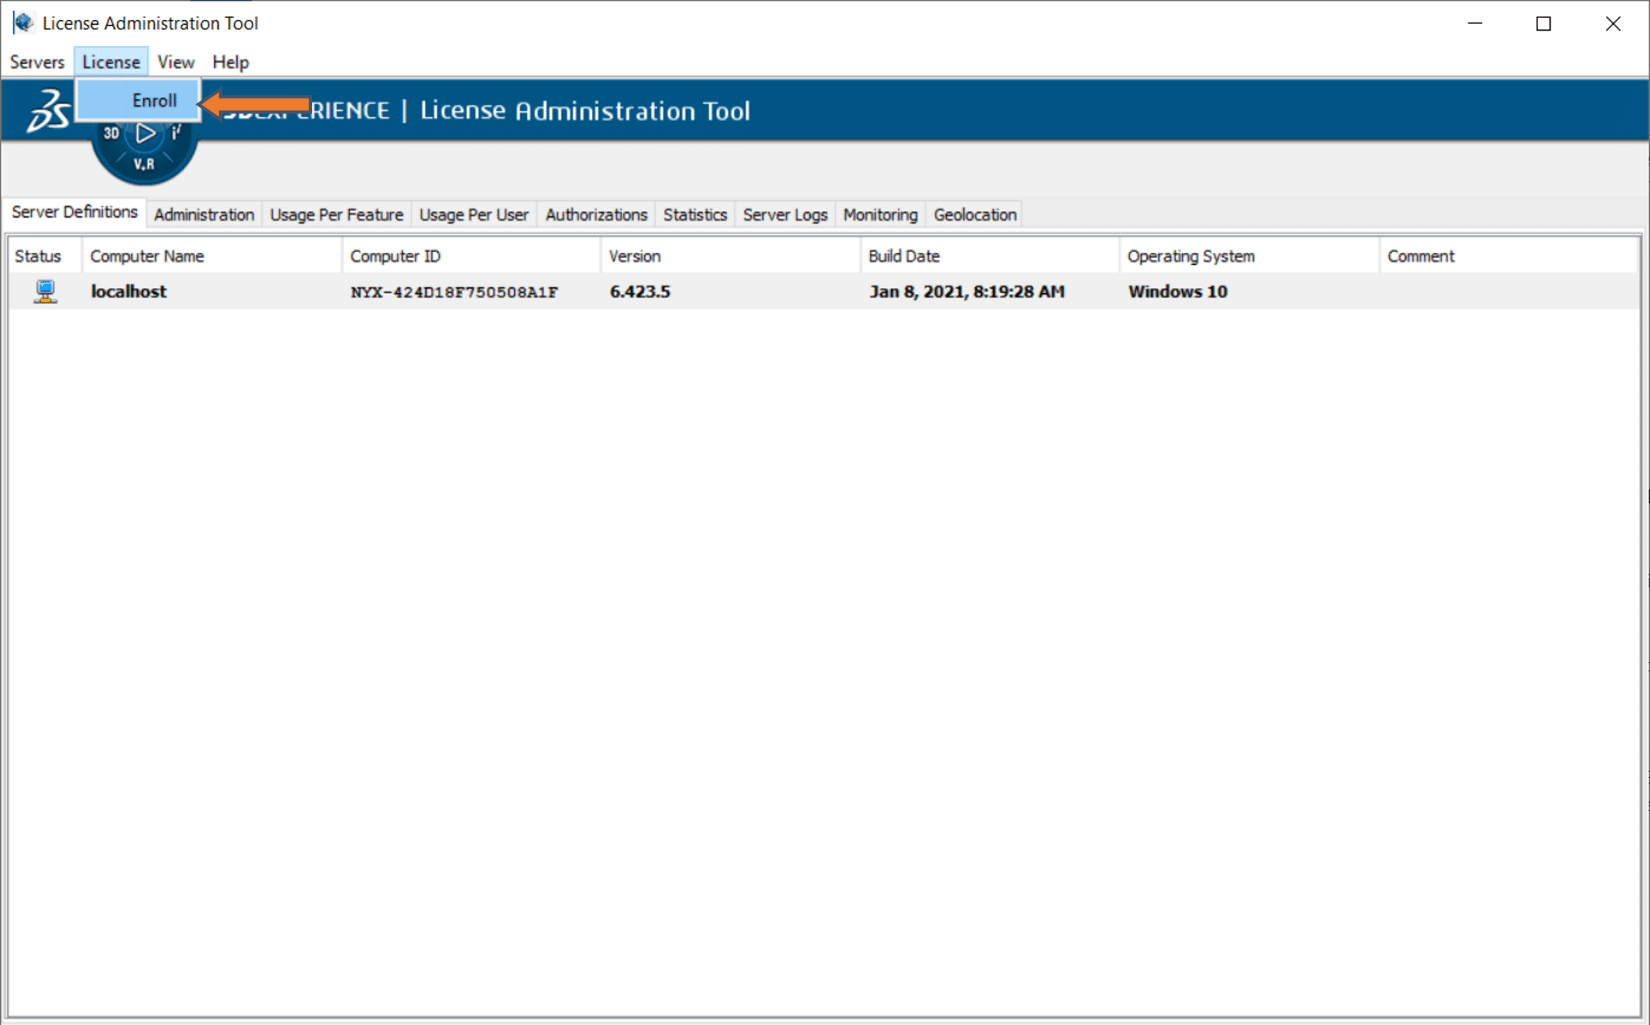
Step 7: Now you will be able to enroll your newly transferred license onto your new server by selecting “License” from the top bar then “Enroll”. From there, you can search for and select your license files to be enrolled.
Point to the New Server
The last steps to take is to ensure the DSLicSrv.txt file on the computers that will be running CATIA V5-6 are pointing to the new server. To do this, use the following steps:
Step 1: Open File Explorer on the computers running CATIA V5-6 and go to C:\ProgramData\DassaultSystemes\Licenses. Once there, open the DSLicSrv.txt file. If a new machine is being added to the computers running CATIA V5-6, the user will have to manually create the “Licenses” folder and the “DSLicSrv” txt file.
Note: If you are unable to find the “Program Data” folder, go to the “View” tab on your file explorer and ensure that “Hidden Items” is checked.
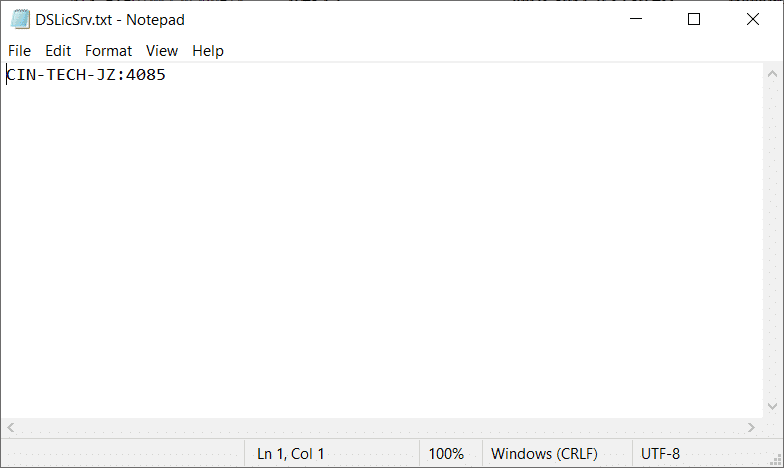
Step 2: With the DSLicSrv.txt file open, ensure that the device name or IP address is that of the new server. For this example, the DSLS was put on the computer with the device name “CIN-TECH-JZ”. Once done, save and close the file.
Note: If the user is working remotely and must VPN into the company’s network, they must be connected to that VPN in order to use CATIA V5-6.