SOLIDWORKS & Stratasys put the POW Back in Power Wheels Part 2
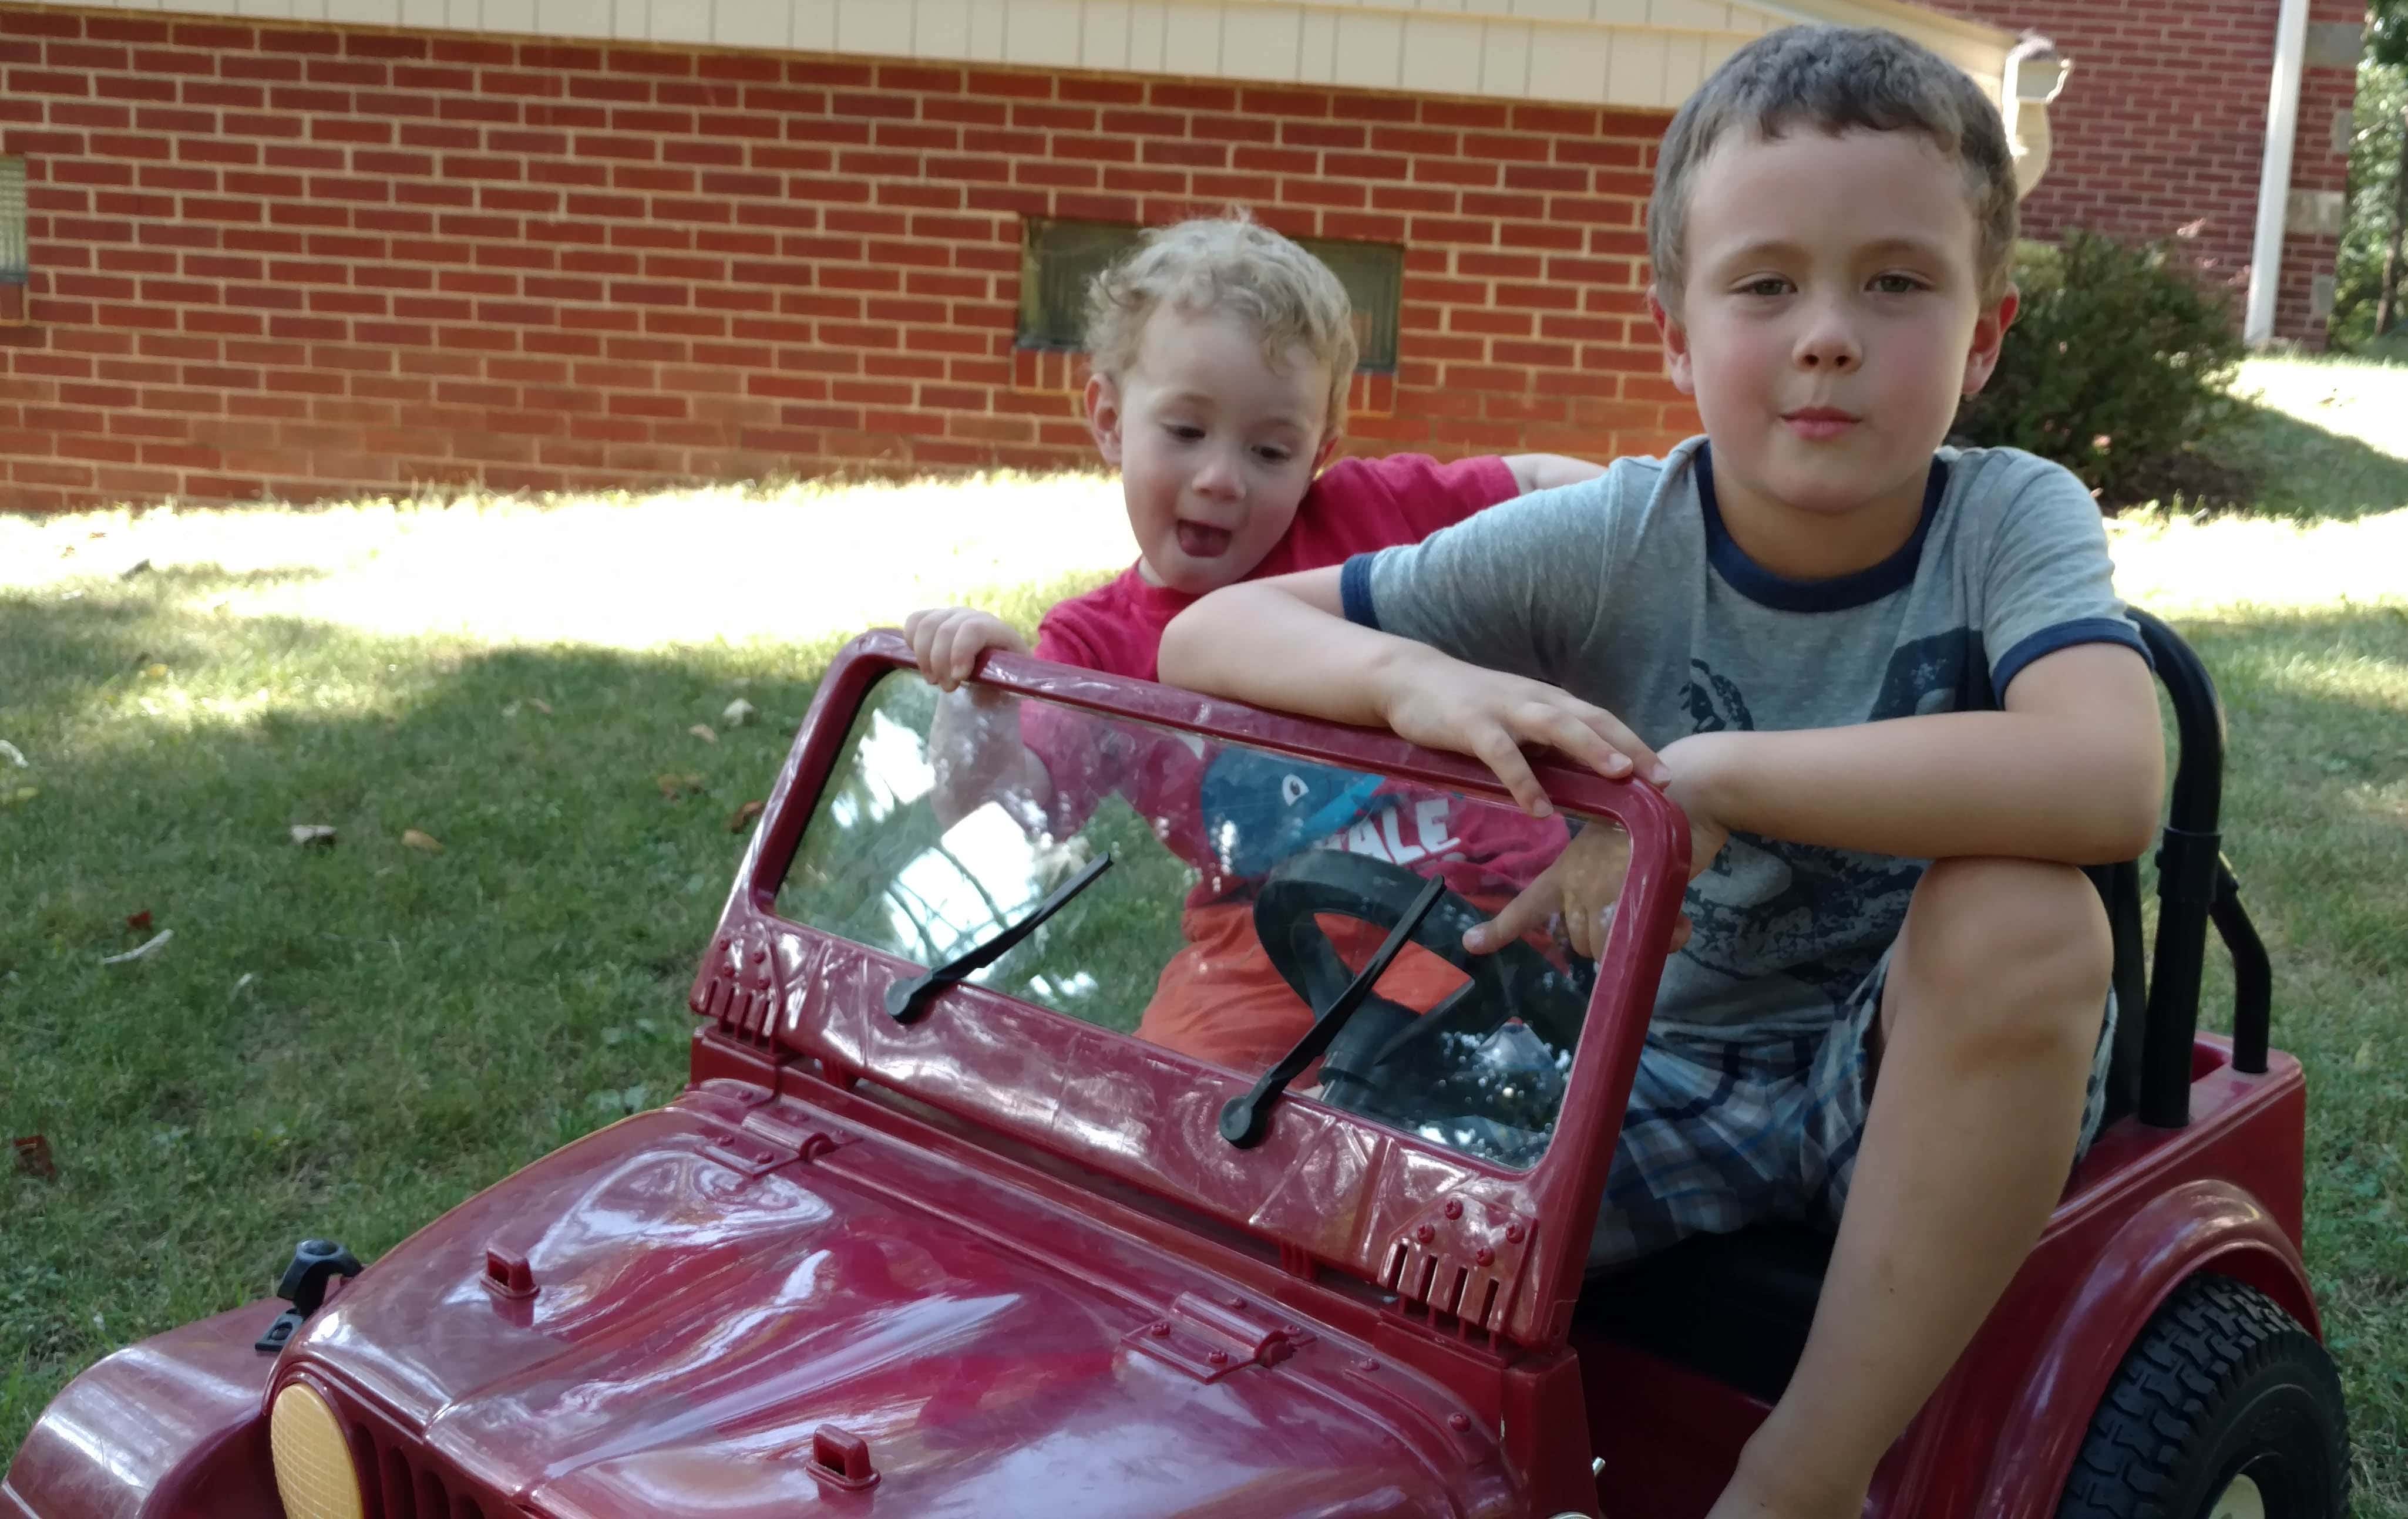
Previously in my last blog “SOLIDWORKS & Stratasys put the POW Back in Power Wheels Part 1“ I discussed the origins of the beloved Jeep Power Wheels. The Jeep lasted for 24 years and 14 hard playing kids before it was almost set out to pasture. After rescuing the Power Wheels, the plan was simple make the Jeep Better, Smarter, and Faster. With the help of my son Matthew we were able to turn a worn out toy into a like new powerhouse. Here is how we accomplished this task.

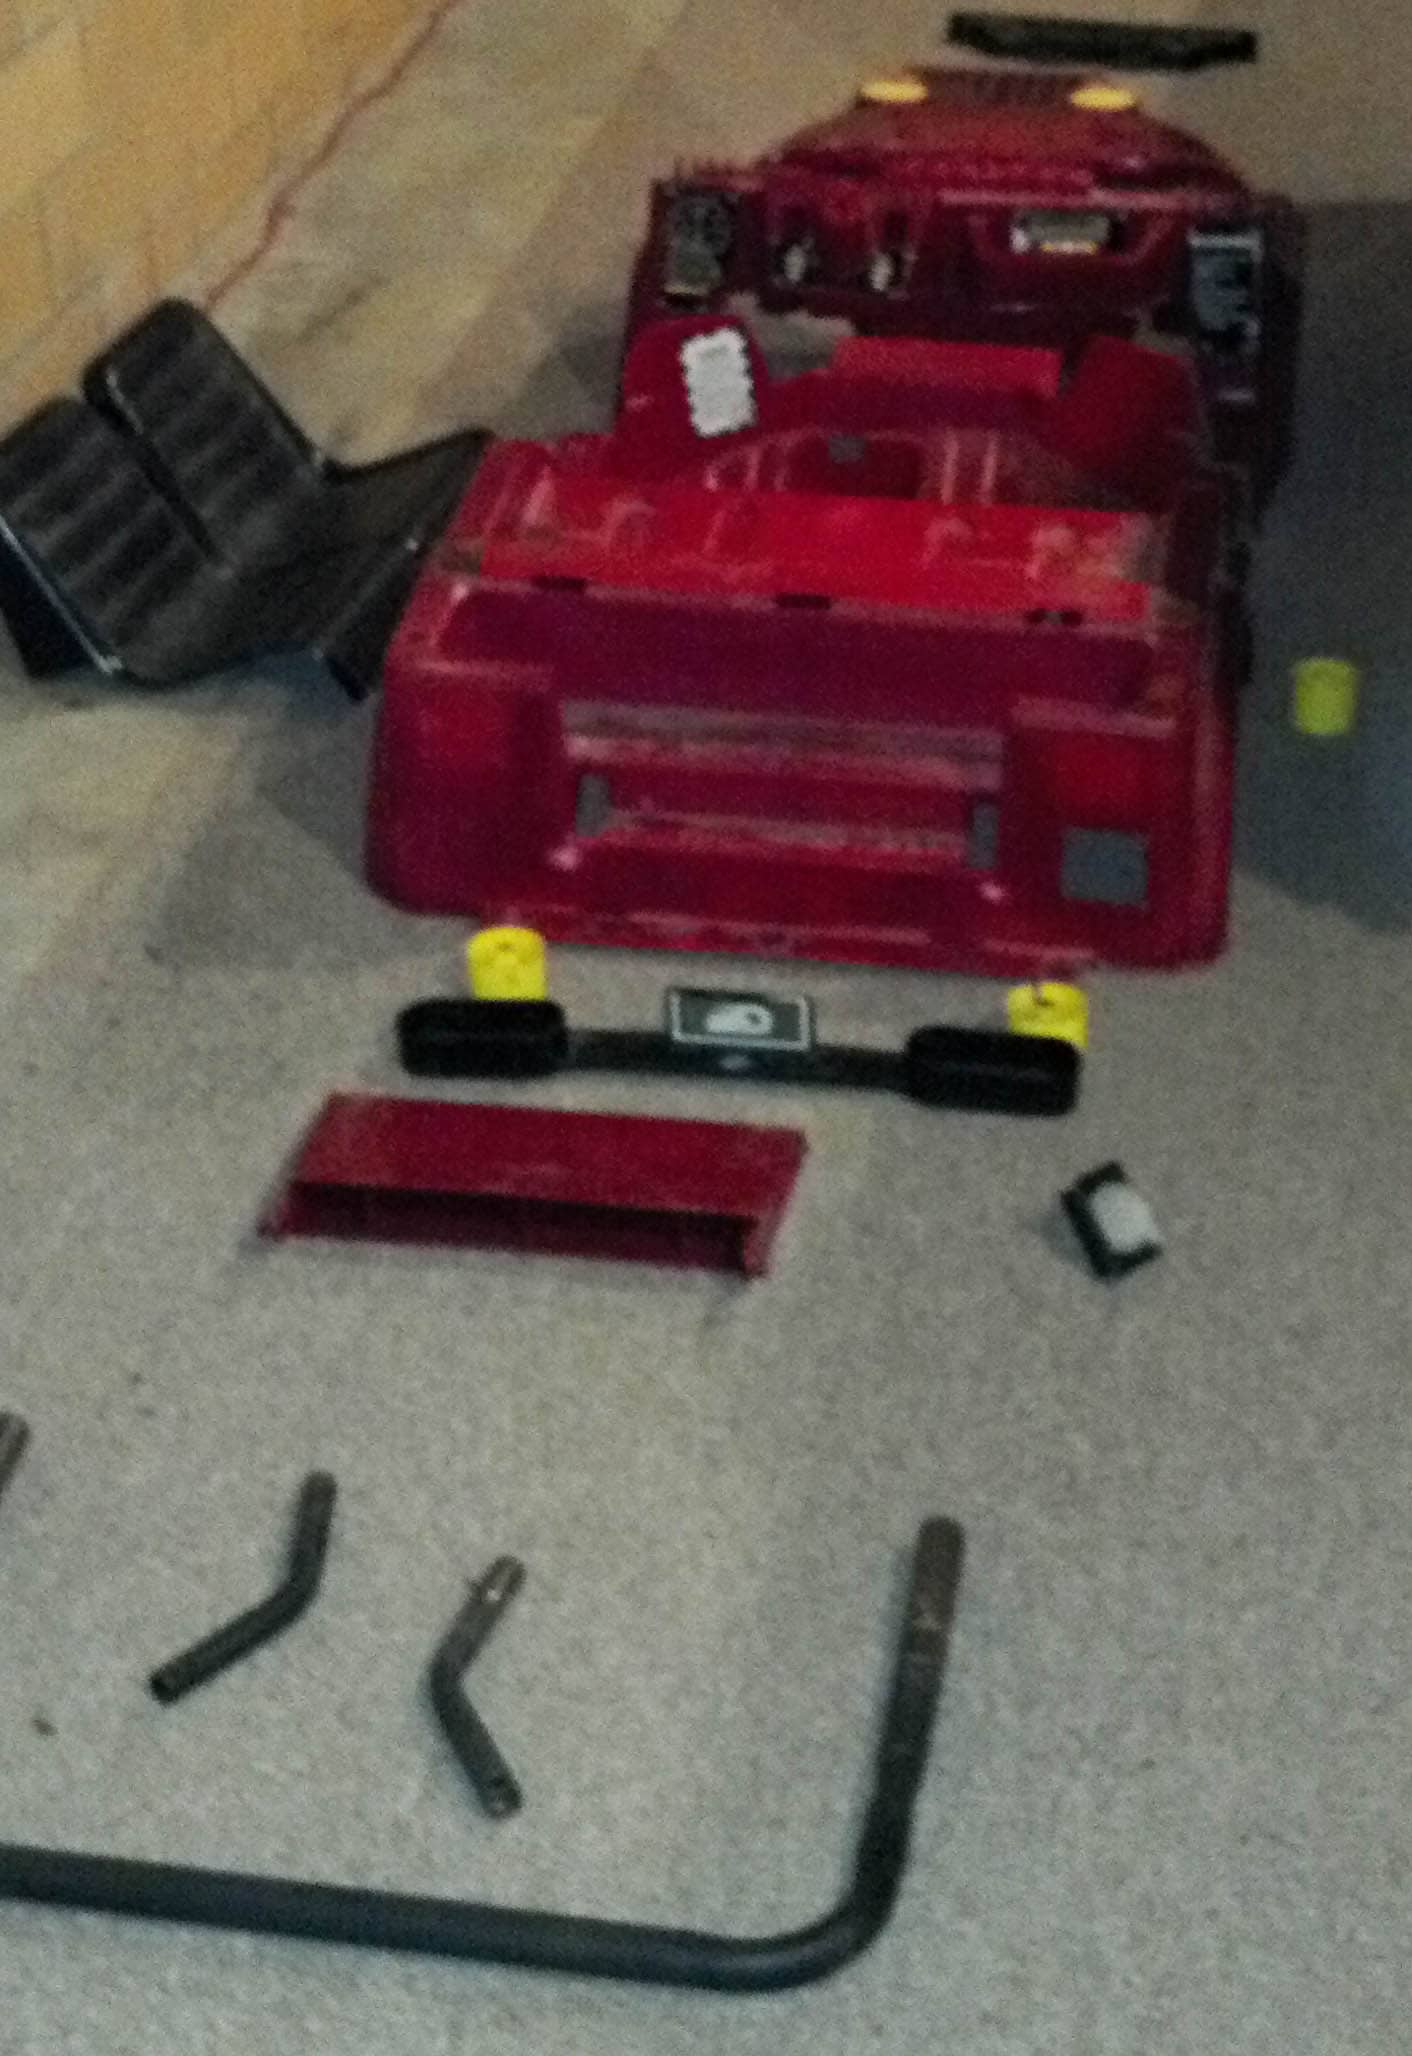
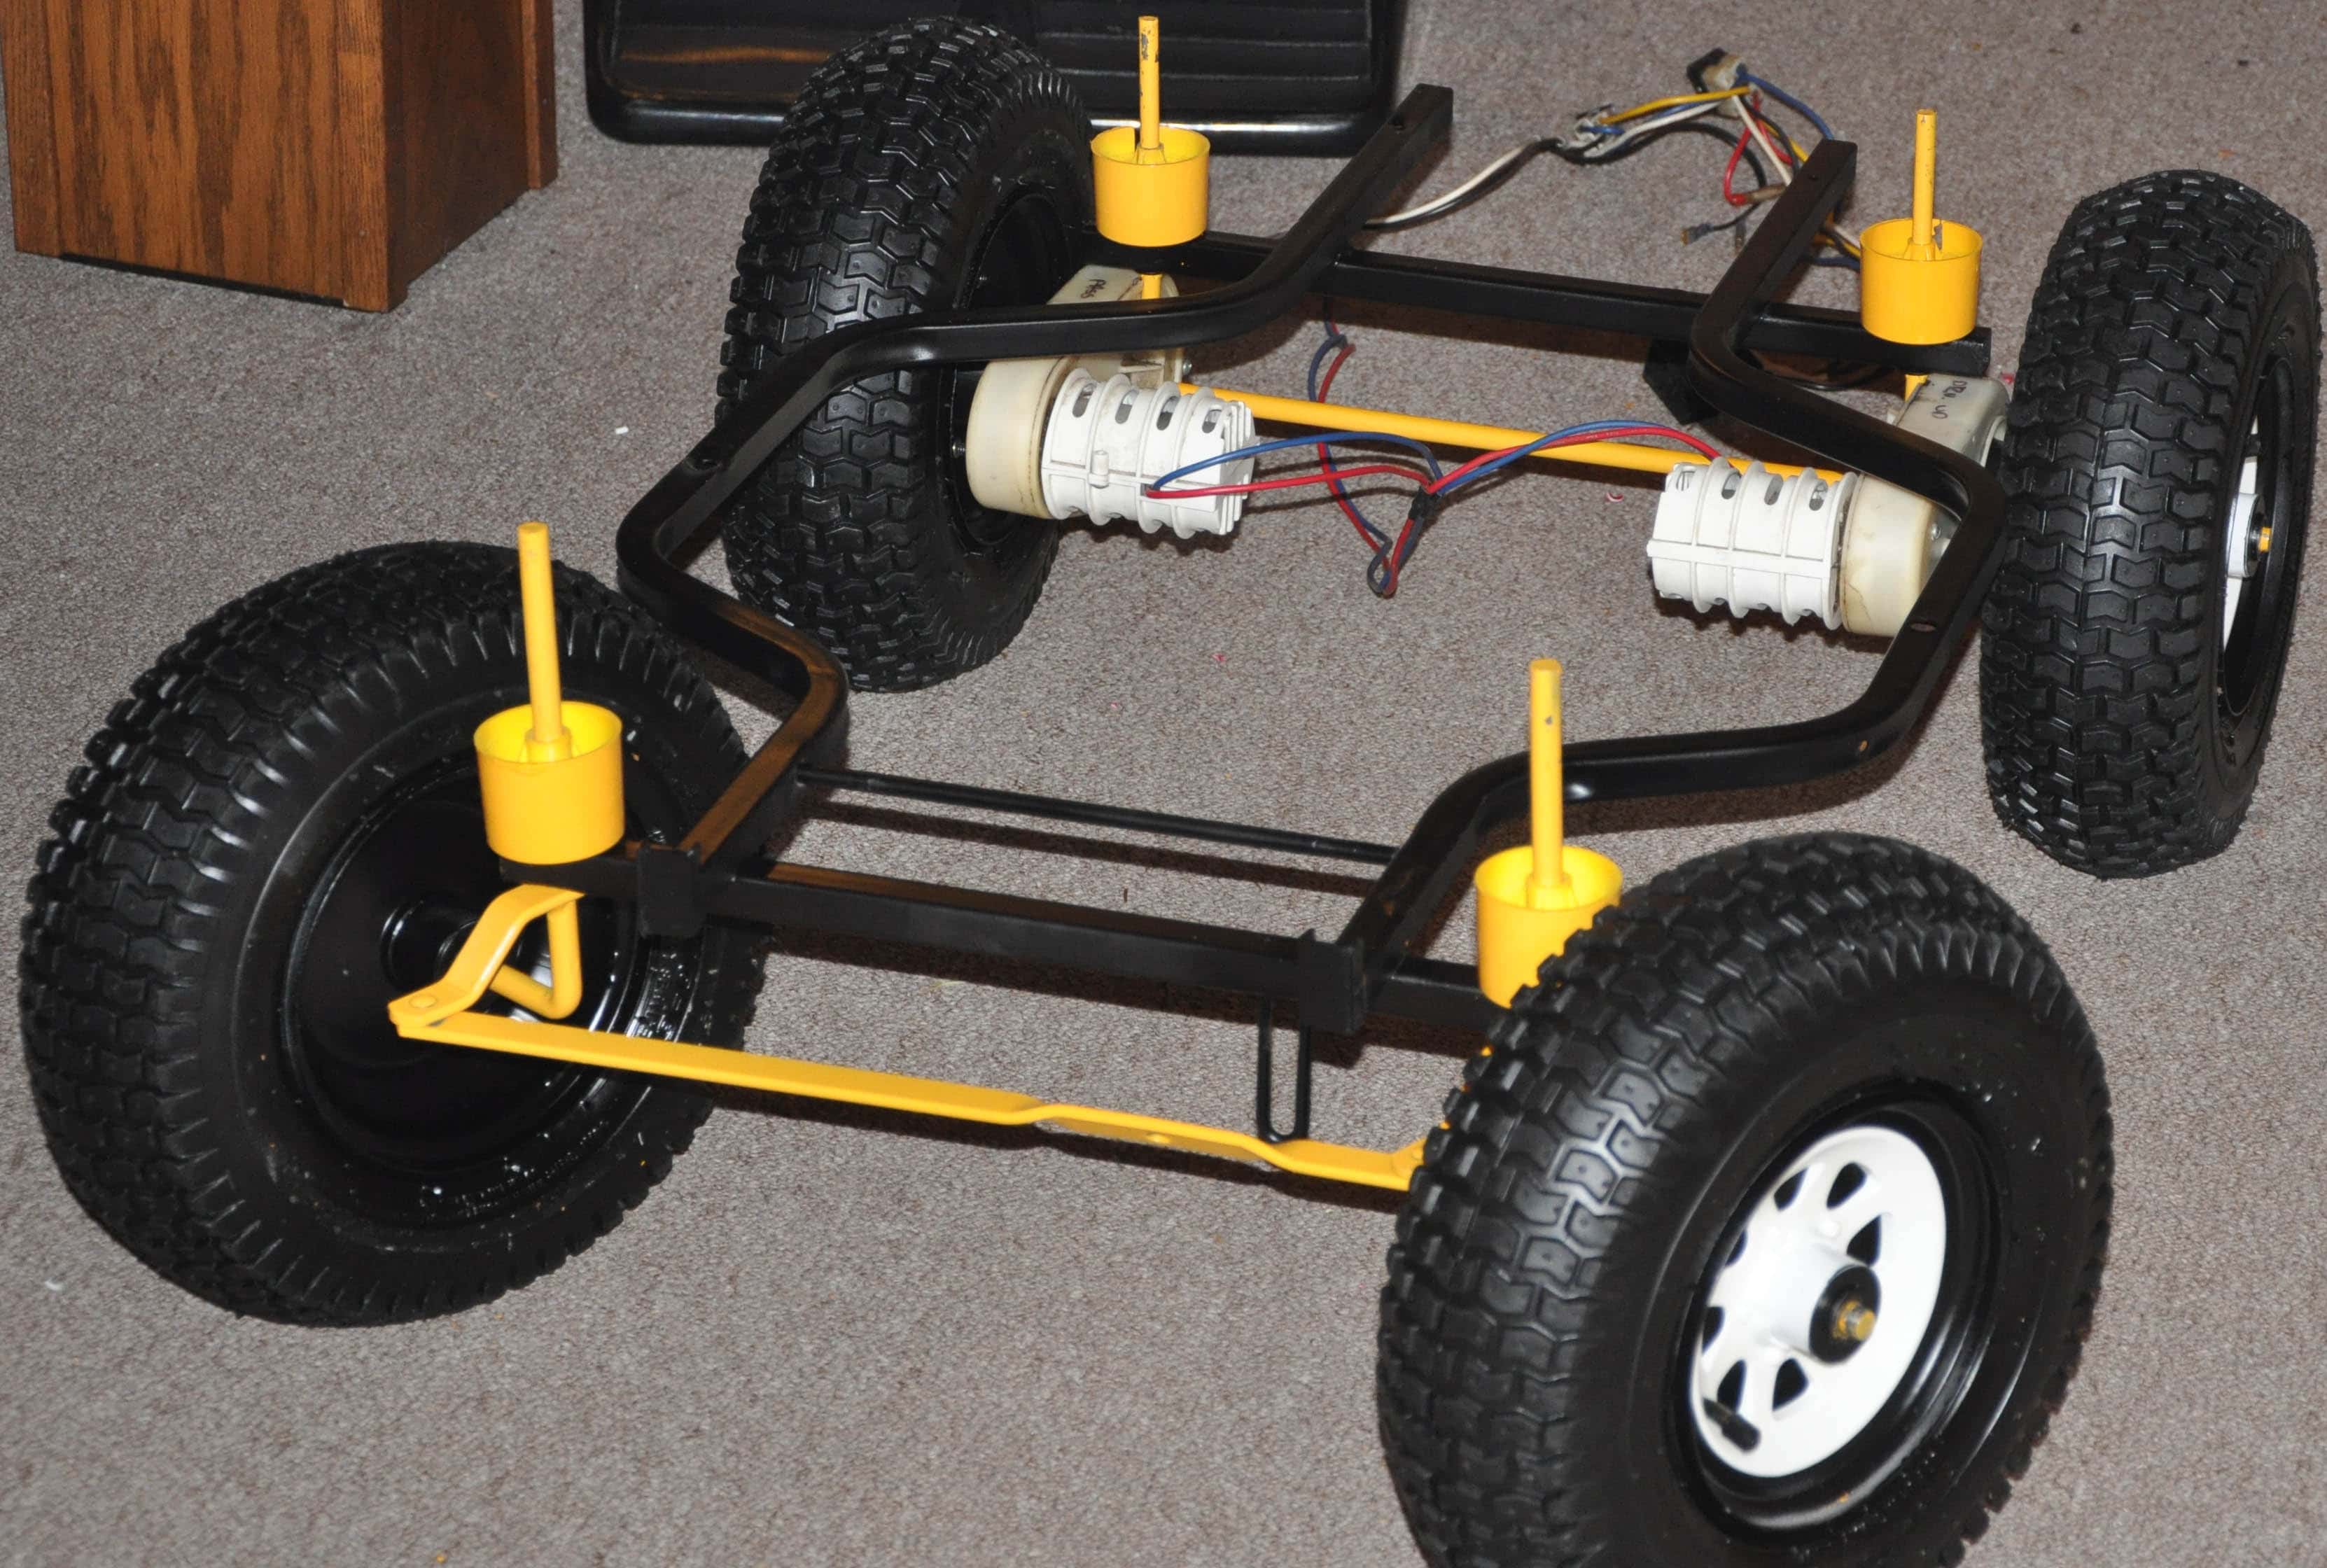
To start we dissembled the Power Wheels down to its frame, and laid out all the components to assess the condition they were in. Minor rust and wear were seen on all the metal components including the frame, and roll bar. The screws all had rust on the heads and I decided to replace all the fasteners on the Jeep with Stainless Steel. Not only does this help with the rejuvenation, but impedes any future rust.
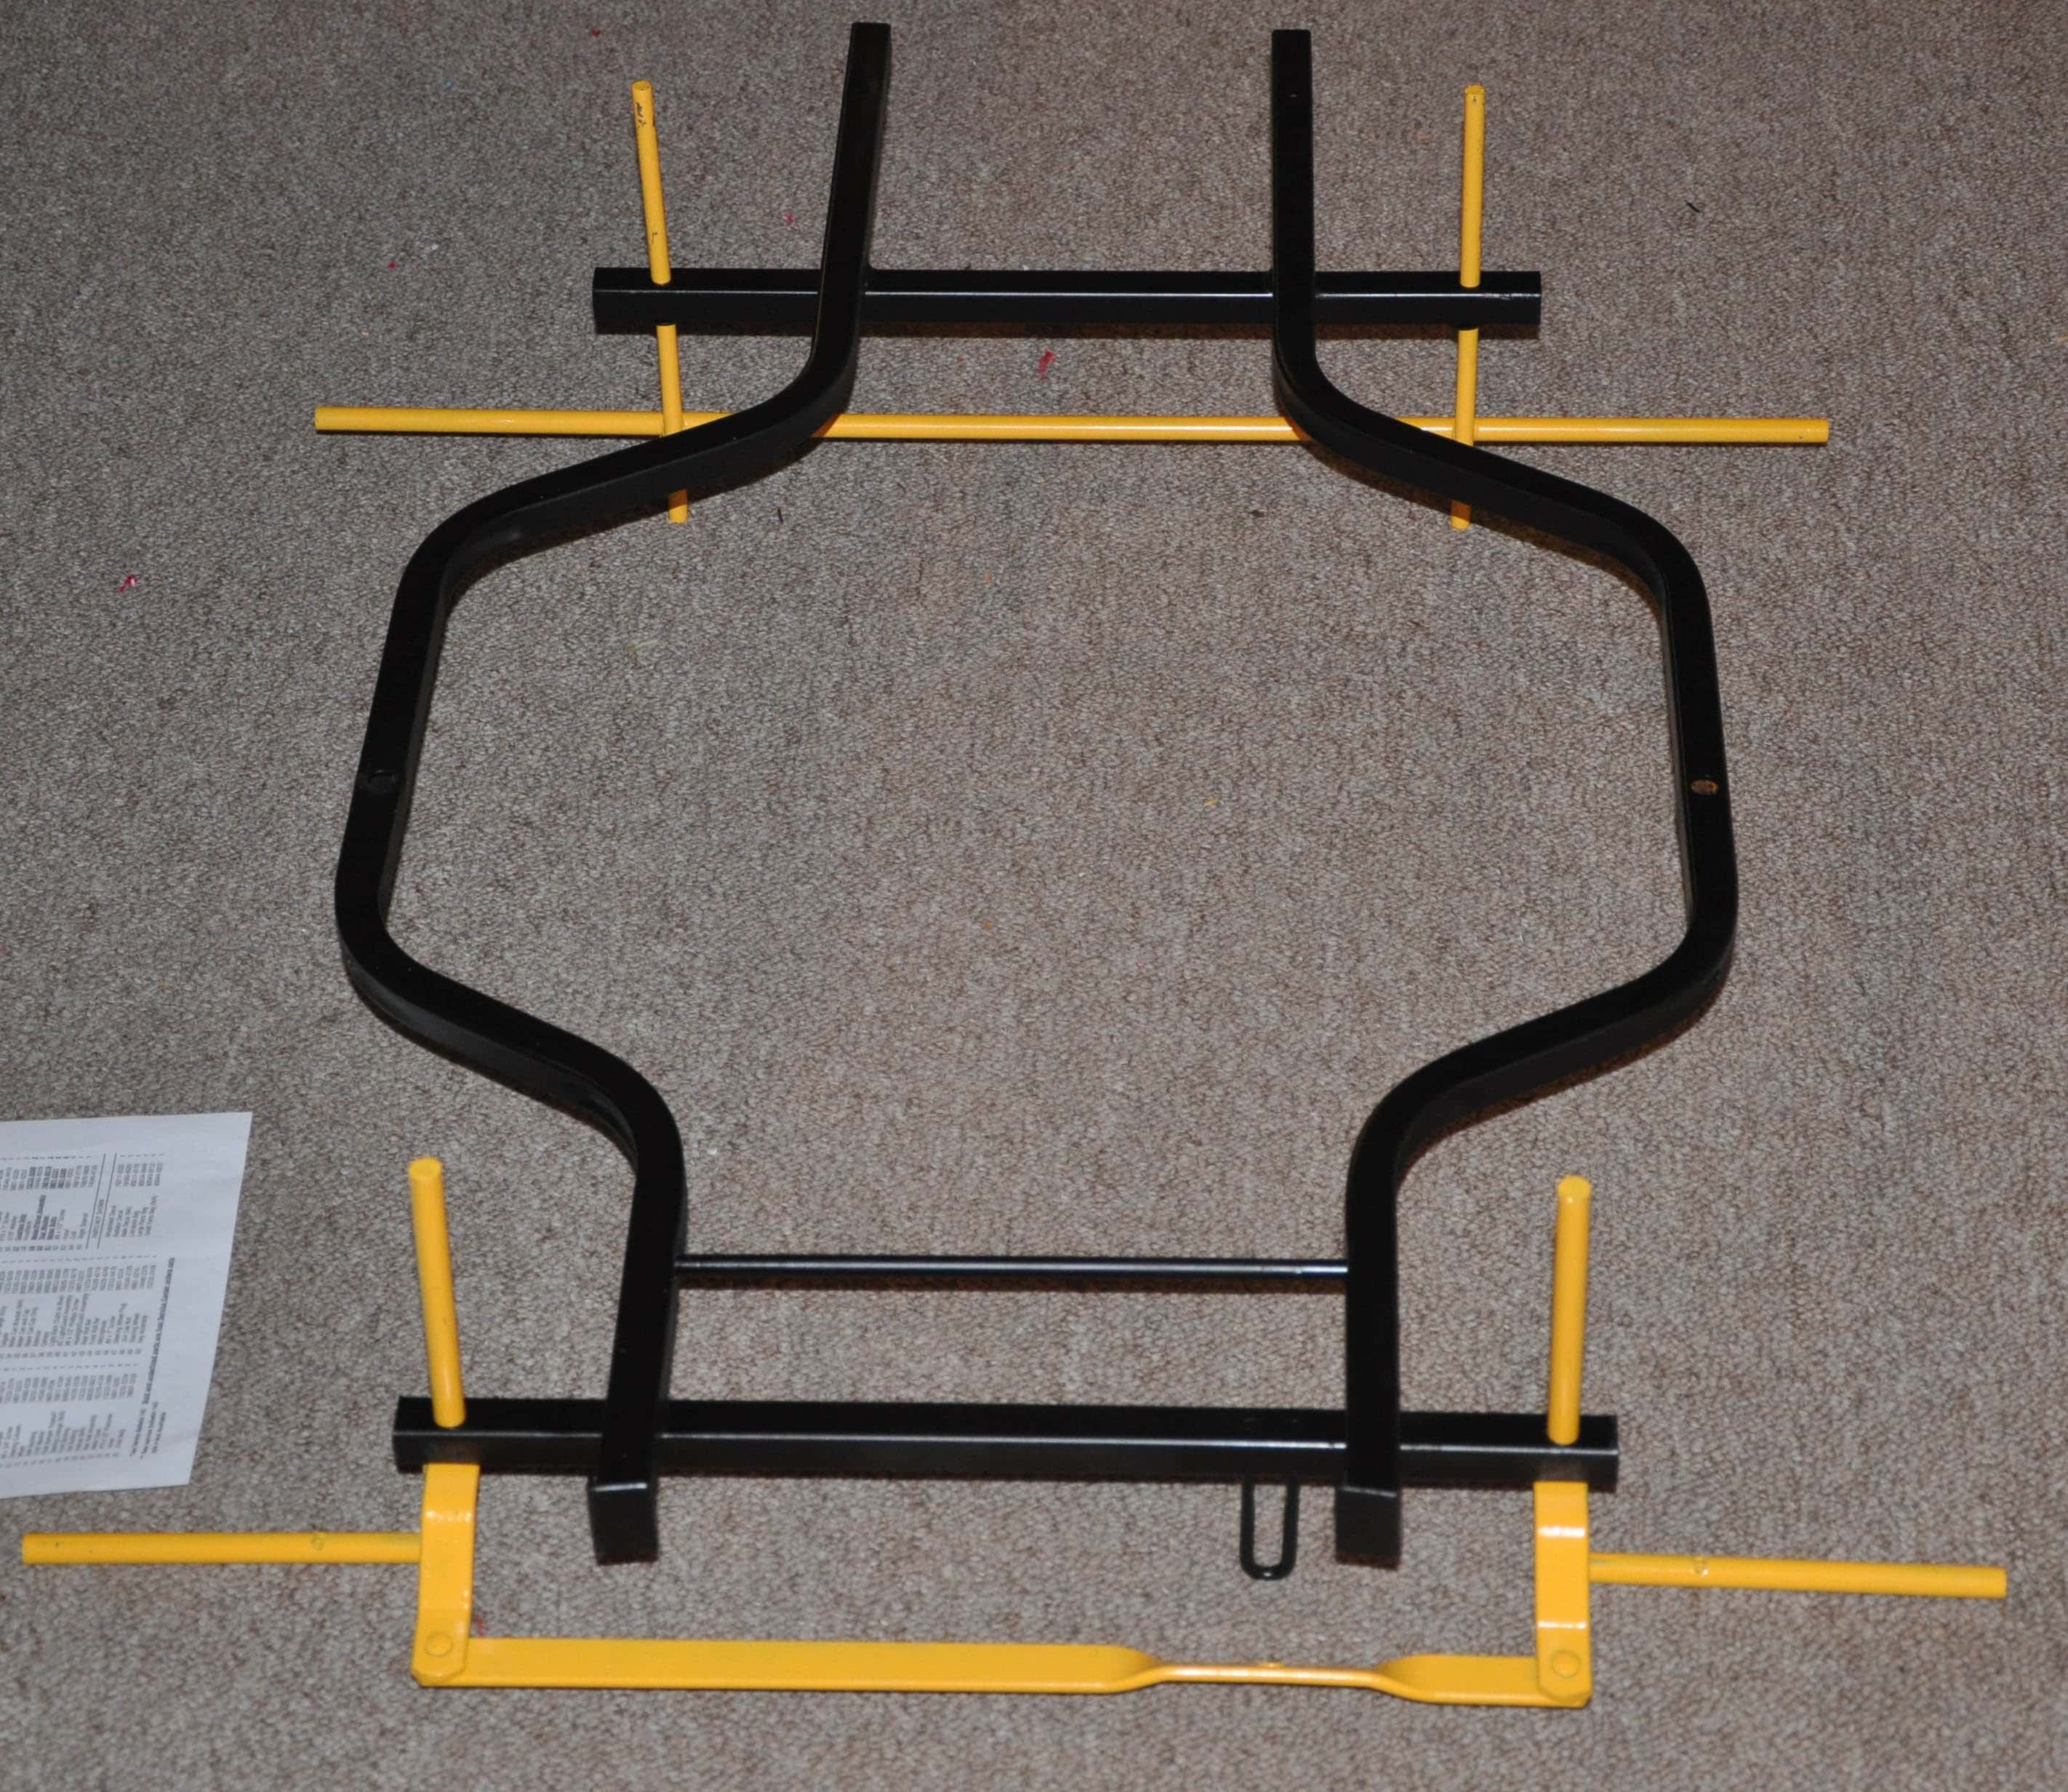
The main metal components, the frame, roll bar, rear axle, and front steering axle were sanded or soda blasted to remove any imperfections. The frame and roll bars were painted using black Rust-Oleum. To keep with the original yellow plastic spacer’s theme, the axles were painted a matching yellow. All of the plastic body parts had what remained of the original stickers removed, and were cleaned thoroughly.
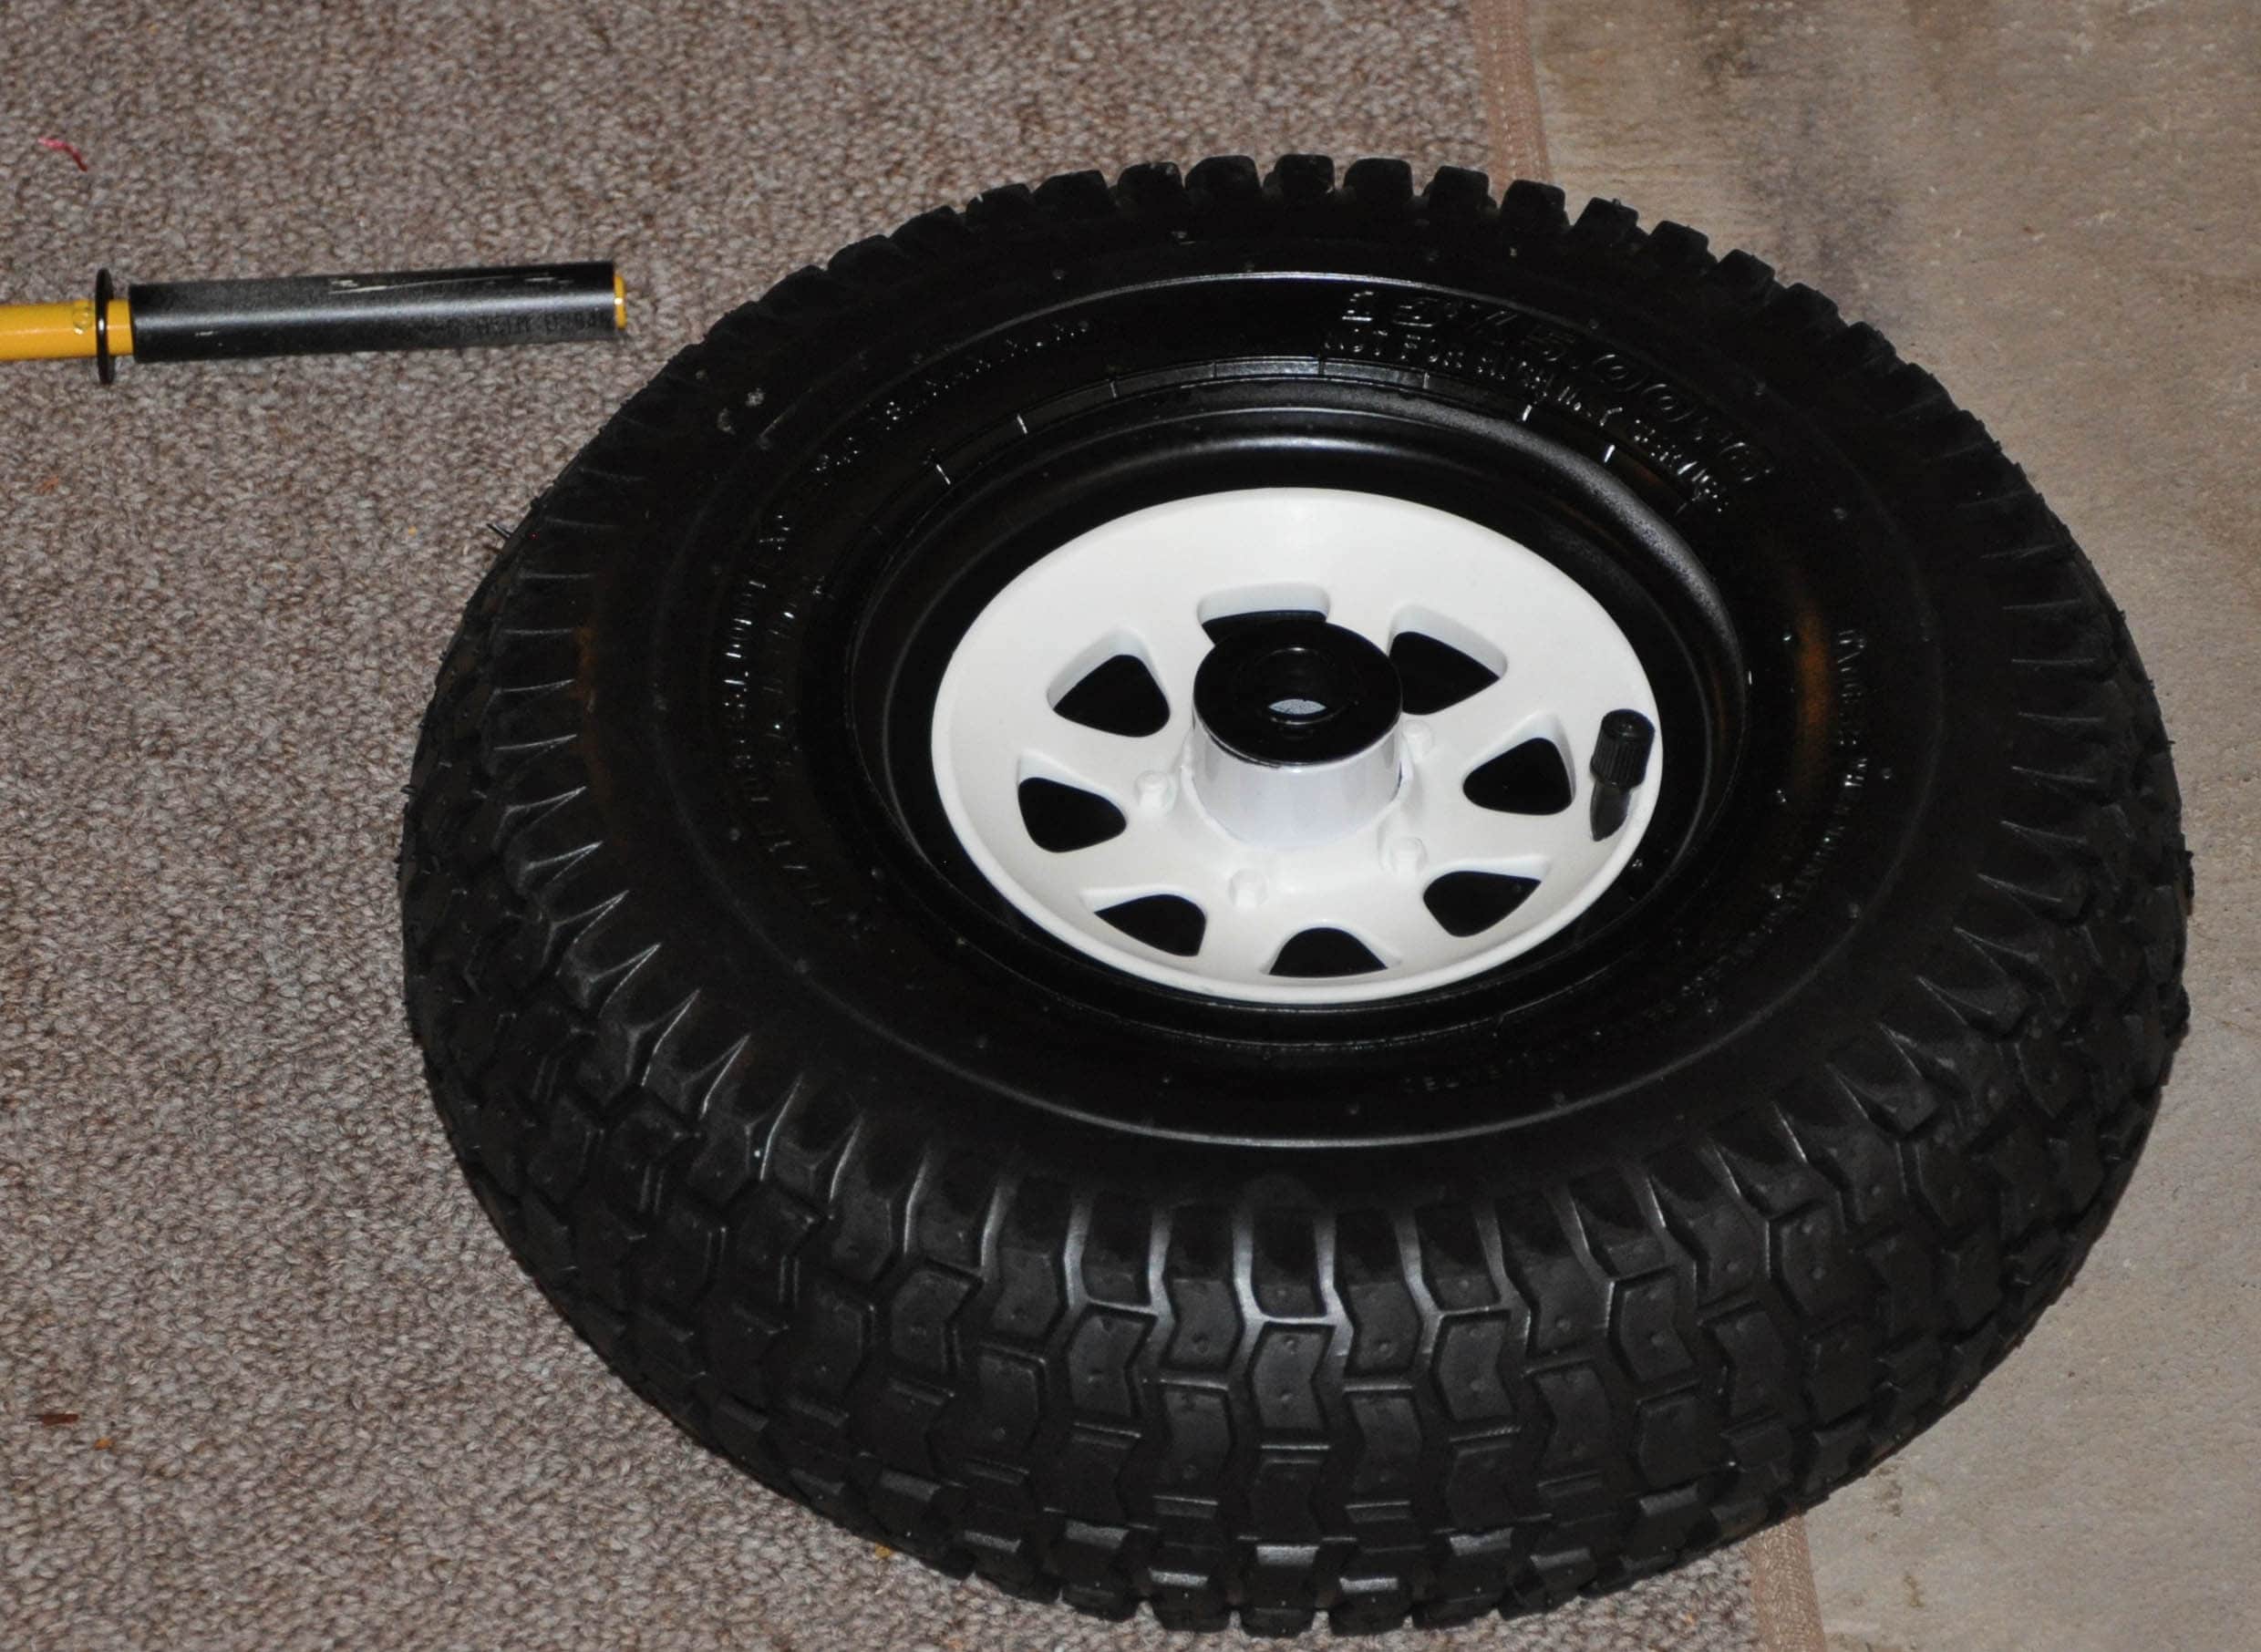
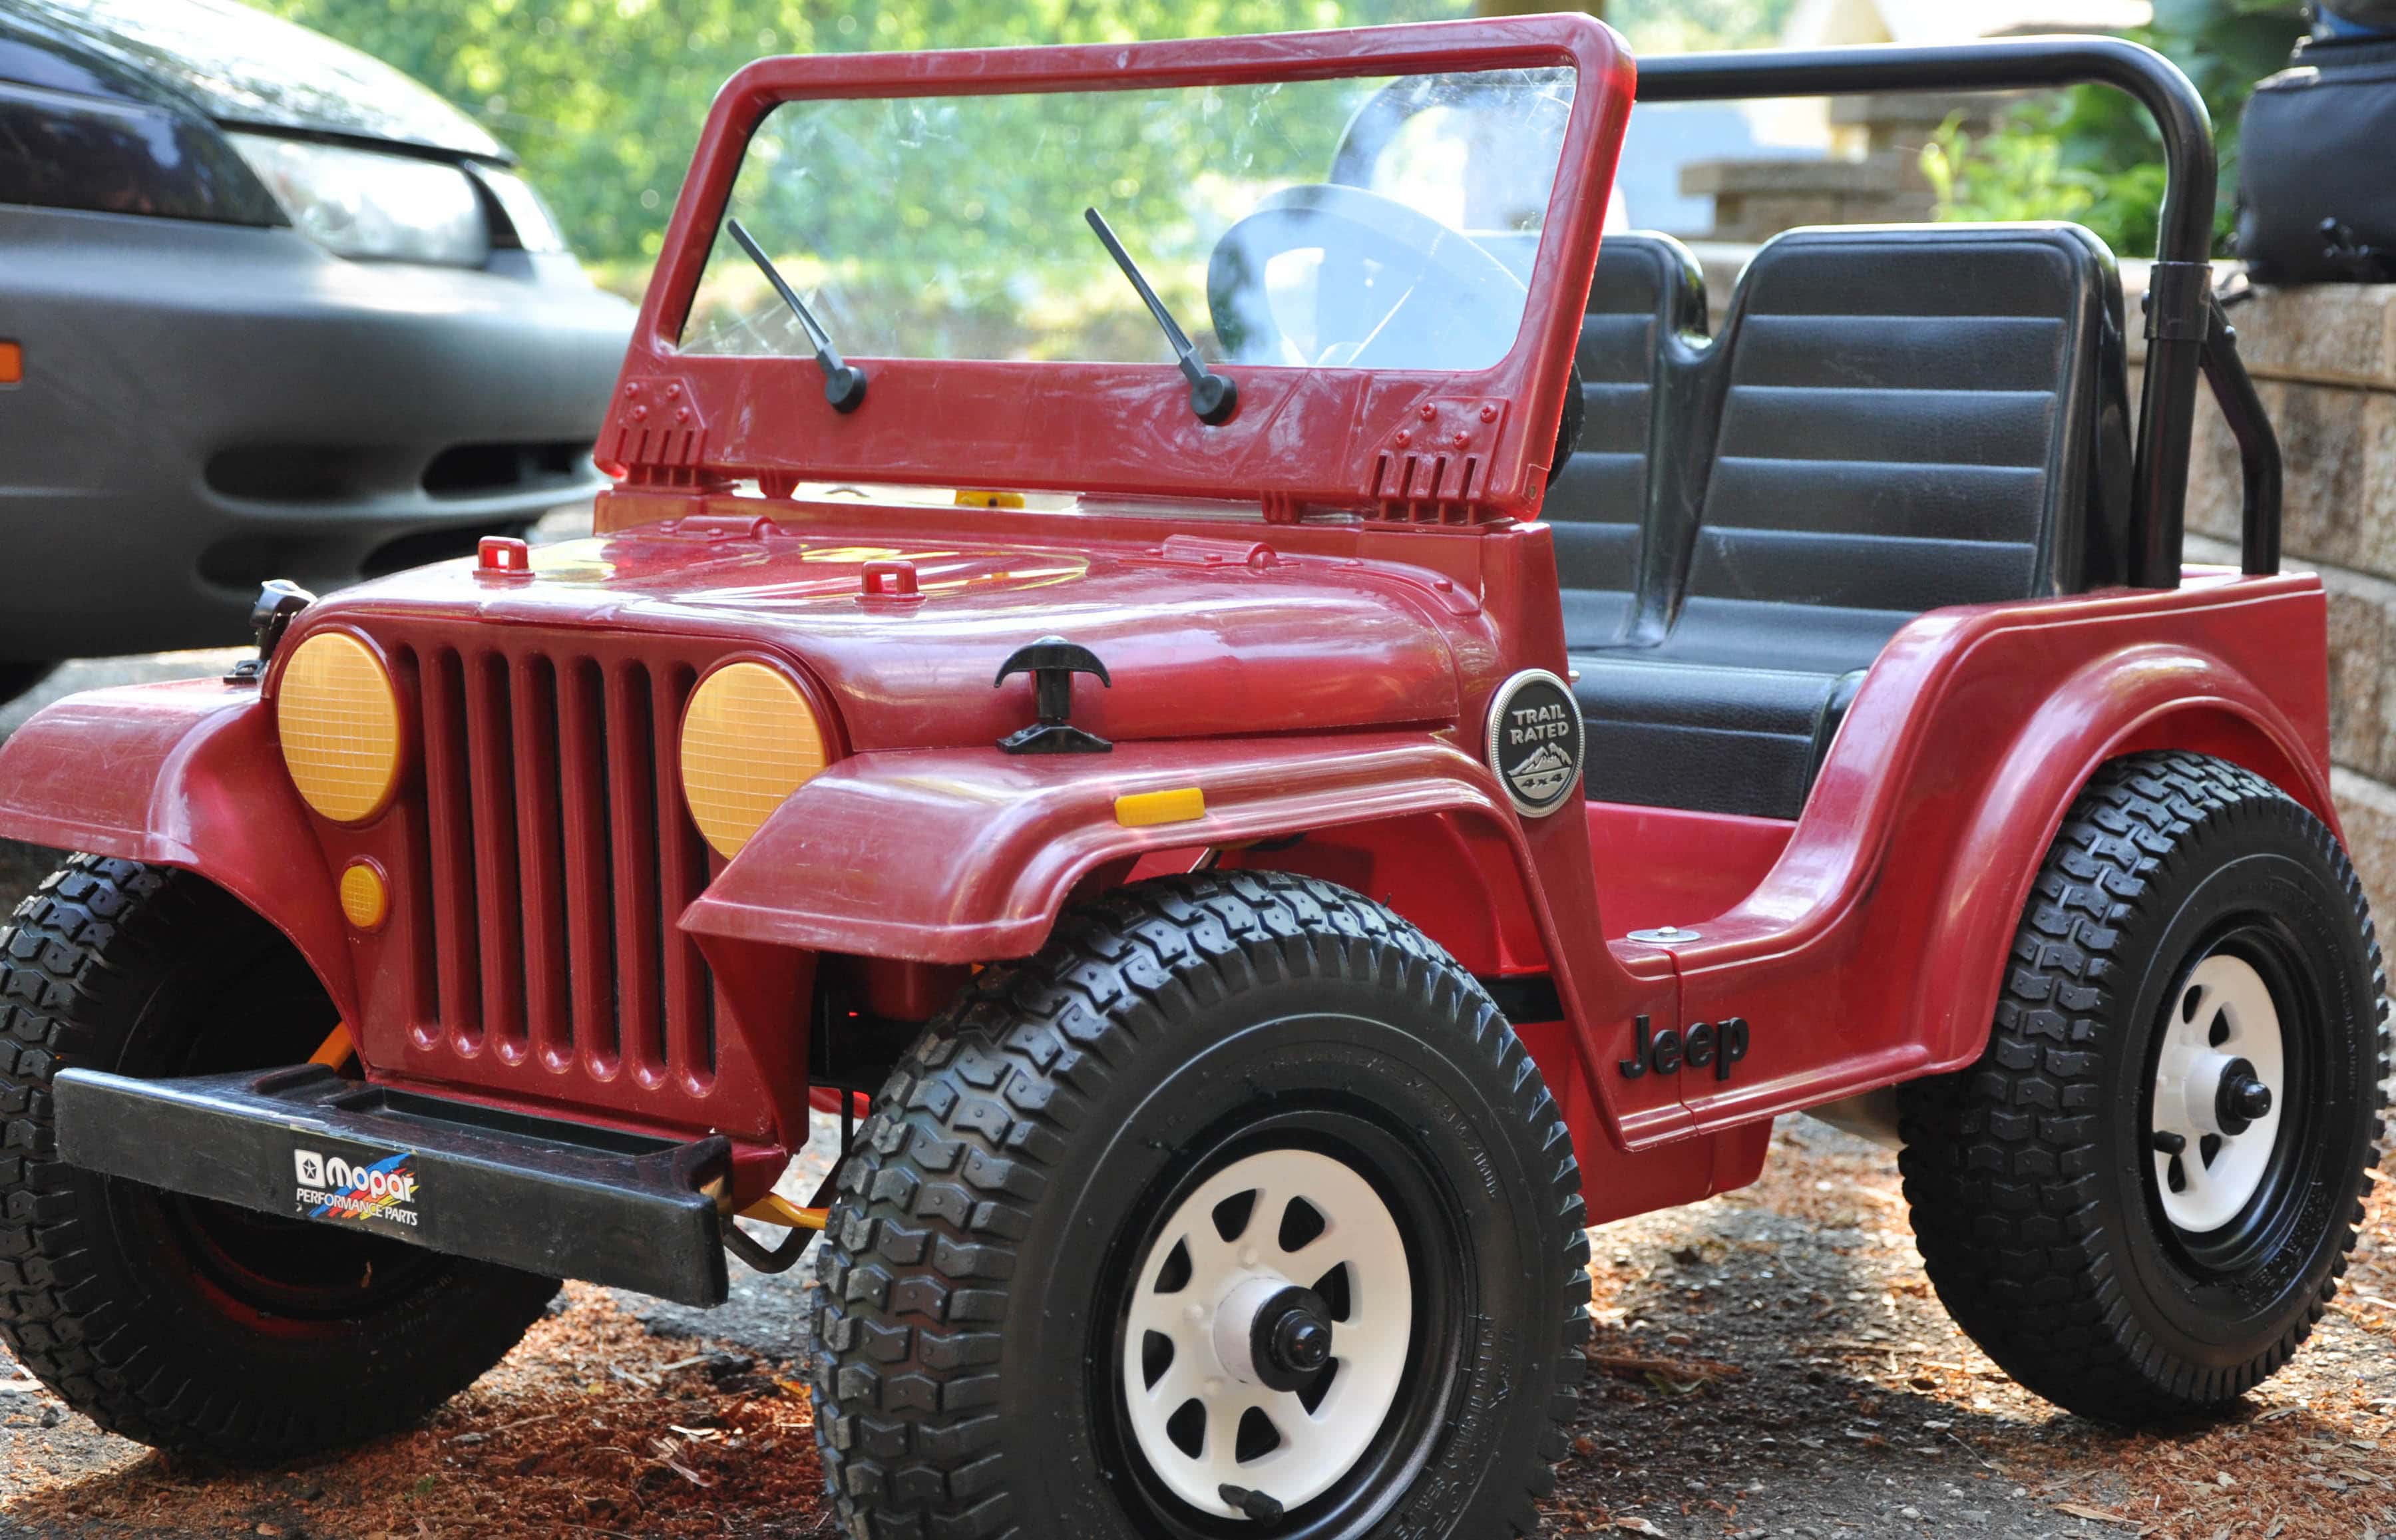
The original plastic wheels had none of the in-molded tread left, contained flat spots, and holes. Looking to better the traction of the Jeep and give it true off-road prowess I decided to switch to a pneumatic rubber tire and steel wheel. After exhausted research I wound up using a tire wheel combo from Harbor Freight. The wheel is 13” in diameter, and has a width of 5”. The width is nowhere close to the original with of the plastic wheels but ended up looking just as good. The rubber tire provides unparalleled traction. The new wheel has a ball bearing 5/8” hub. The issue is that the Power Wheels axle is just under a ½” in diameter. A trick I picked up was to use a ½” I.D. PVC pipe as a spacer. This worked great, and allowed for very little play in the system.
The hard part came when trying to attach the new rubber to the existing gearbox. Upon application of engineering skills, the problem was nonexistent. I measured the ten tooth adapter on the gear box that meshed with the molded wheel, for spacing and size. The measurement from the gearbox to the end of the axle was critical as the wheels are held on with a push nut. The new wheels were measured for angle and outer hub size. SOLIDWORKS made designing the adapter easy and quick. 4 bolt holes where added to attach the adapter to the new wheel assembly. Holes were drilled in the new wheel.
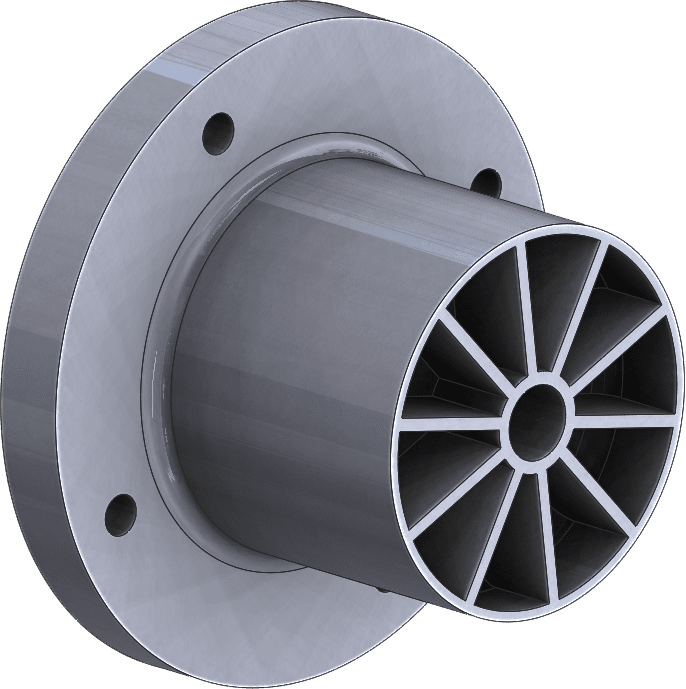
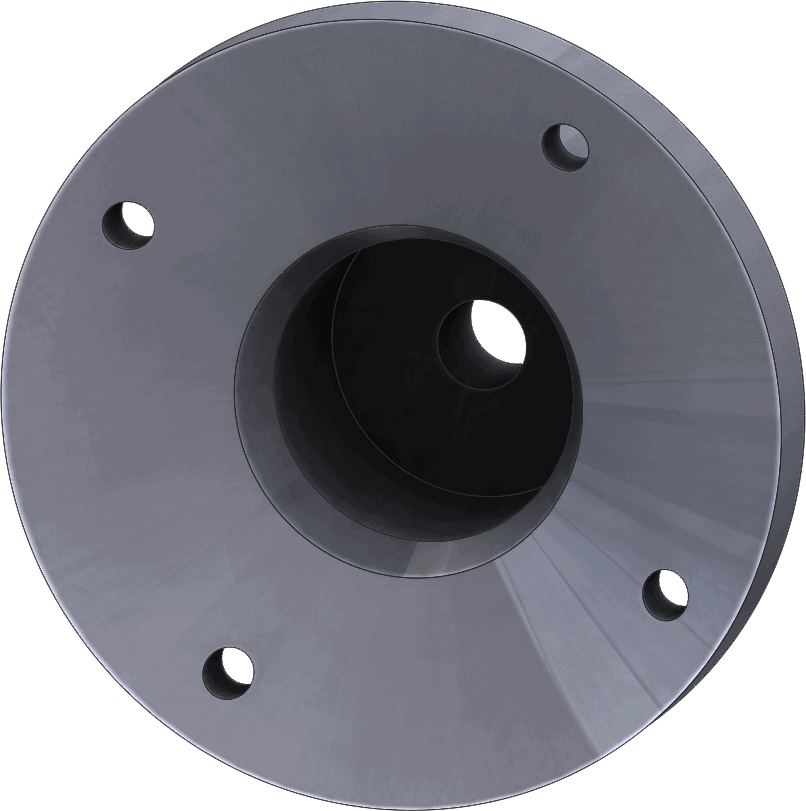
The adapter was tested using SOLIDWORKS Simulation to withstand a calculated torque of 50 ft/lbs. This lead to a factor of safety of 3.2. With this knowledge I felt confident in the design.
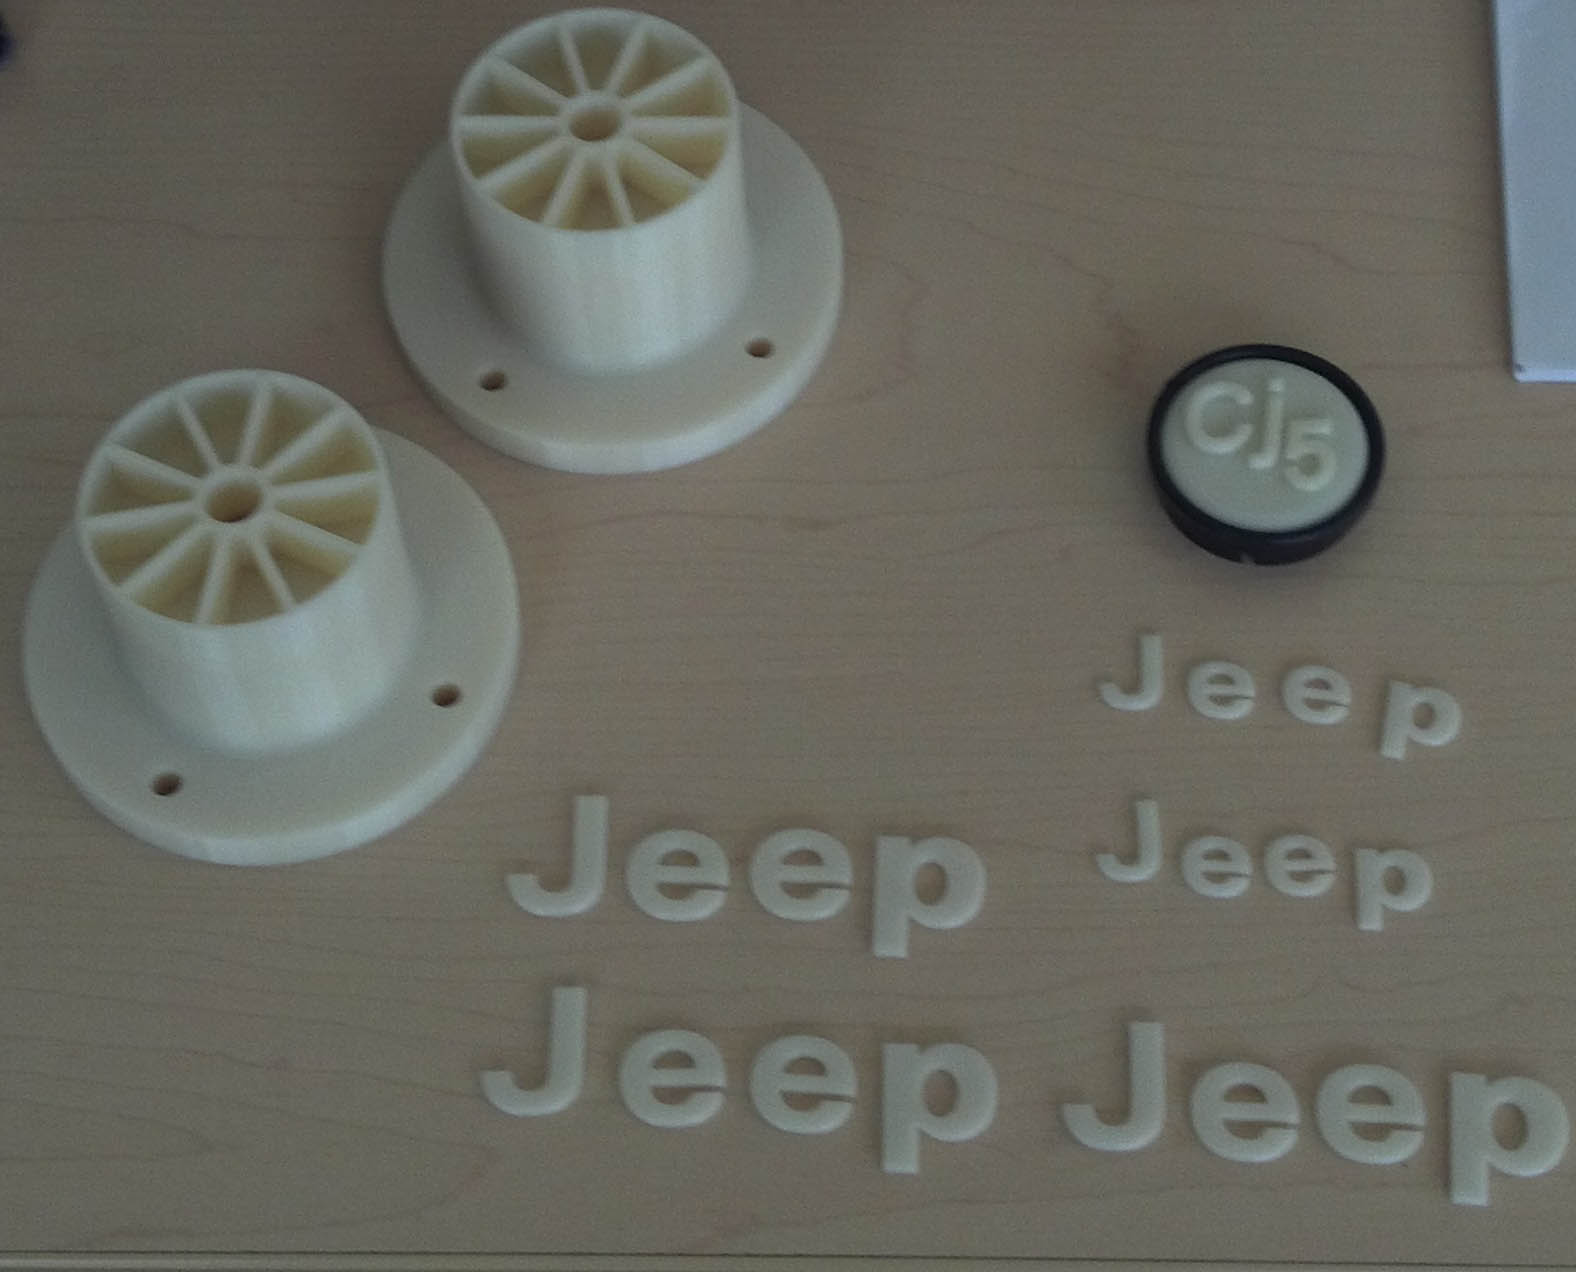
The adapters were additive manufactured on a Uprint SE Plus 3D Printer. The fitment and function worked perfect. The new rubber tires made the traction of the Jeep better than ever. As a finishing touch the new wheels were painted black to offset the white of the hub cap and the original hubcaps were bored out to fit on the new wheel’s hub. As a testament to the toughness of additive manufactured parts the adapters have been in use for 6 years now with no signs of fatigue.

While adding better traction helps the Jeep go off-road, the Power Wheels needs the power to achieve off-road superiority. The goal? Make this Power Wheels Jeep go anywhere, and twice as fast.
The original setup uses two 6V Ni-Cad batteries which allows for the jeep to run at 2.5 mph in Low, and 5.0 mph in High (doubles the voltage to 12V). The old batteries would need to charge overnight, and lasted for a half an hour under spirited driving conditions. I left the stock motors and wiring alone for now and focused on increasing the battery size. As Tim The Tool Man Taylor would say I added “More Power”. Loads more. I added adapters to the battery compartment using the old terminals from the Ni-Cad batteries. This allowed me to go back to the Ni-Cads if I ever wanted to. We haven’t yet. From my other R/C hobbies I already had several Lipo batteries I could use. I started with a 4000 milliamp hour, 11.1V Lithium Polymer battery. That is times two. The 11.1V batteries charge to an actual voltage of 12.6V. Yes, I just took the system from 12V to 25.2V in high. The results were explosive! Faster does not begin to explain it. The Jeep now does a GPS verified 11.2 mph! Luckily the good folks at Power Wheels added a low range only connection that when unplugged the batteries could not be run in series. This keeps the voltage to be the 12.6V. Still Fast. The good news is that the Lipos recharge in an hour each and the drive time lasts for roughly half an hour. Not too shabby. This equates to more driving.
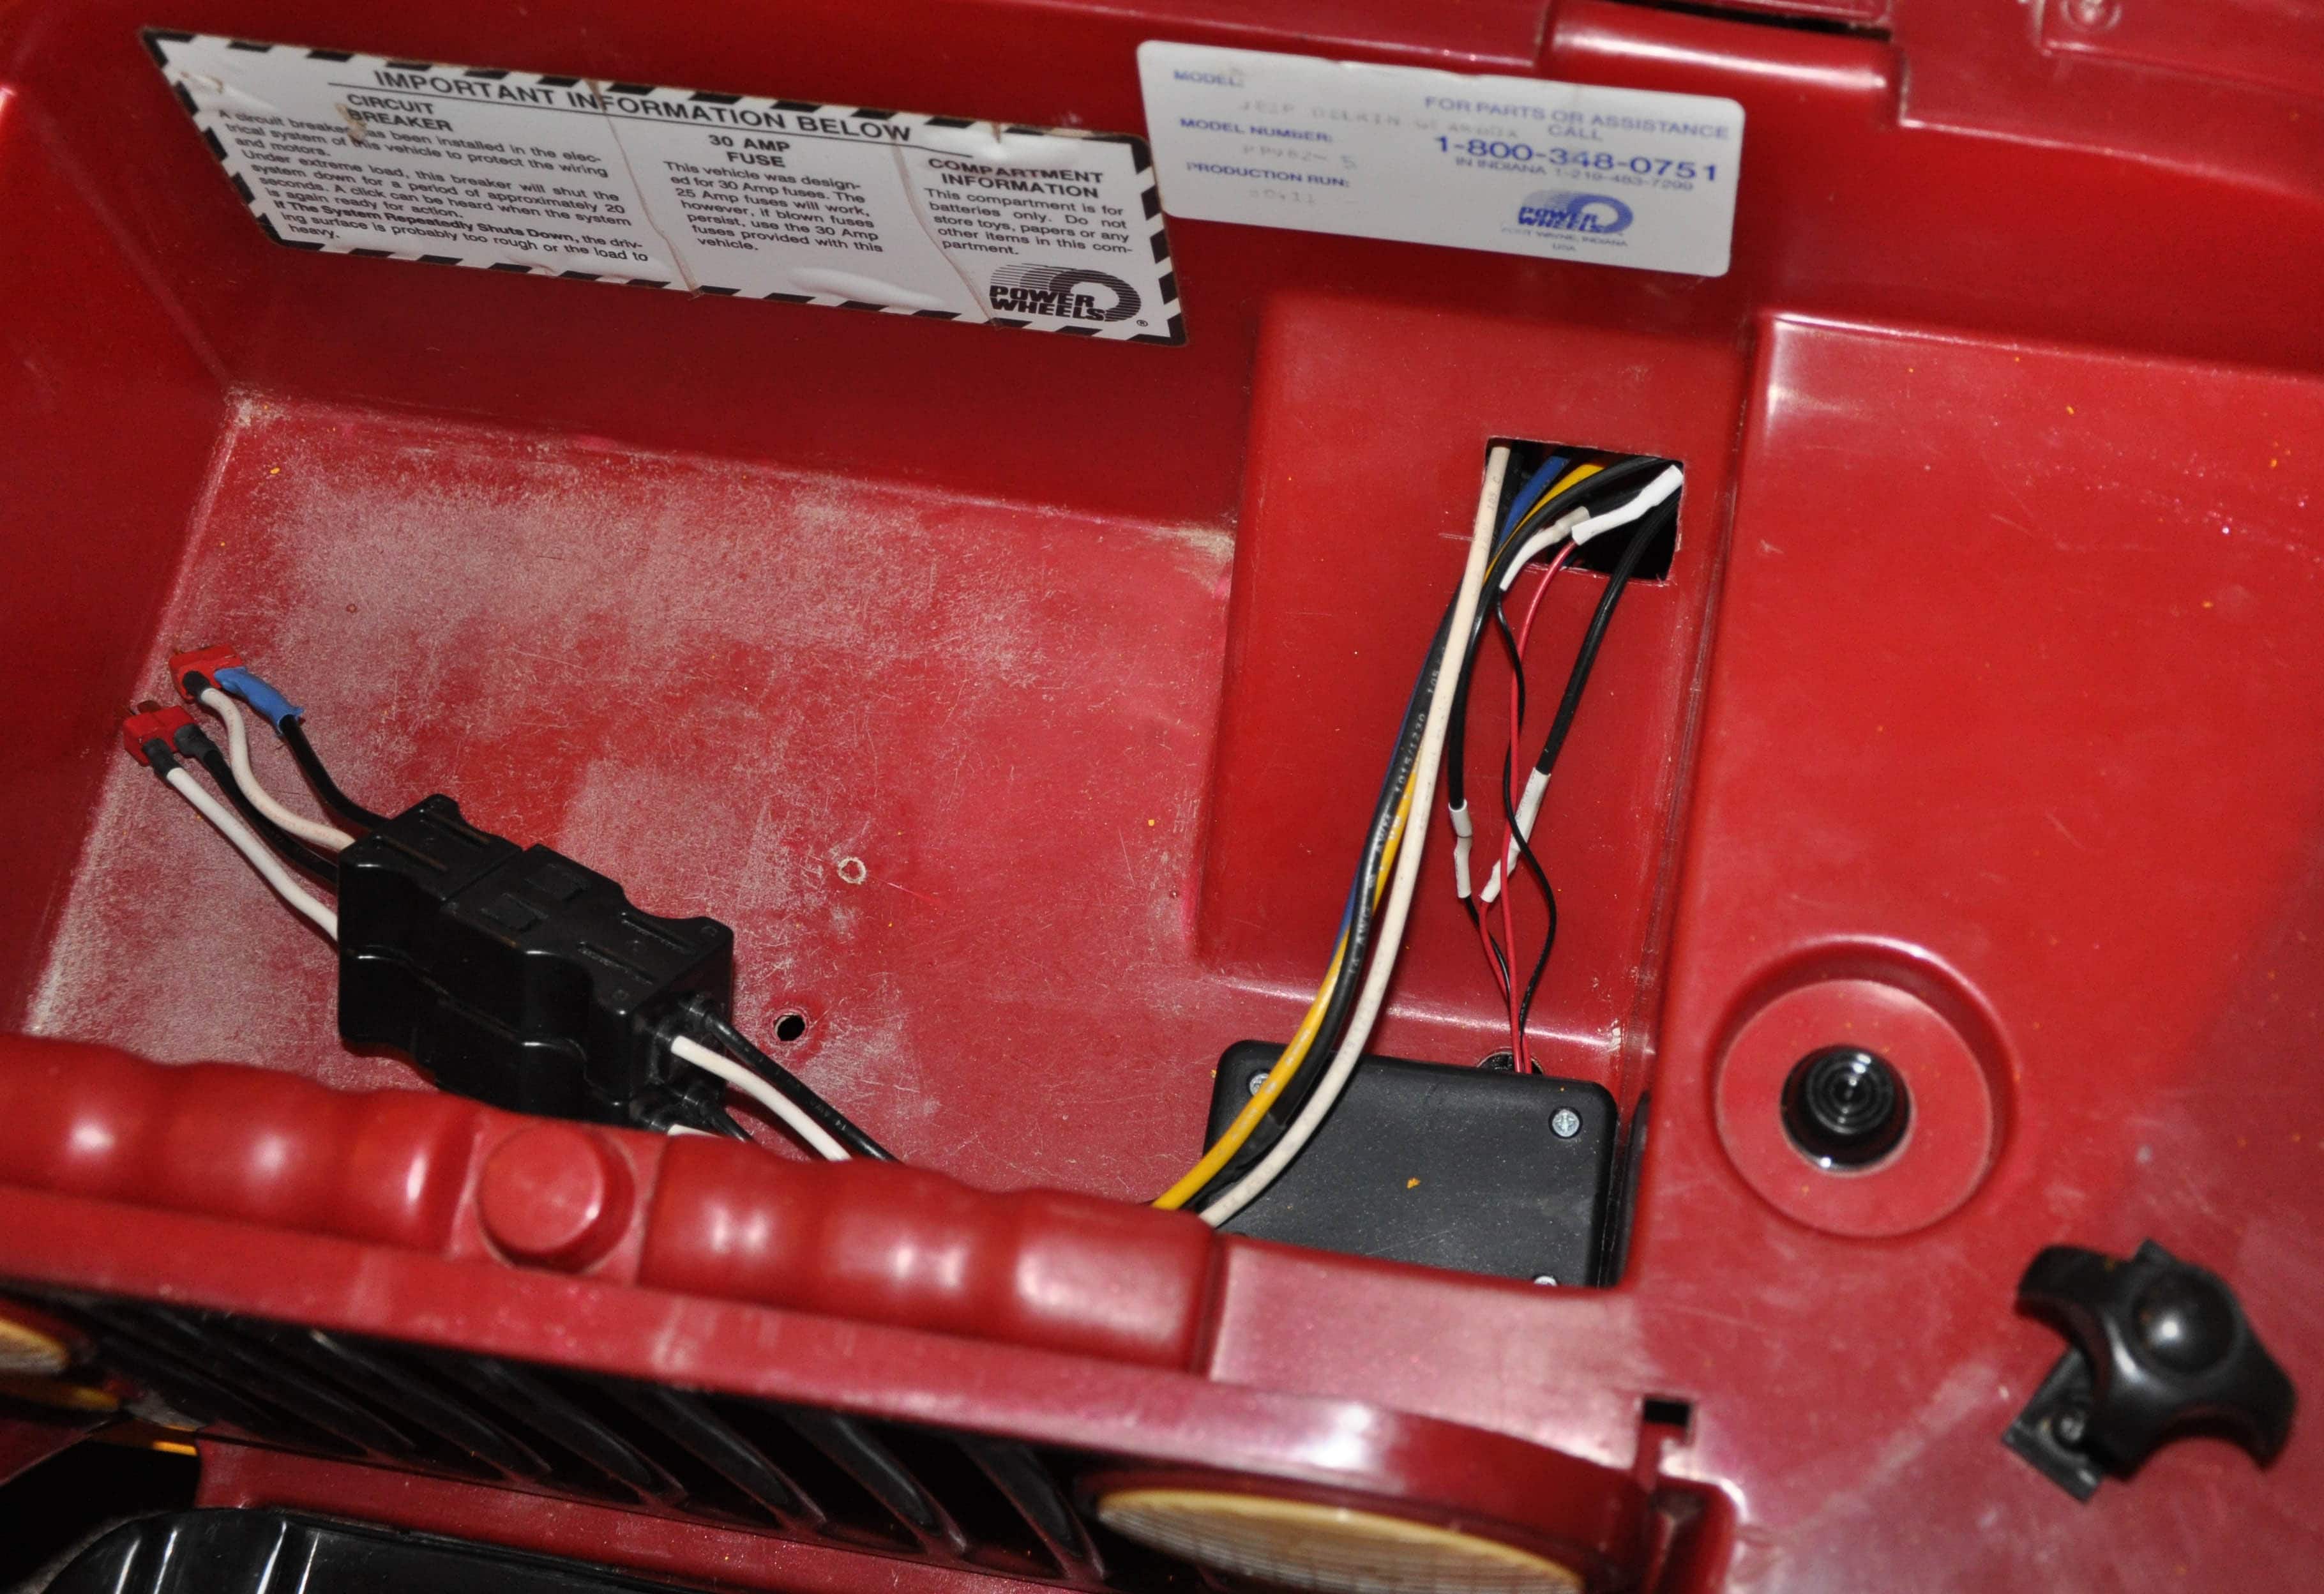
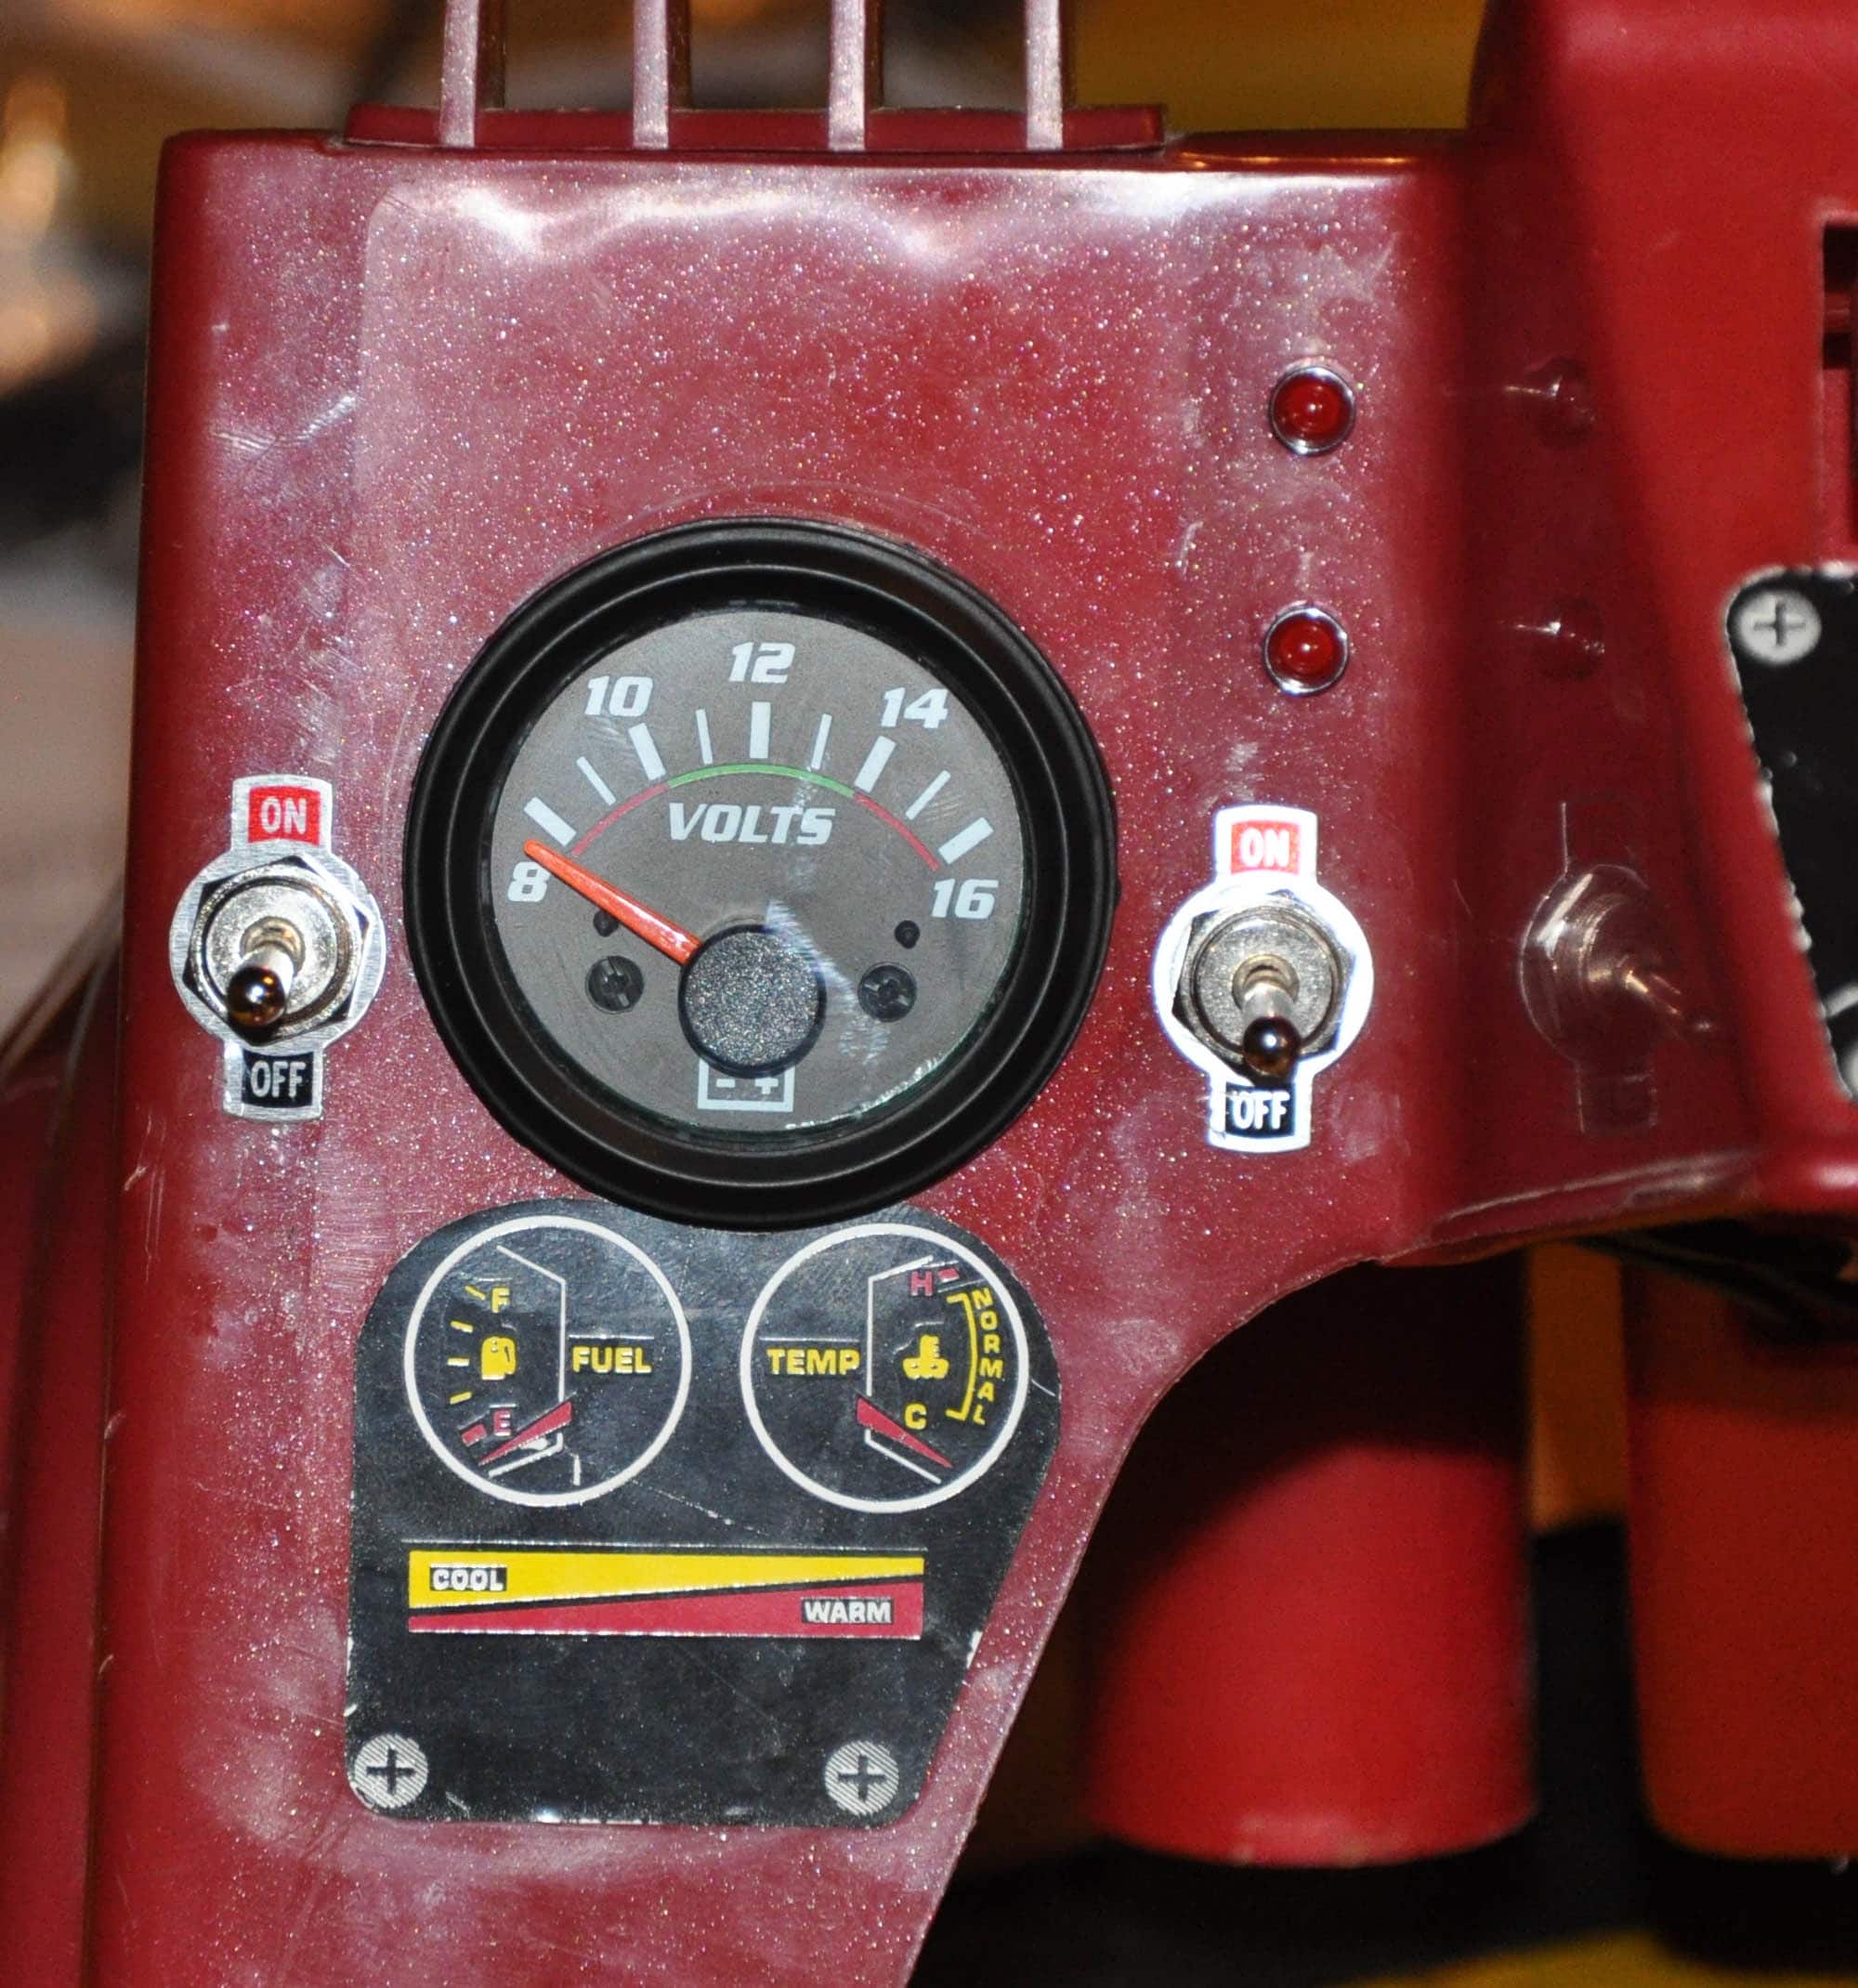
One down side to the Lipo batteries is that they cannot be discharged below 20% of capacity or the battery is ruined. I added a voltage gauge to act as a fuel indicator as well as a Battery Elimination Circuit (BEC). A BEC cuts the power to the motors once the batteries reach a specified discharge point. The BEC saves batteries and adds some brains to the electrical system.
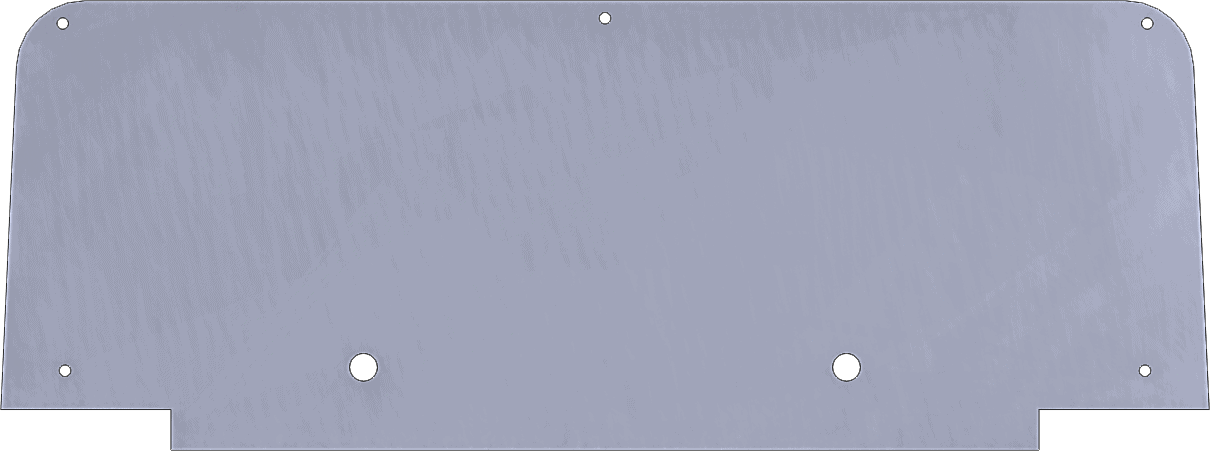
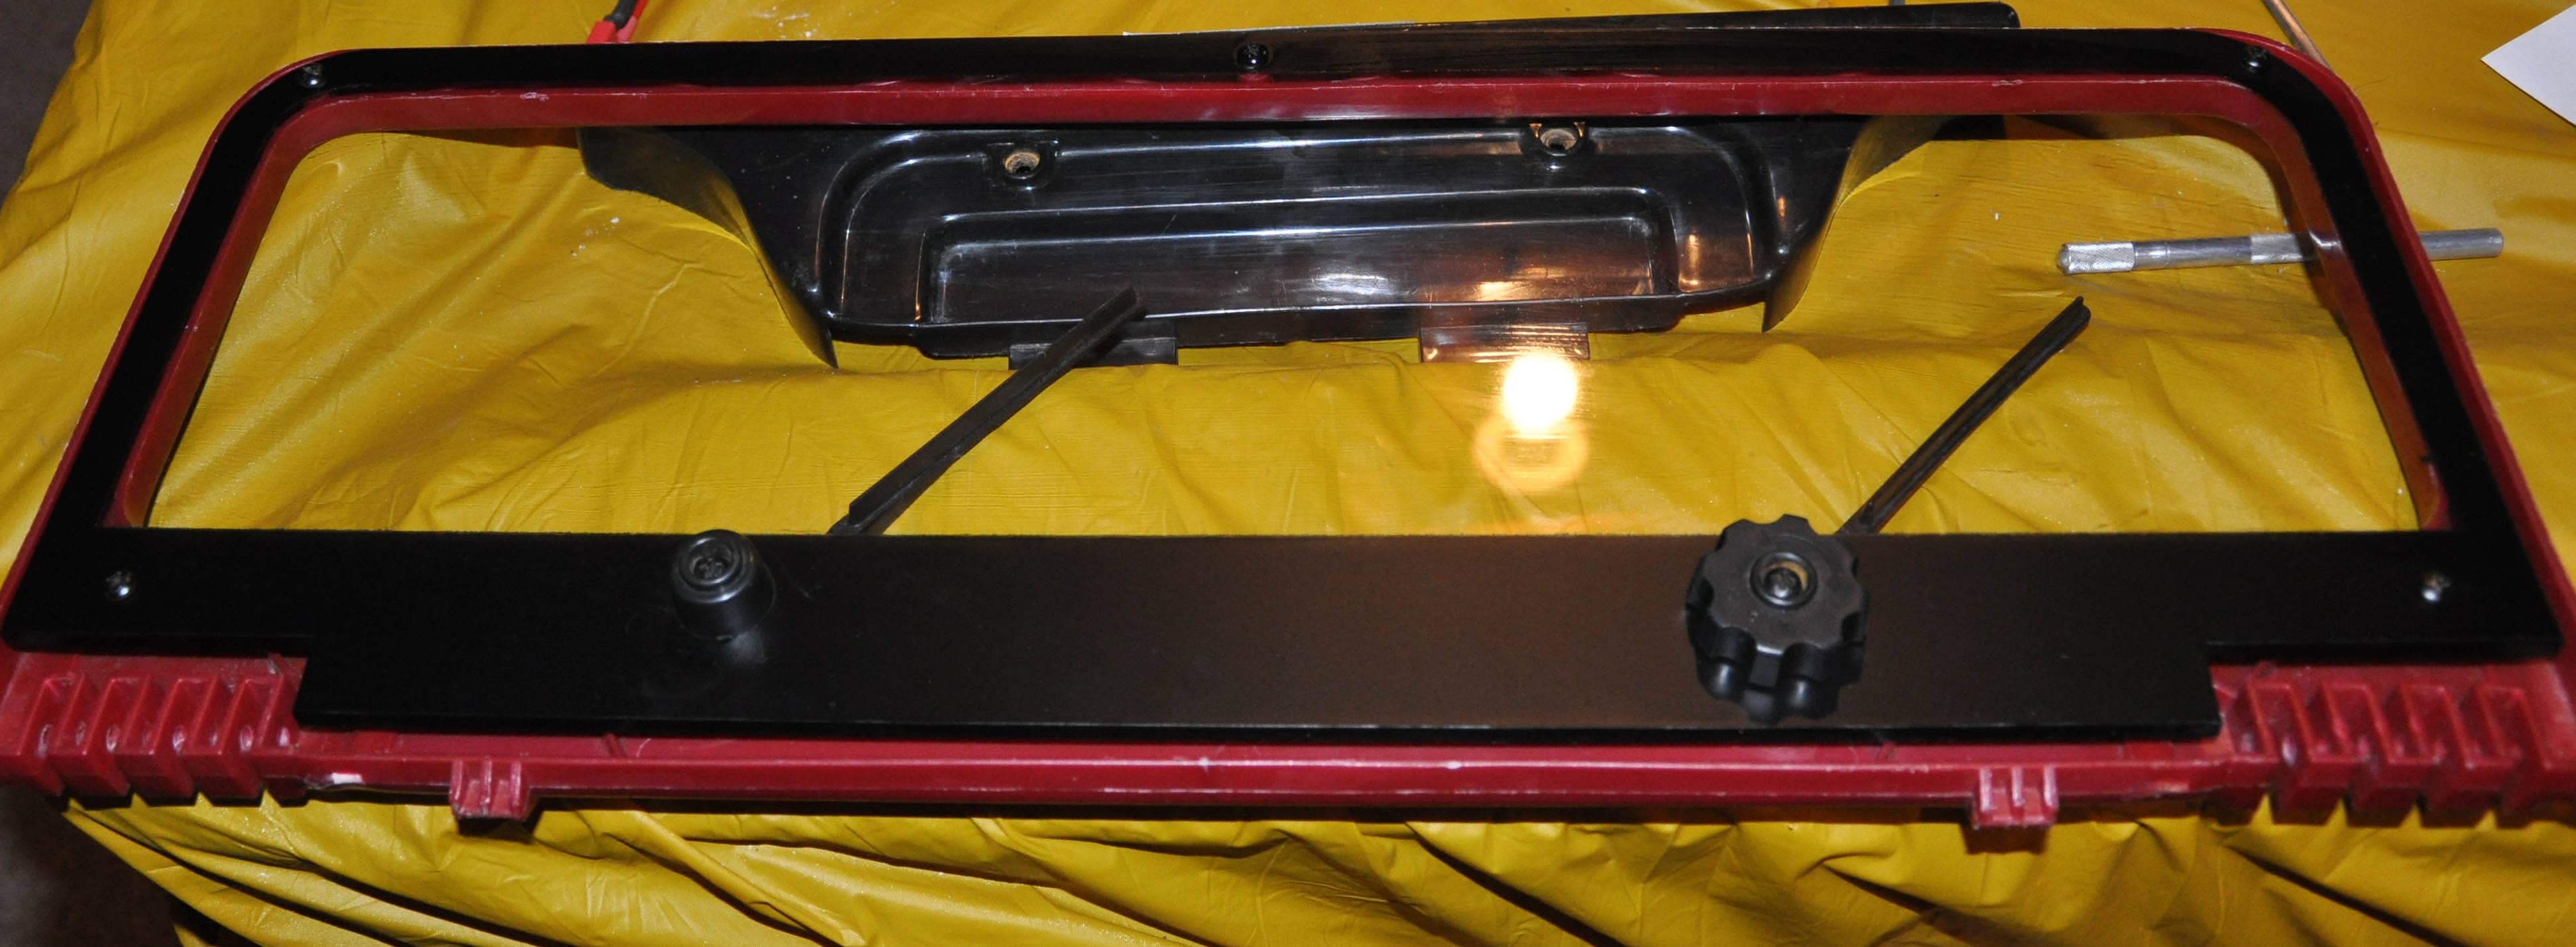
Assembly the body was a fun task and Matthew was excited at how his new Power Wheels was shaping up. One of the hardest things you run into when restoring something old is that new parts just are not around anymore. This was true for the windshield. So I made my own. I took a picture of the windshield frame as normal to as I could. I measured the distance between the holes as a reference. In SOLIDWORKS the sketch picture tool was used to import and scale the windshield frame accordingly. The windshield was designed using SOLIDWORKS and a DXF was exported for use with a laser. The windshield laser cut out of Plexiglas to replace the original windscreen. A black border was painted on the Plexiglas to mask the windshield wiper mounts, and internal ribs.


Final assembly was close at hand. New Jeep logos were created in SOLIDWORKS and printed to replace the older stickers. The logos and tailgate were trimmed in black as well. Finally assembled and tested the Jeep needed one more final touch. A Trail Rated badge.
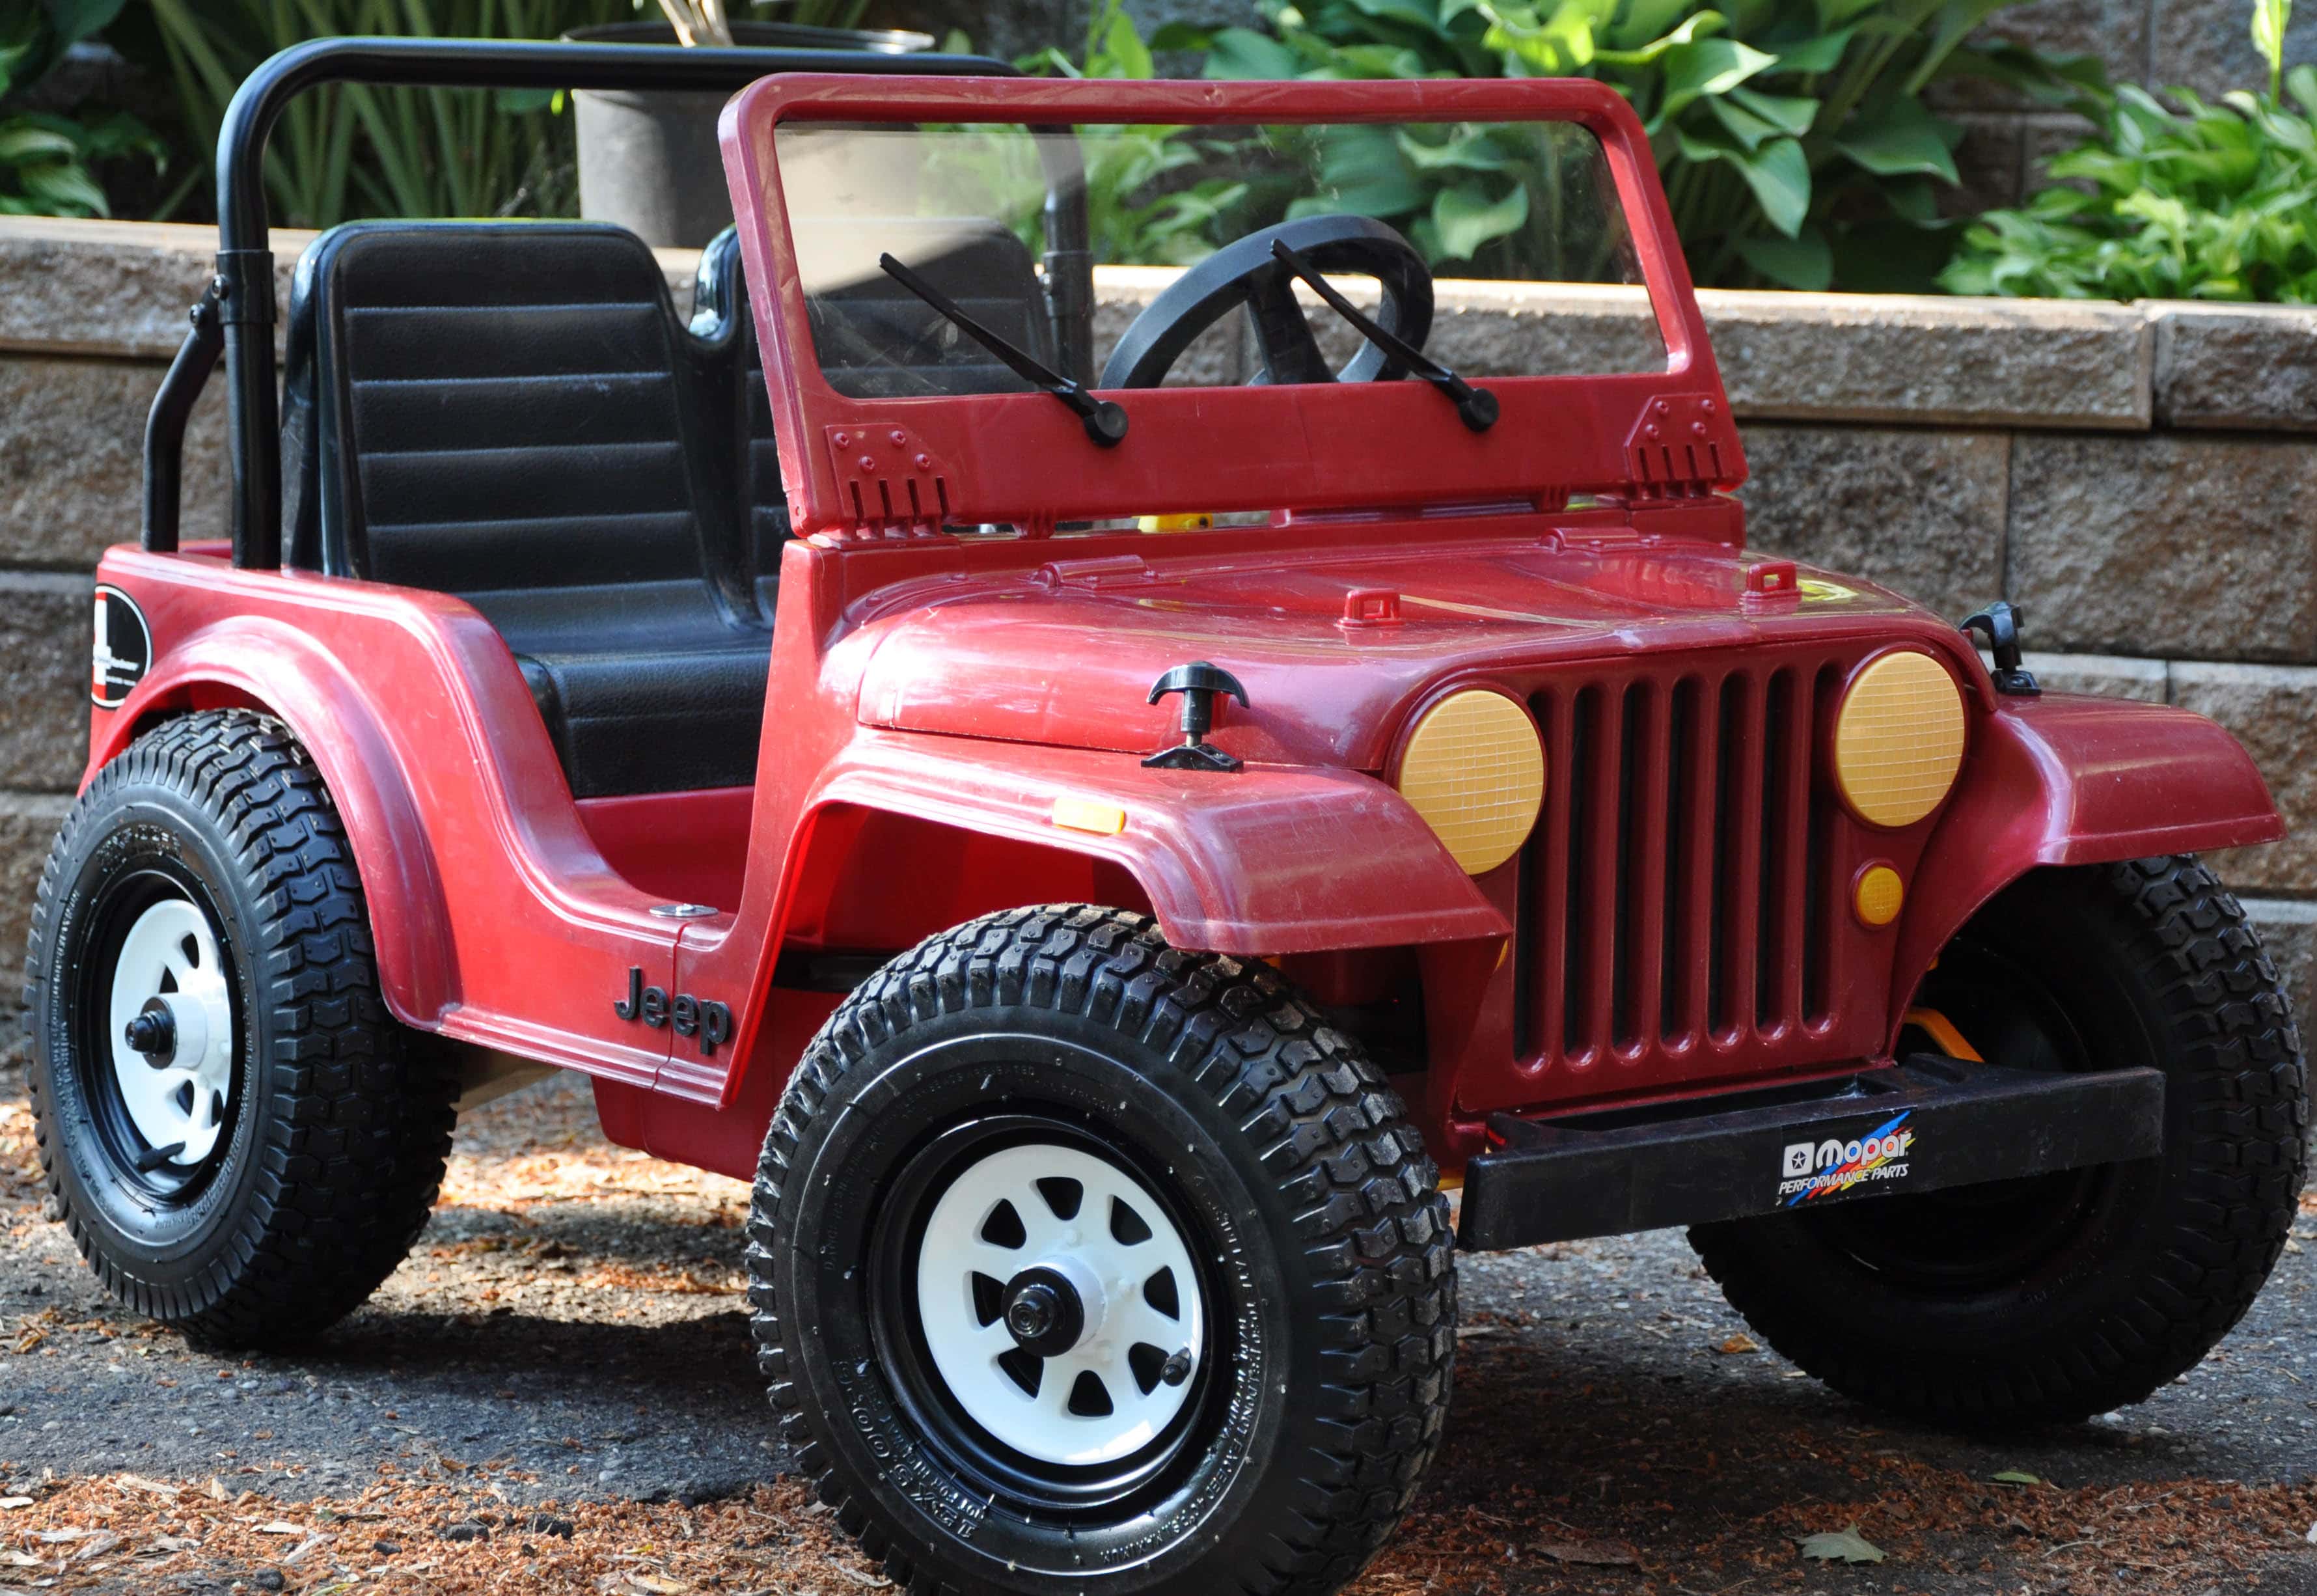
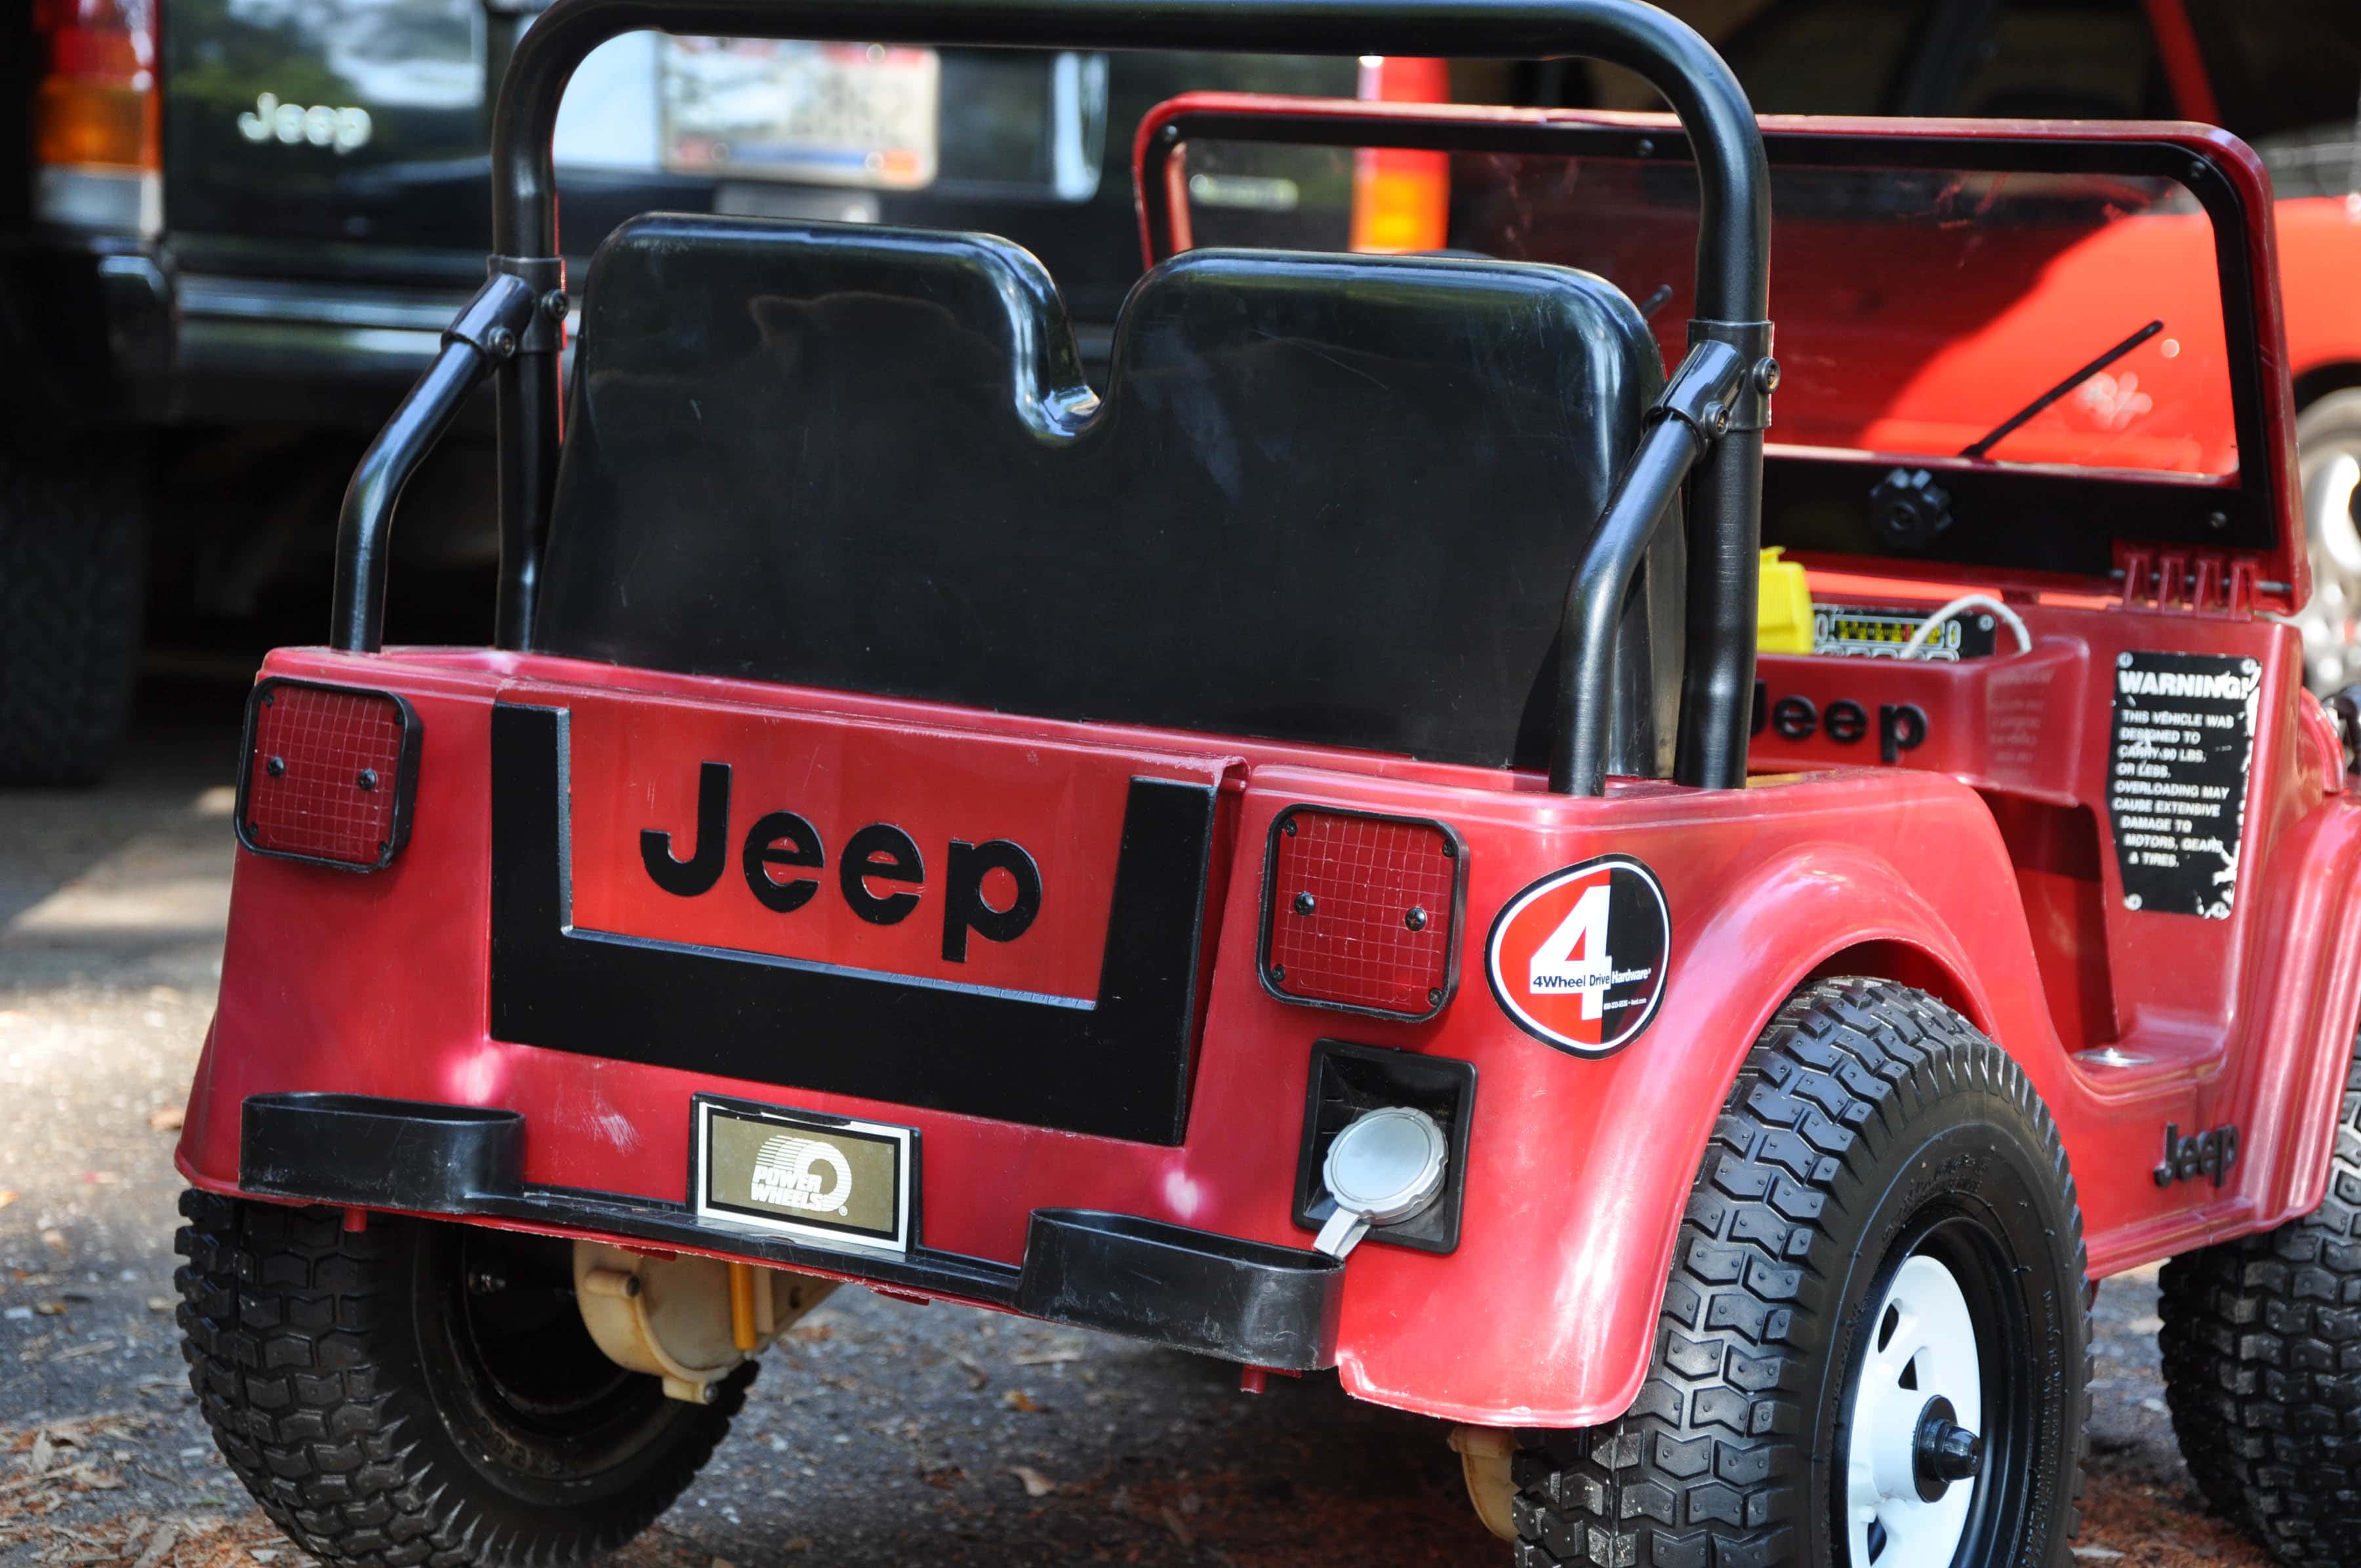
While this Power Wheels Jeep will not be attempting the Rubicon Trail anytime soon it does conquer every backyard obstacle with ease. Hills, grass, snow, mud, sticks, and roots do not stand a chance. Not too shabby for 30 years old. Since the restoration Matthew gained a brother Henry, and the Jeep became 3 years older. The boys do not go a week without driving the Power Wheels and are turning into true Jeepers.