Stratasys 3D Printing: How to Setup a Multi Body Print Job - Polyjet
Setting up a Multi Body Print with a Stratasys 3D Printer – Polyjet
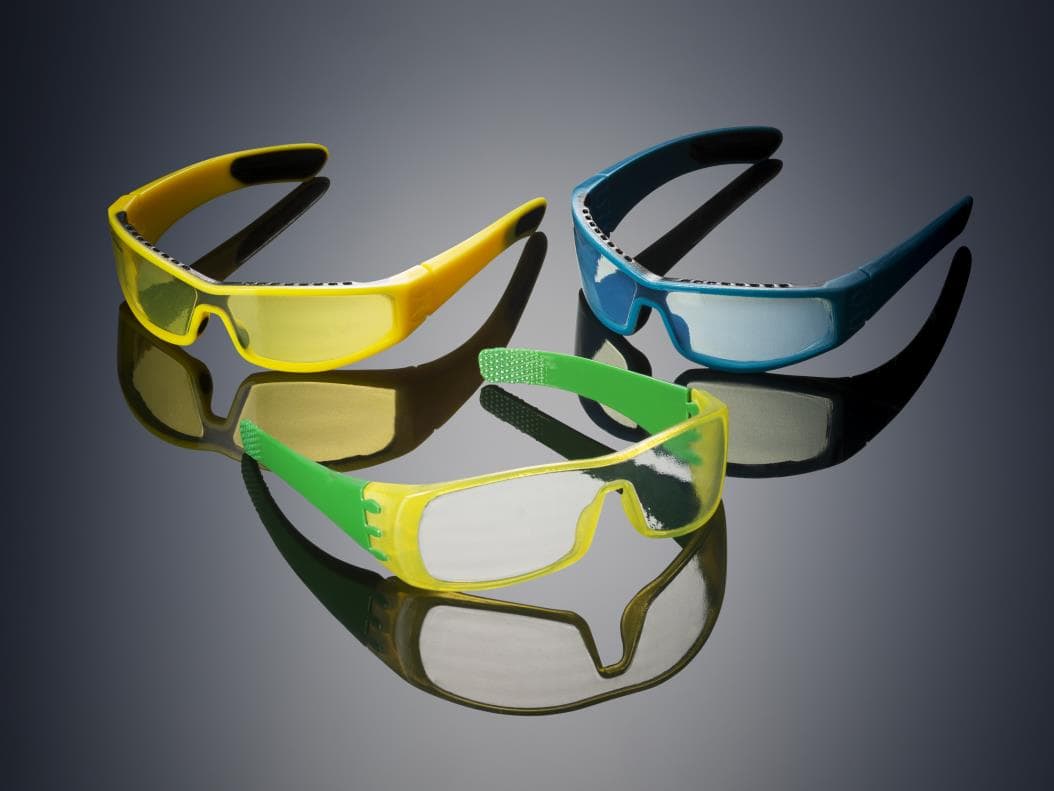
Some of the Objet Polyjet line of Stratasys machines can print in multiple materials at the same time. You can get parts that have a hard plastic surface, clear/see through sections, and soft rubber over molding all in one print job. But how does the printer know where to apply the specific materials? The user interface in the Objet Studio software is very simple and easy to use. All you have to do is assign a specific material to an entire STL model. Let’s take a look at a pair of glasses that will need rigid material for the frames, soft rubber for the nose and side of the arms and a clear material for the lens. Once we have a the STL files it is trivial to assign the materials to each part.
To do this we will need to have a separate STL file for each material that we want, with the other geometry not included in it. So lets take a look at how we export out the separate file from SOLIDWORKS so we can print up our model. First we need a model that we are going to print. We need to design it so that the different sections we want will be different solid bodies within SOLIDWORKS. Either different Parts within an assembly or just a multi-body part file.
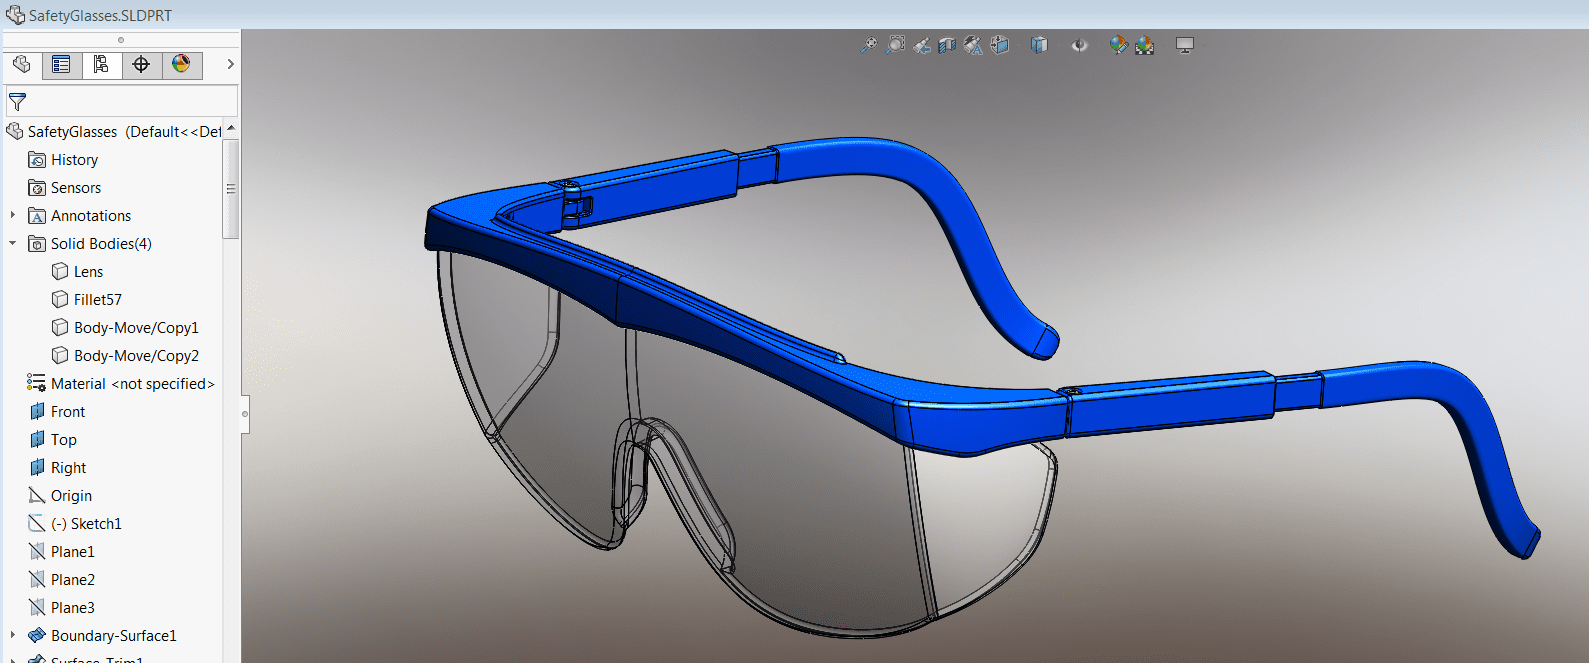
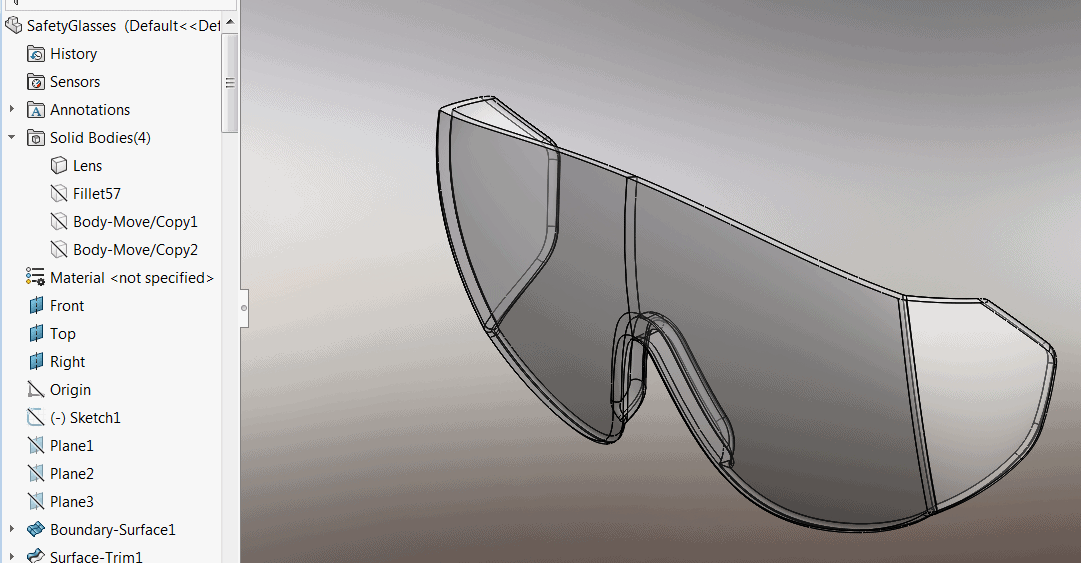
We will take a look at this multi-body part file for an example. A simple way to save out the bodies as separate STLs is to Hide the bodies that we don’t want and the going to ‘Save As…’
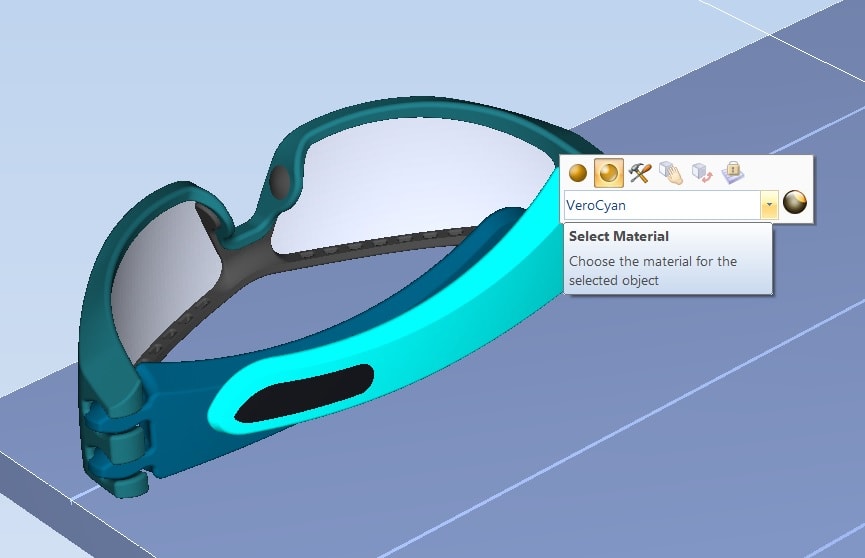
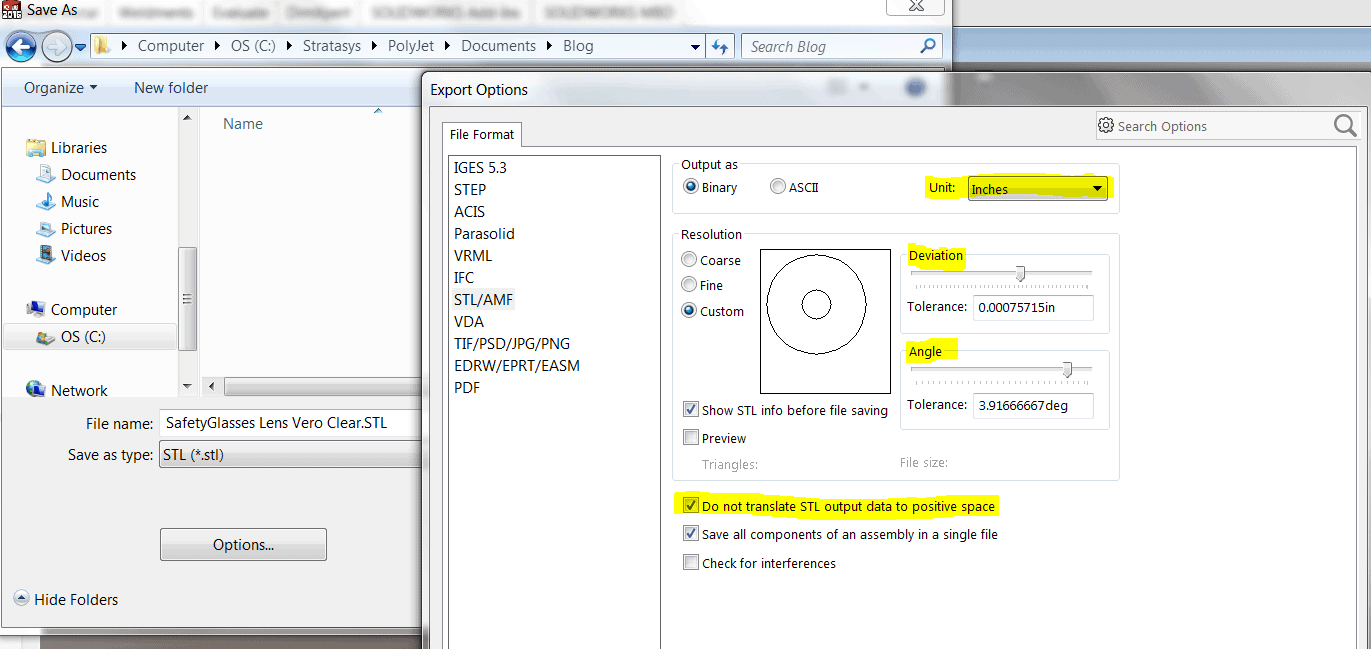
Name the part after the material you want to print it as to make assigning materials quicker, for example ‘Safety Glasses Lens Vero Clear.’ Change the ‘Save as type:’ setting to STL. Once it is at the STL type, you will have the Options button appear below it. Click the Options button and you can adjust the STL setting specifically. Here is where you will choose what units to save the file out as. Select either Inches or Milimeters because that is what Objet Studio will import as. Then you can adjust the mesh tolerance. I like to make it a little bit finer than the resolution of the printer (you can make it even finer but all that does is make the STL file really big without making the printed part any better), and set the angle to around 3-5 degrees. The last, and very important, options to check is the ‘Do not translate STL output data to positive space.’ Make sure that is checked; this way when you save all of the separate STL files out, they will all have the same origin as the SOLIDWORKS model. If that is not checked then the STLs will be assigned a new origin and not import properly.
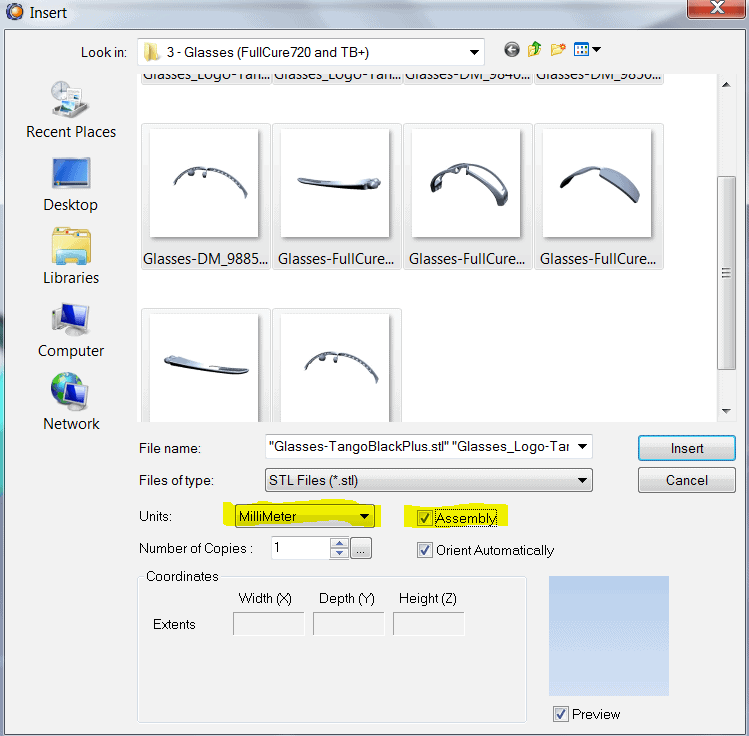
Finally to get them into Objet Studio you need to insert all of the STLs for the assembly in one operation. Make sure to check the ‘Assembly’ check box or they will be placed individually. Also make sure your units are the same as what you saved out in SOLIDWORKS.
Tim Crennen
Applications Engineer, Additive Manufacturing
Computer Aided Technology, Inc.
www.cati.com