Stratasys 3D Printing: GrabCAD Print Workflow
GrabCAD Print Workflow for Stratasys 3D Printers
Stratasys has recently released a piece of software called GrabCAD Print, which can essentially replace Catalyst (for uPrint and Dimension users). Down the road, the plan is to add Insight (for Fortus users) capabilities as well. This way, instead of processing files using a different software for each machine, everything can be accomplished with GrabCAD Print.
Here are the basics of the GrabCAD Print workflow:
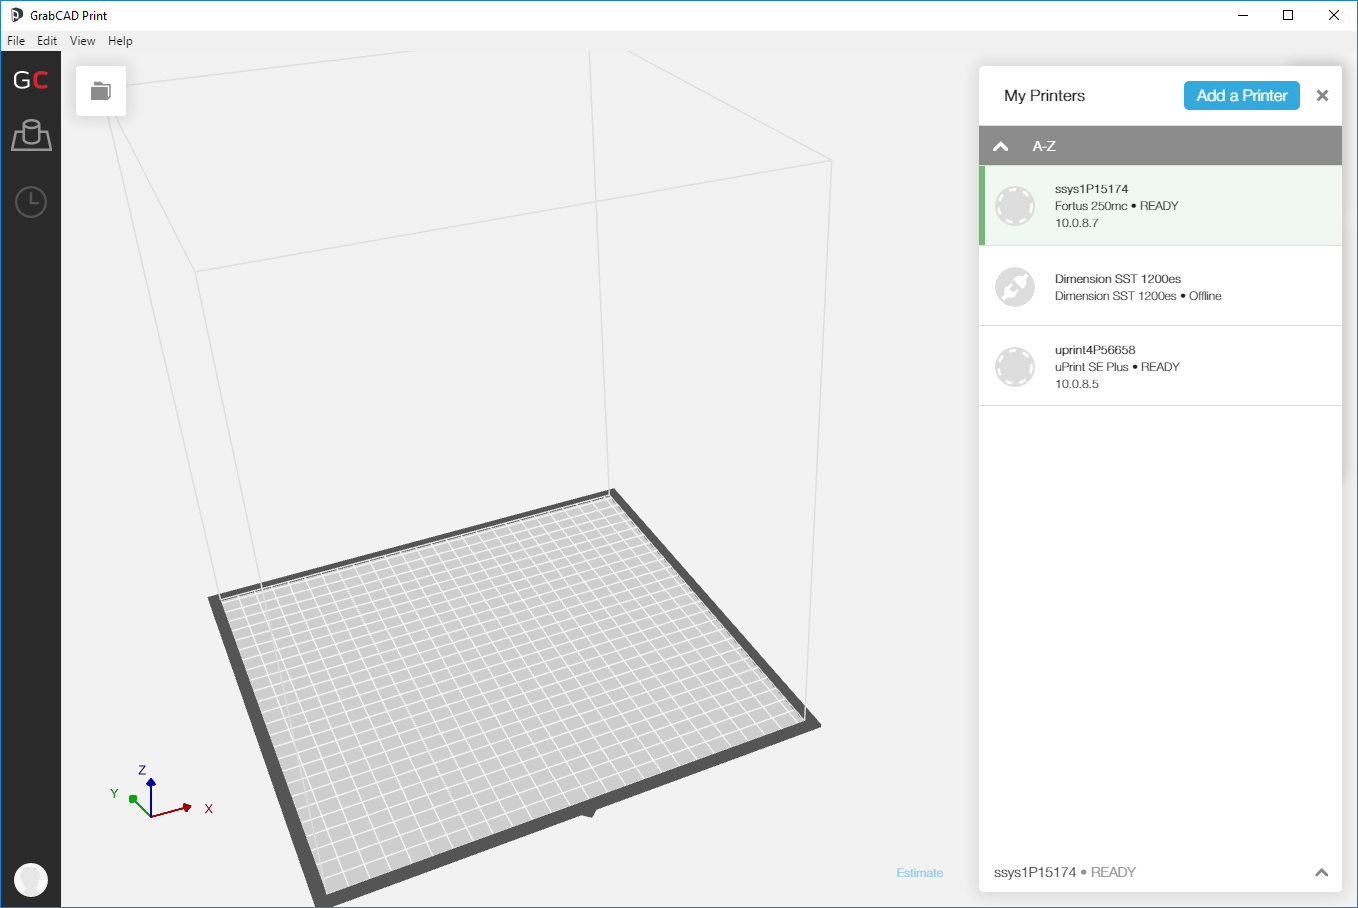
First, we can choose our printer by selecting the printer menu in the bottom right and clicking on the printer we want to process the part for. This will affect the displayed build tray size, as well as what materials and print parameters are available.
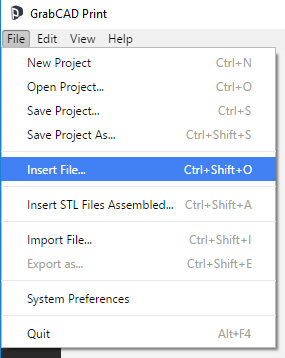
Next, we can bring in our STL file by one of two options:
- File > Insert File
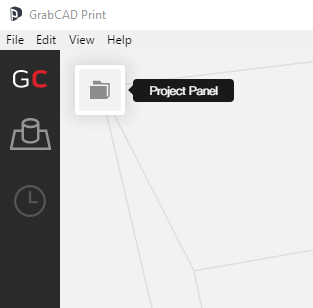
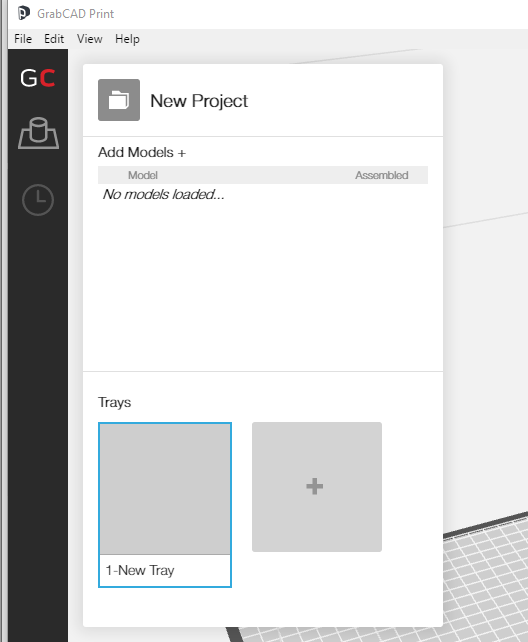
2. Project Panel > Add Models
This particular file that I’ve loaded has some STL errors in it. With Catalyst and Insight, there are no automatic mesh healing functions, requiring the use of 3rd party software light Magics or netfabb. Now with GrabCAD Print, we can not only see that our part has errors, but repair these errors as well.
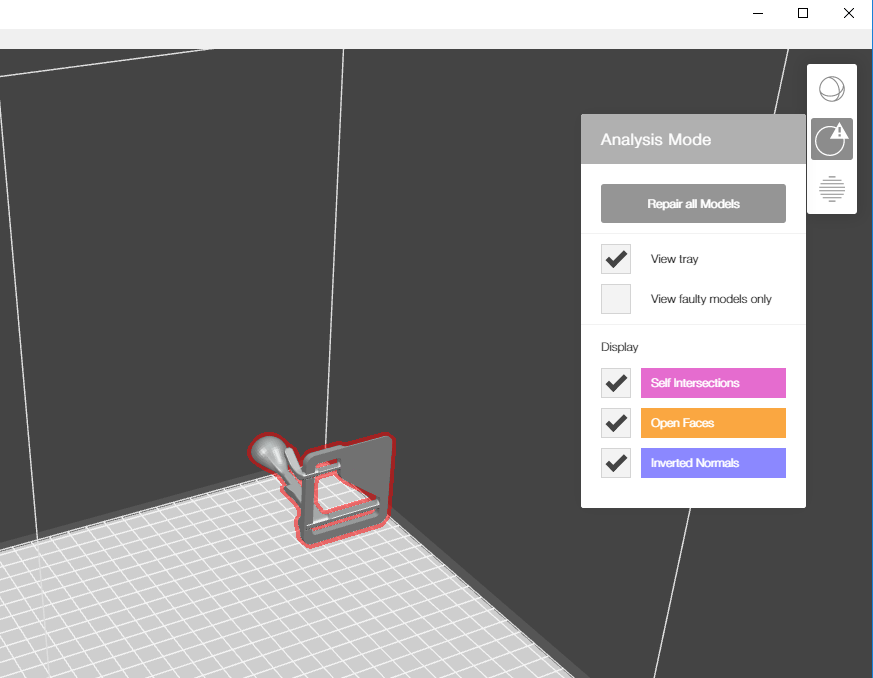
Using the toolbar on the right, we can then go through and view model information, select units, choose support style and part fill style, select slice height, and choose material types. We can also orient parts, and arrange parts on the tray. One nice benefit to using GrabCAD print, is that we no longer have to process individual files, then send them to a tray in order to arrange our print. We can load everything in and process all in the same window.
Once I’ve arranged and oriented my parts on the build tray, we can slice the build and generate our support and toolpaths by clicking on the slice preview button.
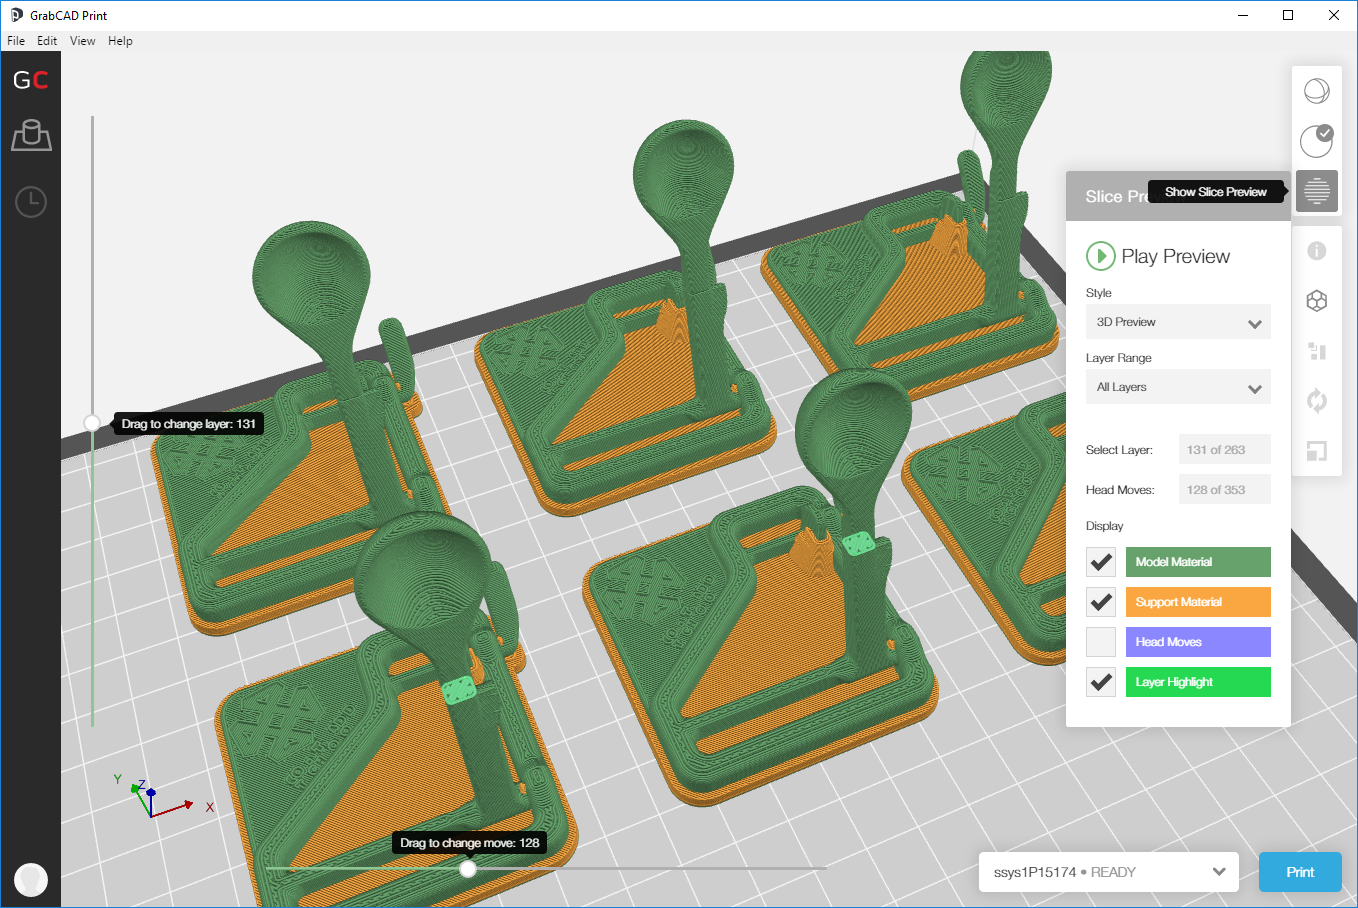
With GrabCAD Print, we can now get a more viewer friendly 3D rendering of the toolpaths which helps to find errors before building. We can also use the “Play Preview” button to show an automated build of your print tray. Once everything looks good, simply hit the Print button to send your build tray to the printer.
Owen Lu
Application Engineer
Computer Aided Technology