SOLIDWORKS Visualize Professional 2018 – Area Lights
Lighting a product within a virtual environment can be tricky at times. SOLIDWORKS Visualize Professional 2018 adds new features to help you position lights exactly where you need them, and import light sources from previous projects created in SOLIDWORKS. Now it’s easier than ever to light your scenes and get the perfect studio quality photograph you are looking for.
The physics behind the scenes of SOLIDWORKS Visualize are quite complex, using a physically based technology from NVIDIA IRAY that simulates the physical behavior of light and materials. Below is an example of how this light source could be calculated.
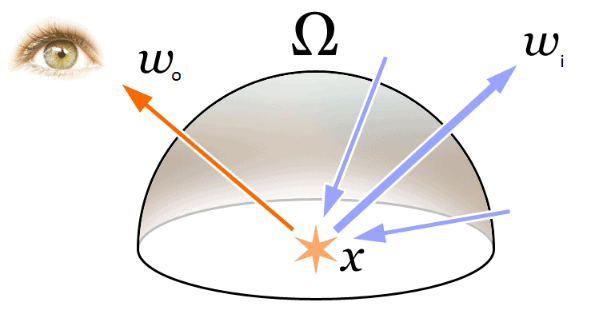

https://en.wikipedia.org/wiki/Rendering_equation
In SOLIDWORKS Visualize, rendering is the process of converting 3D models (in our case from SOLIDWORKS) into a 2D image “seen” by the camera in the scene (or 3D stereoscopic image or VR environment). A “Rendering” is a product of the 3D model, lighting, materials, surface properties, textures, and decals to create one finished frame. Today we will focus on how to add additional area lights to a project. Note that the following requires Visualize Professional 2018.
Add light to a bland scene
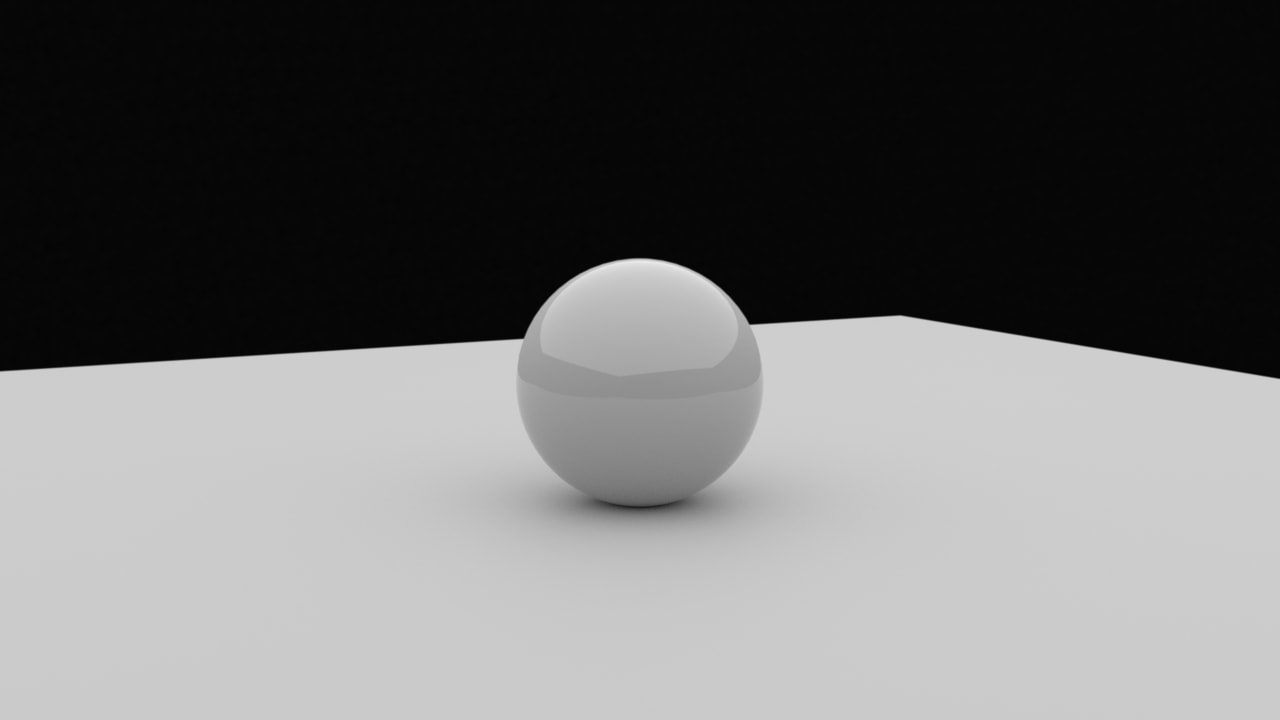
To help me demonstrate some of the lighting abilities I will use a simple model of a cue ball, and rough white plastic floor. Both these models were created directly in Visualize by adding a sphere and a plane into a blank scene from the Project menu, and adding a model. I used “smooth white plastic” appearance for the ball, and “rough white plastic” appearance for the floor. The environment I’m using here is “Big Overhead Square”. The light coming from the environment is great, but it could be better.
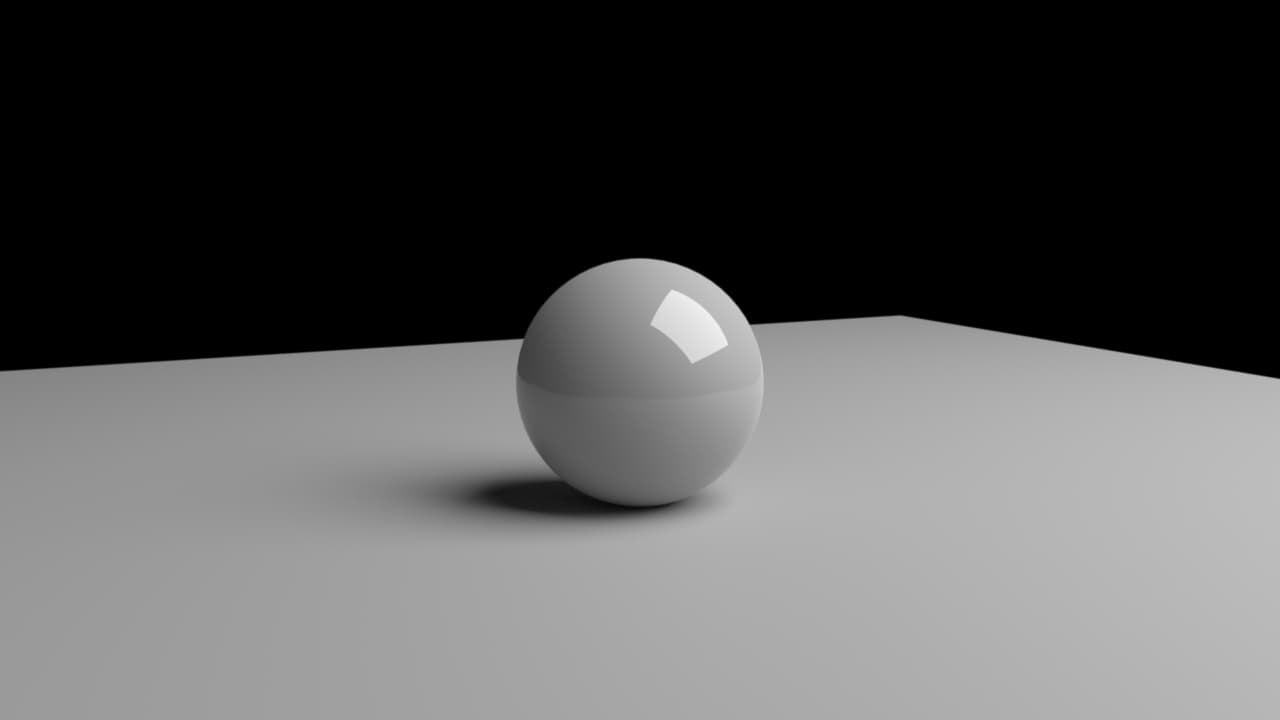
Instead, I would like to add my own lights. To do this, switch to the middle scene tab, and right-click -> New Light -> Pick Target. To add the light, the cursor turns into a cross-hair, and I can pick a position on the model where I would like the light to be directed at. Once the area light is added, the environment lighting can be turned off by adjusting the environment brightness. Below you can see the result of the new light with the environment off.
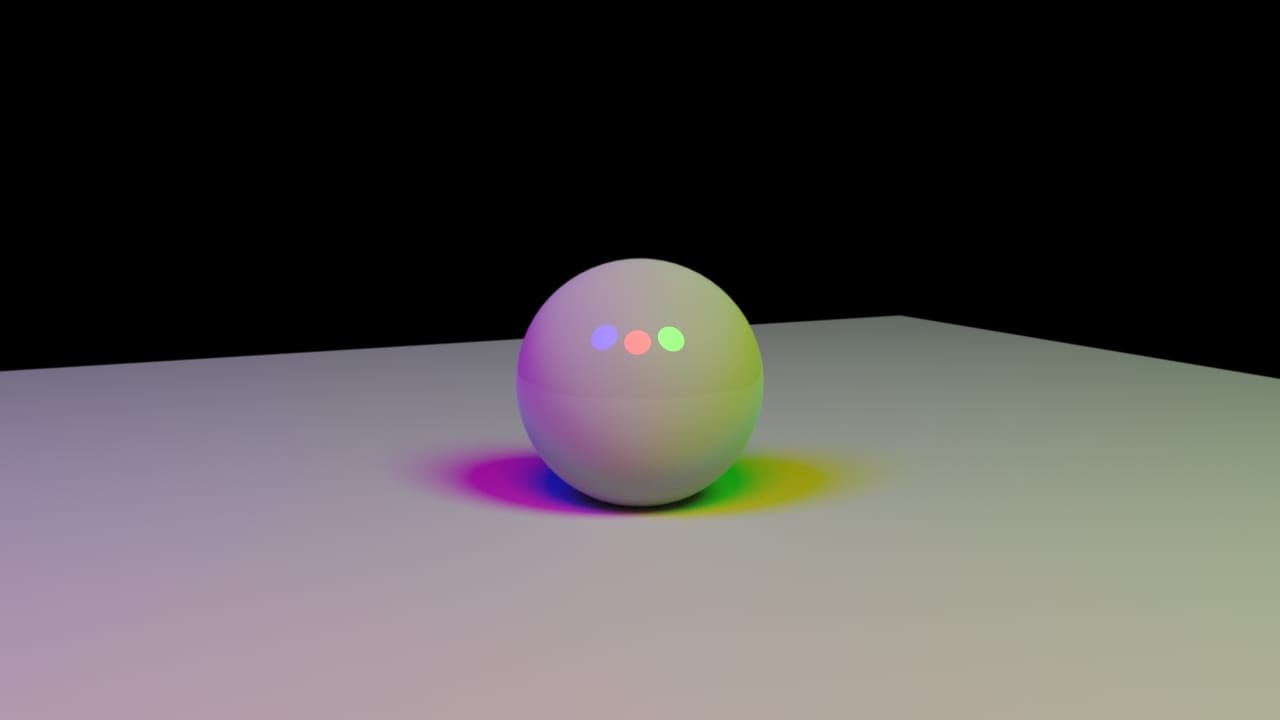
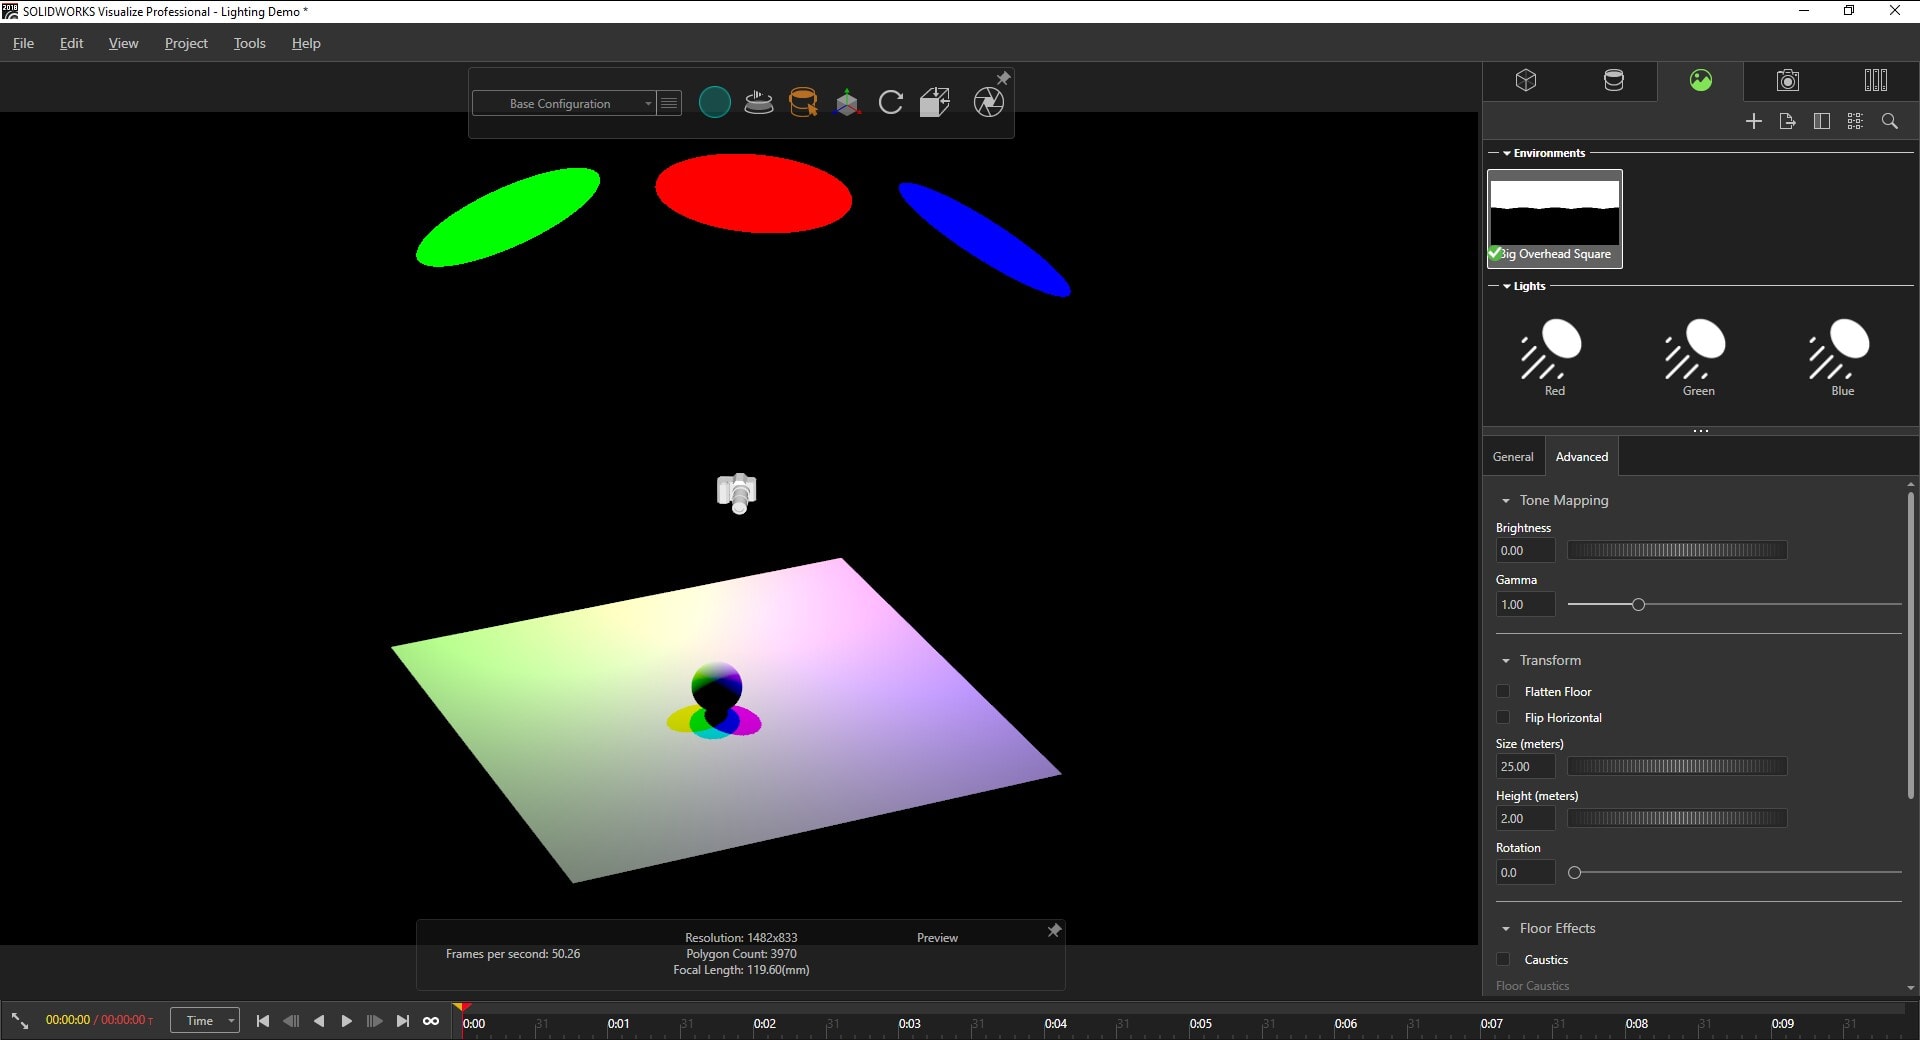
We can continue to add additional area lights as needed. Each light has several parameters that can be adjusted; geometry type (plane, disk, tube, etc), Brightness, Color, Temperature (K), and Position. Below you can see I’ve added three lights and changed their color and shape.
If we take a step back and look at how the scene is setup; area lights are added as geometry-like objects into the scene with an emissive like appearance. Each light has a target and position that can be adjusted, as well as repositioning the light relative to the target whilst keeping the light panel pointed towards the target. This makes it extremely easy to adjust and reposition lights similar to how this is done in SOLIDWORKS.
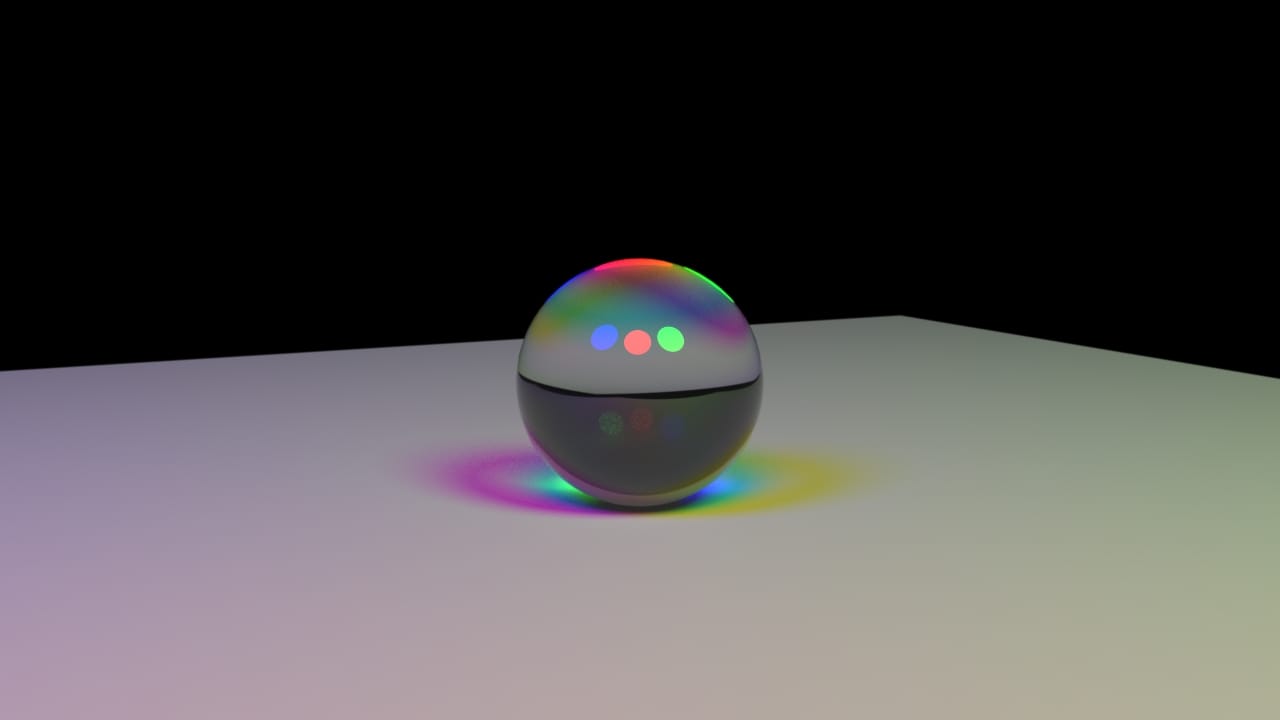
The light source also reacts to other material types as you would expect. Below I have changed the material of the ball to a glass like material and we can see the caustic effect of the light being refracted through the ball onto the surface of the floor, as well as interior reflections.
In the scene shown below, I was able to position the lights exactly where I wanted them. A point light just behind the car adds some glow, reflecting off the wall in the background. 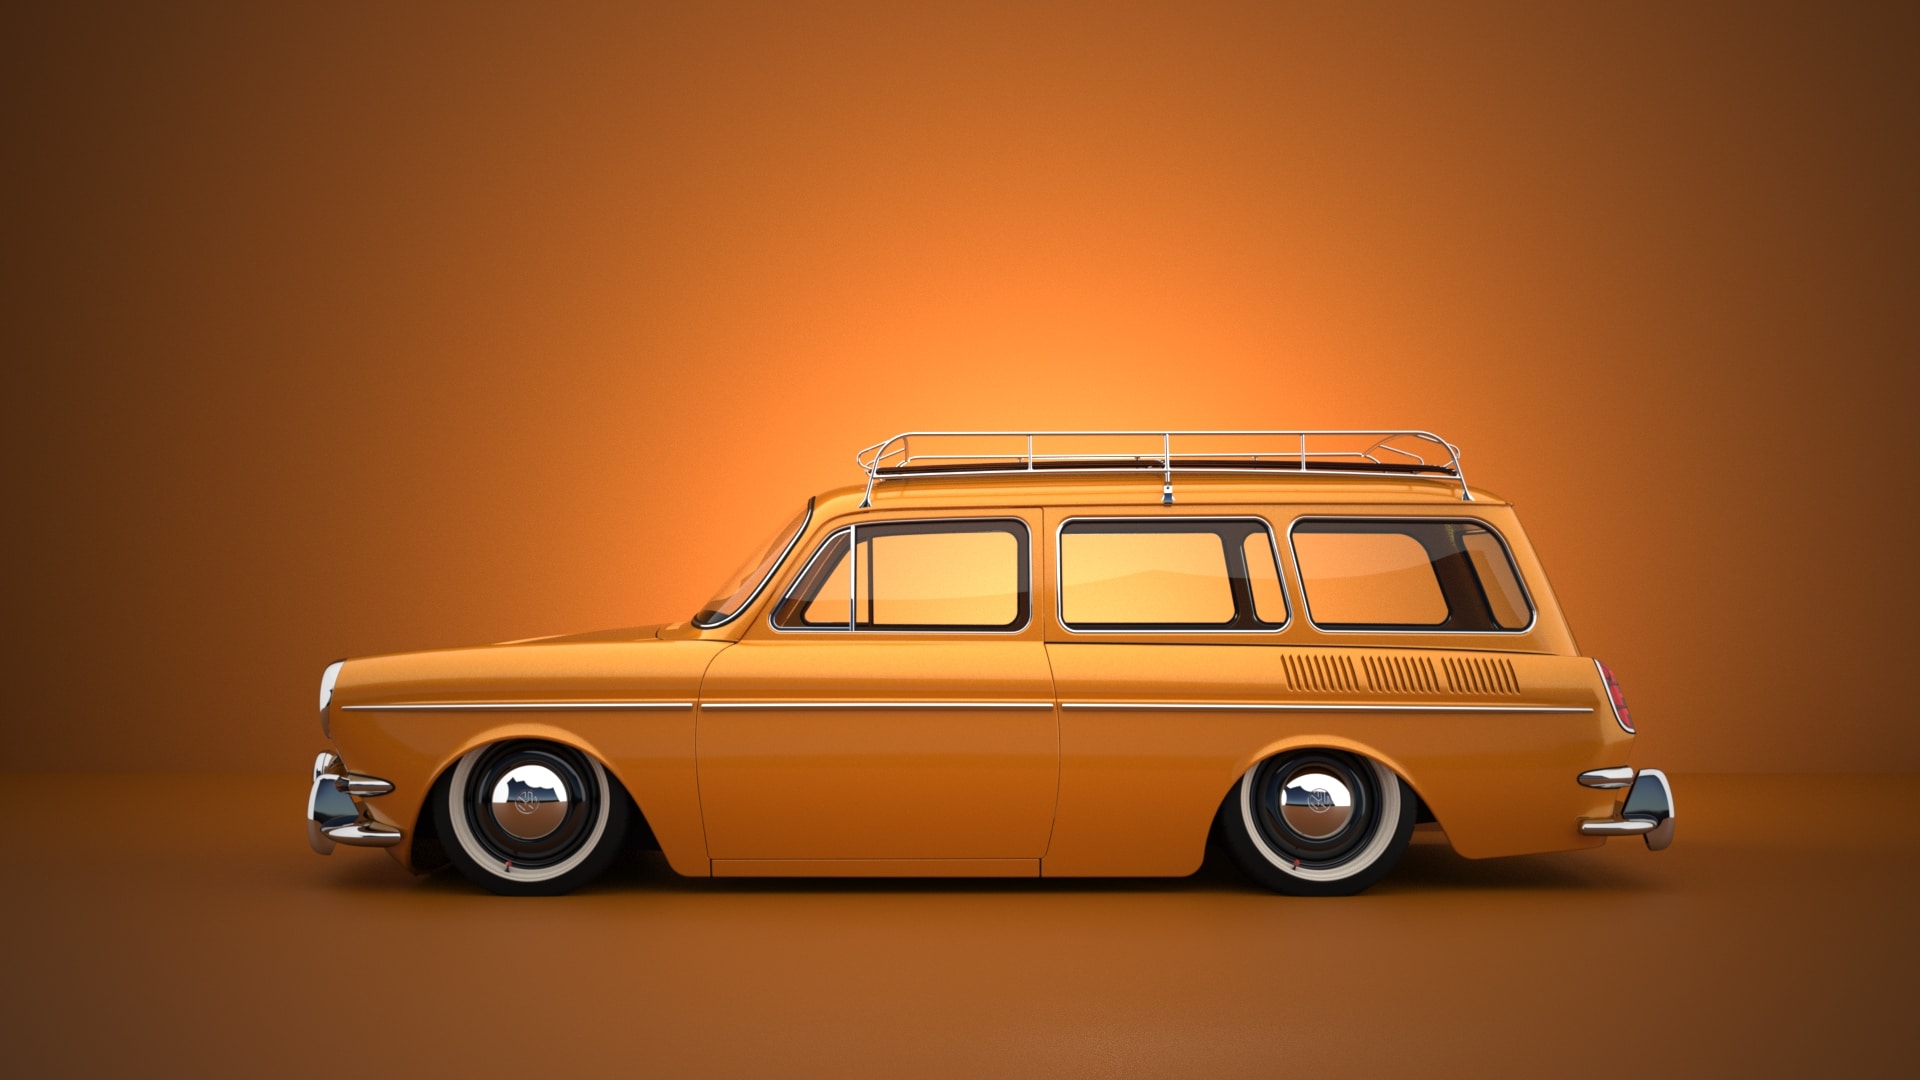
All of these light options can be done in the standard version by adding individual surfaces representing the light, and adding an emissive appearance, however this can take a considerable amount of time and moving the objects can become tedious when behind a deadline. SOLIDWORKS Visualize Professional simplifies this process saving a ton of time and work.
So, the next time you need to create a product shot and can’t find the right environment to light your model, try experimenting with adding your own lights and position them precisely where they’re needed.
Cheers,

Alex Worsfold
Application Engineer, CSWP
Computer Aided Technology