Need a Custom Tool? Make it! | A 3D Printing Tech Tip
 Preventative maintenance is important if you own a 3D printer. For FDM (Fused Deposition Modeling) 3D Printers, chamber fans keep the build chamber at the proper uniform temperature. As part of regular preventative maintenance, these fans need to be periodically replaced, but it’s a bit of a tricky process. As a 3D printing Field Service Technician, I thought to myself, “what a great opportunity to use additive manufacturing!” To complete this task, the team here decided to 3D print a tool in-house to make the job easier. Here’s what we made.
In the Dimension and Fortus 250 printers, changing out the two fans on the left side of the heated chamber is somewhat awkward. A Field Service Tech normally has two options:
- Reach blind around the open chamber door and hold the fan with one hand while bolting it into place with the other.
- Hold the fan through a small cutout while trying to bolt it in place.
Neither of these methods are quick or easy so that’s why, with the help of some bright minds here at Fisher Unitech, we came up with a third hand if you will. Our design cradles the bottom edge of the fan and holds it into place so that it can easily be bolted into place.
How to Make Our Custom 3D Printed Tool
First, we traced the profile of the fan on a piece of paper and scanned it. We then imported our .png file into SOLIDWORKS 3D CAD. (Need to know how to edit an STL file in SOLIDWORKS? Get step-by-step instructions .) This gave us the outline shape, which we are able to scale to the dimensions of the fan that we measured with our calipers. Using this as our template, we started our sketch and design process.
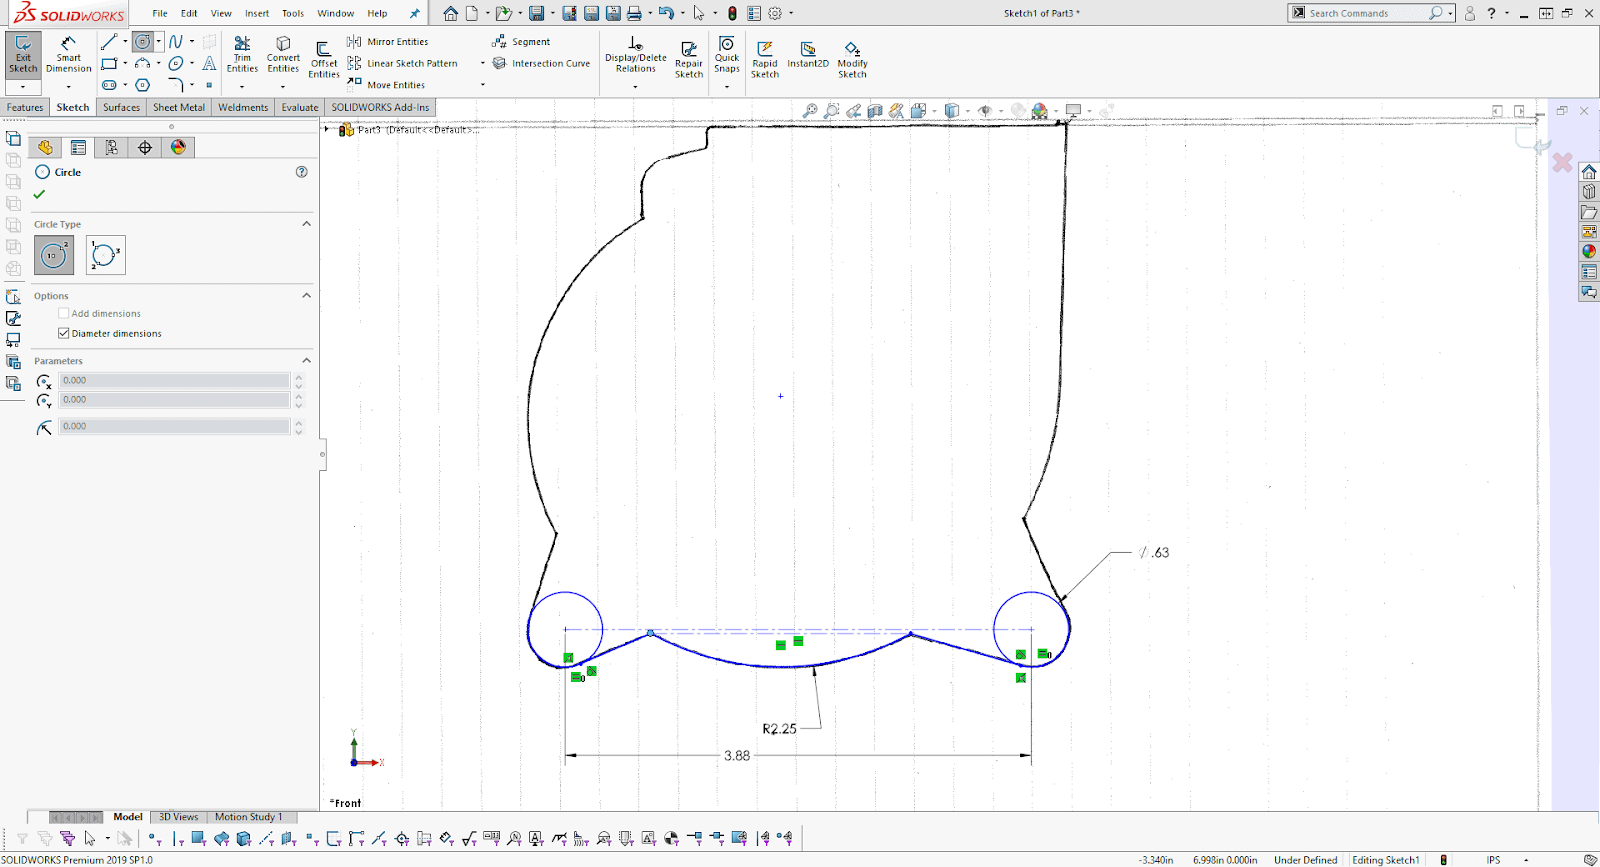
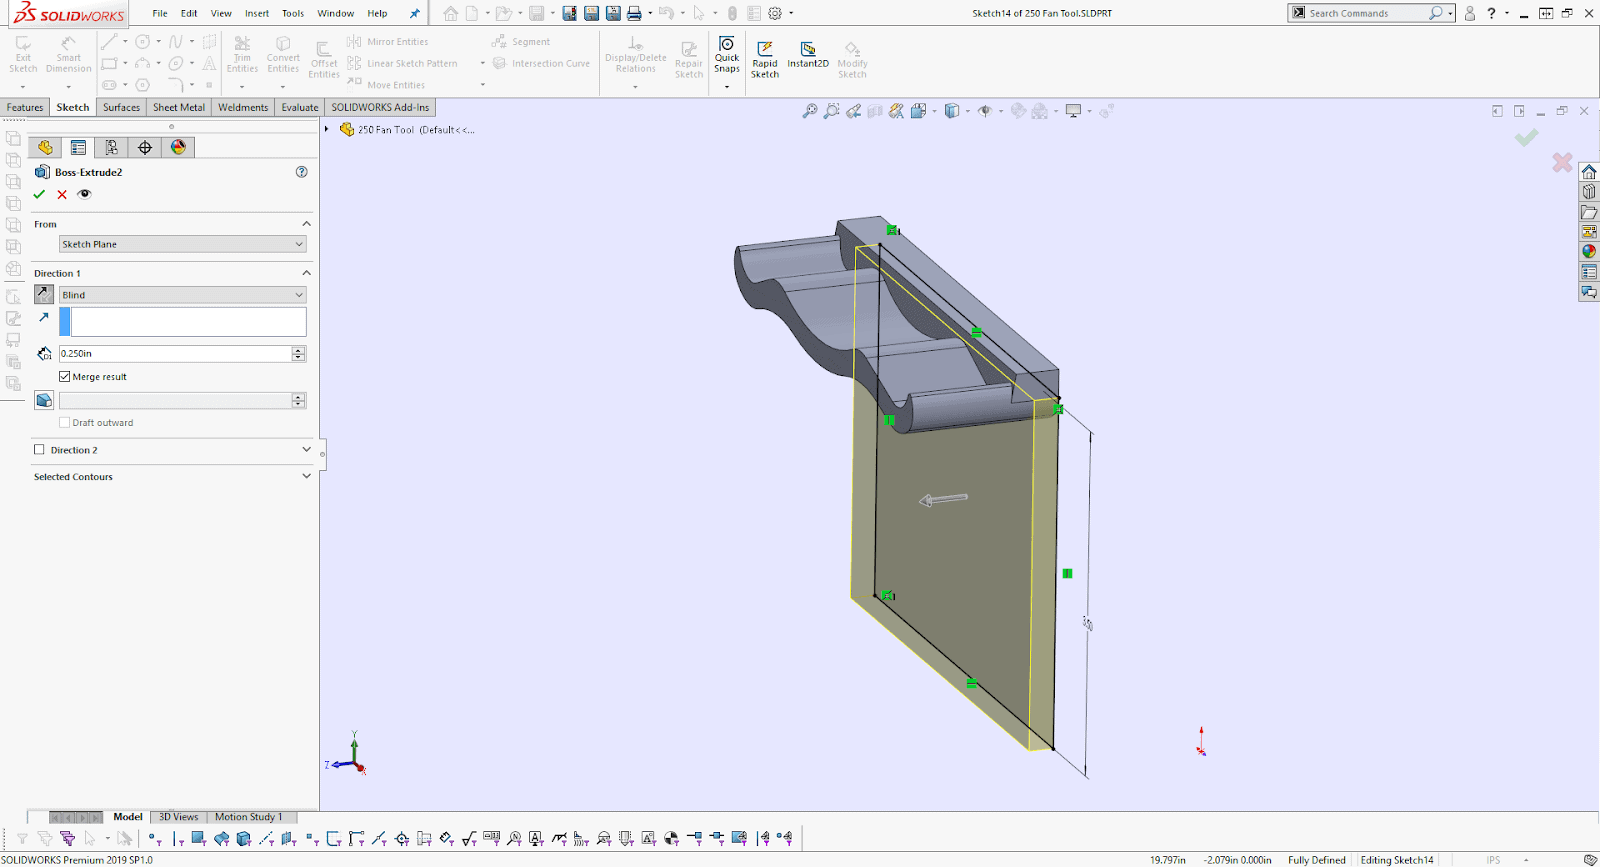
Once we had our fan profile in SOLIDWORKS, we set out to design our tool. It needed to cradle the fan like a shelf would, following the contour of the bottom of the fan would make it fit nicely.

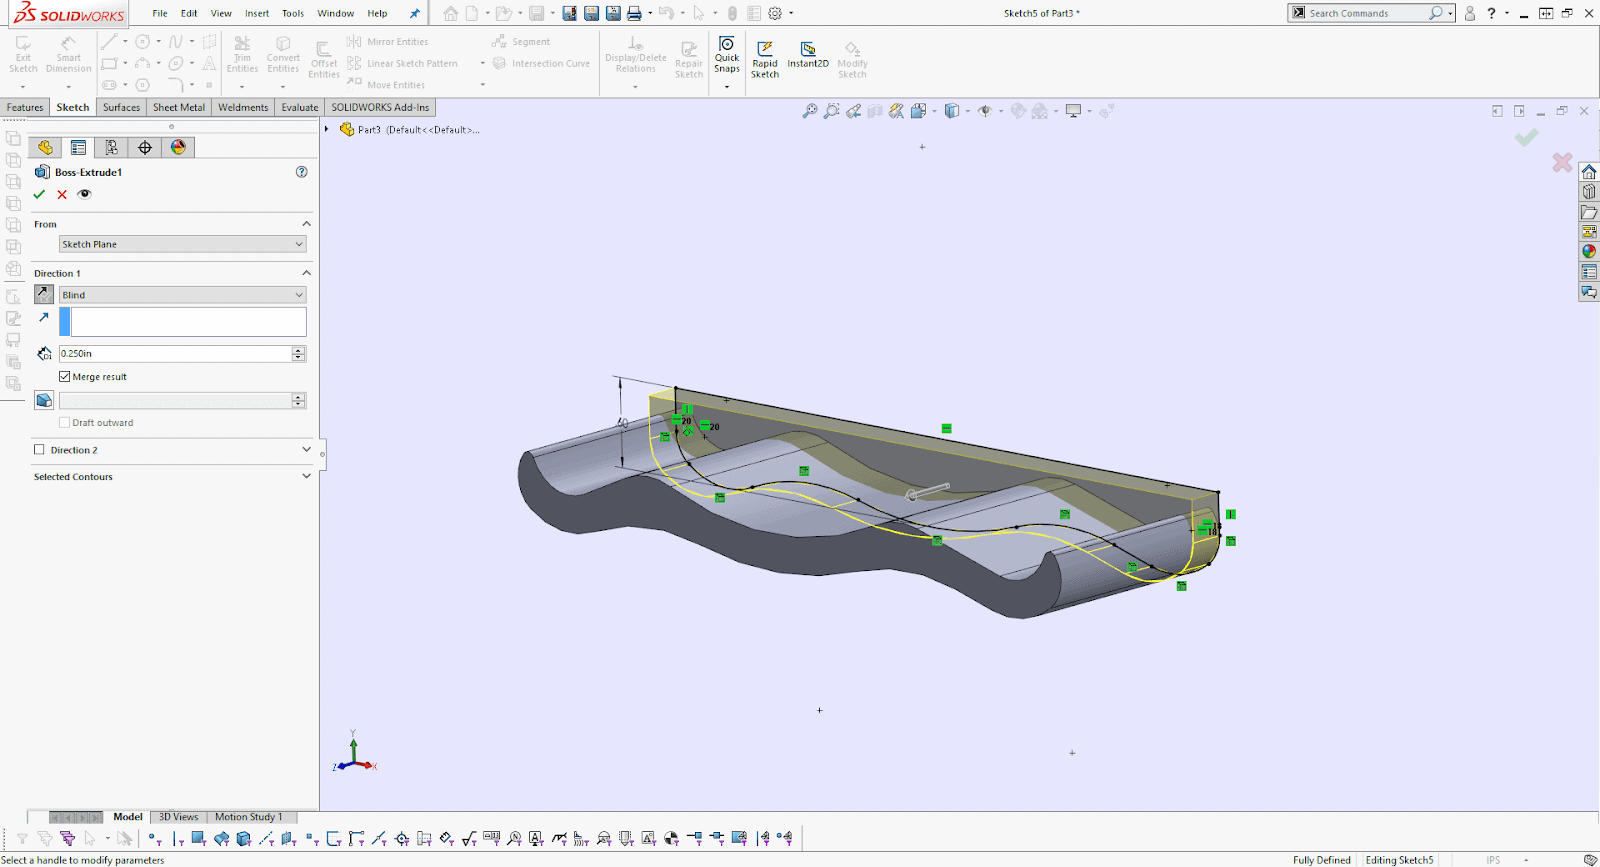
After the contour was extruded to the depth of the fan, we needed a ledge that would act as both a spacer between the wall and the fan, and a ledge to push the fan flush against. We measured the distance between the fan and the wall and extruded our ledge accordingly.
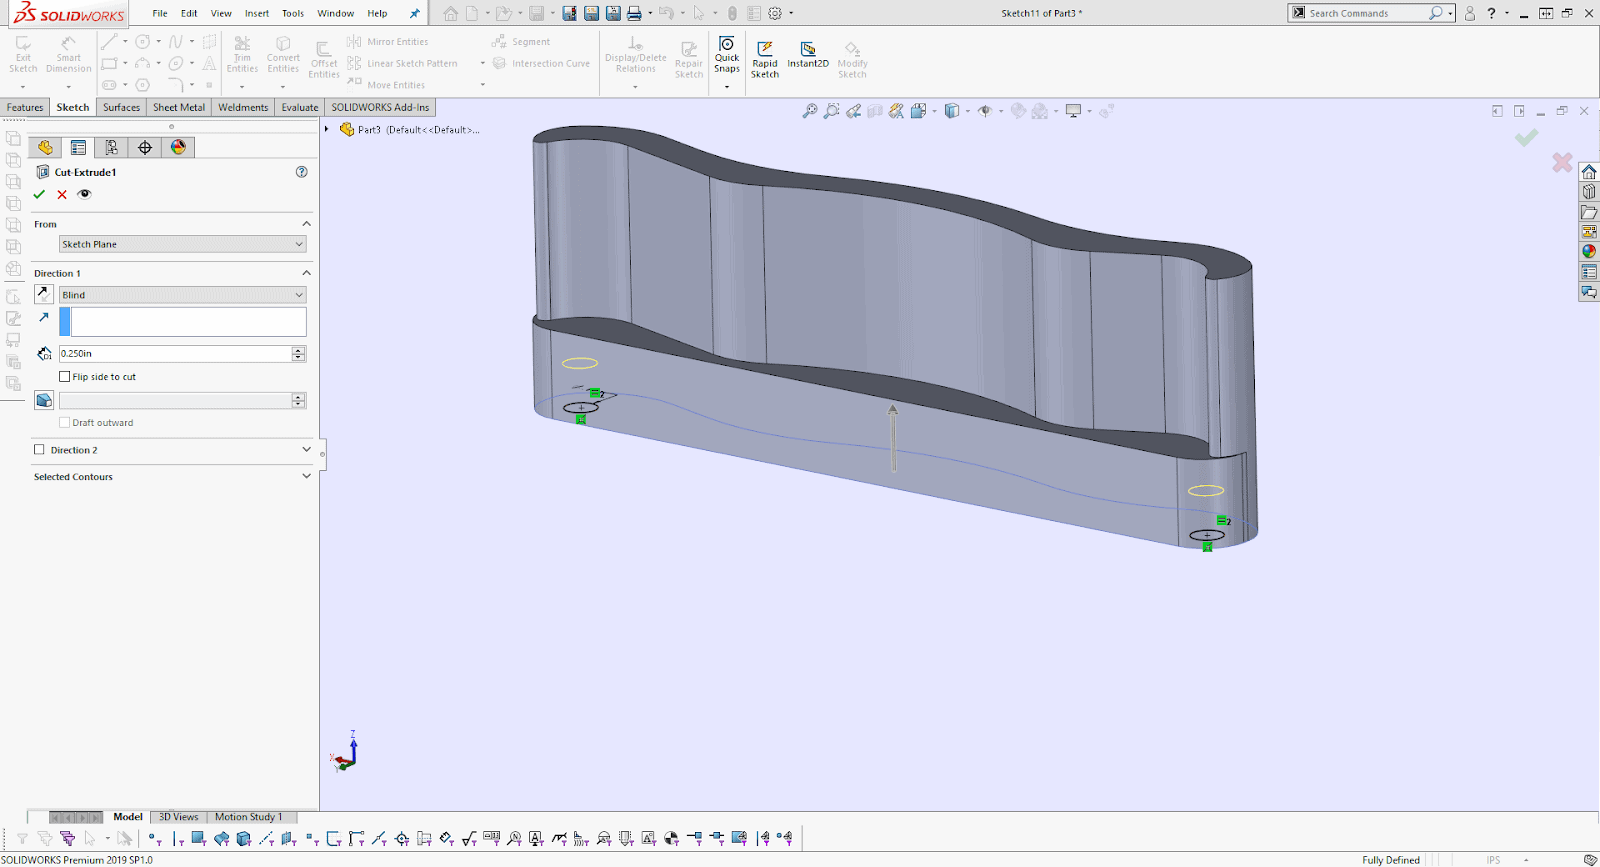
We used some small cylindrical magnets that would help our design adhere to the wall while the fans were being bolted into position. However, we would need to find a place for the magnets to go into.
We also needed to add text to our label, what the tool does, and what machine it is for.
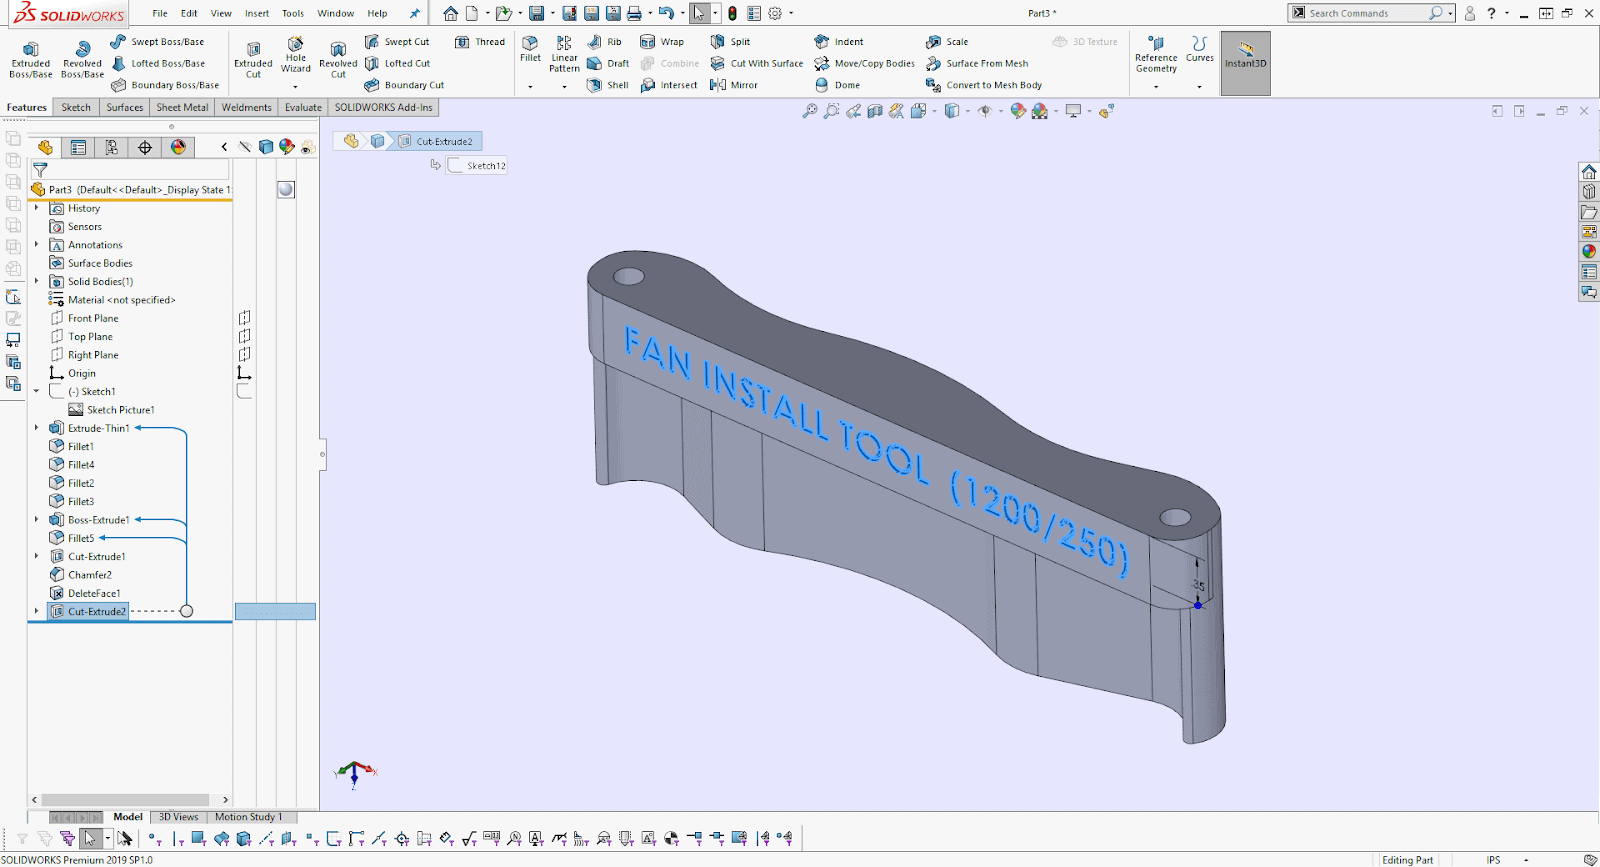
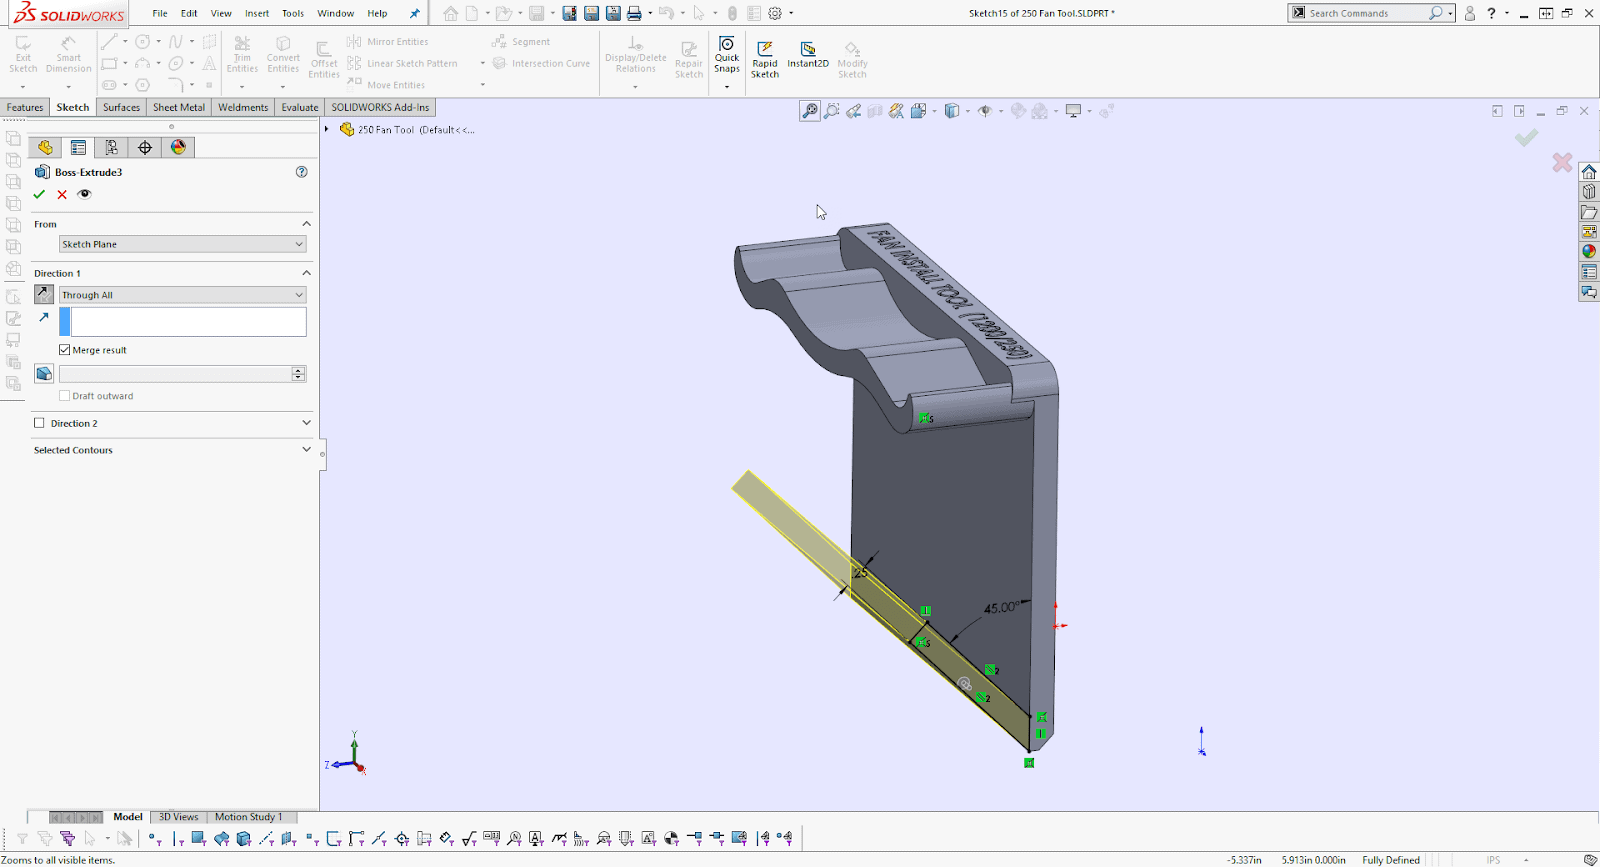
After some more thought about the tools function, design changes needed to take place. The magnets were absolutely needed, but due to a downward force, while tightening the bolts, we decided to add a simple foot that would wedge the fan between the floor of the build chamber and the fan enclosure.
Once the fan installation is complete, our custom tool would need to be removed so we added a small handle. Now we can 3D print!
We started by exporting the tool into GrabCAD Print slicer software to prepare it. We were mindful of overhangs during the design process to ensure that tool to be self-supported when printing. The tool has no angles that exceed 43 degrees of overhang. This keeps post-processing and support removal to a minimum, saves time, and reduces material use. We oriented the part in GrabCAD Print accordingly. (Why is orientation important to your 3D model? We covered in another article.)

Note: The bow-tie shape is the purge tower that is included by default on F123 Series Printers. It sacrifices a layer of material at every slice height to keep the filament material at a consistent and even flowrate, improving the part quality.
The F123 Series of FDM printers are particularly quick. To speed things up even more, we sliced our fan placement tool using 0.010in layers using Draft Mode.

Time to print! We sent our part to our Stratasys F120 3D Printer via GrabCAD Print and selected ABS material. Here is the finished build. It came out just as planned in about 2hrs.
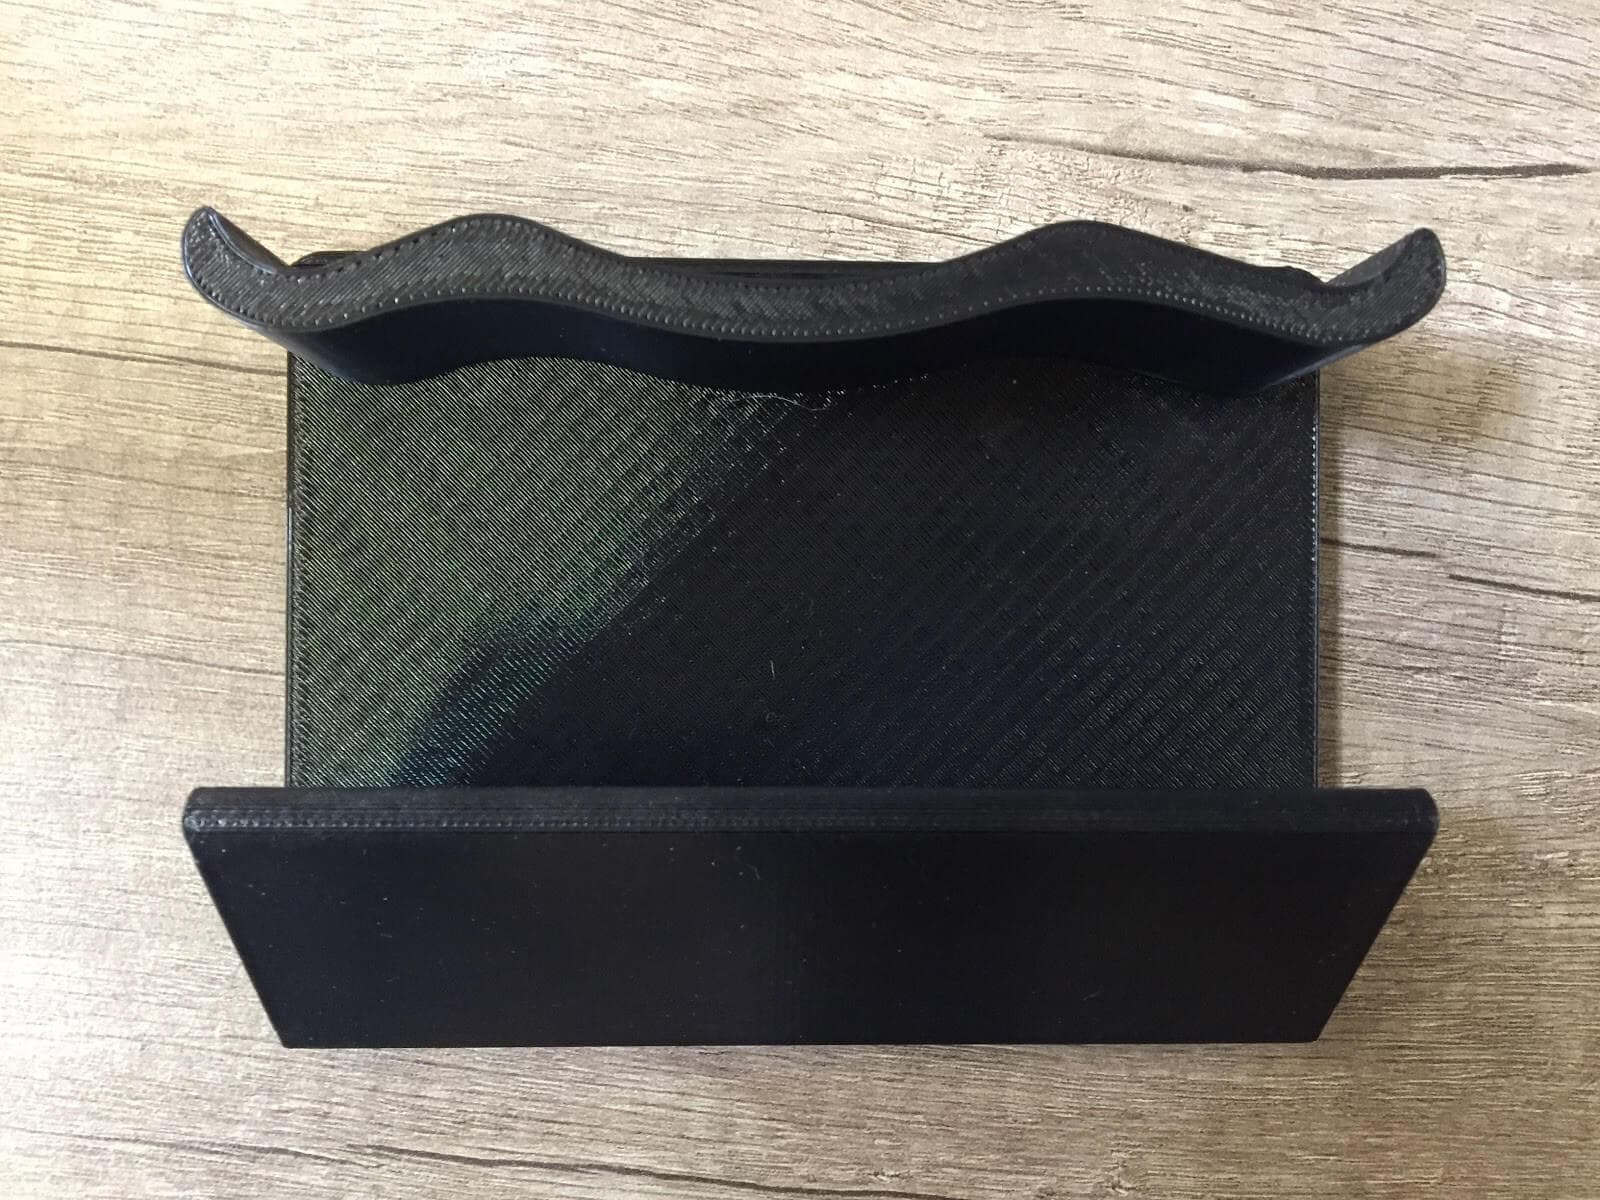
It was time to test our new mechanism’s fit and function. Our new tool works well and will definitely help that tedious little task of replacing build chamber fans more efficiently.
Want to know how 3D Printing can improve your workflow?
Related Articles
SOLIDWORKS 2020 Embraces 3D Printing and Says Goodbye to STL Files
Illinois State Archaeological Survey Captures Intricate Artifacts with Artec 3D Scanner
F120 3D Printer Makes Industrial 3D Printing Affordable
About the Author
 Josh Humphrey is passionate about 3D printing and design and loves a good challenge. He is a Stratasys-Certified Field Service Technician with Fisher Unitech helping customers identify challenges and educating them in proper use and maintenance. Josh is an avid 3D printing hobbyist who enjoys designing and building in his free time.