Repairing Parts with GrabCad
It’s not uncommon for part files to have errors in them. Whether it’s because the designer made a mistake or it was a shabby part taken from the internet with errors in the part mesh. Such errors can often lead to failed builds, or just poor part quality.
Thankfully, GrabCad Print from Stratasys is able to identify many of these common errors and, in many cases, even repair them. With this you can print great parts even without the best files.
One of the first, and simplest errors you’ll encounter is parts importing in at the wrong size. Typically many files don’t have a specific unit of measurement associated with them when they’re being processed. They’re simply 4 “units” rather than 4 inches. GrabCad will automatically default to millimeters when bringing in a part, so a part that should be a robust 4 inches will appear tiny.
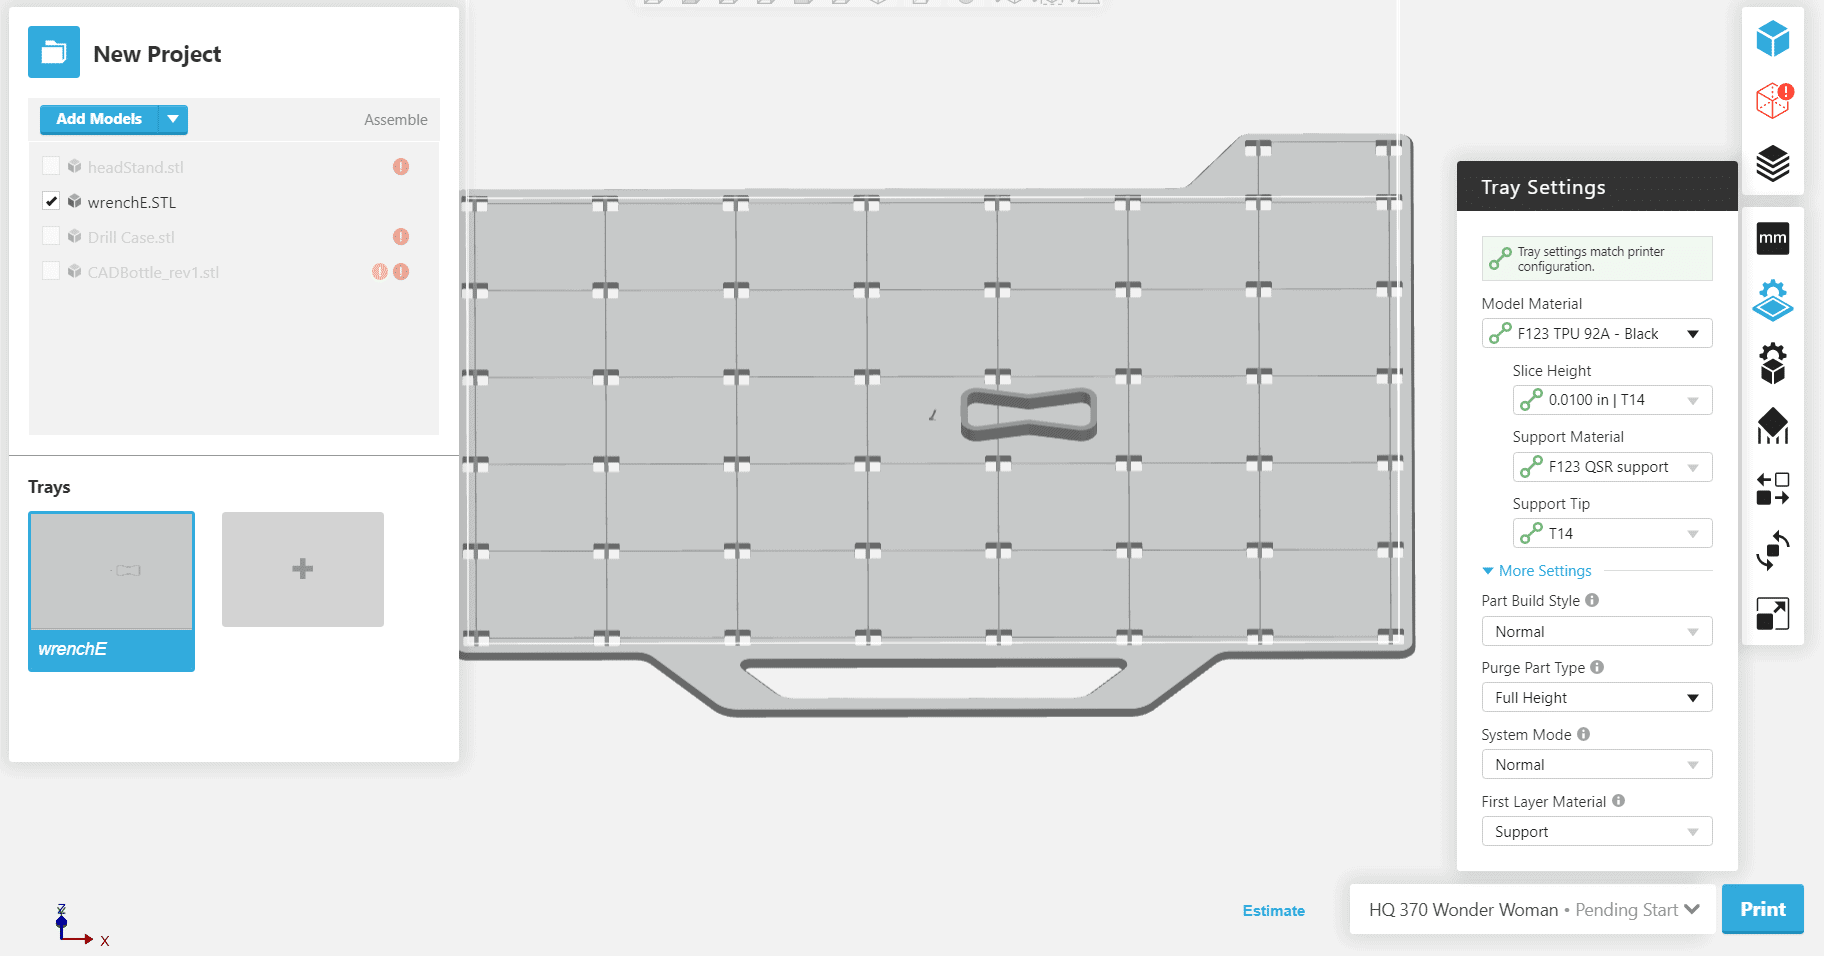
Here I’ve brought in a wrench, which was clearly supposed to be rendered in inches rather than millimeters.
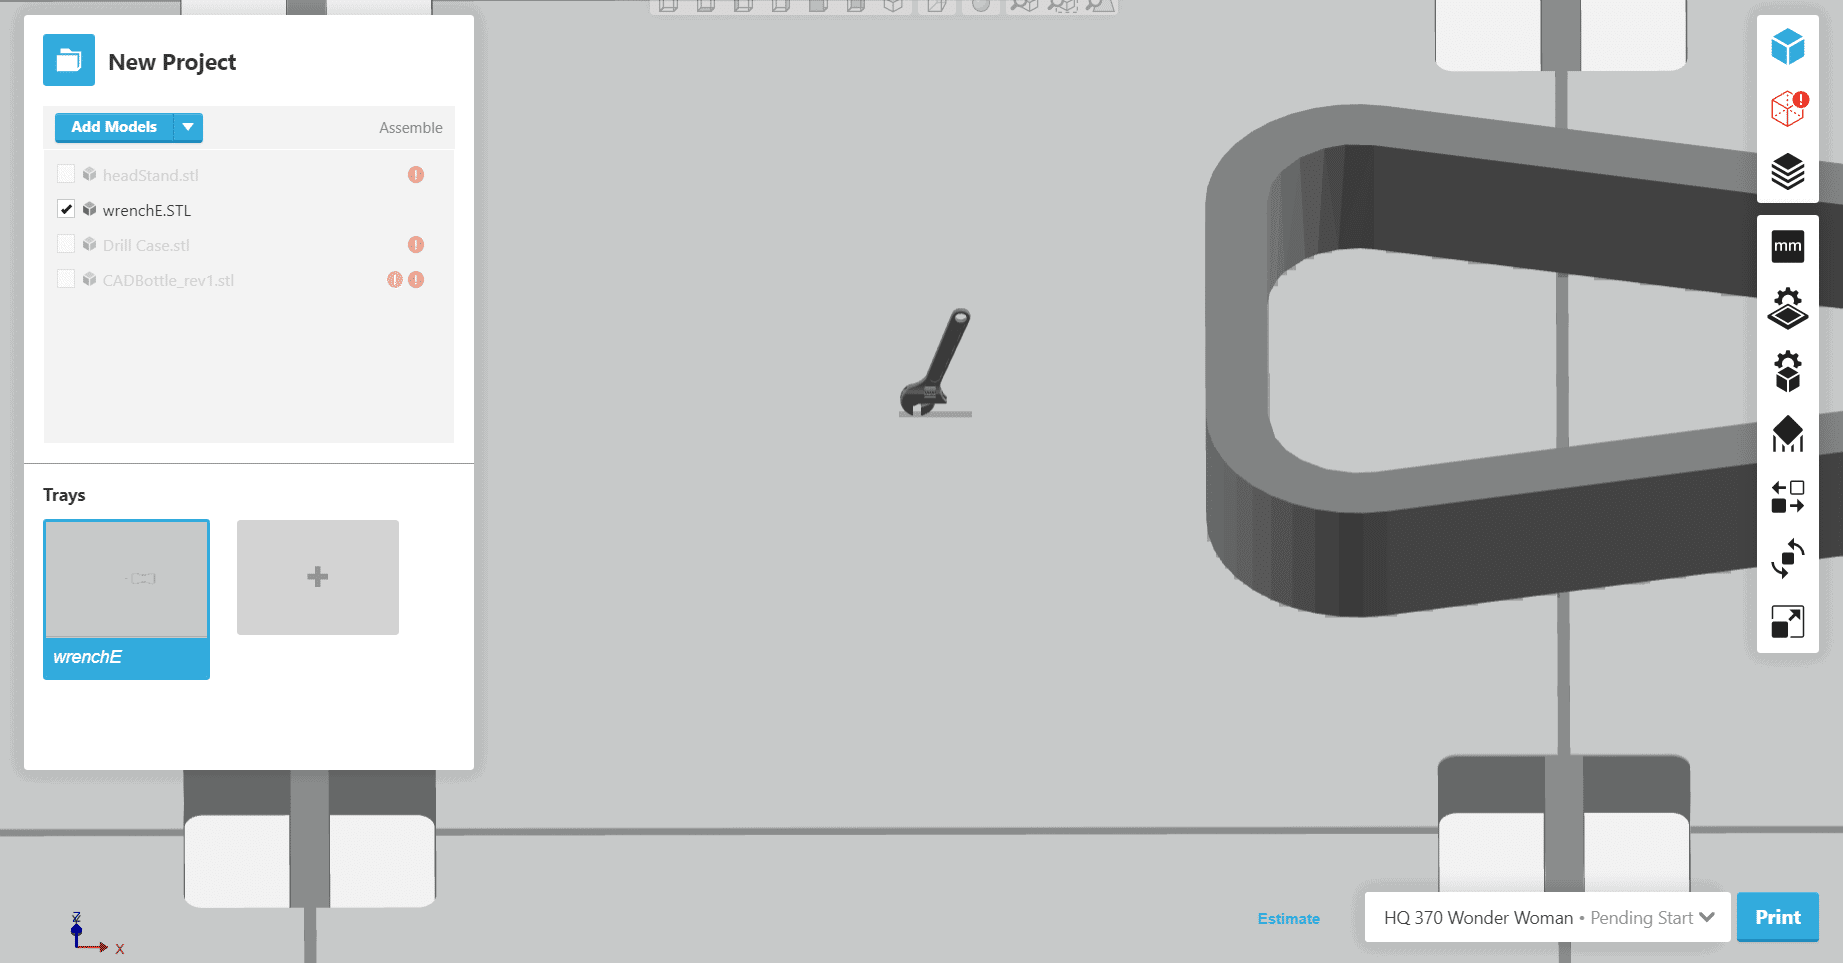
Here it is zoomed in. Obviously not very useful at this scale.
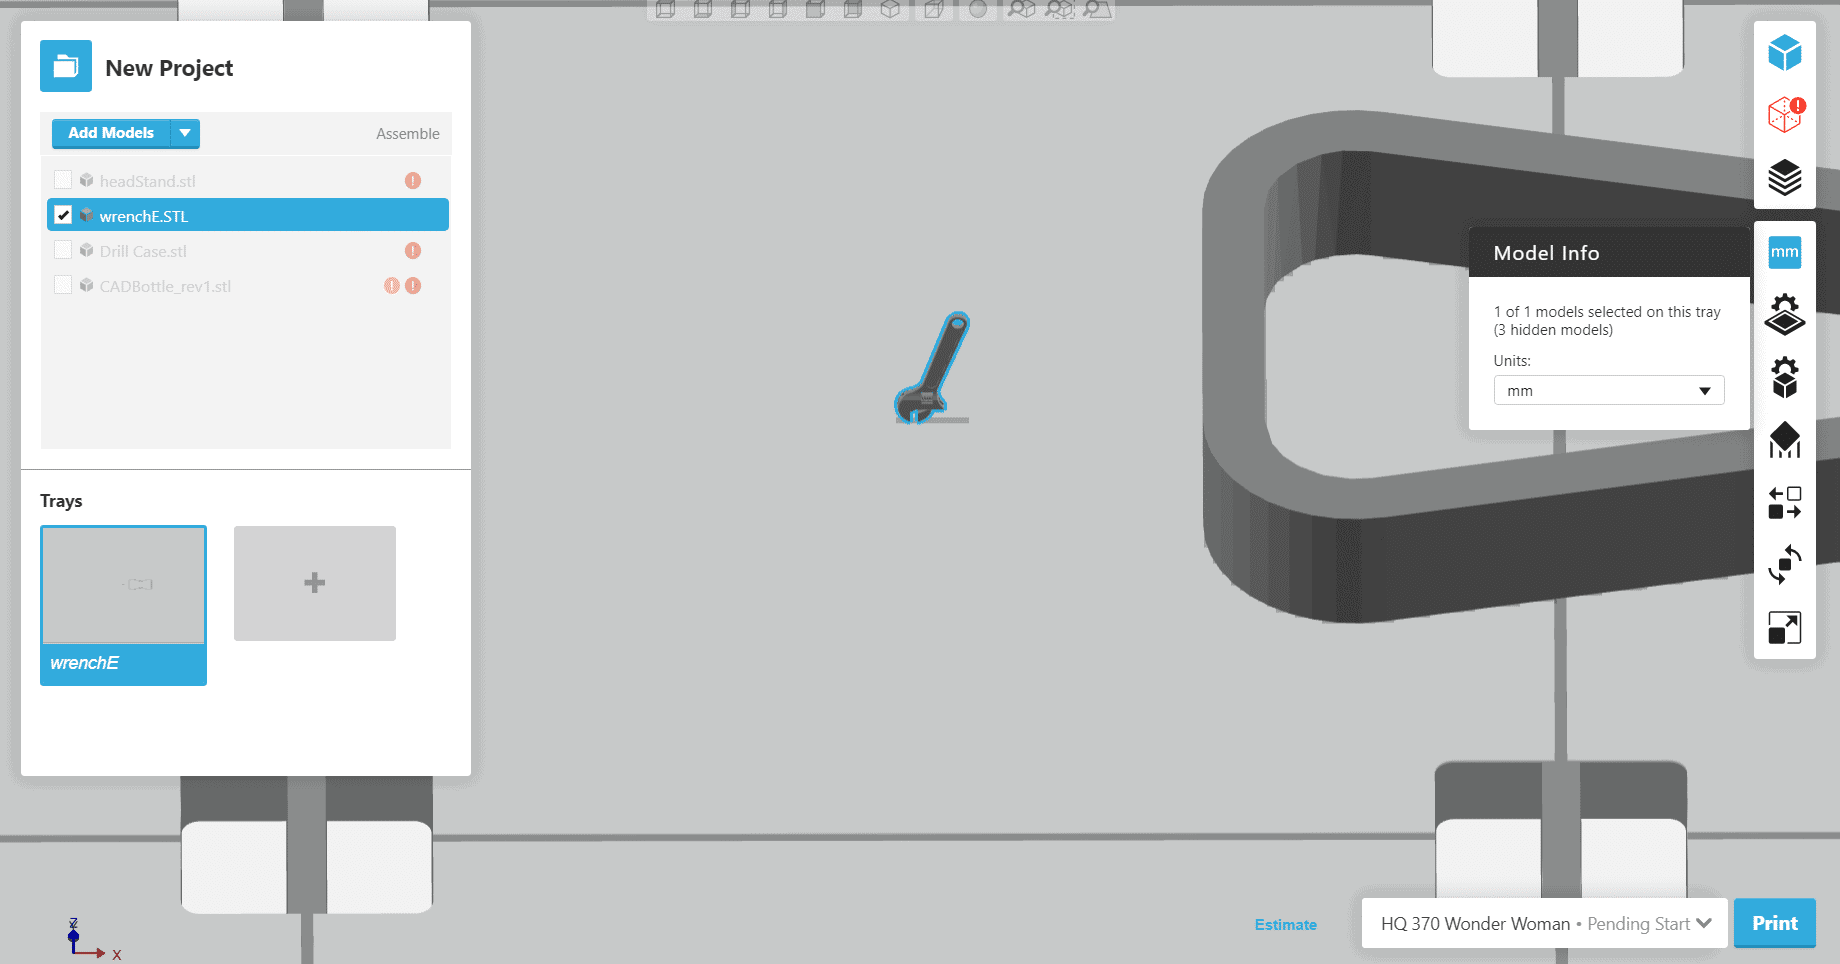
Simply selecting the button on the right labeled mm lets users select alternate units that may be more appropriate. I have now switched the part to inches.
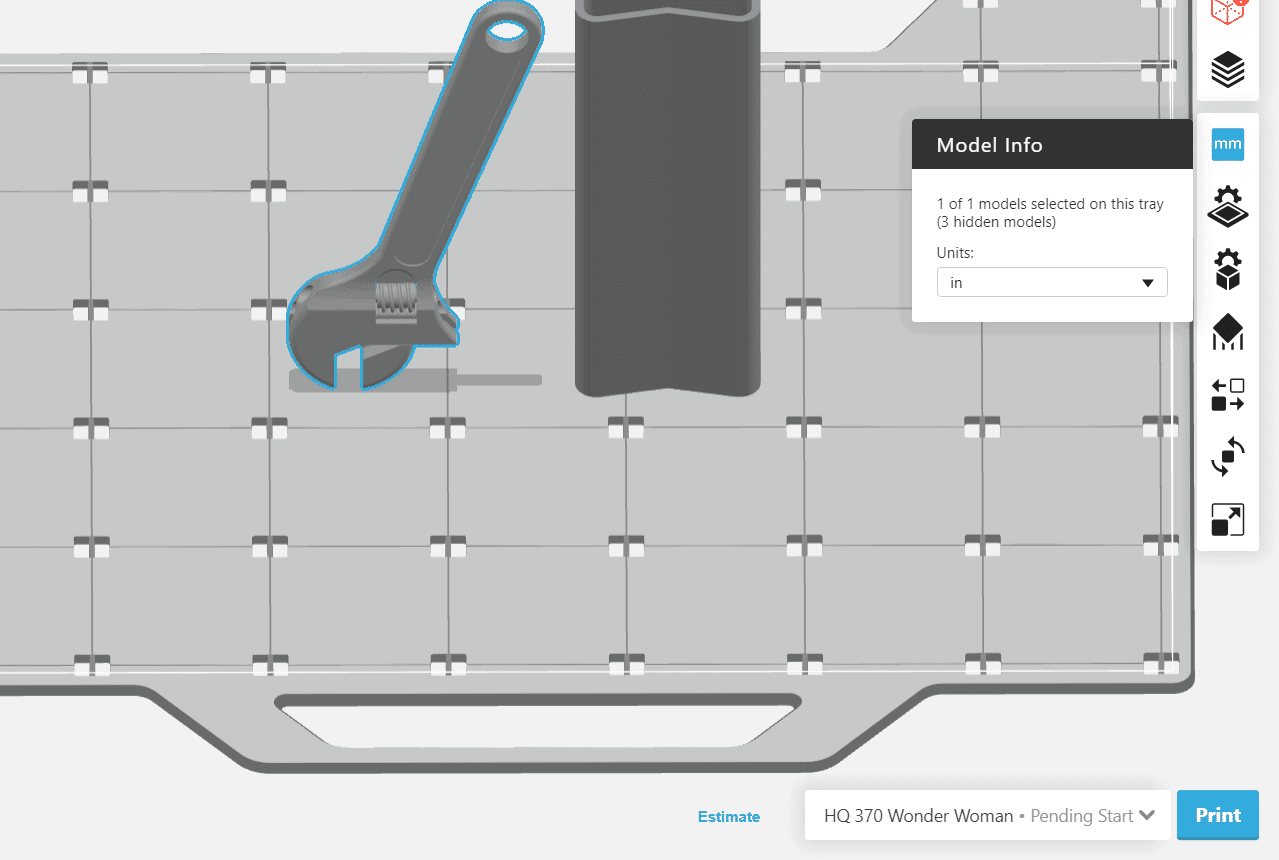
Now it looks much more like the proper size for the wrench part. This isn’t an example of bad part design, but instead part of the nature of dealing with CAD data.
However, not every problem is one of scale. The next part I looked at is a casing for a power drill.
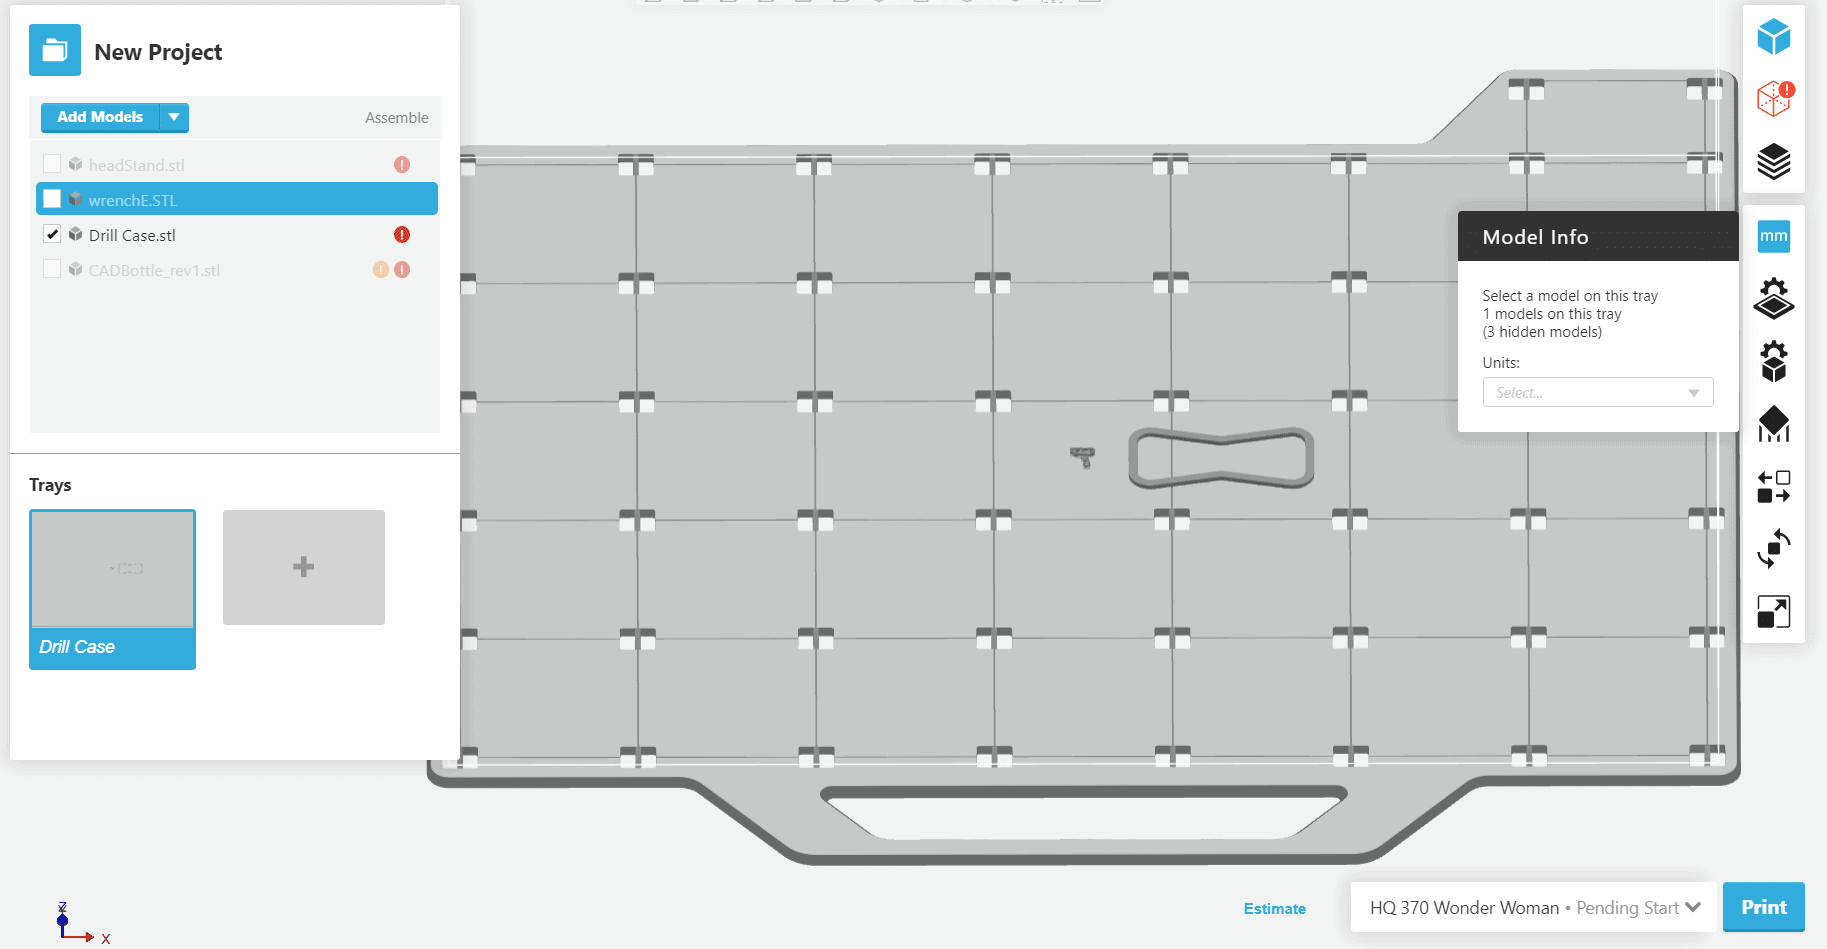
This one also came in tiny, but once I fix that it becomes clearer that it’s not the part’s only issue.
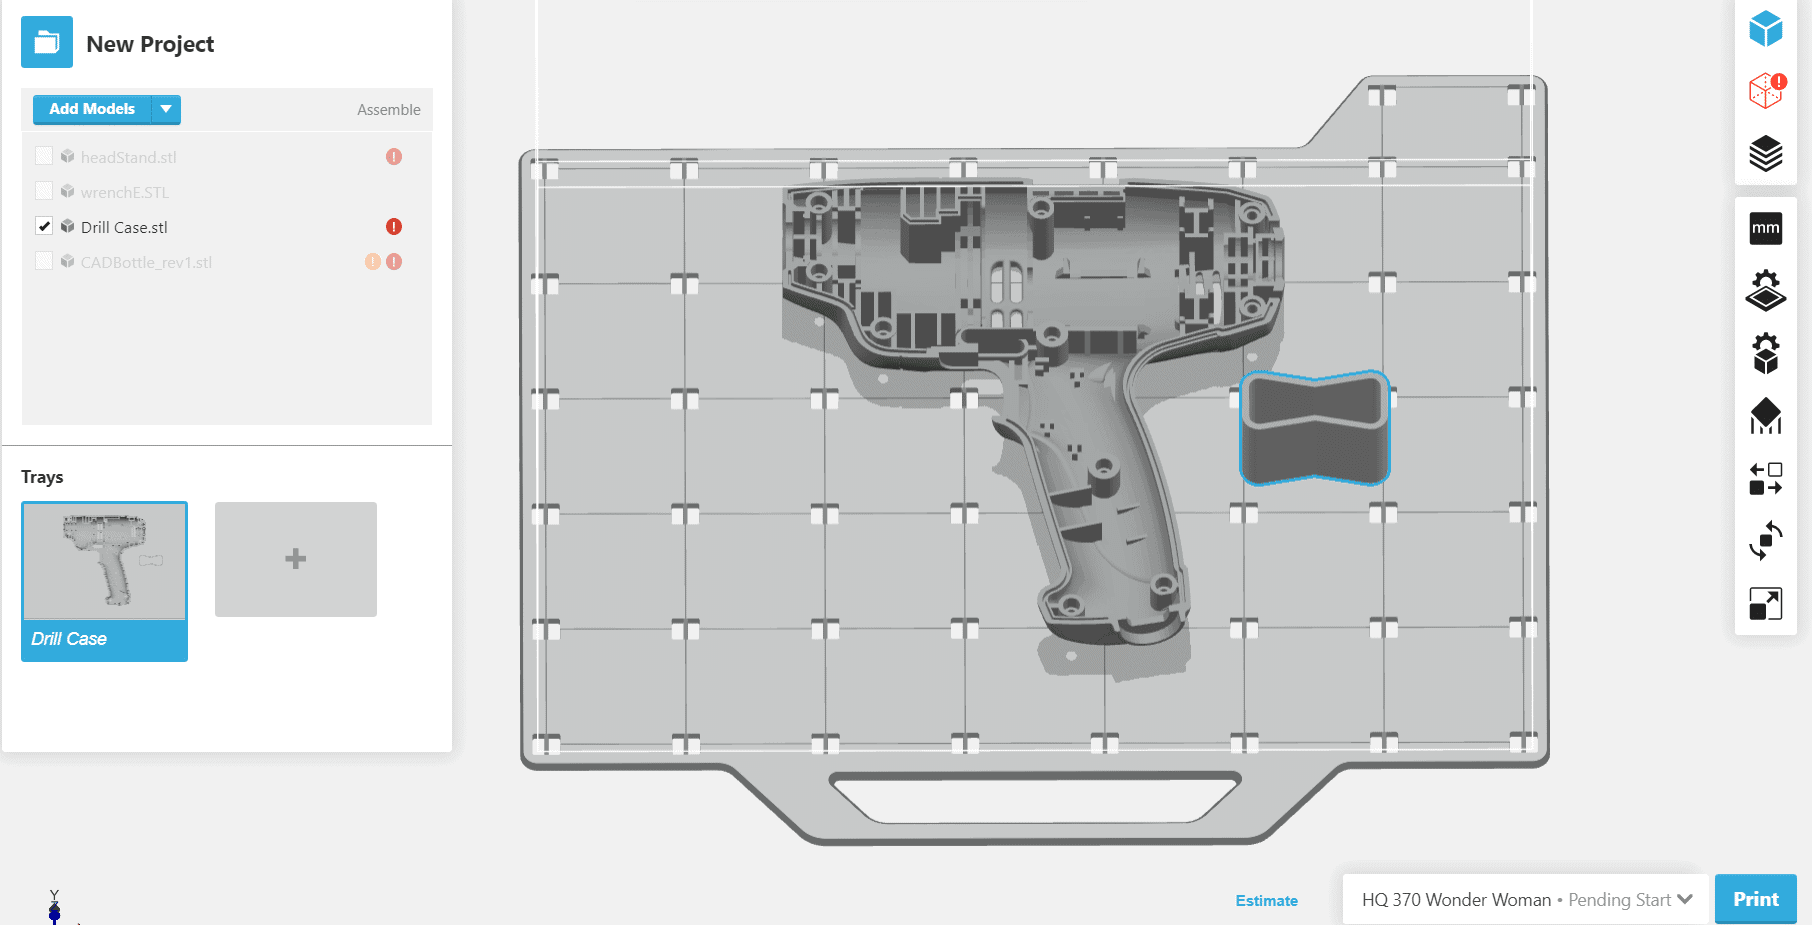
In the parts list on the right the drill case has a red exclamation point next to it. Also, on the right side there’s a red box indicating you should select that to bring the part into analysis mode.

In analysis mode the part displays with a red outline because the software has detected an error with it that needs to be resolved. Selecting “Get Error Details” will give us a clearer view of where the problems may reside.

Looking closely we can see a section inside the part has turned pink. This denotes that there’s self intersections. This can occur when the part’s geometry overlaps in such a way that two pieces of it are existing in the same space. While this may potentially cause problems when trying to print a part, GrabCad offers a solution. Simply select repair all models and a few seconds later…
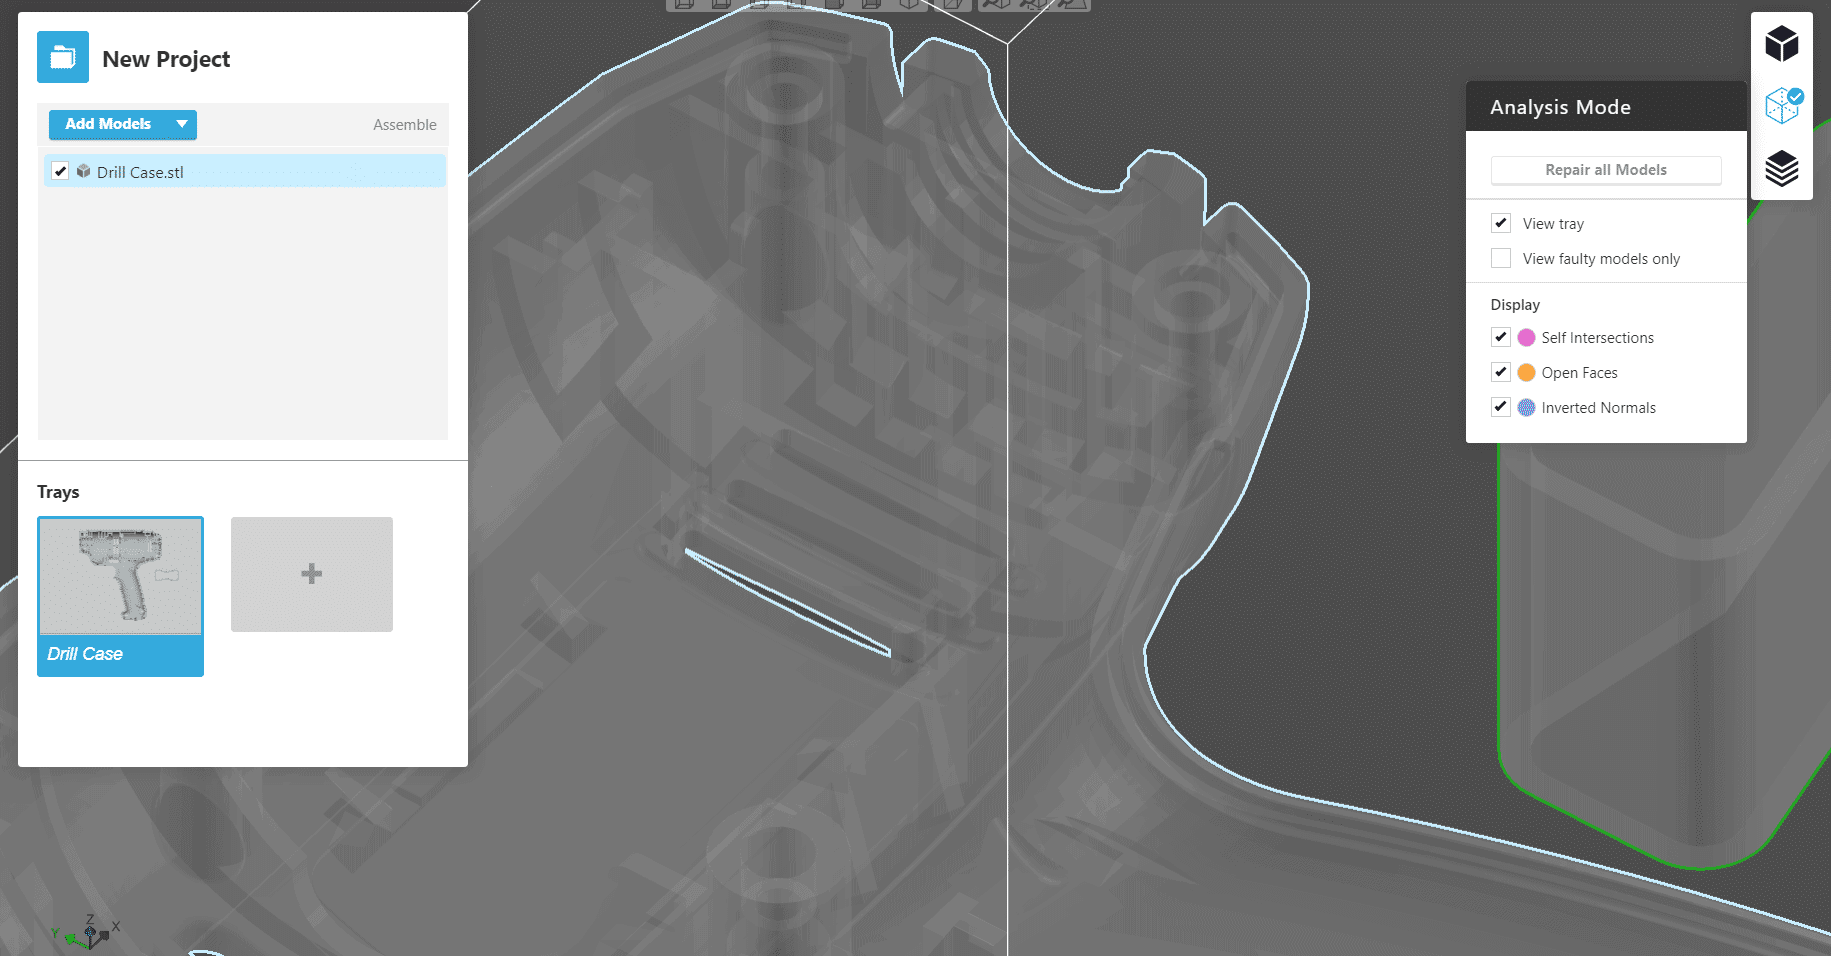
The part has been fixed. GrabCad is able to easily resolve the problem.
Now let’s take a look at a part with more significant issues.
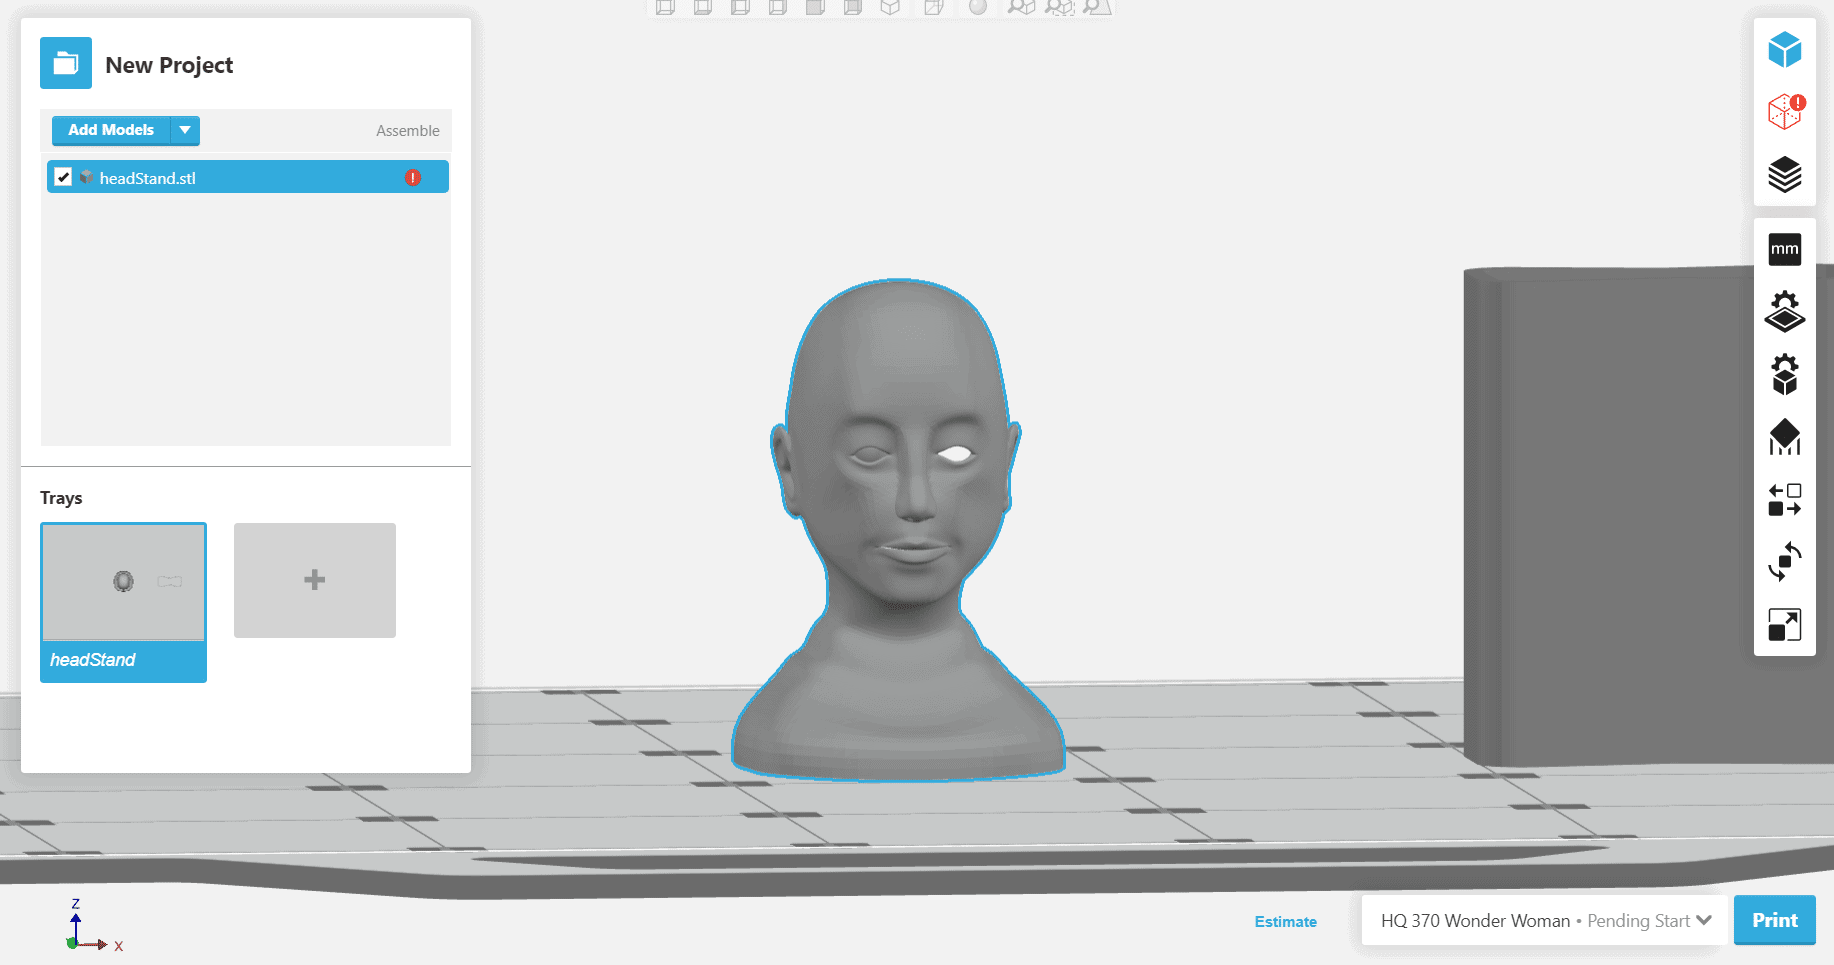
At quick glance you can see there are clearly some major problems with this part. And that’s just the front view.
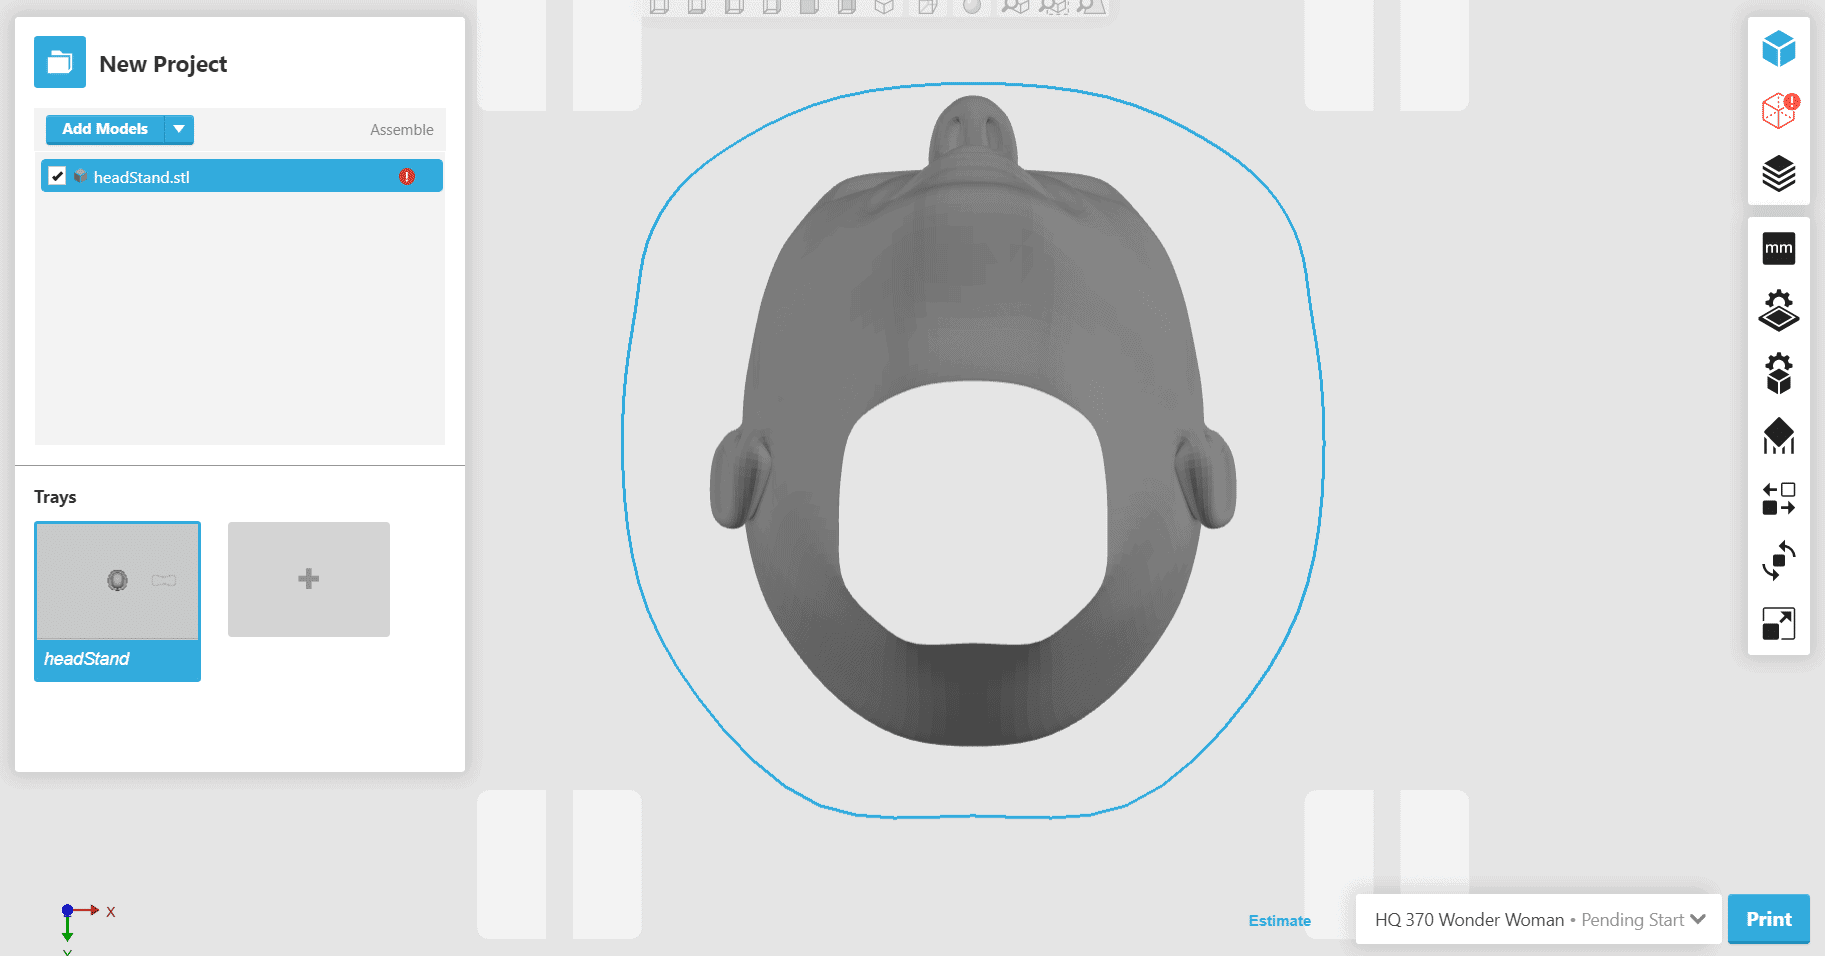
The bottom view reveals even further issues. Apparently the inside of this model doesn’t quite exist. Clearly a part this bad would not be able to be printed without repairing it first.
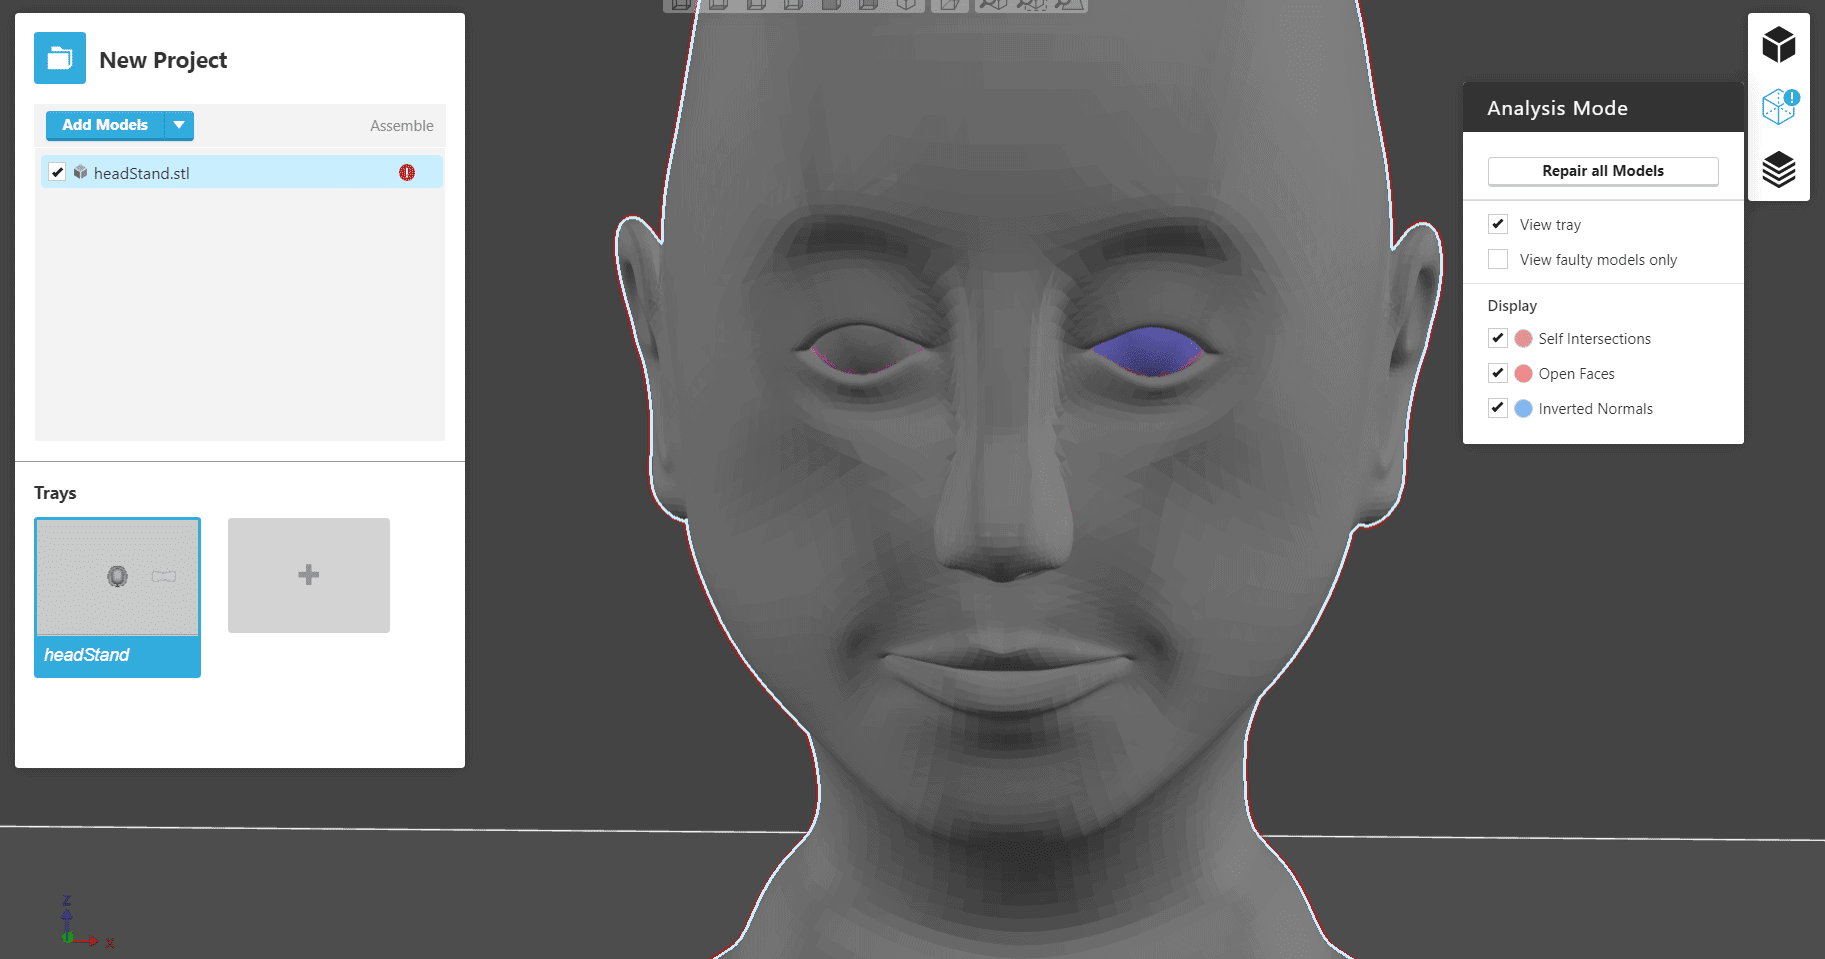
Looking at the part in analysis mode shows an expected error in one eye in the form of inverted normals, as well as smaller, less noticeable self intersections around both eyes.
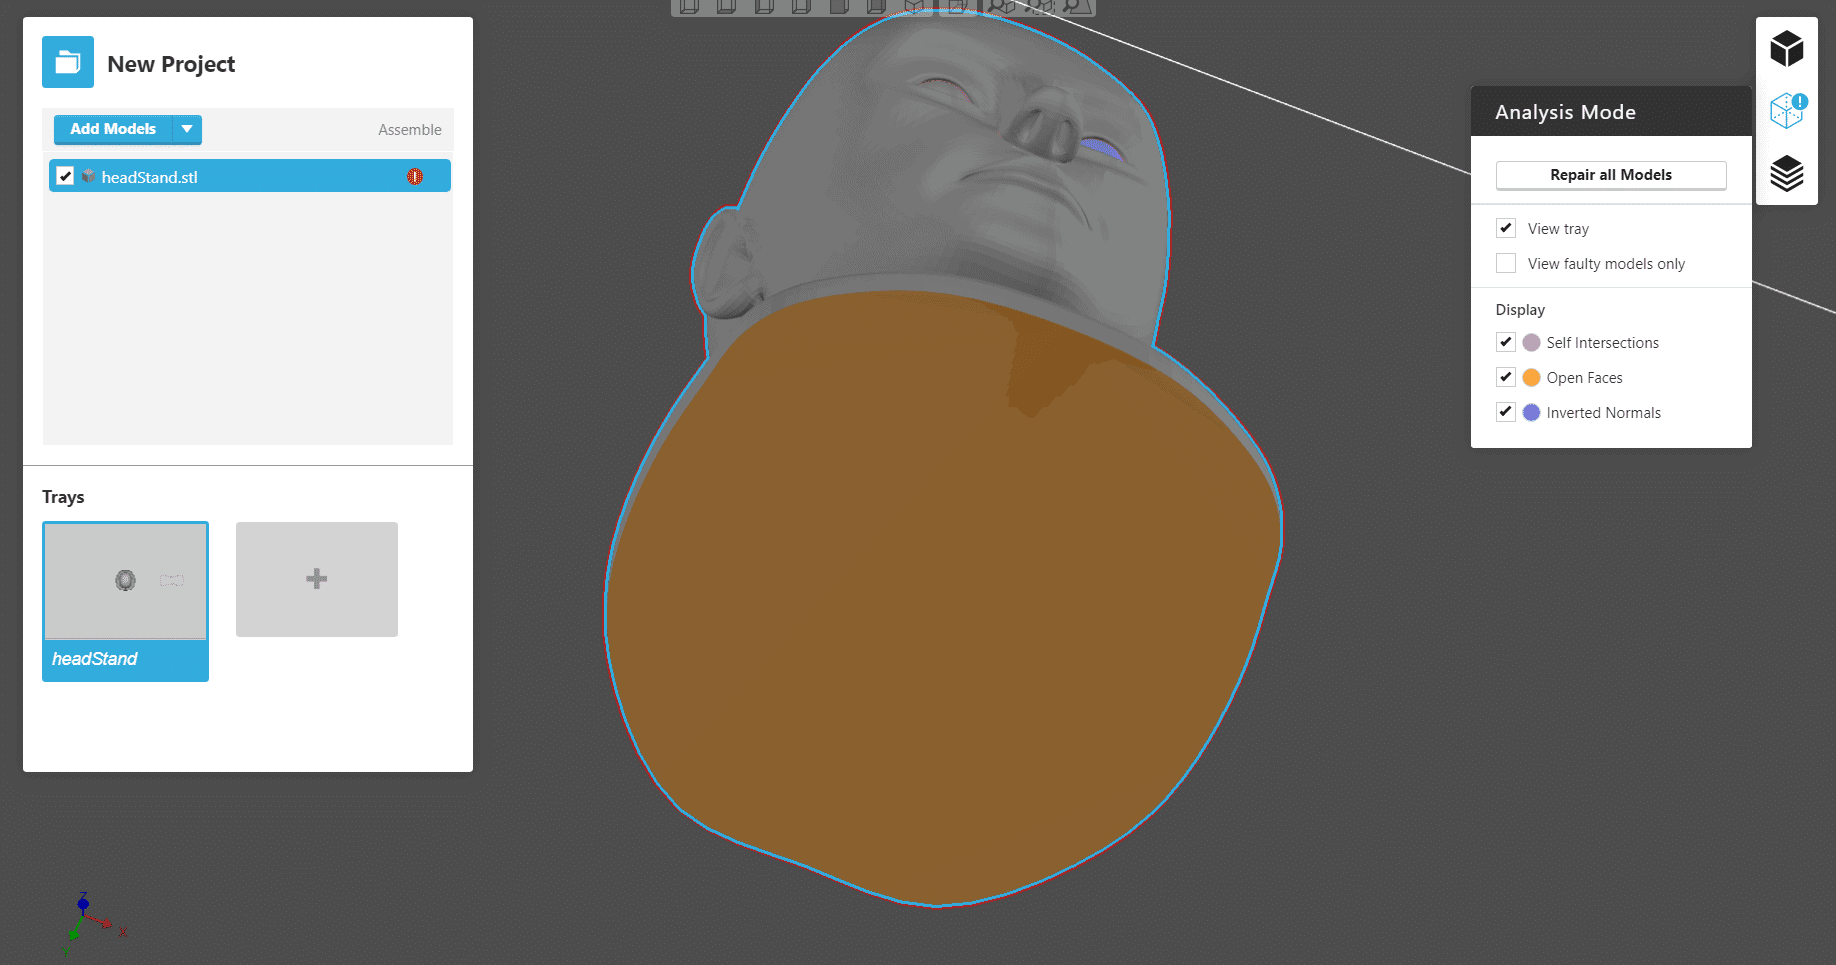
Unsurprisingly, the bottom view is no better. It’s just a giant open face. As bad as this is you can simply select the repair button and…
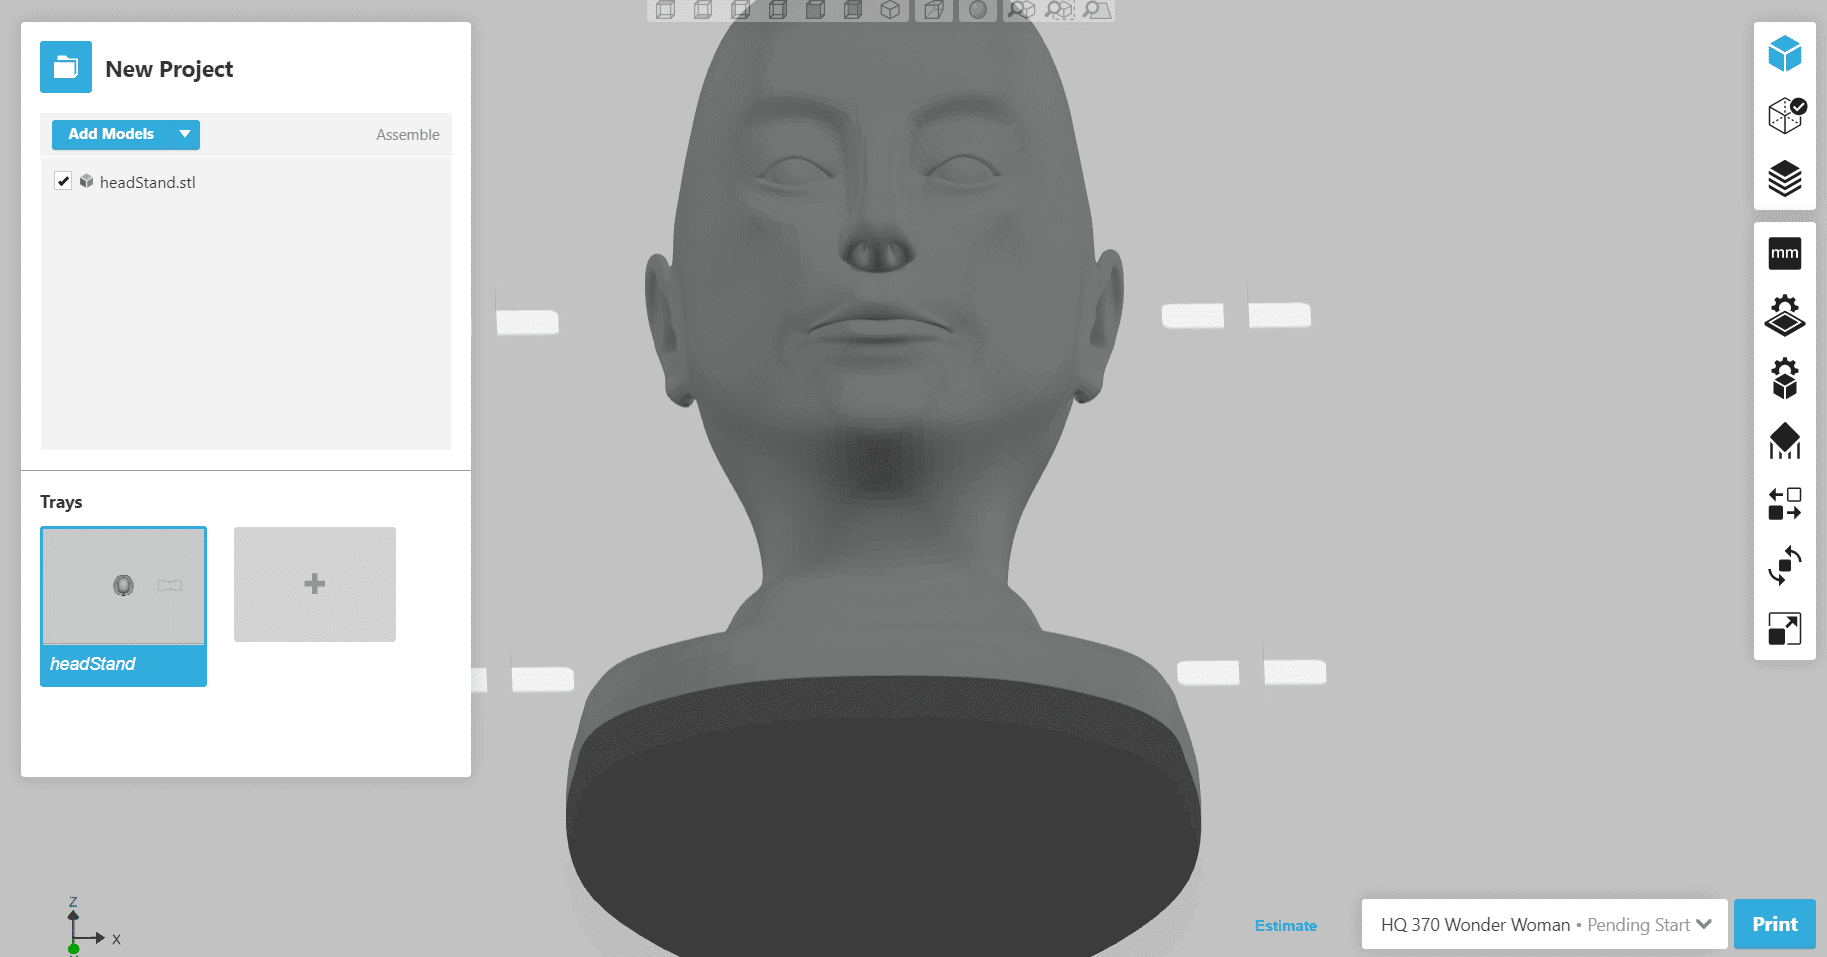
Now the part is fixed. The bottom is now a solid plane and the eye socket has been filled in.
Not all errors will be quite as obvious, however.
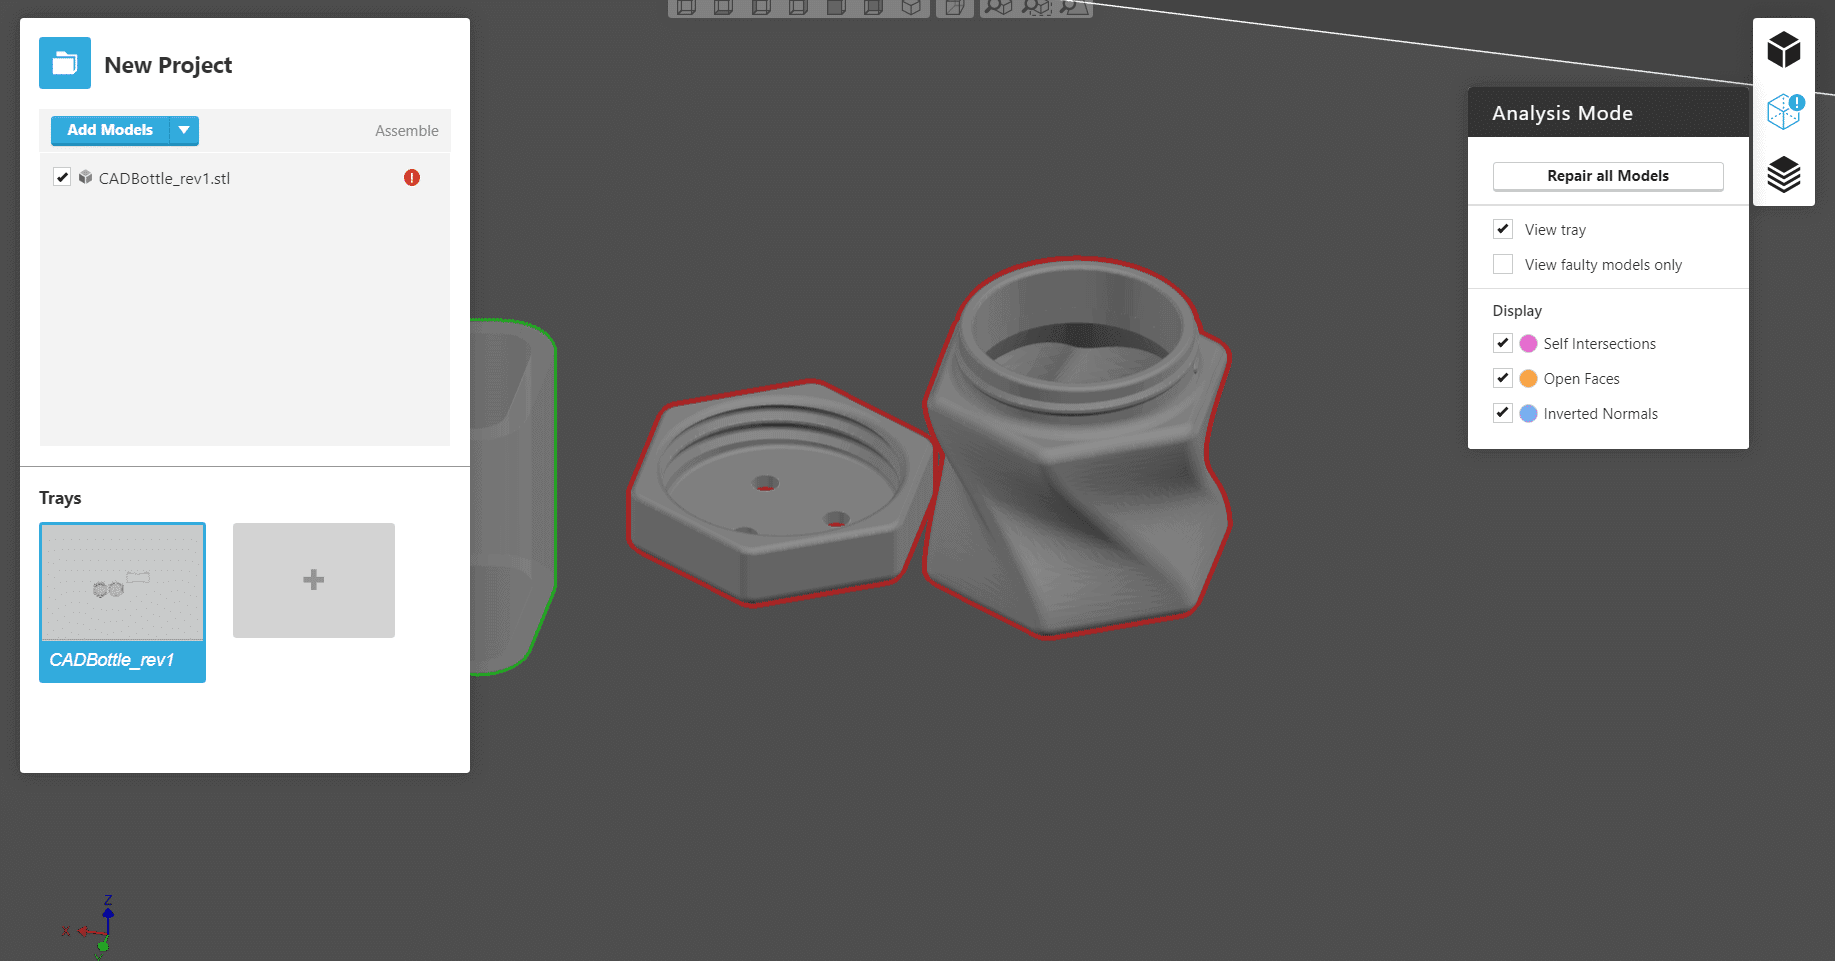
Bringing in this small bottle showed that there were errors on the part, but they weren’t very apparent.
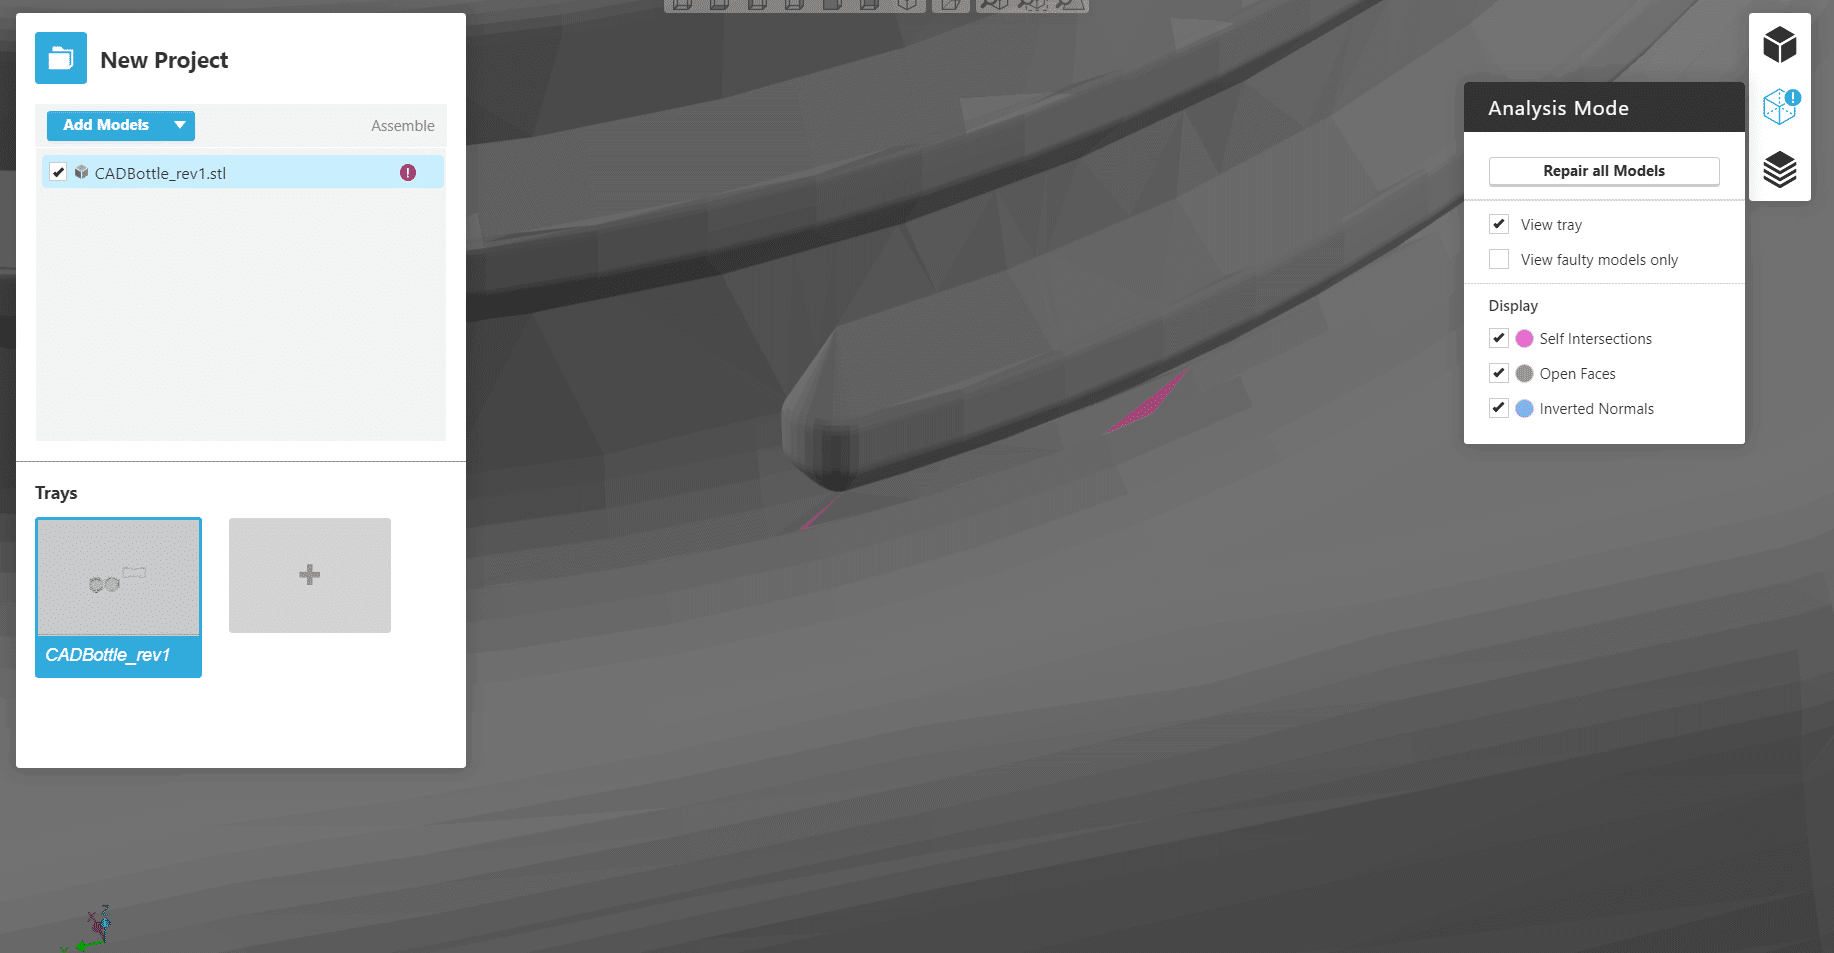
Zooming in close I found a few very tiny self interfaces near the threads. Chances are errors this small wouldn’t have had any significant impact on my final parts, but there’s no reason not to print with the best possible files.
Hopefully this has helped you all solve some basic part issues. Luckily GrabCAD is a powerful tool to easily manipulate parts for optimal 3D Prints. If you need further help with your 3D prints, feel free to contact our technical support team.
Travis Testerman
Field Service Engineer
Computer Aided Technology, Inc.