Unpacking GrabCAD .Print Files
GrabCAD Print does an outstanding job of repairing STL files by repairing missing triangles, overlapping triangles, stitching, etc. But one of my pet peeves is that while it will correct an STL file, it will not let you save the repaired STL file. I would like to export the repaired STL file for future use and not have to rerun the repair procedure each time I load it into GrabCAD Print. This is also true after you scale a part or position it at a particular orientation, it would be nice if you could save the STL file for future use. While it is true that you can save it with a GrabCAD Print extension as a .Print file to duplicate the build with all its’ parameters, but having just the repaired STL file would be convenient.
When you save the file as <filename>. Print file, the repaired STL is ‘zipped’ or ‘packed’ in the .Print file. We can retrieve the repaired STL file easily by selecting the <filename>. Print file and use an unzip program to extract files.
Following is an example of repairing the file, saving the <filename>. Print file, unzipping the <filename>.print file and extracting the repaired STL file from it.
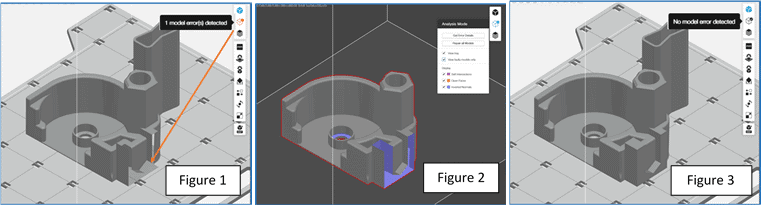
When a bad STL file is loaded you may or may not see the errors. In my example loading Bad.STL you can see that surfaces are missing. And GrabCAD Print identifies that the file has some error(s) with the red icon in the upper right corner (Figure 1).
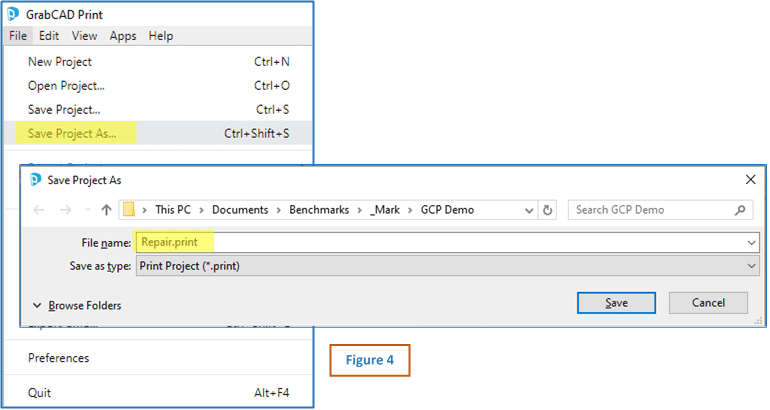
Selecting the icon to repair will show surfaces that are missing. (Figure 2). And selecting Repair all Models will correct the file by adding the missing surfaces to make the part ‘water-tight’. (Figure 3).
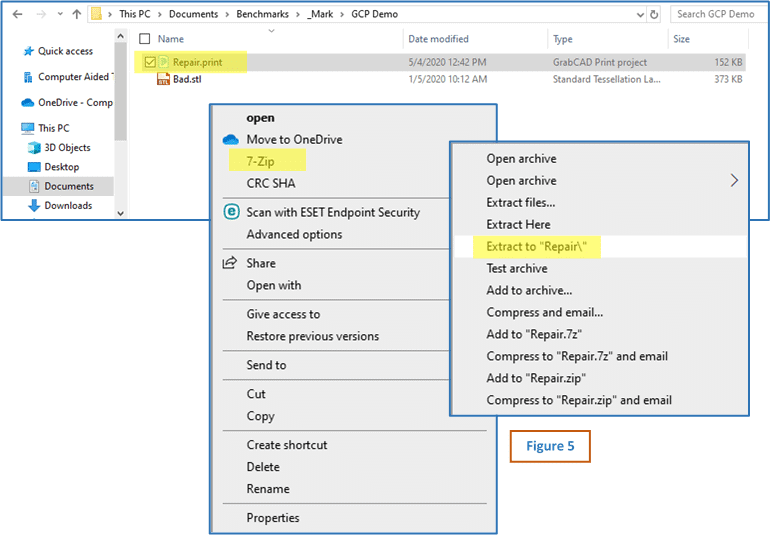
After the part has been repaired, scaled and positioned, use File, Save Project As… and give it a name. In this example, I will name it “Repair.print” (Figure 4).
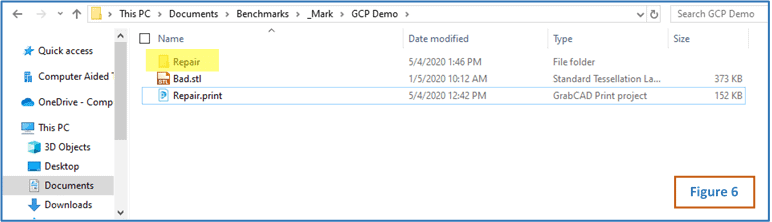
A Repair.print file is created. We can use a Zip applicication to extract the file. Here I selected the file with a right mouse click and choose the 7-Zip application (built into Windows) and extracted it to a folder named “Repair” (Figure 5).
Open the Repair Folder we just created (Figure 6).
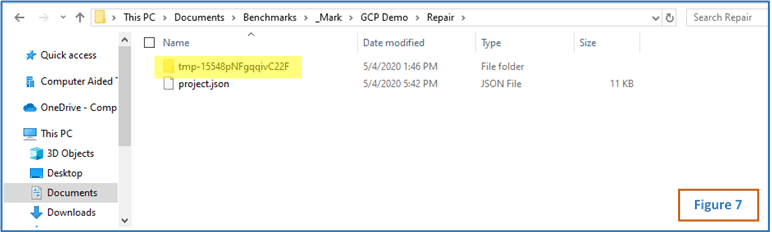
You will see a ‘tmp’ folder (Figure 7)
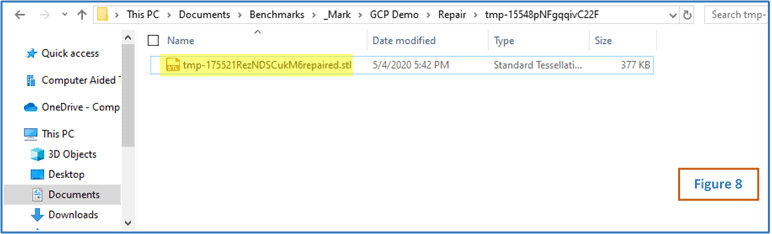
Open the folder and here you will find the repaired STL file, beginning with “tmp-“ and ending with “repaired.stl” (Figure 8).
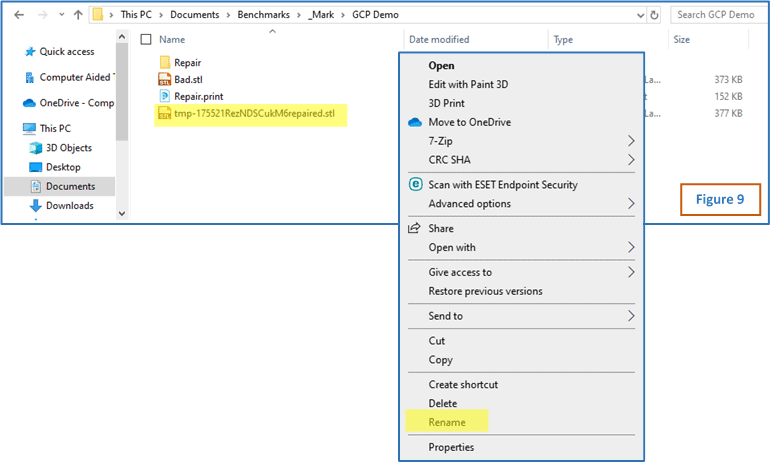
Copy it to the directory where your bad file is located and rename it (Figure 9).
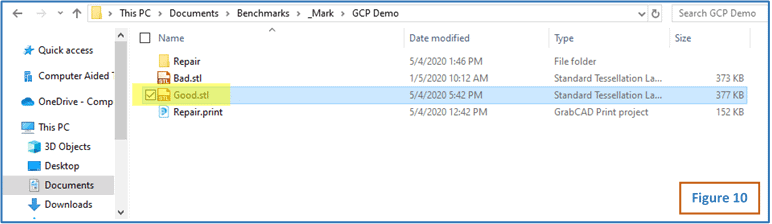
For this example, I named it Good.STL. This is now your repaired STL file for future use (Figure 10).
Mark Abshire
Senior Application Engineer, Additive Manufacturing
Computer Aided Technology, Inc.