Installing your Stratasys J55 Build Tray
INSTALLING YOUR STRATASYS J55 BUILD TRAY
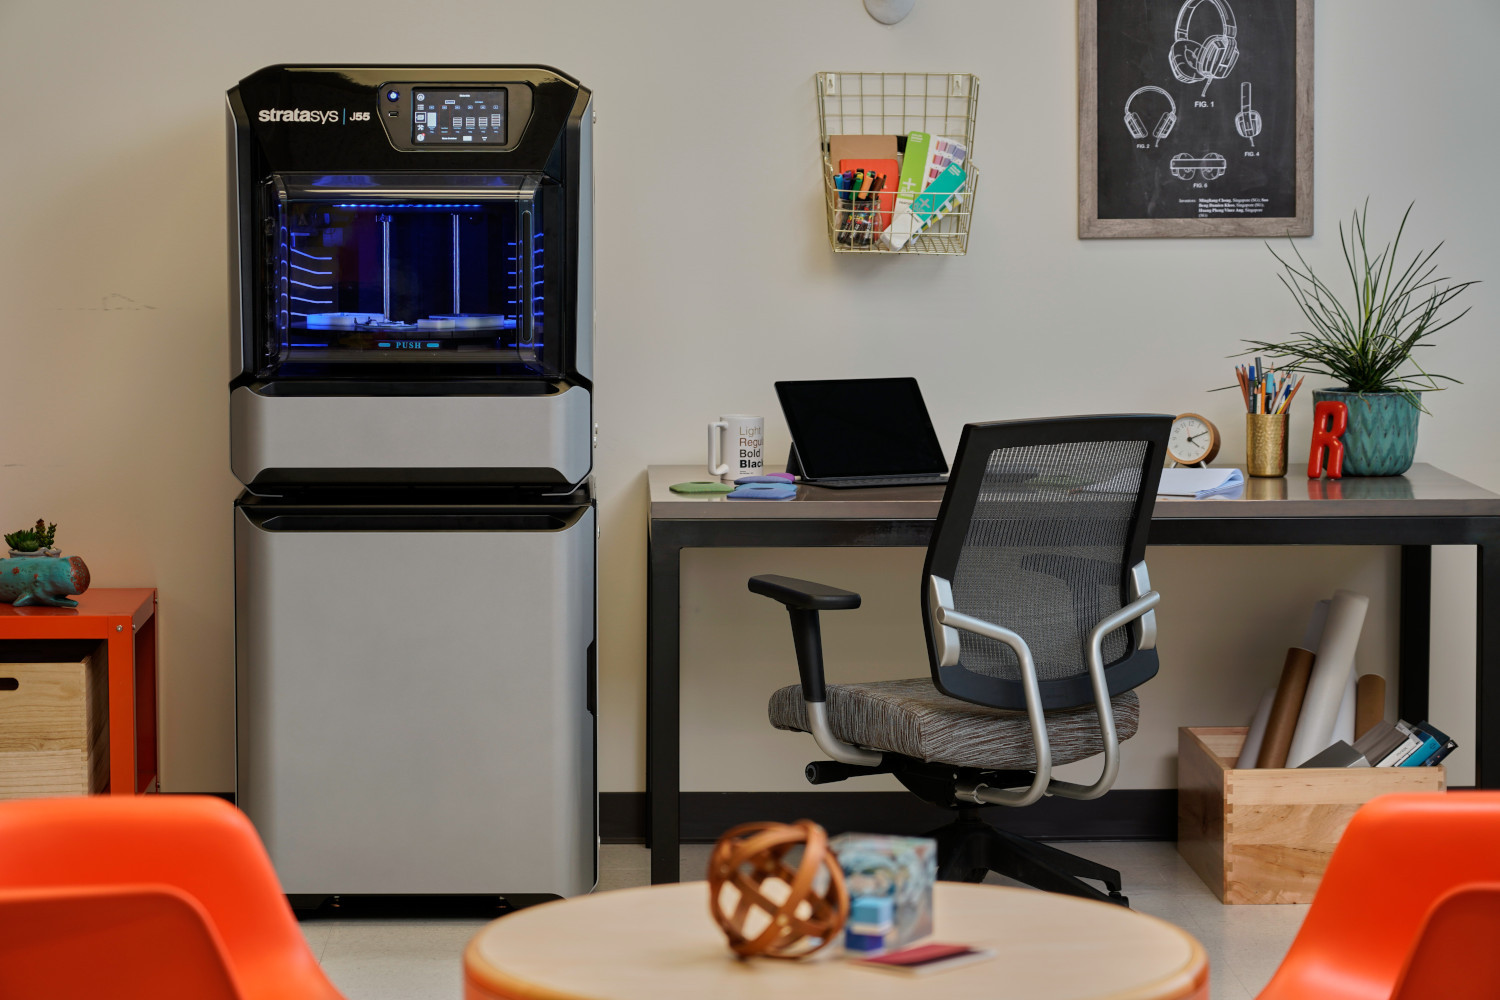
So you got yourself one of the brand new Stratasys J55 full color 3D printers. One of the many impressive features it has is the build tray size to printer footprint ratio. Today I will cover installation of the build tray into the printer.
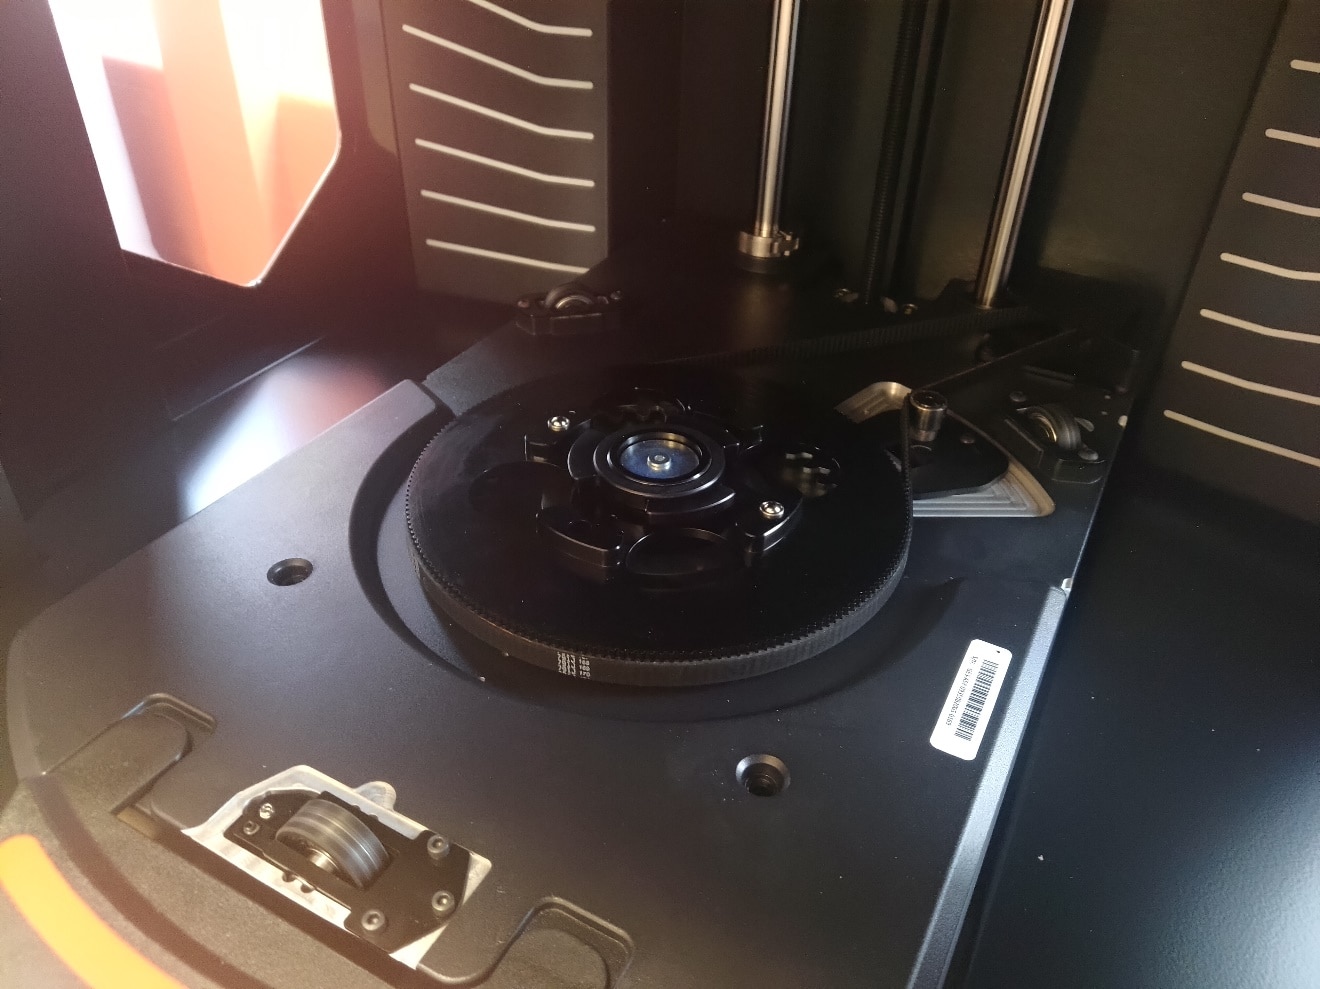
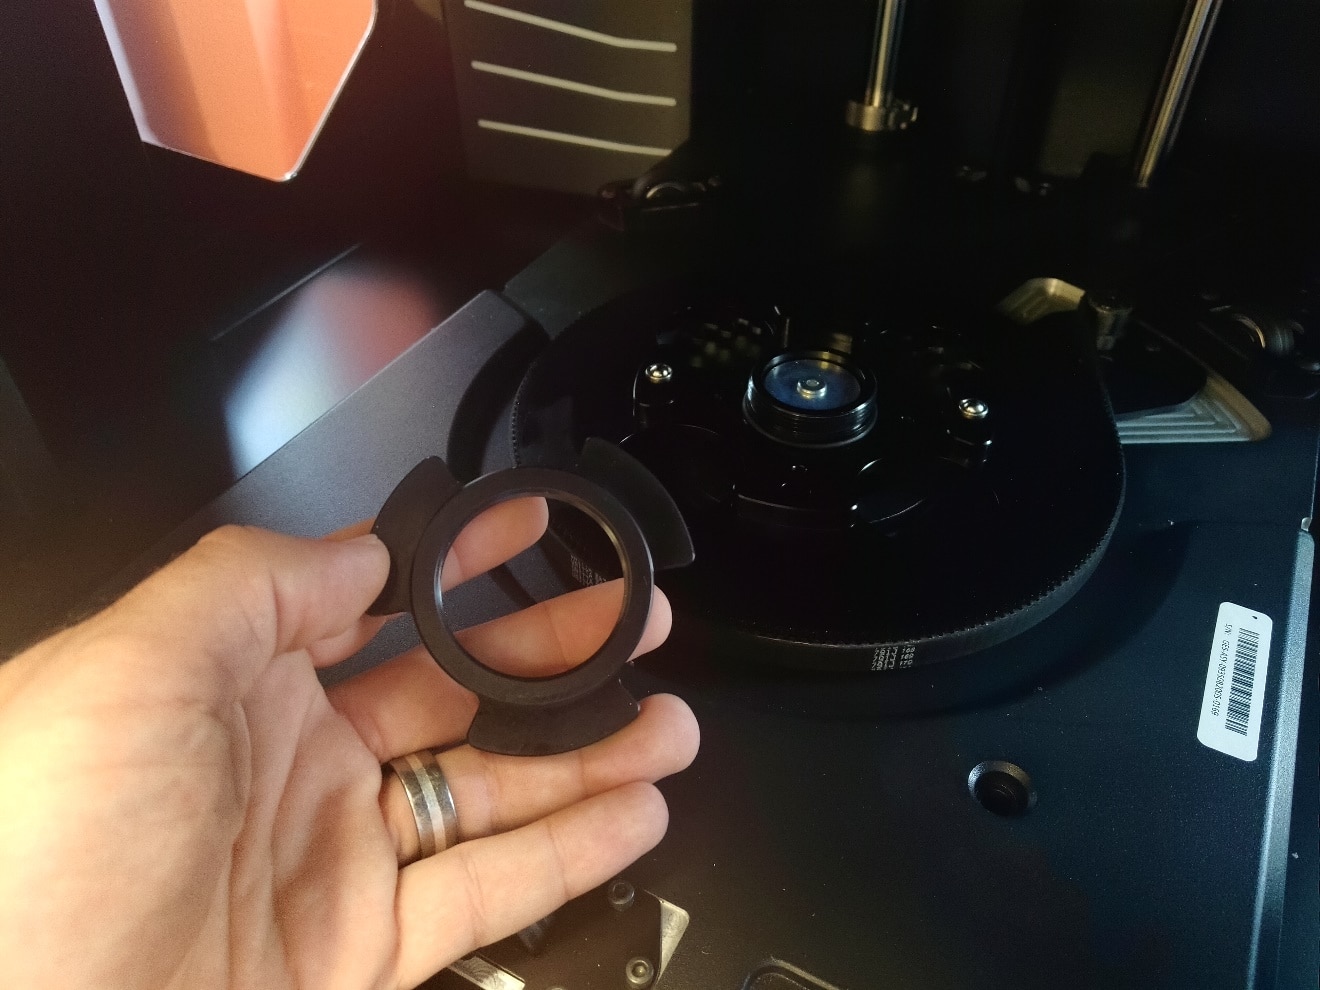
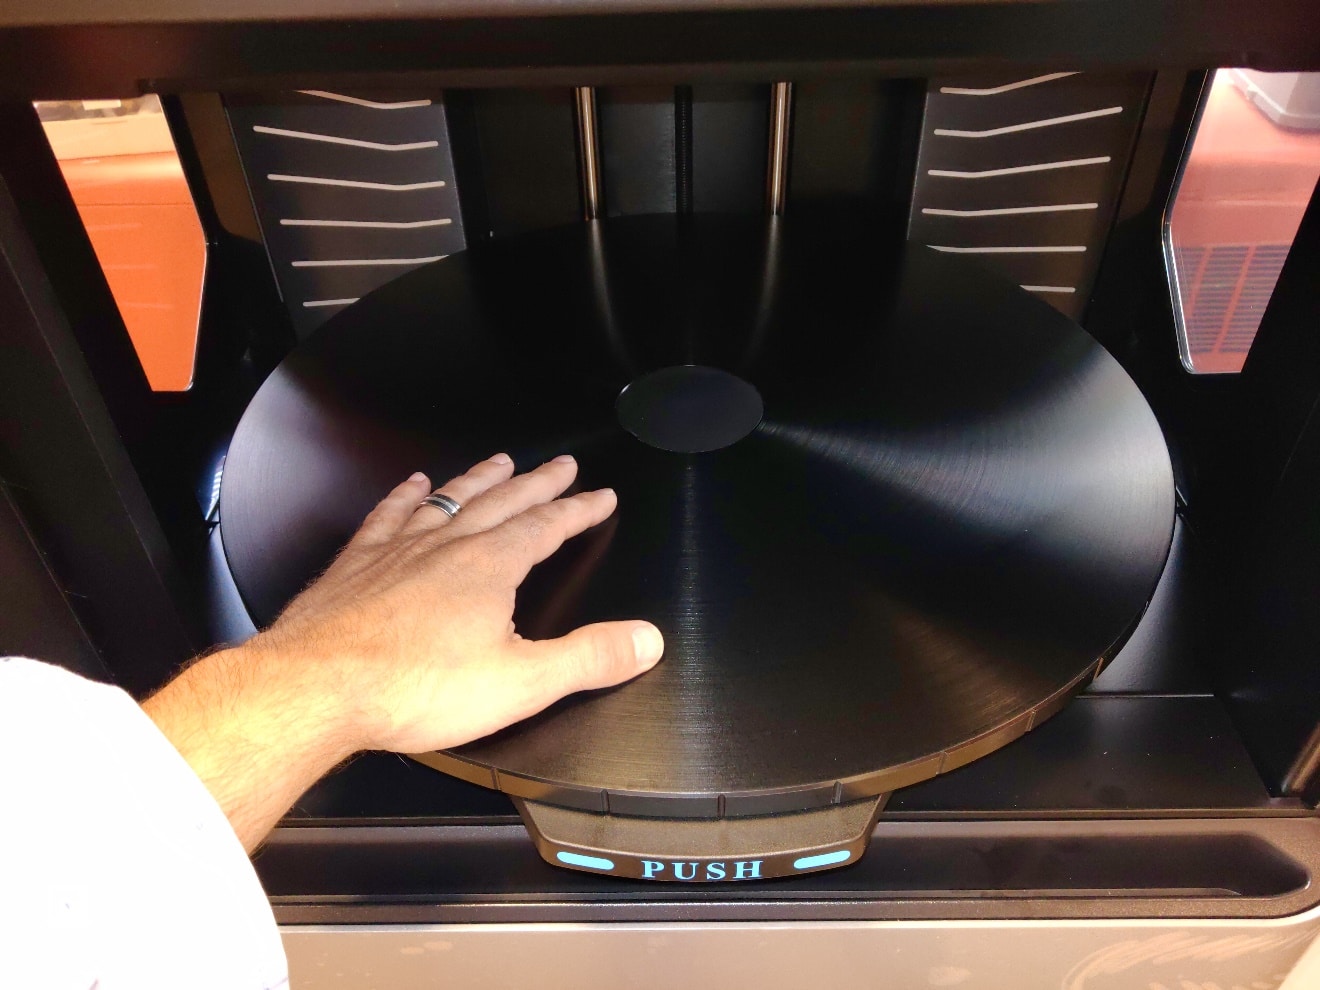
First open the printer door and locate the build tray turntable. There is a securing nut that is located in the center.
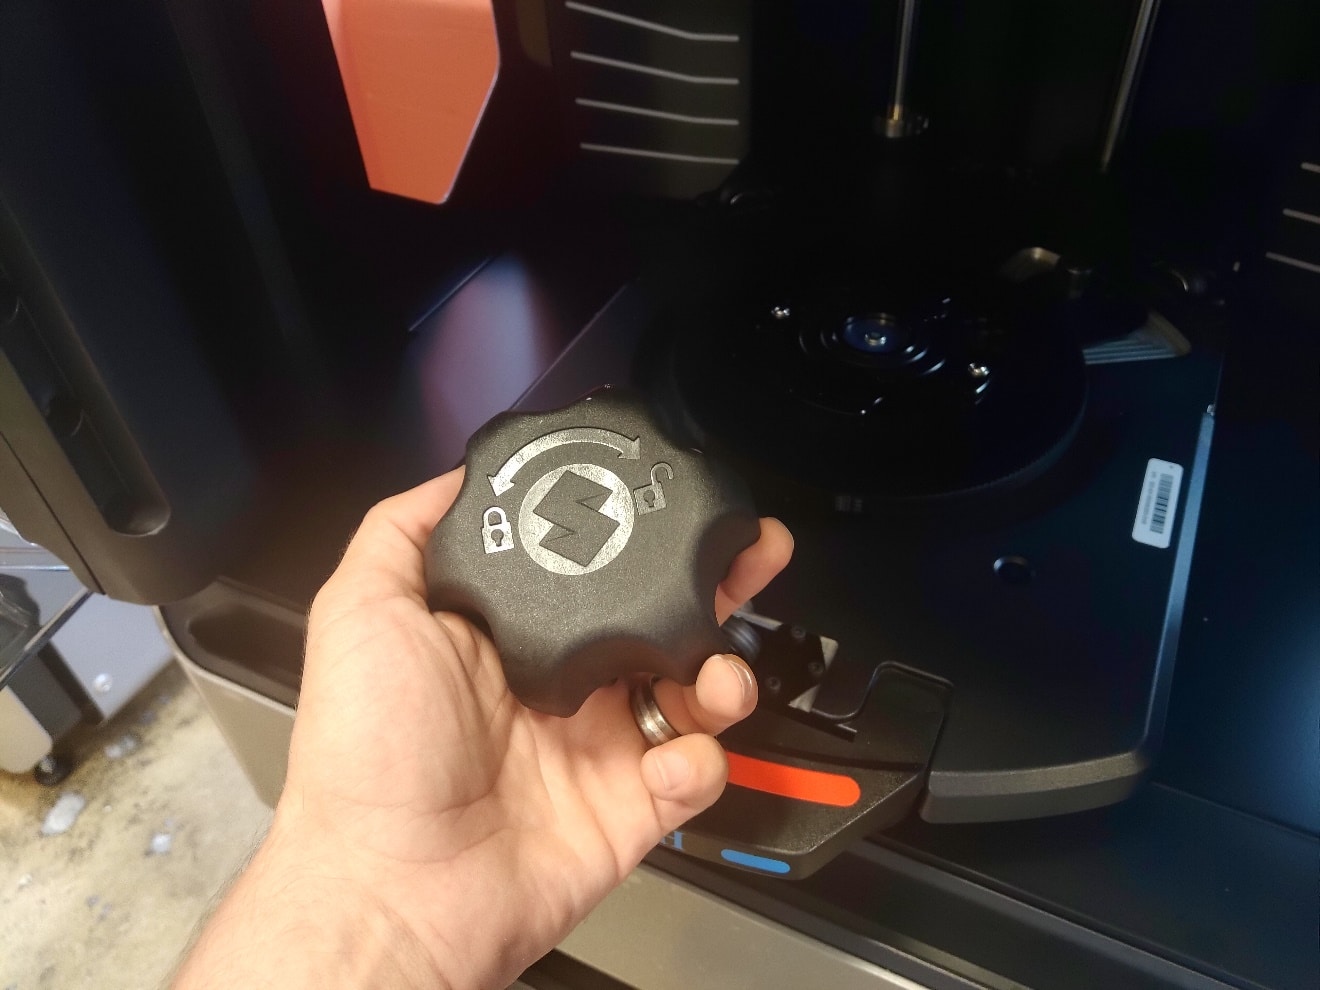
Find the dedicated build tray wrench located in your startup kit and bring it with you to the printer.
Place the build tray wrench over the build tray securing nut and turn it clockwise until the nut is removed.
Place the securing nut in a safe location, you will need it again shortly.

Take the build tray out of the box and place it onto the turntable, make sure to remove the protective sheet that covers the tray.
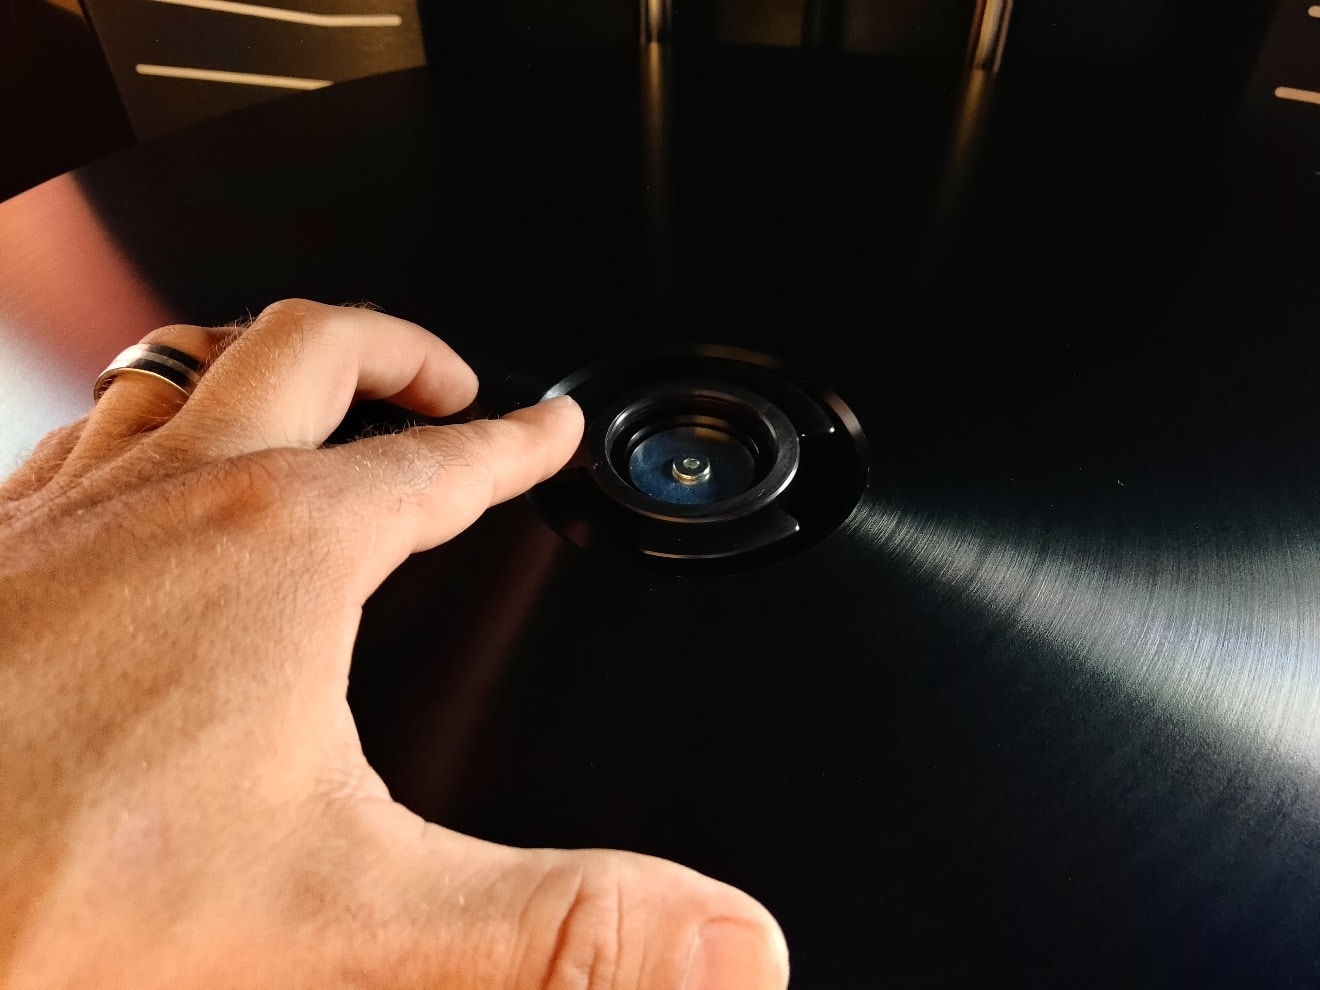
Now take the previously mentioned securing nut and place it in the center of the build tray. Turn it counter-clockwise to start the tightening process.
Now take the build tray wrench and position it over the nut, turn it counter clockwise until the build tray nut is secure.
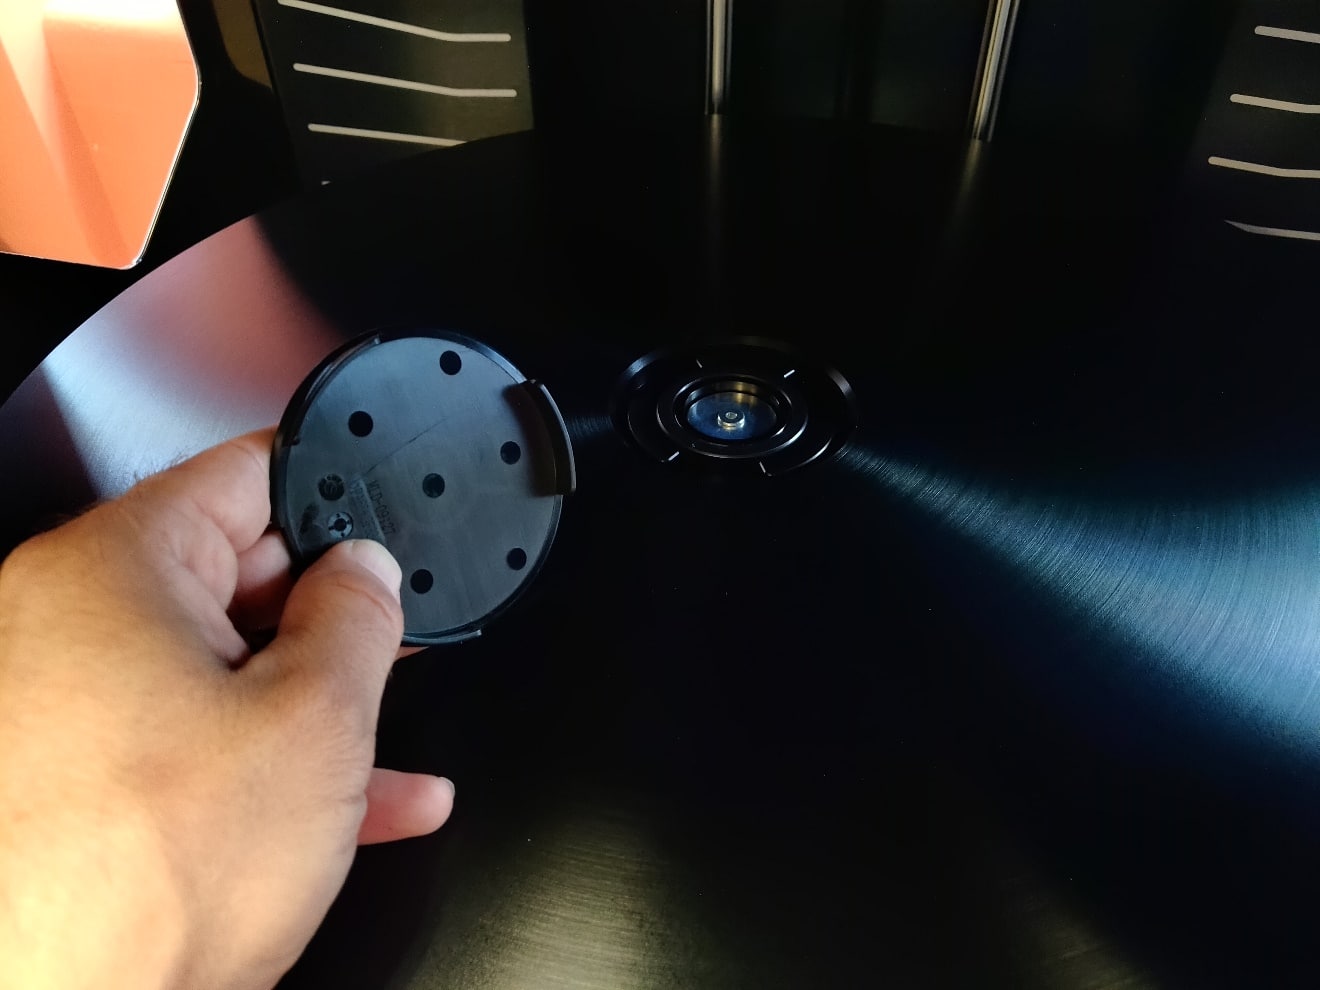
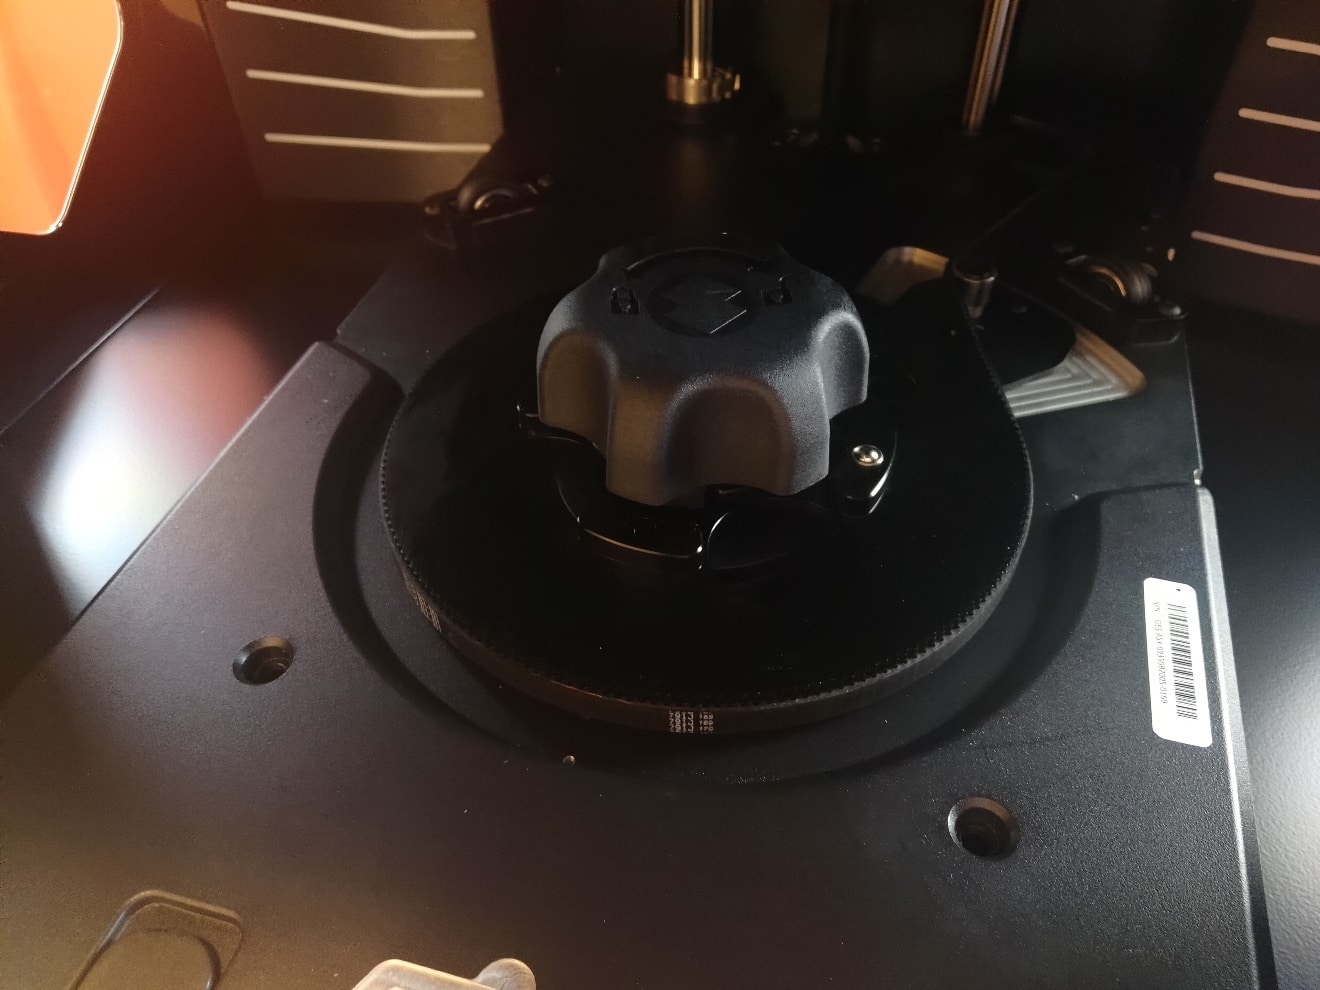
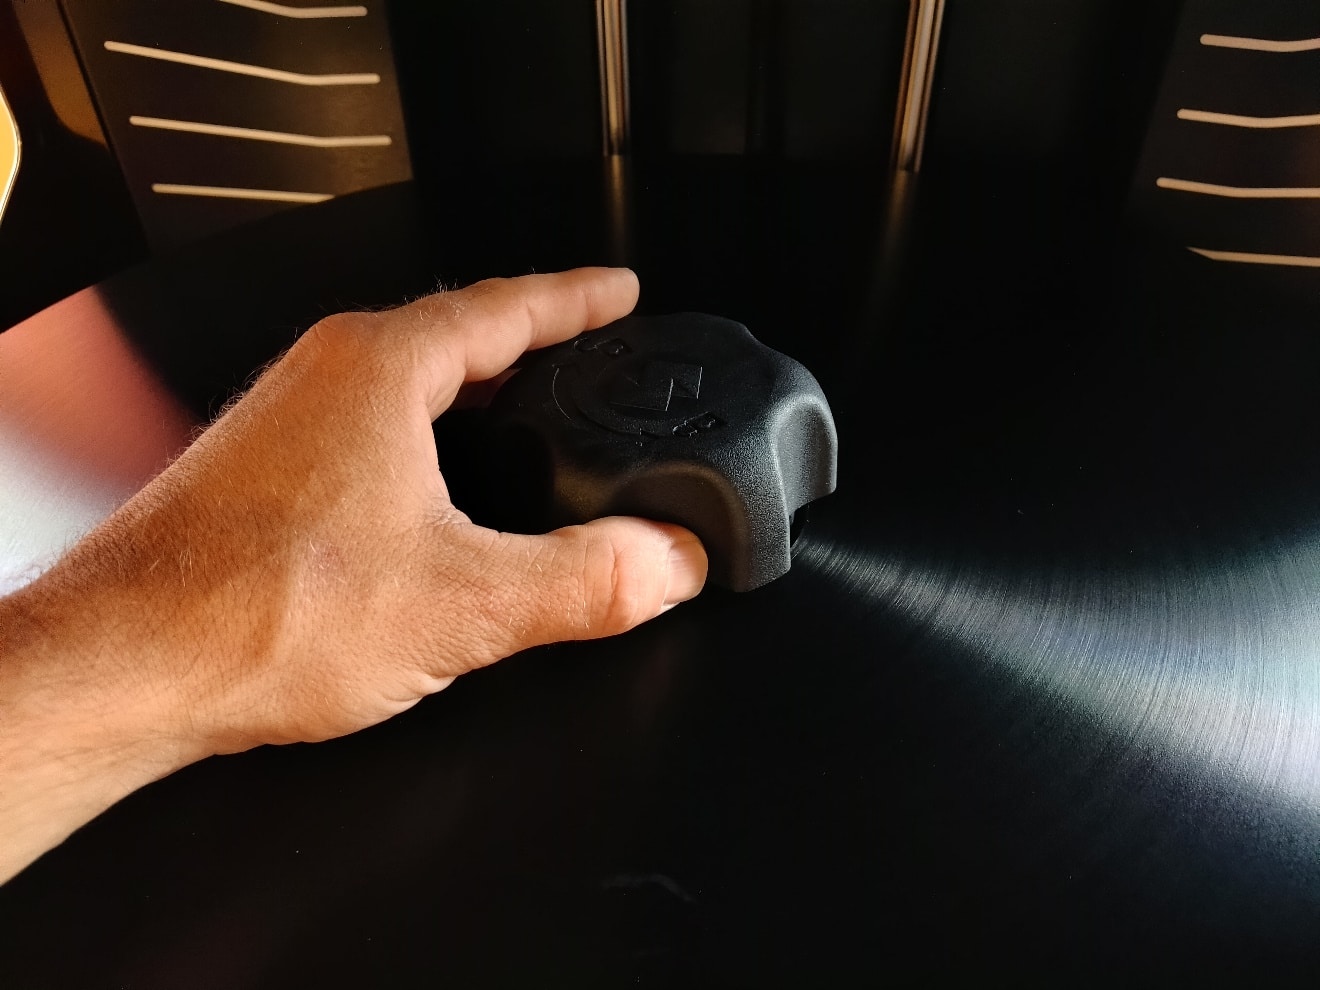
Locate the build tray cap and place it on top of the build tray securing nut, pressing it down until it clicks into position and becomes flush with the build tray.
Enjoy your new giant build tray, ready for all sorts of amazing full color models to be printed upon!
Simon Indrele
Application Engineer, Manufacturing Solutions
Computer Aided Technology, Inc.