J750 Digital Anatomy: GelMatrix spotlight
In my last blog post, I went through some of my first impressions of the new Digital Anatomy Printer from Stratasys. In that blog I mentioned the usefulness of the GelMatrix material. I wanted to go more in depth about the material and show some actual part processing.
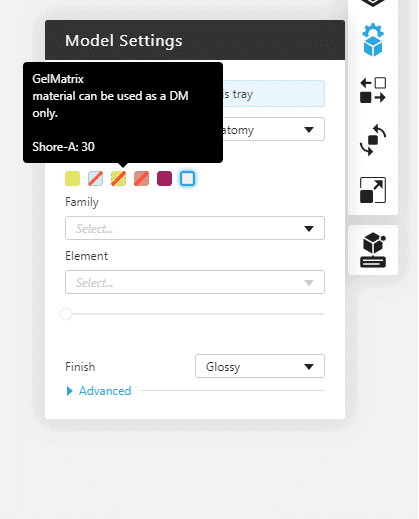
Within GrabCAD Print, GelMatrix isn’t a selectable material. When hovering over the material, GrabCAD Print notes that GelMatrix can only be used as a Digital Material. That means GelMatrix cannot be printed on its own, it must be combined with another material. However, to see the material on its own we can use the dynamic nozzle test.
Under normal operating conditions, the Polyjet print heads don’t simply follow a horizontal path during printing but instead slightly offset themselves in case there are any clogged or faulty nozzles. This is visible in the set of still photos from a time-lapse shows a line in the model shifting and disappearing throughout the print.

This process of shifting the print heads throughout the print does not occur in the dynamic nozzle test. This allows for the condition of the print heads to be investigated. The faulty & clogged nozzles will show up in a much more visible way compared to the normal pattern test. In the image below the pink rectangle has some missing nozzles in the top half.
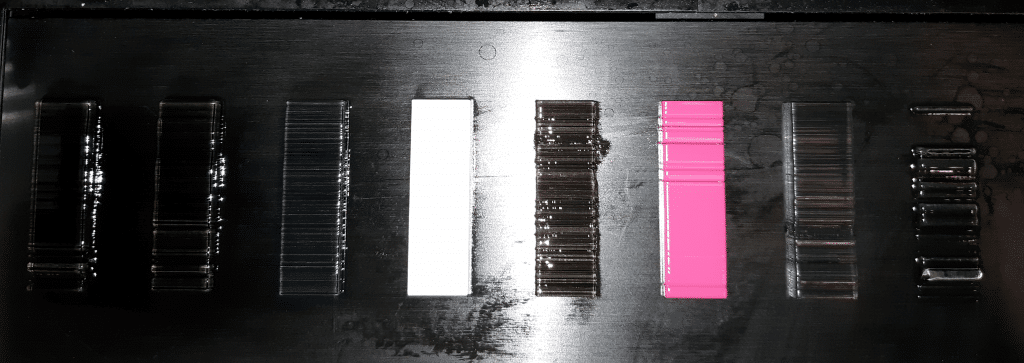
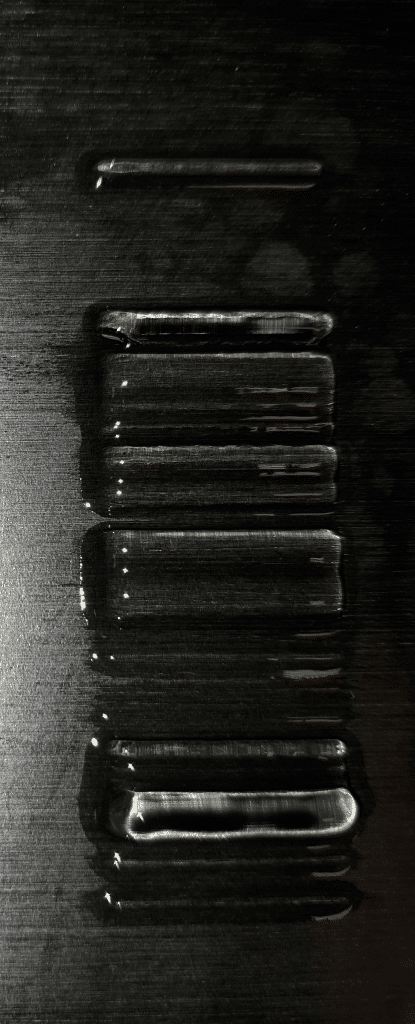
Something very unique about this test is the ability to print and see materials that are never intended to be printed on their own. There are many materials in the Polyjet line-up that cannot be printed as a stand-alone material, including RGD515, RGD531, RGD535 (the materials used for DigitalABS), VeroUltraClear, the DAP materials TissueMatrix, BoneMatrix and our topic for today, GelMatrix. In the dynamic nozzle test above the material on the far right is the GelMatrix material.The GelMatrix material showed up so liquidy in the dynamic nozzle test I thought it was uncured. The consistency was similar to Jello and was very transparent. Below is a close-up.
The digital material that uses GelMatrix is known as GelSupport in the Blood Vessel section in GrabCAD Print.
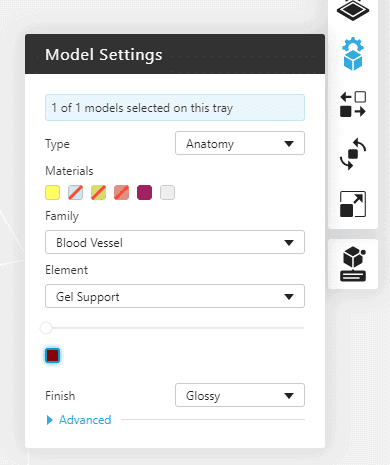
GelSupport is a complex material that has a few different components. Where GelSupport borders other materials on the print job, a mix of GelMatrix and 706 support material is used. That layer of GelSupport takes up around 1mm of the model. After that a soft mixture of GelMatrix with Agilus30 Clear chunks is used for the rest of the GelSupport. I have used the material in blood vessel models as well as heart models and in both cases it is extremely useful!
THE BLOOD VESSEL MODEL
GelMatrix was created for blood vessel models. Before the advent of GelMatrix, printing a thin tubular structure with bends and curves was not feasible. A pipe-cleaning device could be used, but with a flexible thin-walled tube the pipe-cleaner would surely break the model. Water pressure could be used, but the pressure was likely to build in the thin-walled section and burst the model. A soaking tank with caustic soda could be used, but the amount of time it would take for the liquid to penetrate a long narrow tube would be astronomical. With GelMatrix, light water pressure can be used in one end of the model and the GelMatrix will allow the water to flow through the thin-walled tube and break out of the other end. The GelMatrix is marbled within the vascular cavity so there is still 706 support to clean out, but the process is made much more doable with GelMatrix. Below is a video going through the process of cleaning out a blood vessel part.
THE HEART MODEL
GelMatrix can also be used in models with large cavities. In the case of this heart model I have printed with and without GelMatrix. The purely 706 support material model took about 1 week to clean. With so many fragile parts and cavities I was wary to rely exclusively on pressurized water. I opted for manually removing the large chunks of support, soaking the part overnight, using pressurized water to removed the saturated support material and make room for the unsaturated support material to soak the next evening. This cycle repeated for 5 days. The heart models then had to soak in water to help remove the film. Finally, the models had to sit in the open to allow the absorbed liquid to slowly leave the model. All in all, this process from print to finished product could take up to 2 weeks.
With the GelMatrix models, the large internal cavities were filled with GelSupport. The models relied heavily on the “part priority” option for assemblies in GrabCAD. This way the GelSupport portion of the model could overlap with other parts of the model and not interfere with the print by setting the GelSupport portion at the lowest priority. The GelSupport is very easily removed with pressurized water, allowing each heart model to be cleaned in about 20 minutes. These models may also need some time to allow any absorbed liquid to leave the model, but not nearly as long as the soaked models. This results in a finished model in hours instead of days. A video detailing the cleaning process can be found below.
Until next time!
Kelsey Gabel
Application Engineer, Manufacturing Solutions
Computer Aided Technology, Inc