SIMULIA for SOLIDWORKS- Import via SOLIDWORKS Connector
Lately, many of my blogs have talked about the power that SIMULIA for SOLIDWORKS adds to the SOLIDWORKS Simulation suite. Whether it’s advanced FEA, plastic injection simulation, or fluid dynamics, there is almost certainly a role on the platform that can help any engineer with complex simulations. I haven’t written a lot about the link that exists between the geometry in SOLIDWORKS, and the new 3D Experience environment. So today, I’d like to discuss the first of two methods for importing and updating SOLIDWORKS CAD models for use in the SIMULIA for SOLIDWORKS portfolio. I will cover the second method in a later blog.
As a review, the two preferred methods of connecting geometry between SOLIDWORKS and SIMULIA for SOLIDWORKS are below:
- SOLIDWORKS Connector App in the Collaborative Designer for SOLIDWORKS role (UES)
- Direct Import
SOLIDWORKS Connector App (UES)
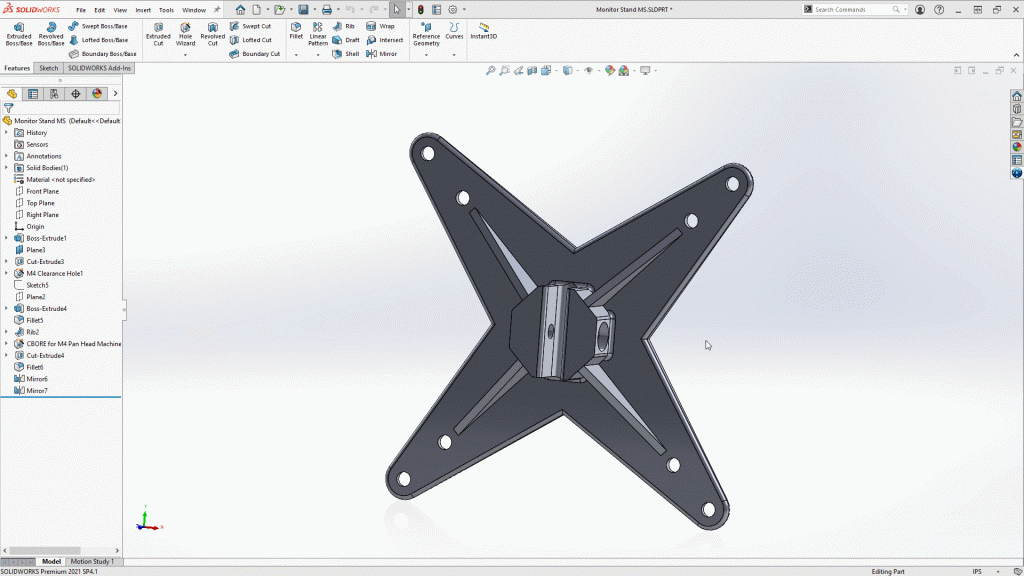
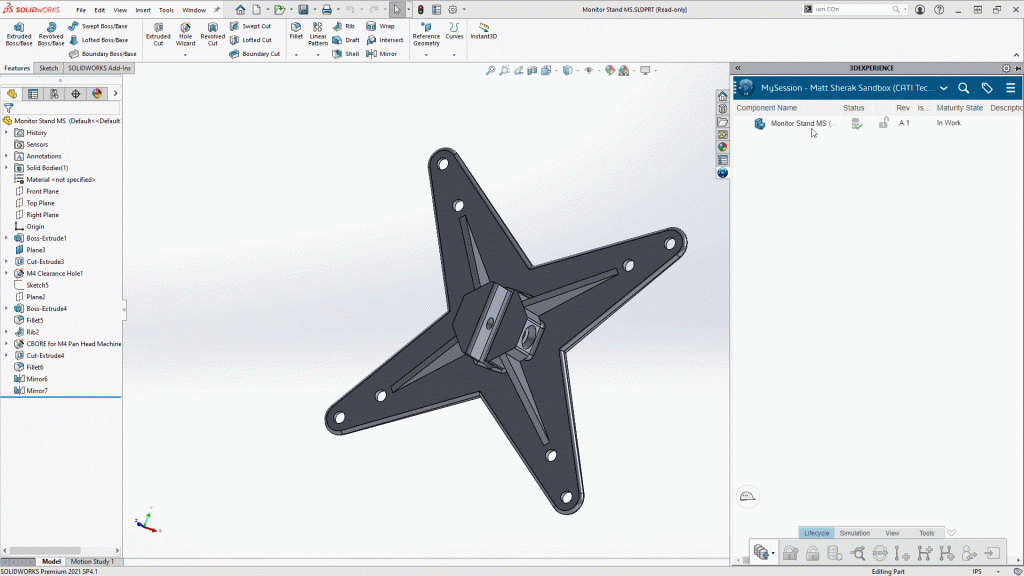
The SOLIDWORKS Connector is accessed directly from the SOLIDWORKS CAD interface. When a part or assembly is ready to be uploaded to your cloud tenant, simply click the 3D Experience pane. From there you will see any parts or assemblies in the current SOLIDWORKS window. Selecting “Save” will upload these files to your cloud tenant. You will notice under the Lifecycle tab, that there are various options for revision creation and management. This is a key differentiator between the SOLIDWORKS Connector and Direct Import. The SOLIDWORKS Connector has the capability to capture full design histories via revisions, and doubles as a Product Lifecycle Management (PLM) solution for your SOLIDWORKS files. The ancillary benefit is that any simulations that use this geometry can be updated and re-solved for new results. Let’s look at the example, a monitor stand.
The file has just been designed using SOLIDWORKS. We open the 3D Experience task pane and upload the file to the tenant.
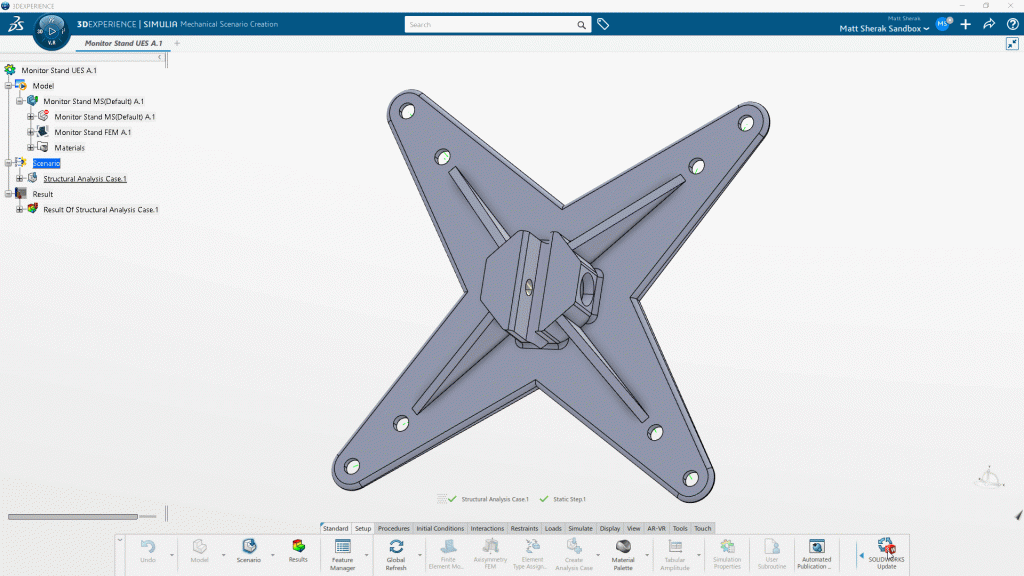
Once it is uploaded, we can set up the simulation using the Structural Mechanics Engineer, or Structural Performance Engineer roles (sold separately). When viewing the results, we can see that the stress is too high.
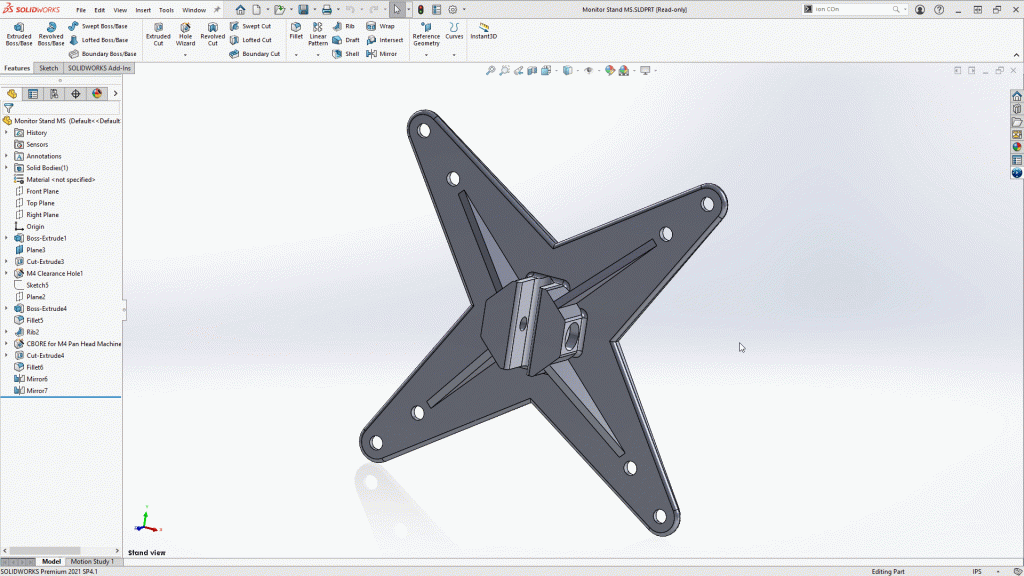
From there, we can go back into SOLIDWORKS and “reserve” the model to make changes. We will add some thickness to the ribs and arms, then re-save the file to the cloud.
We open the file with whichever structural creation app you have access to, and we can update the geometry by selecting the “Update SOLIDWORKS” button. Now we can re-mesh and re-run the study to obtain updated results.
I hope this blog has educated you on how to use the SOLIDWORKS Connector app for importing your files onto the 3D Experience platform, and how to leverage this functionality to update simulation results. Personally, I find that the SOLDIWORKS Connector is a much more useful tool than using a direct import of geometry, but ultimately both can maintain associativity to your CAD data. I will cover the direct import tool in detail in a later blog. In the meantime, please reach out to your Computer Aided Technology account manager for any further questions, we are happy to help!
Matt Sherak
Sr Simulation Product Specialist, Elite Application Engineer
Computer Aided Technology