Introduction to SOLIDWORKS Inspection
One of the most important, but often underappreciated, tasks of releasing a product is the inspection process. It can be a long, laborious job, often done manually. You could have the greatest new idea and design everything perfectly (hopefully in SOLIDWORKS!), but if you use parts that do not meet your specifications, it will not matter. So why treat that process like you are all the way back in 2013?
In 2014, SOLIDWORKS introduced SOLIDWORKS Inspection, to help you streamline the creation of your inspection documentation. It will help you take those tedious tasks of manually ballooning drawings and creating and filling out inspection reports, and reduce them to a fraction of the time. Let’s take a look now at how quick and easy that is to do.
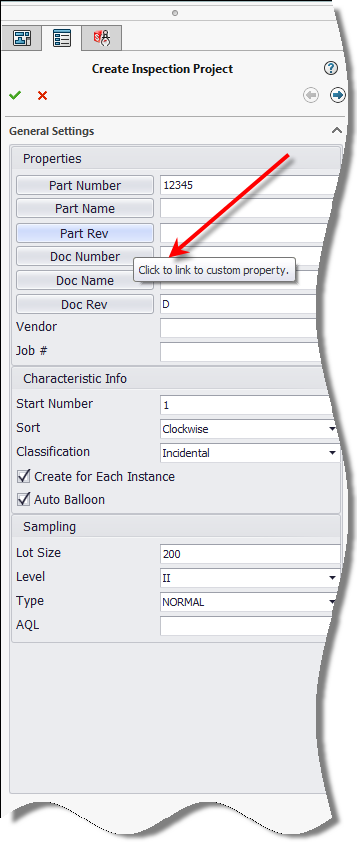
When you have native SOLIDWORKS drawings, and the Inspection Add-In loaded, you can easily enter your part information, either by typing them in or linking directly to the custom properties of your part or drawing. Here, you can enter other inspection information, such as AQL, as well.
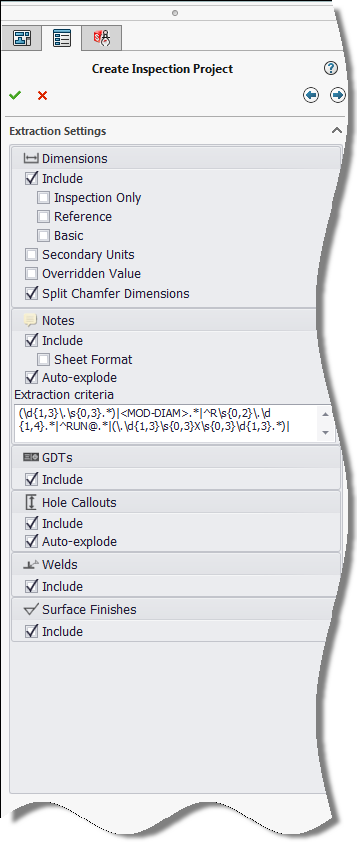
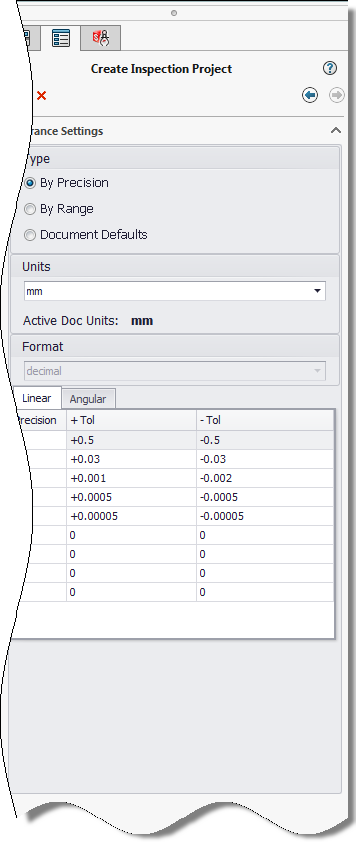
Then, you define, by checking a box, which information you want to balloon, e.g. dimensions, notes, GD&T, and what tolerance settings you want to use.
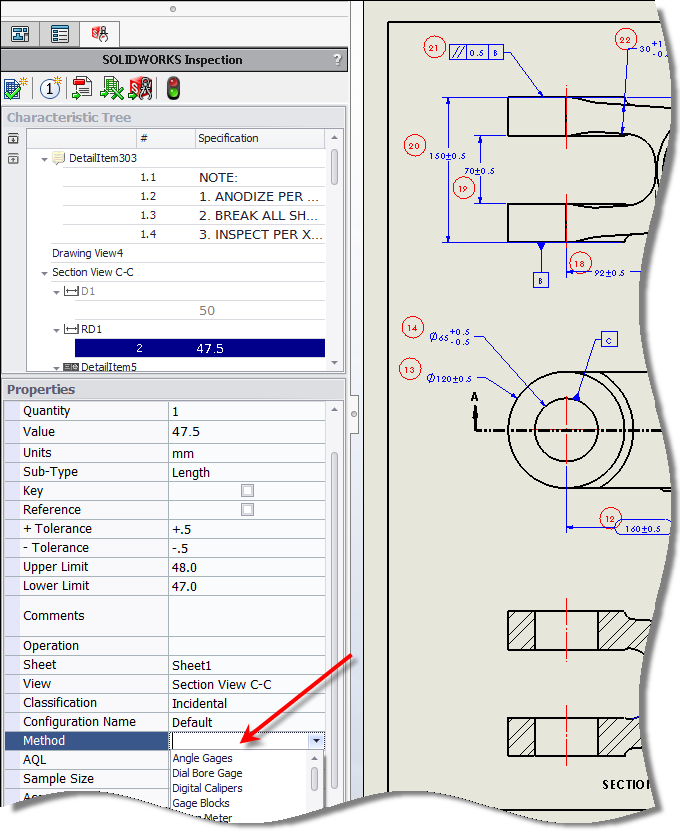
After that, with quite literally a click of a button, SOLIDWORKS balloons the drawing for you, based on all of your criteria, and gives you a ‘Characteristic Tree’ from the drawing. Here, you have customization abilities to remove balloons you don’t need, add ones you do, as well as modify properties or give more detailed information to the quality inspectors, such as how they should take the measurement.
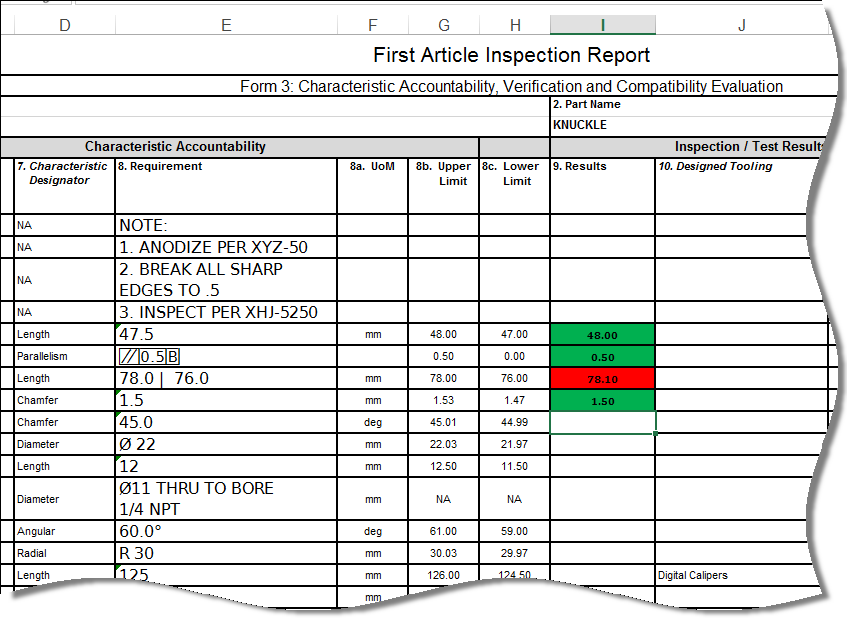
That sounds great, but what good does this do you to have a SOLIDWORKS drawing file with a bunch of balloons on it? Well, once you have allowed SOLIDWORKS to almost instantaneously balloon your drawing for you, virtually eliminating that tedious process, you have several options on what to do with it. First, you can export out a PDF of your balloon drawing to pass on to the quality inspectors to use. Next, you can export out your data to a customizable Excel report. This brings all of the information you entered right into Excel, eliminating the need to manually create the report and giving you full capabilities of Excel for entering and formatting your results.
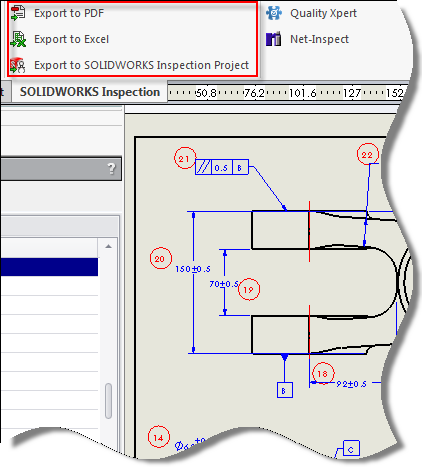
You can also export the information to a SOLIDWORKS Inspection Project to be used in the Standalone application of SOLIDWORKS Inspection. What is that, you ask? We will discuss that in my next blog…

 Blog
Blog