Objet Wiper Maintenance
The rubber wiper blade on an Objet printer removes excess material from the heads during a purge sequence. If the wiper does not clean the excess material off of the heads the head will not be able to jet material properly and poor print quality will result.
To service the wiper you will need a few things:
- Isopropyl Alcohol 90%
- Cleaning Cloth
- Wiper Blade
- Molykote DX Paste
- 2.5 mm Allen wrench
- First you will need to run the wiper cleaning wizard.
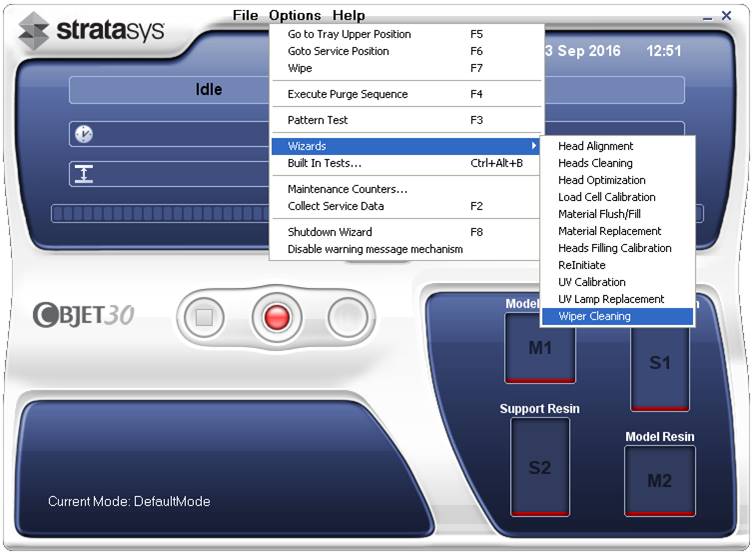
- Click on Options > Wizards > Wiper Cleaning
- Click on Options > Wizards > Wiper Cleaning
- The printer will ask you to close the door.
- Close the top cover.
- Click the boxes to confirm the door is closed and the tray is empty and then click next
- The printer will move the wiper into service position and the screen will ask “Is Wiper Clean?”
- Inspect the wiper assembly
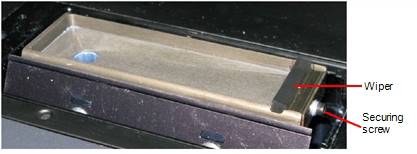
- If the wiper assembly is in good condition just clean the rubber wiper with alcohol
- If the wiper assembly is worn, scratched or torn or you cannot clean it completely you will need to replace the wiper blade at this time
- To replace the wiper blade loosen, but don’t remove, the screw from the front of the wiper assembly. See picture above.
- Lift up to remove the wiper blade.
- Clean out the wiper waste collector assembly and apply Molykote grease to the front of the wiper waste collector assembly
- Remove the wiper assembly cover by removing the 4 screws and then lift it off of the waste collector
- Apply a small amount of Molykote grease to the wiper lead screw. The lead screw is underneath the wiper waste collector. It raises and lowers the waste collector.
- Be sure not to use too much grease on the lead screw. The grease can get into the sensors and cause problems.
- Position the new wiper blade assembly on the wiper waste collector making sure the lowest part of the angled edge faces forward.
- Tighten the screw.
- Pour a little alcohol into the wiper waste collector.
- Reinstall the waste collector cover.
- Close the top cover of the printer
- Click on “Wiper Clean”
- Click on Next.
- Confirm the tray is empty and the door is closed and press Next.
- Click Done.
Run a pattern test to check for missing nozzles.
To perform the pattern test:
- Make sure that the build tray is empty.
- Cut a sheet of the pink paper in half.
- Tape the half sheet of pink paper to the middle of the build tray.
- Press F3, or click Options-Pattern Test.
Click Yes to begin.
Click OK to verify the paper is on the tray.
The printer will print two sets of lines, one for the Support Head and one for the Model Head.

Carefully inspect the test paper to see if there are missing lines. Too many missing lines, especially if they are in the same area, indicates that the quality of printing when producing models will be poor.
Paula Durham
Field Service Engineer
Computer Aided Technology, LLC