Printing in Multiple Colors on the Stratasys F123 Series
Even though the F123 series only prints in one model material at a time it is still possible to incorporate multiple colors of the same base material in one print.
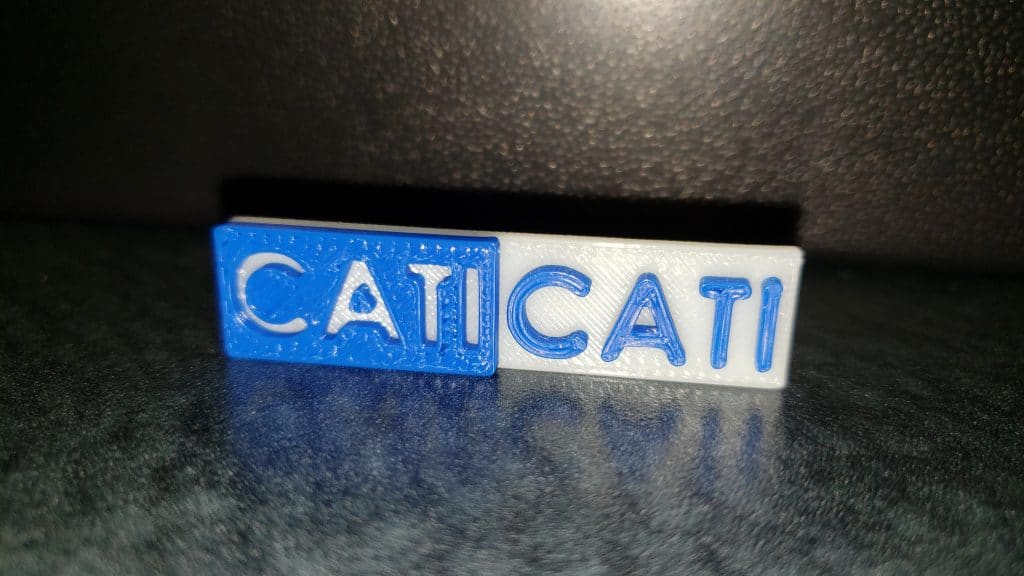
This method is great for embossed and raised lettering or symbols.
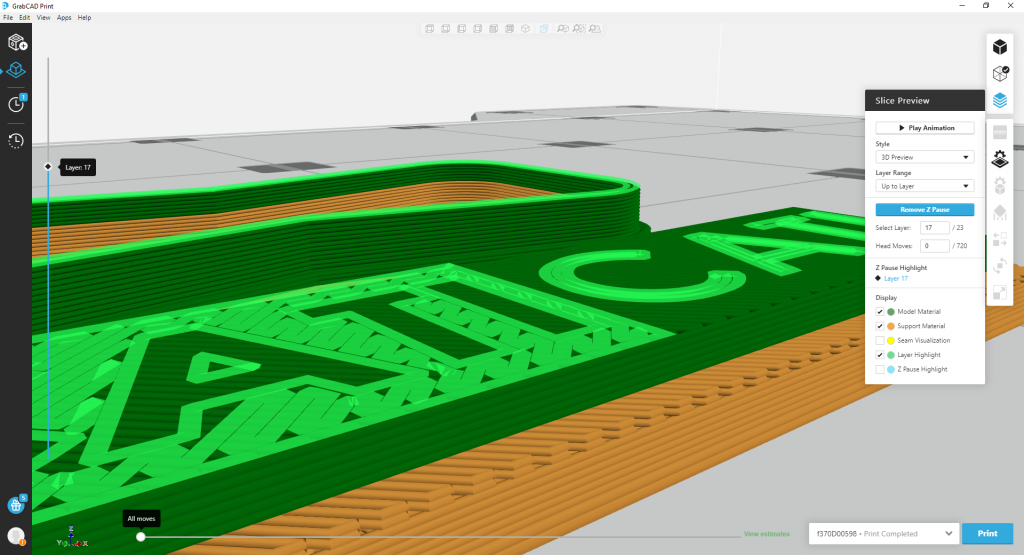
Adding color effects like this starts with adding a pause in the build so that the loaded material can be changed. Creating pauses in GrabCAD is done while in the Show Slice View Tab. Use the slider on the left side of the window to scroll to the first layer you want printed in the second color. Then select the Add Z Pause option in the Slice Preview window. The machine will stop before it starts to print the layer with the pause. When the machine pauses, unload the material currently loaded in the extrusion head and load material of the new color into the head. On the F270 and 370, you do not need to load the new color of material into the same bay that the previous color was in.
Once the second spool of material is loaded simply restart the print from the main screen on your machine. Unloading material while a job is paused can generate an error. That is to be expected but make sure that no other errors are present.
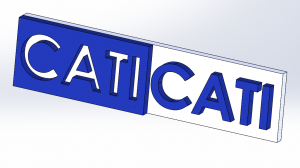
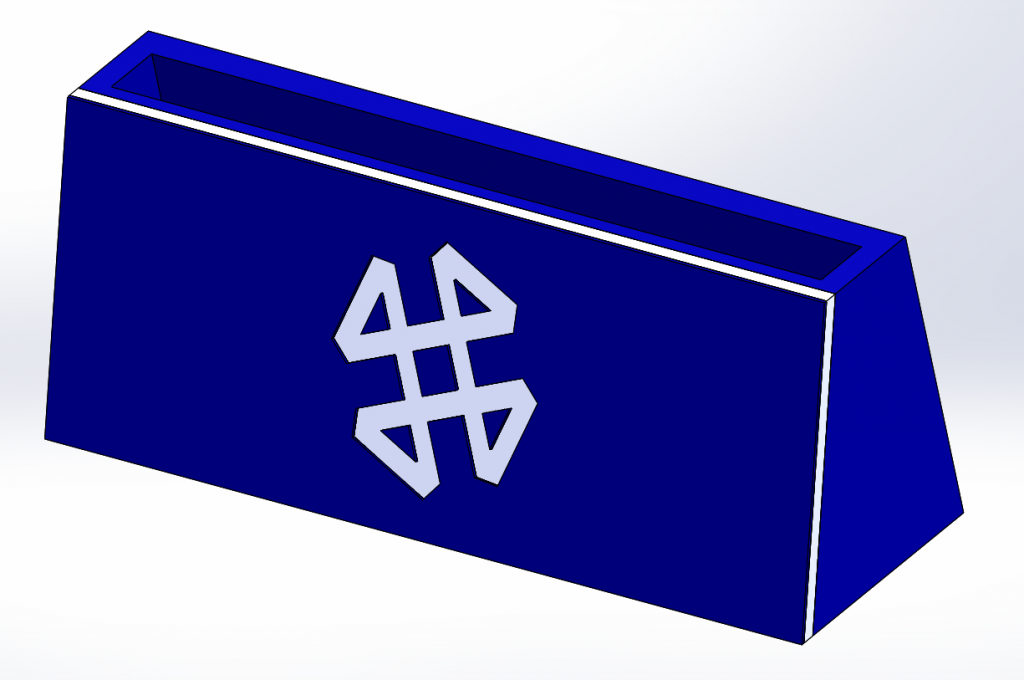
If you plan to take advantage of this capability, your parts and designs need to be designed with the layer transitions in mind. The color transition should be made across a plane. Further, the color effects should be acceptable across the entire layer. Parts like this are not possible with this method:
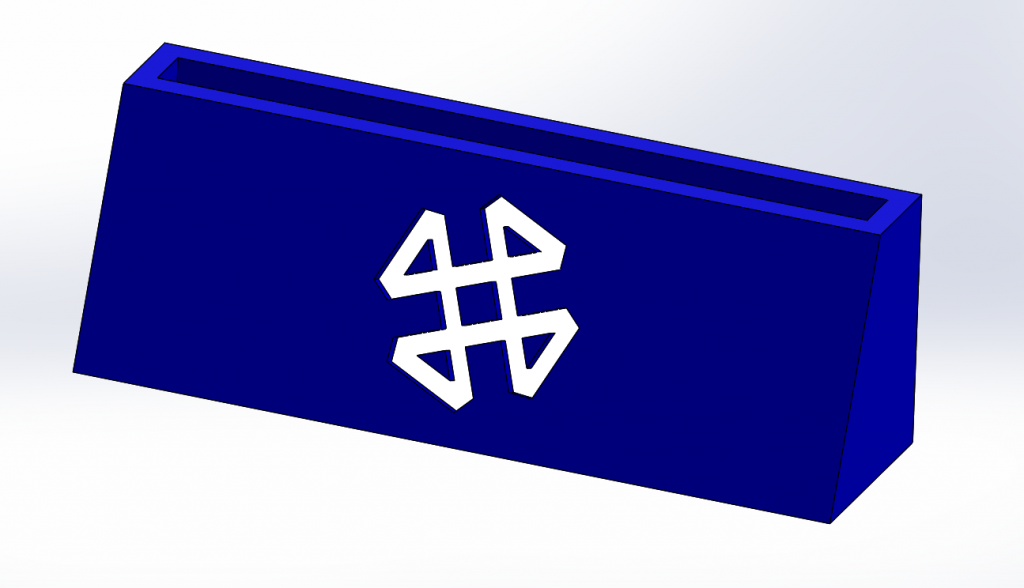
Rather, the part will print with the contrasting material making up the entire layer.
When orienting the part on the build tray, place the transition plane parallel to the build tray.

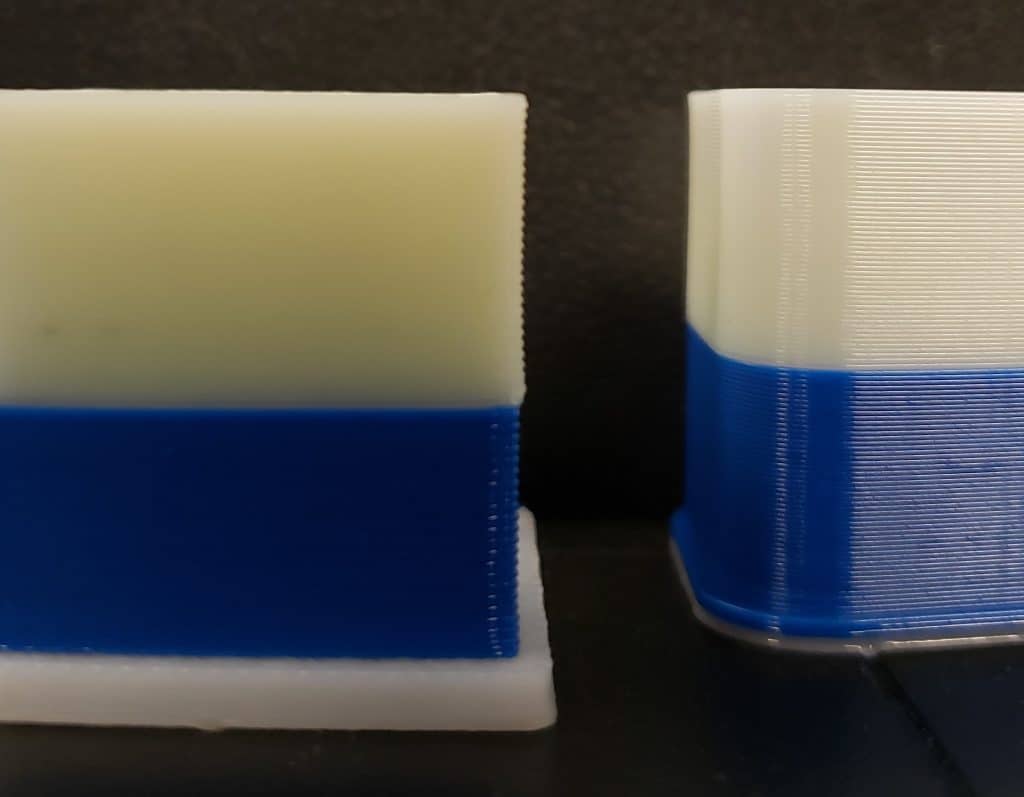
There are a few considerations to make while adding and creating these color switches. First, you want to react to the machine reaching the pause quickly. In normal printing, parts cool progressively as the build climbs. The previous layer is still a large fraction of the extrusion temp when the current layer is placed on top of it. This allows for the part to smoothly and evenly cool. Letting the printer sit and cool while paused causes the first layer of material, after the resume, to be printed on top of a fully cooled layer. This thermal mismatch usually manifests as a small step or shift in the part wall at that transition. You don’t need to be standing by the machine waiting for it to pause but be aware of when the printer will pause. Additionally, avoid opening the build chamber door.
Second, remember that this color change will affect the entire build tray. All parts, that exist in the changeover layer and higher, will be built with this new color. Third, I recommend that you use this technique sparingly. Constantly loading and unloading material will sharply increase the waste produced by the printer and adds operator time to the printing process. Finally, you cannot make a color change using the auto-changeover function of the F270 and F370. Auto-changeover requires that the second material matches in BOTH material type and color.
If you have any questions, feel free to contact us.
Collin Manchester
Application Engineer, Manufacturing Solutions
Computer Aided Technology, LLC