SOLIDWORKS 2017: Making a Decal Transparent
Making a Decal Transparent
This blog article will walk you through how to make your Decals transparent.
We start by placing our decal on our part model.
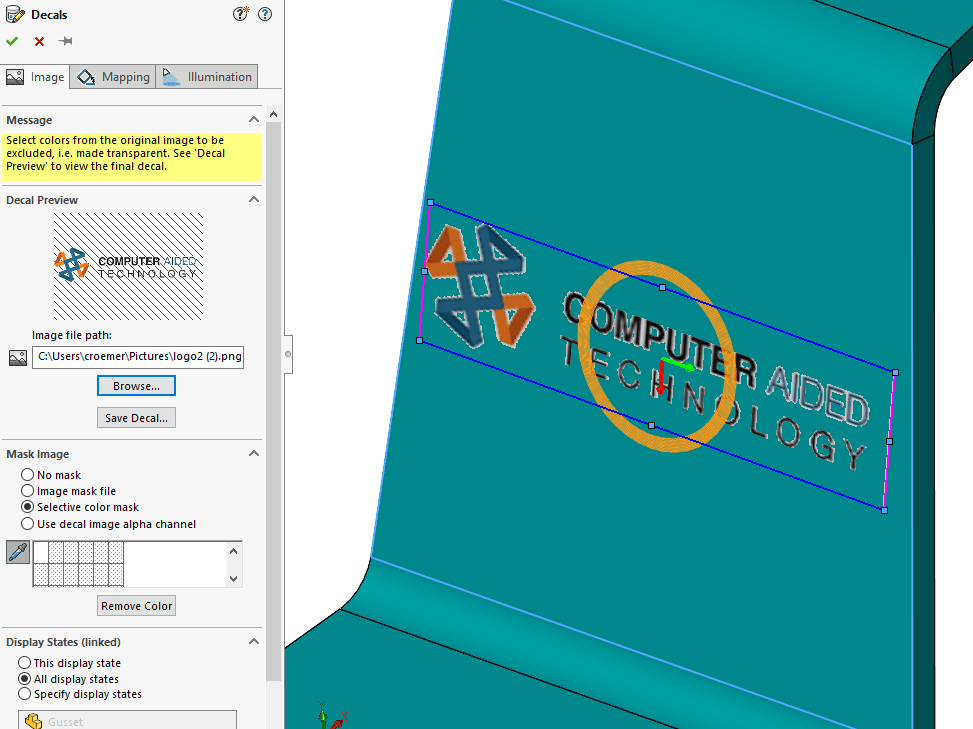
Below is an image of the property manager and decal placement (prior to making any changes).
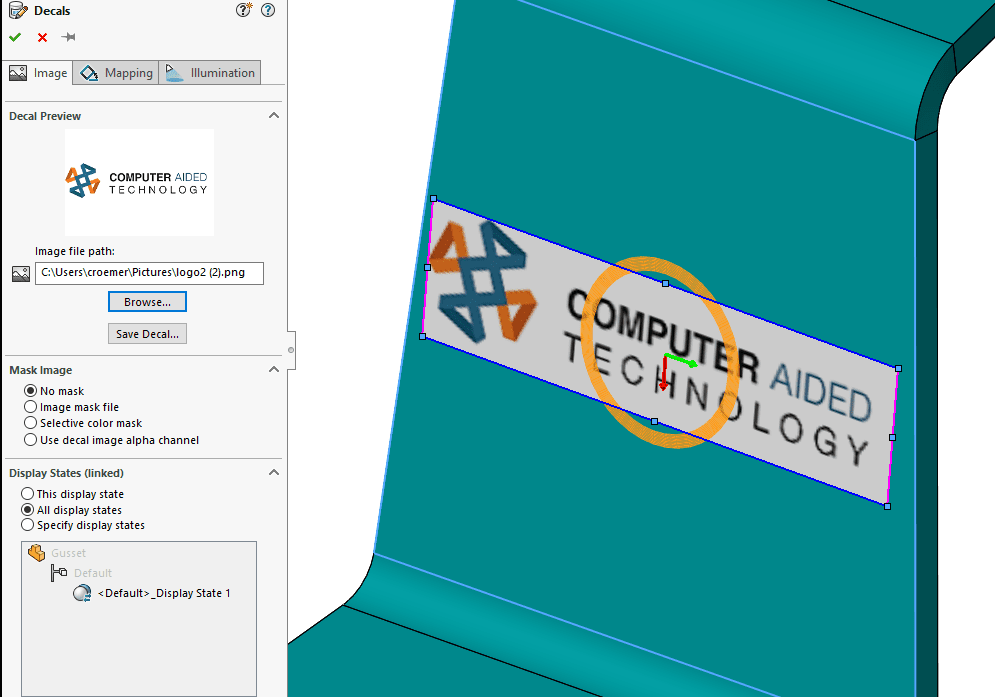
In the property manager, you will see a section called “Mask Image”.
In this section, there are four mask options; No mask, Image mask file, Selective color mask, and Use decal image alpha channel.
The default setting is No mask, however for our transparency we will want to select the option “Selective color mask”. As shown in the image below.
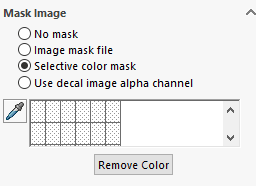
After you have selected the Selective color mask option, in the Mask Image option section, you will also see an eye dropper button. 
To select which color you would like transparent, you will need to push the eye dropper button. This will turn your selective tool into an eye dropper.
Selecting the color or colors in your decal that you wish to be transparent requires you to select those colors within the decal preview of the property manager.
In the image below, you can see the eye drop selection tool hovered over the white portion of the decal preview in the property manager.
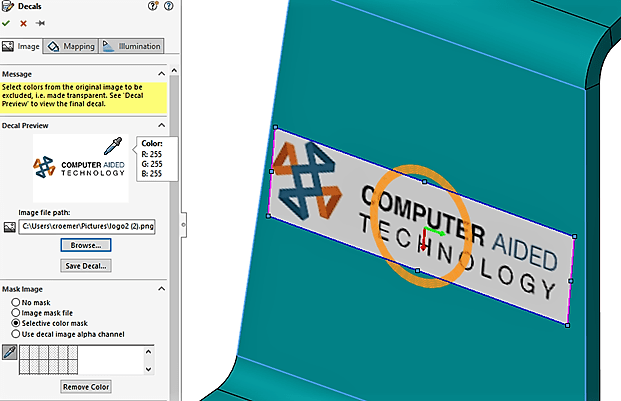
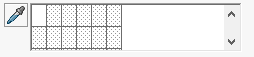
Once you have selected your color with the eye dropper, you will see it added in the boxes next to the eye dropper button. You can select more than one color for transparency, if desired.
You will also see that selected color turn transparent in your part model.
Below is the result from the white being selected:
Once you have made your colors transparent, you can accept your decal.
Below is the result of the white portion being made transparent in this example:

Related Blog Articles:
- Creating a Decal in SOLIDWORKS
- SOLIDWORKS 2017 What’s new: Controlling Decals and Scenes by display states – #SW2017
Courtney Roemer
Application Engineer
Computer Aided Technology