Decals for Everyone in SOLIDWORKS 2011
Decals are now available to all users in SOLIDWORKS 2011 so for many users this is new functionality. Decals are pictures files (jpg, bmp, png, etc) that you can apply to your models to represent labels, silk-screening or other types of graphics.
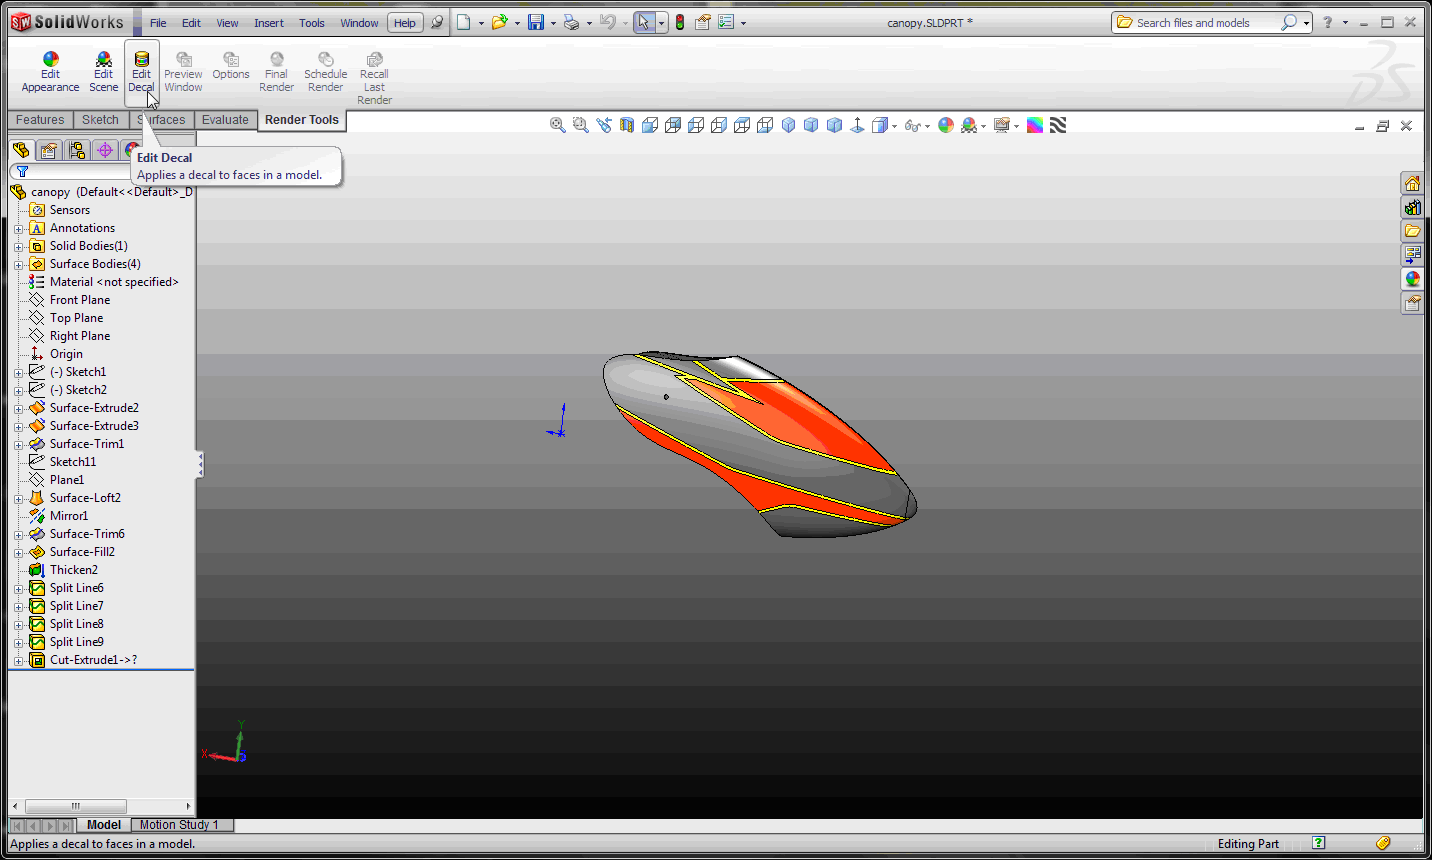
Begin by selecting the Edit Decal button on the Render Tools toolbar.
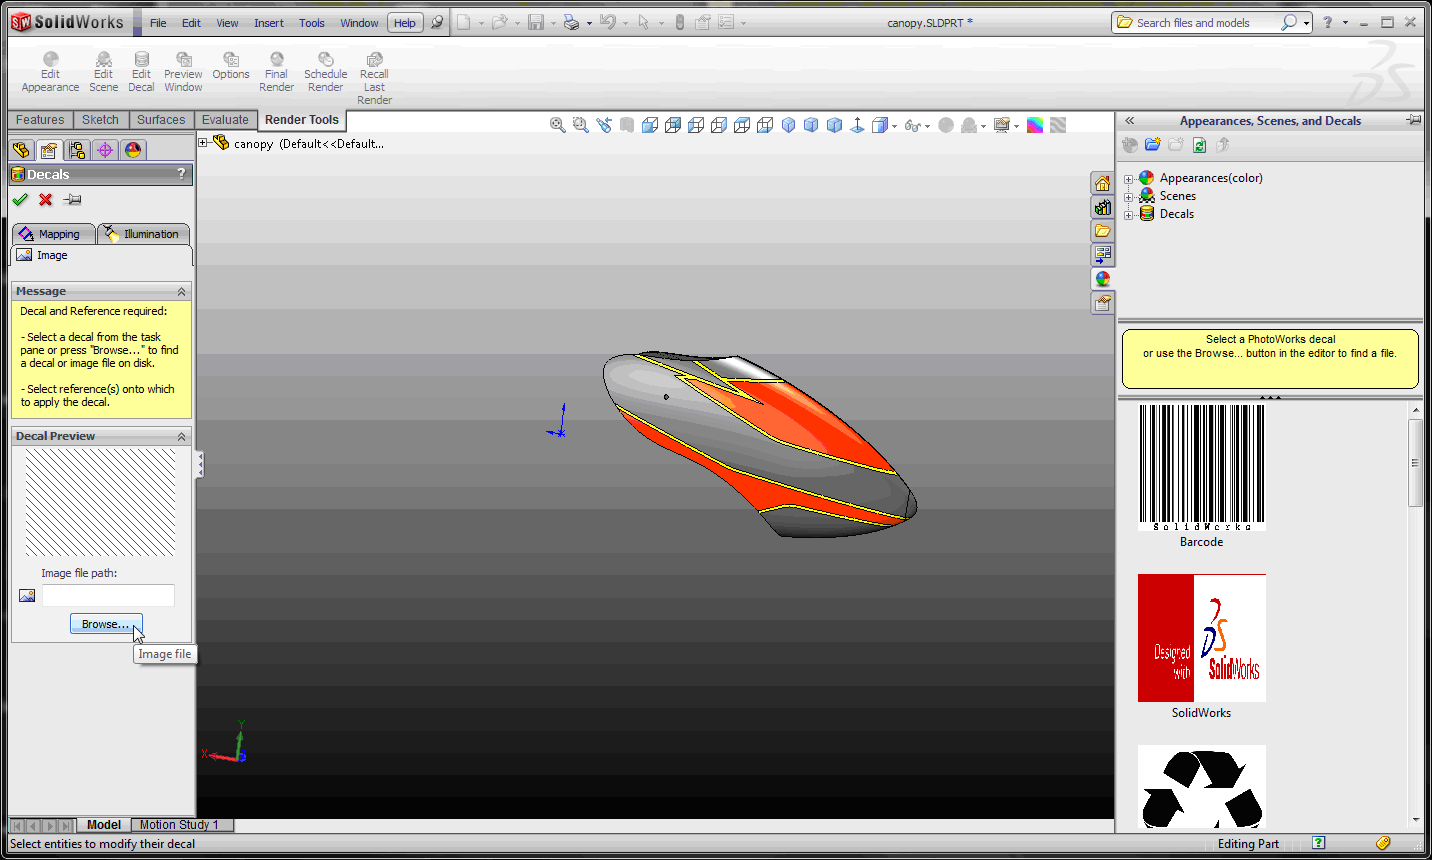
Once you are editing the Decal, Choose the browse button to select the desired graphics file. If you have saved your images in the default Decal location, you can drag and drop them from the Decal task pane on the right.
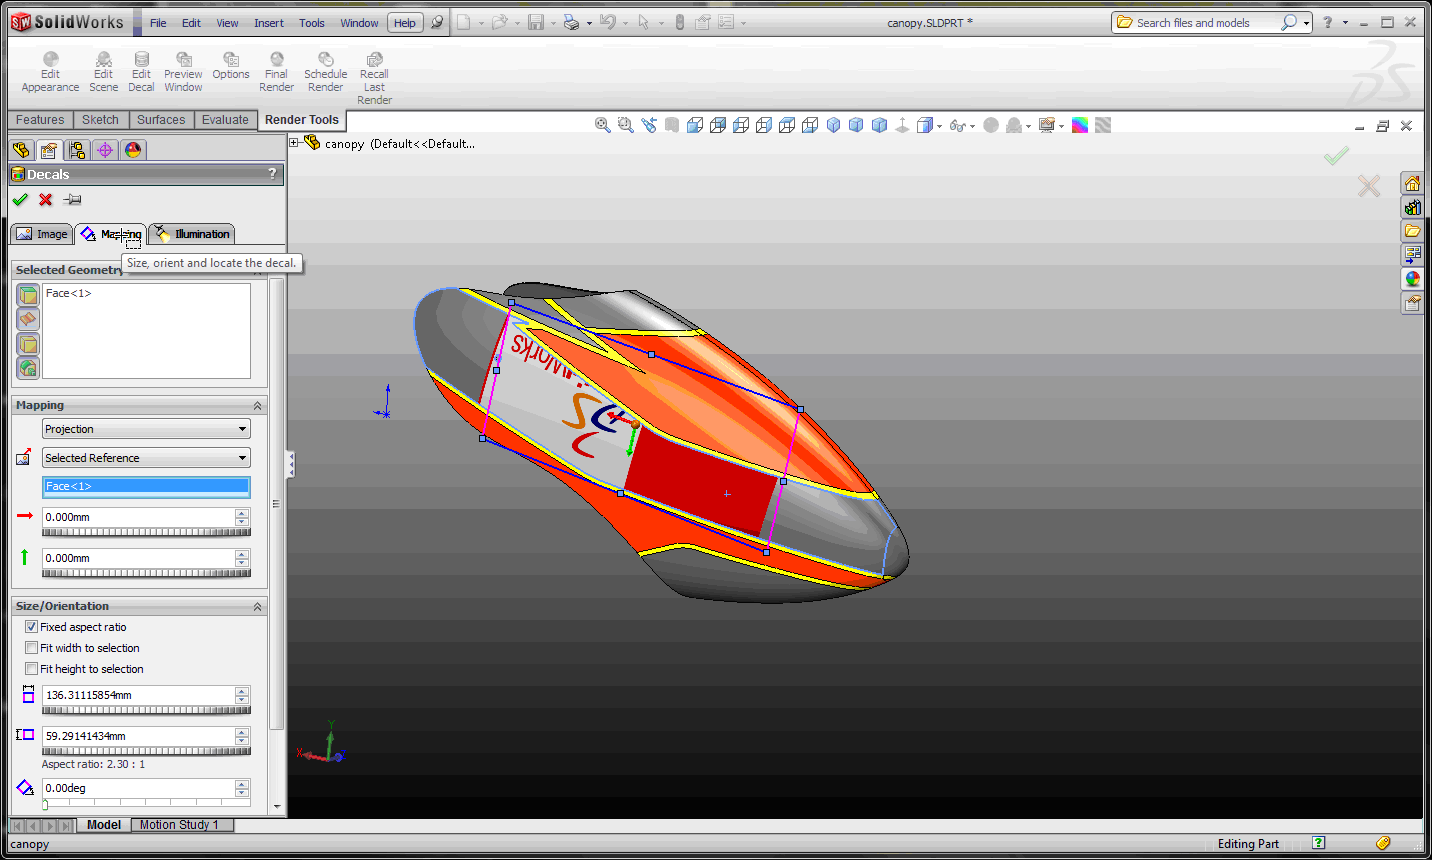
Switch to the Mapping tab and select a face on the model to place the decal. Once the face is selected, you'll see a preview and have a number of options to change the mapping, size, and orientation. You can use the onscreen controls to drag, scale and rotate the decal as well. You may need to change the Mapping option to get the desired result; the default is Projection.
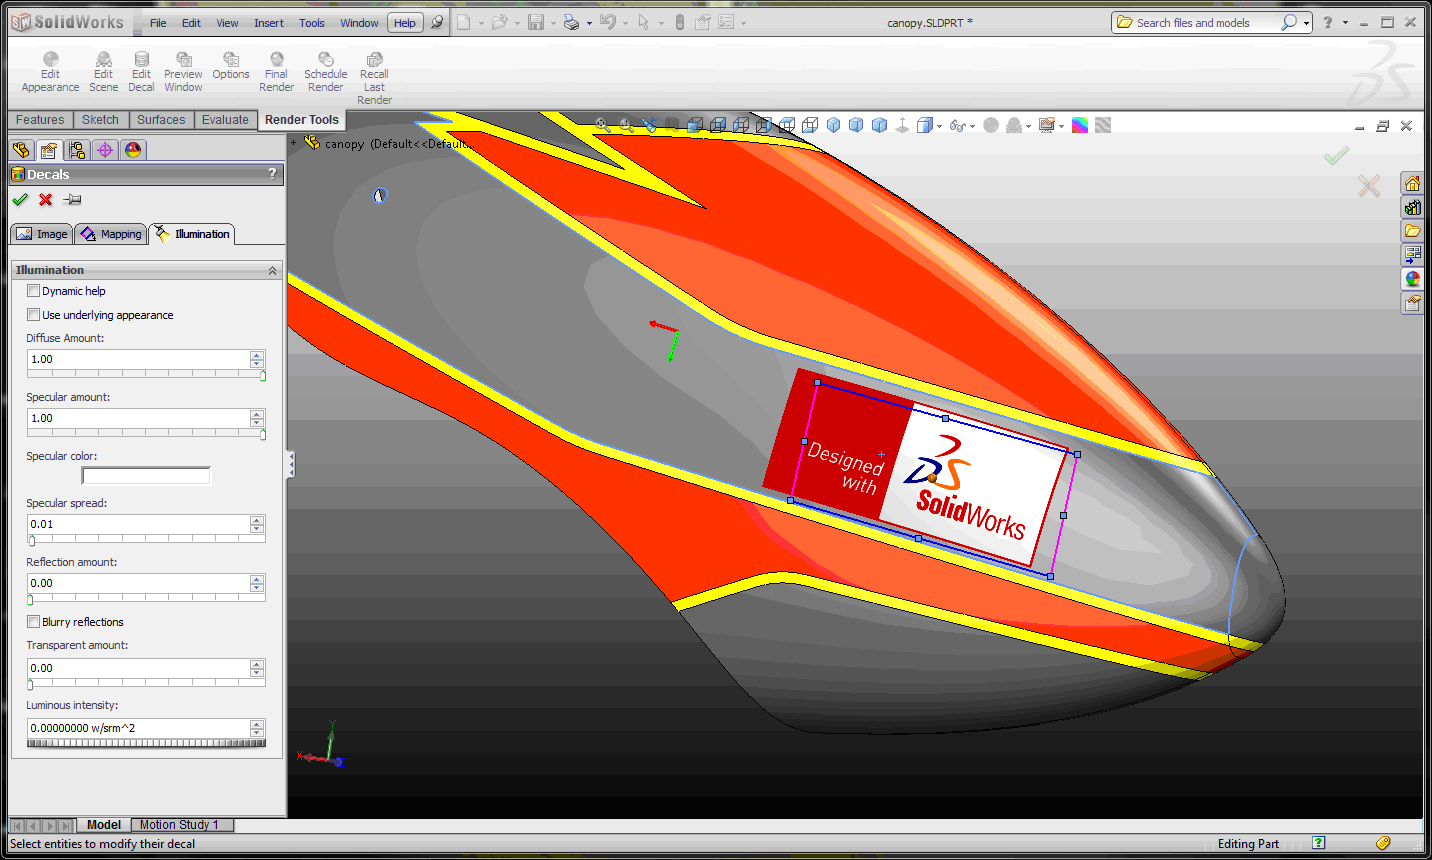
Once satisfied with the position and size, switch to the Illumination tab to adjust its lighting properties. Decals can have their own lightings properties or using the underlying appearance of the surface they're applied to.
If the decal needs editing after it's been placed on the part, take advantage of the Display Manager tab in 2011. Hint. It's at the top of the Feature Manager tree in the line of tabs, the last in line. The Display Manager contains three options, choose the Decal button to find a list of all the decals in the model. From there, right click on the decal and Select Edit.
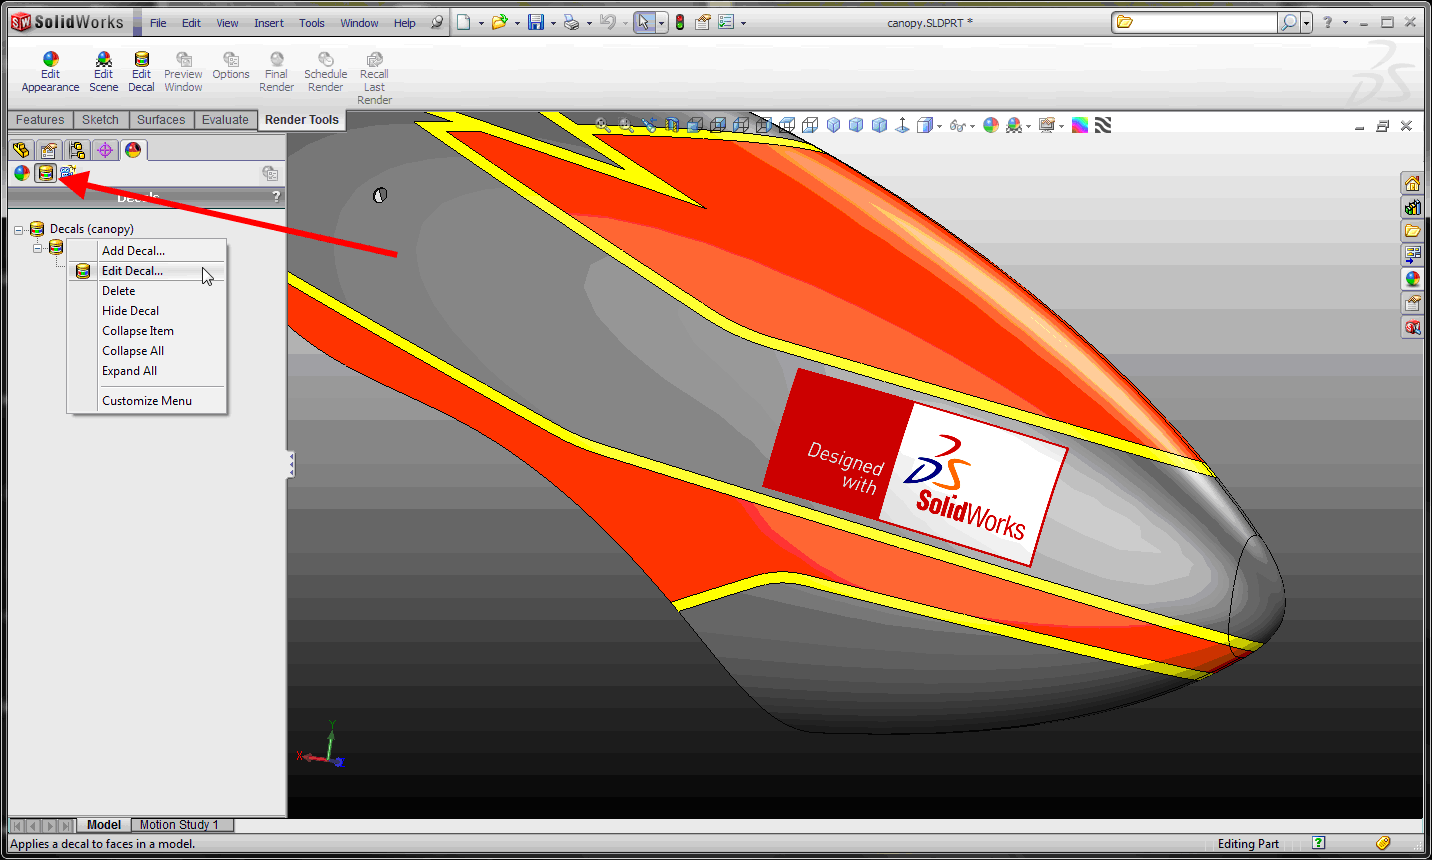
So now you have an overview of how to apply decals to your parts and assemblies in SOLIDWORKS 2011.

 Blog
Blog