Repairing Imported Geometry Using SOLIDWORKS Surfacing
SOLIDWORKS Surfacing
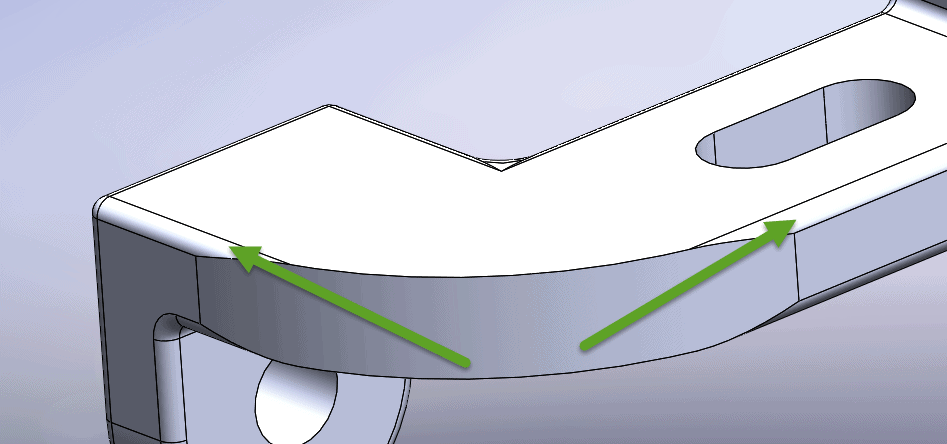
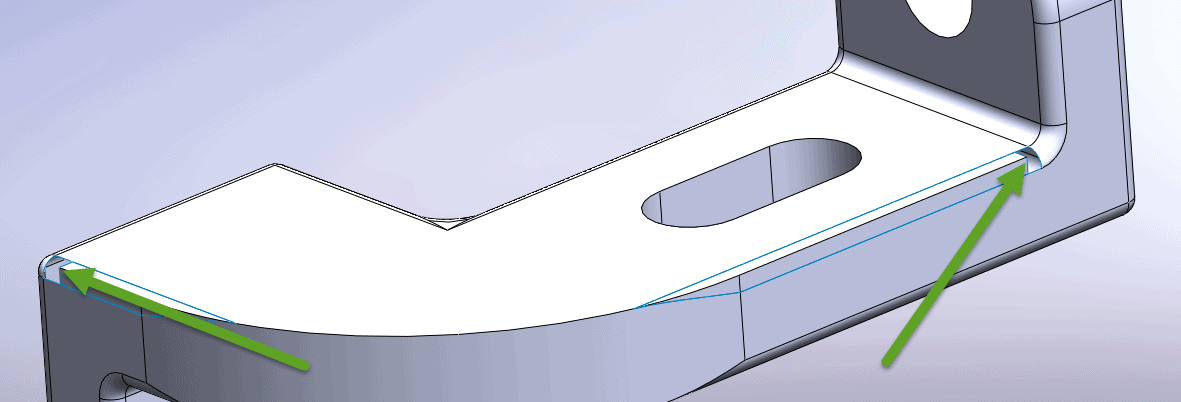
When importing non-native SOLIDWORKS files, errors in the geometry may occur. Surfacing techniques can be used to correct the file. In this case, there is a fillet that did not get extended all the way around an edge.
Our first step is to use the “Delete Face” command and delete the fillets and other areas of bad geometry. Once we have done this we will create new surfaces using “Planar Surface” and “Extruded Surface”.
Using the “Trim Surface” command we can trim away the portions that we do not need.
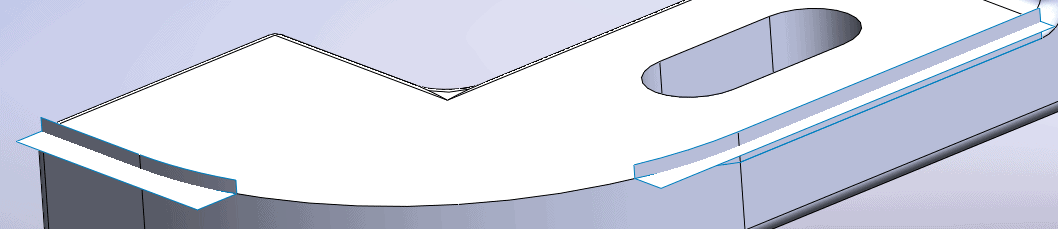
To insure that the new edges we created will line up with the existing edges we will cut off a portion of the new surfaces using new planar edges and trimming a portion away.
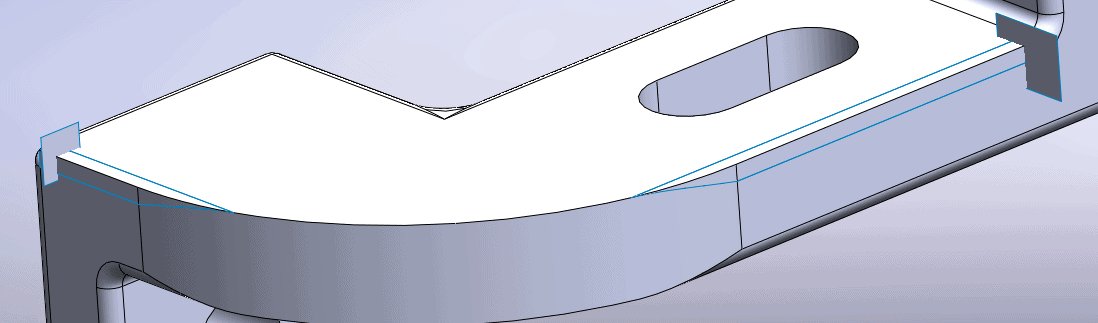
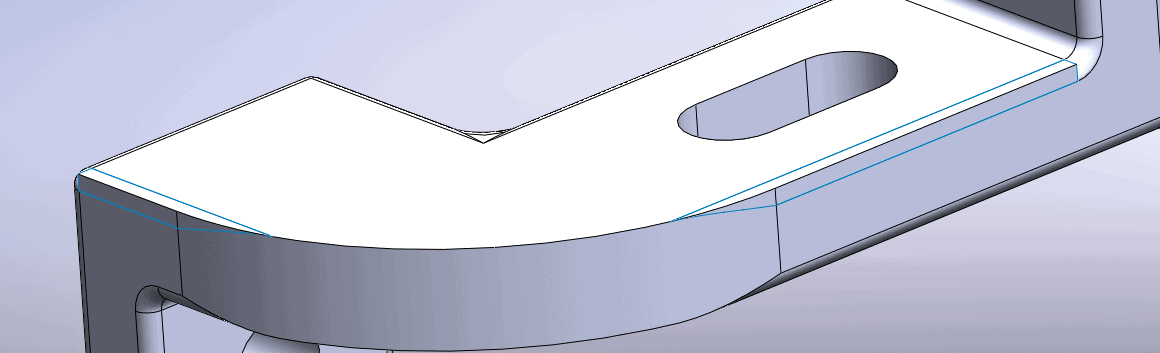
Once we have created this gap, we can knit the surfaces together and create a fillet. To determine the size of the fillet, use the “Measure” tool. We can then use “Lofted Surface from one edge to another to close the gap. Once this is done the surface bodies can be knit together to create a solid body.
Chad Whitbeck, CSWP
Applications Engineer, CATI