Getting Started Creating Animations in SOLIDWORKS Visualize
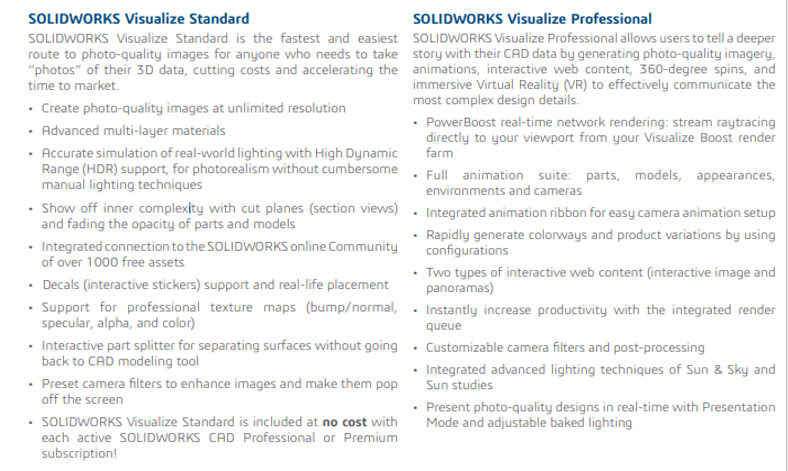
SOLIDWORKS Visualize is a powerful standalone application that allows you to quickly create photo-quality images and animations. There are two versions of Visualize; Standard and Professional. Please refer to the picture below for differences.
Today I will briefly run through the creation of animations within SOLIDWORKS Visualize. Please note: animations can only be created if you have SOLIDWORKS Visualize Professional.
Below is a 1969 Camaro I have opened in Visualize. For this example I want to show an animation of the wheel turning left and right.

To start making my animation, I need to show the timeline within visualize to start adding my Keyframes. If you are familiar with creating animations in SOLIDWORKS, then creating animations in Visualize will be a breeze.
To show the timeline: click View in the menu and from the dropdown select, Show Timeline. Alternatively, you can use the keyboard shortcut Ctrl+L.
Once the timeline is shown, Visualize should appear as pictured below. Notice the timeline at the bottom of the screen.
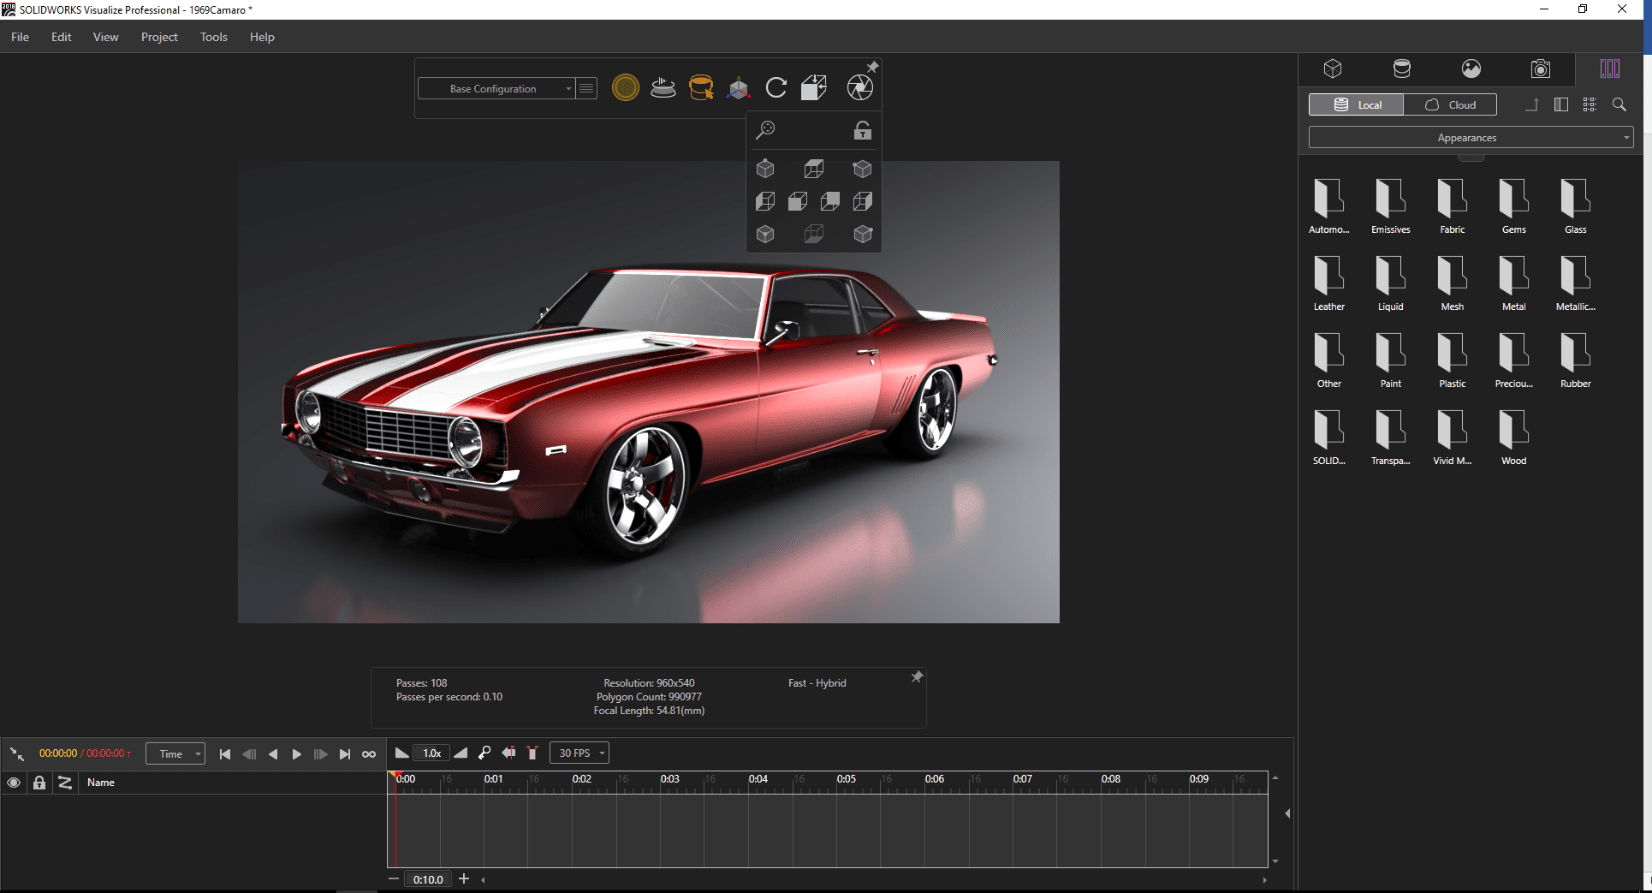
Within the timeline you should see a red and yellow flag. The red flag represents the end of the animation. In gneral, this flag should be located on the last Keyframe of your animation. This negates any empty frames when outputting the animation to a video file. The yellow flag allows you to drag through your timeline or drop Keyframes as you preview and create your animations.
The first thing I’m going to do is turn on and off some of the tools that can be used when creating animations. This is just my personal preference.

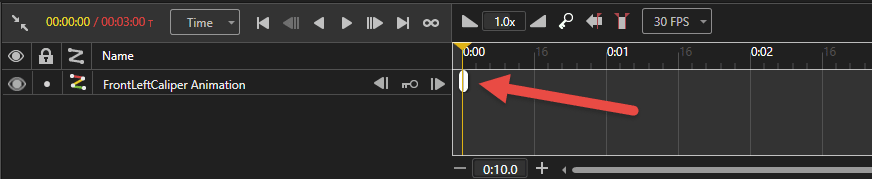
I am going to make sure Auto Keyframing, shown by the RED arrow in the picture above, is turned on. Auto Keyframing allows Visualize to automatically drop a Keyframe after you move the component to its next position. If Auto Keyframing was off, then you would have to manually drop the end Keyframe. I am also going to turn Auto-fit to last frame on, shown by the Blue arrow in the picture above. This will auto fit the Red flag to the last Keyframe you add. This avoids empty frames throughout your animations; not just at the end.
Now that the explanation of the simple tools is out of the way, let’s get into creating the animation.
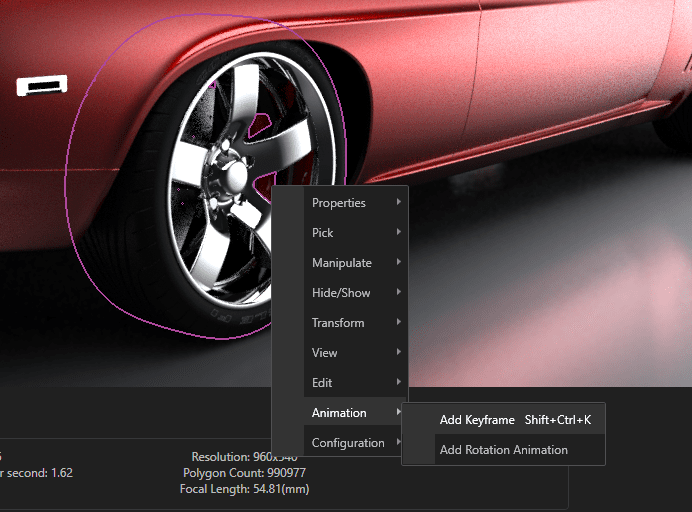
The first thing I am going to do is add my starting Keyframe. I am going to select the group which contains all parts of the wheel –> right-click –> animation –> Add Keyframe.
This will create my starting keyframe as indicated in the picture below.
After you create the start Keyframe, drag the yellow flag and place it on the time you determine the first movement should end.

Once this is done, I will then use the object manipulation tool to move the wheel to the next position. Refer to the image and video below.

Once this is done, you should notice Visualize automatically add the end Keyframe to the timeline. If you move the yellow flag to the next location you want the next movement to stop and drag the wheel the other direction to its end position, visualize will put in another key. In my case, this is the only animation I want to show leaving me this result.

Once you are done, you can play your animation by clicking the play button above the timeline. If you are happy with the result, then we move on to outputting this as a movie file.
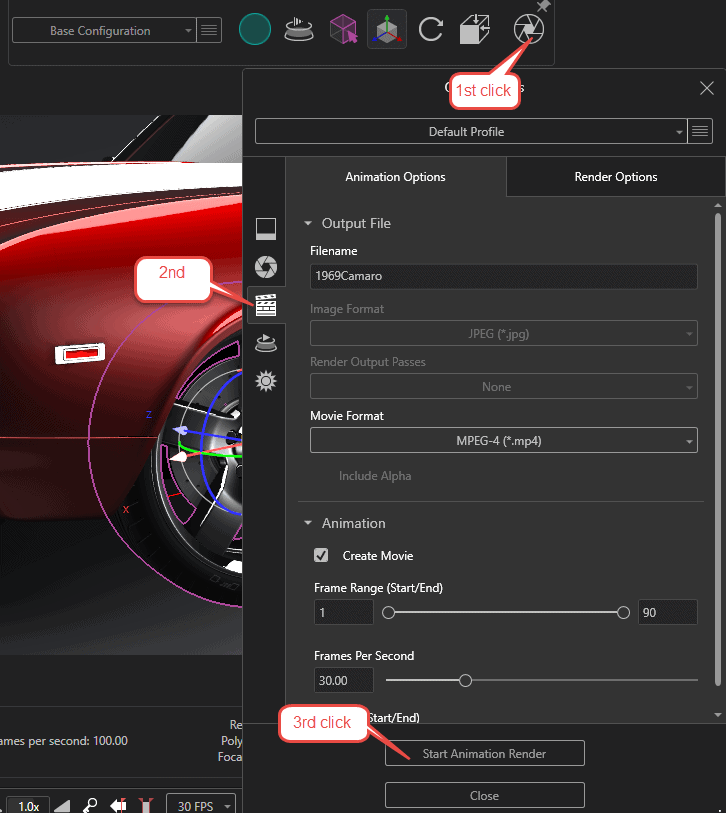
Click Output tools (1st click) then click Animation (2nd click). Choose the options you want to use and then click Start Animation Render (3rd click). Refer to Image below.
Depending on your system, the time that Visualize needs to output this file could vary. Generally, when outputting high quality videos or images, you will want to make sure you are using the proper graphics card/computer settings. The resulting video of my settings can be seen below.
Thanks for taking the time to read and I hope this blog helped you start creating animations in SOLIDWORKS Visualize.
Greg Tutor, CSWE
Applications Engineer
Computer Aided Technology, Inc