SOLIDWORKS VISUALIZE Professional Post-Processing Tools
Who needs Instagram filters or Photoshop skills anymore when you have SOLIDWORKS Visualize Professional post-processing tools?
How to:
- Open your model/project.
- Go to the cameras tab on the right.
- Under the filters subtab, you have to check “Enable Post-Processing.”
- There will be seven different filters to change.
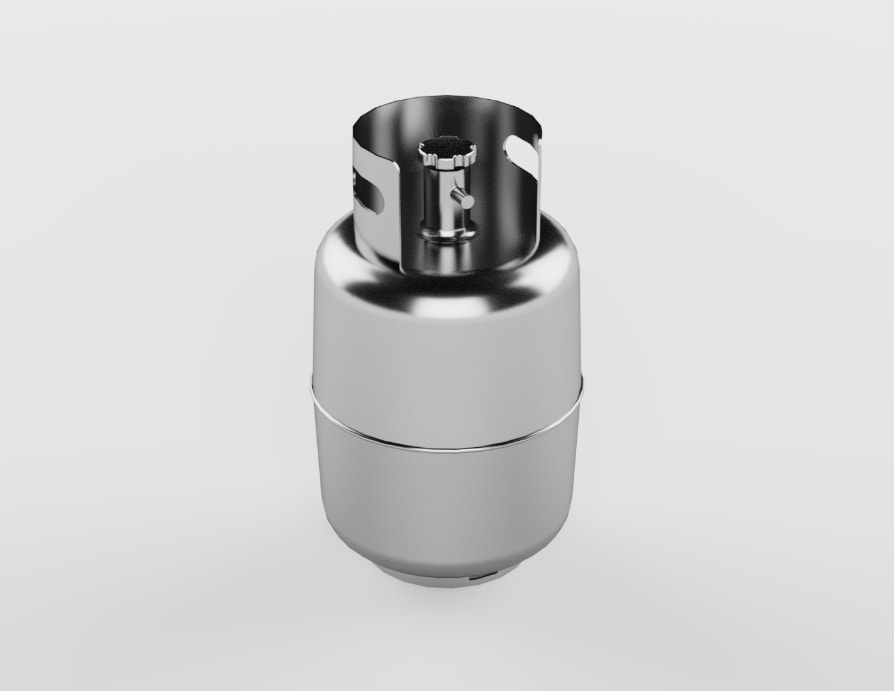
Default for comparison:
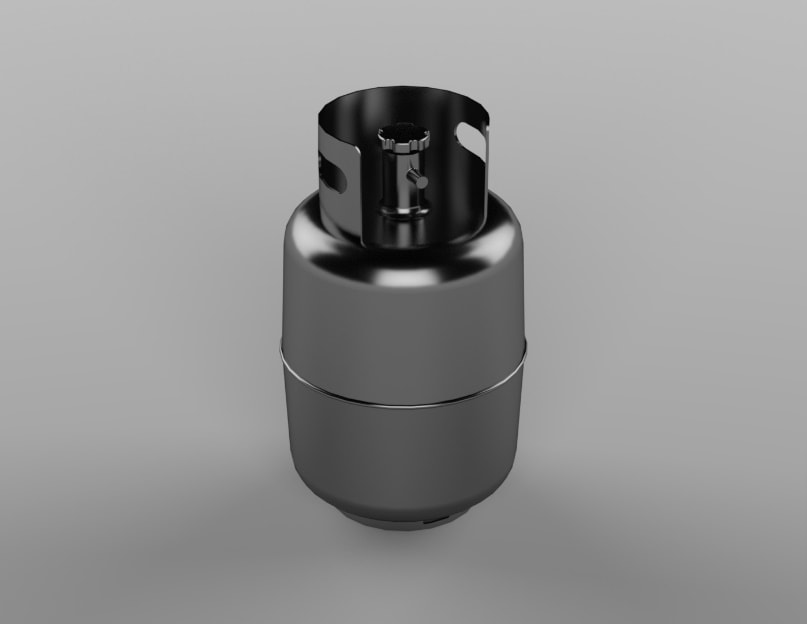
#nofilter
1. Vignette: Darkens the edges of the image with a gradient to the center, creating a shadow on the edges of the camera’s field of view. (More perspective on a camera causes a stronger vignette effect).
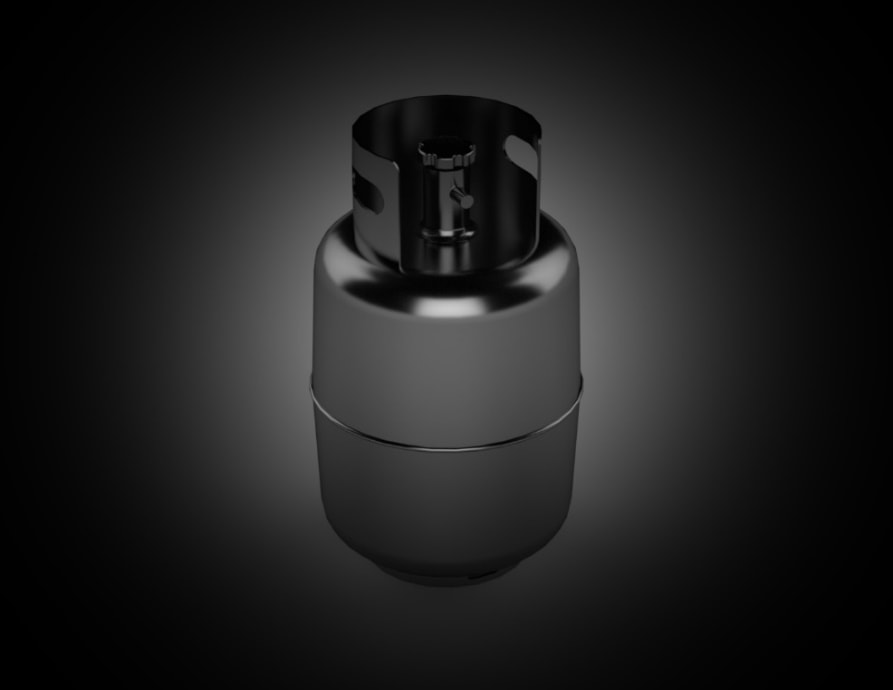
#2spooky4me
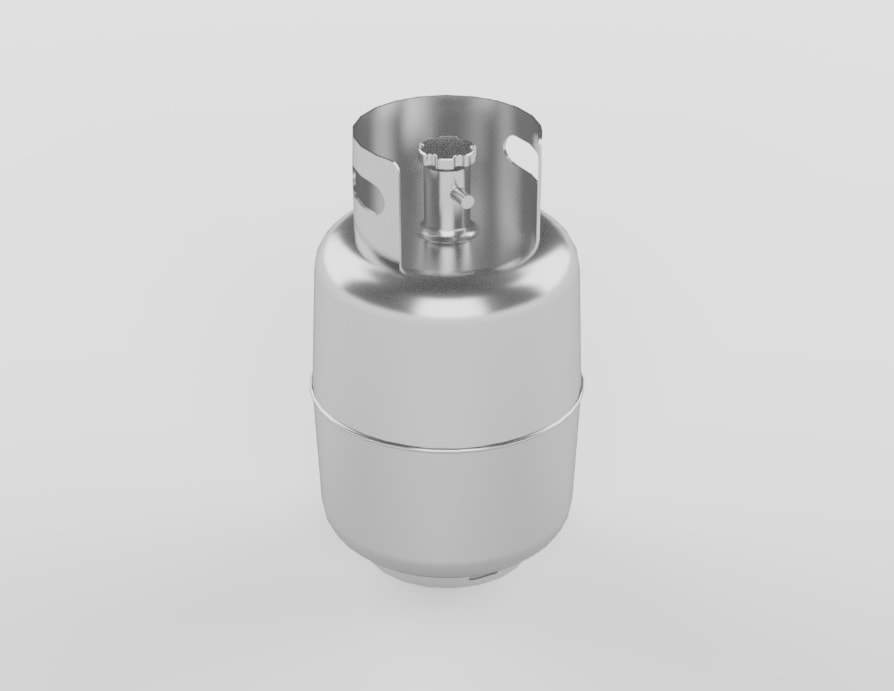
2. Darken: Darkens the overall scene.
#Emophase
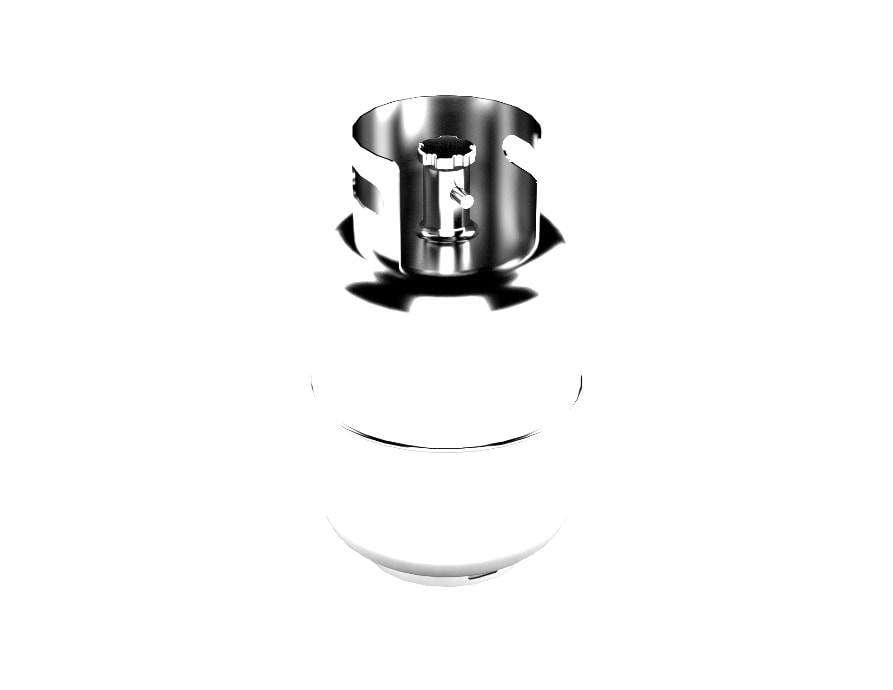
3. Lighten: Lightens the overall scene, causing highlights to come out of the picture more.
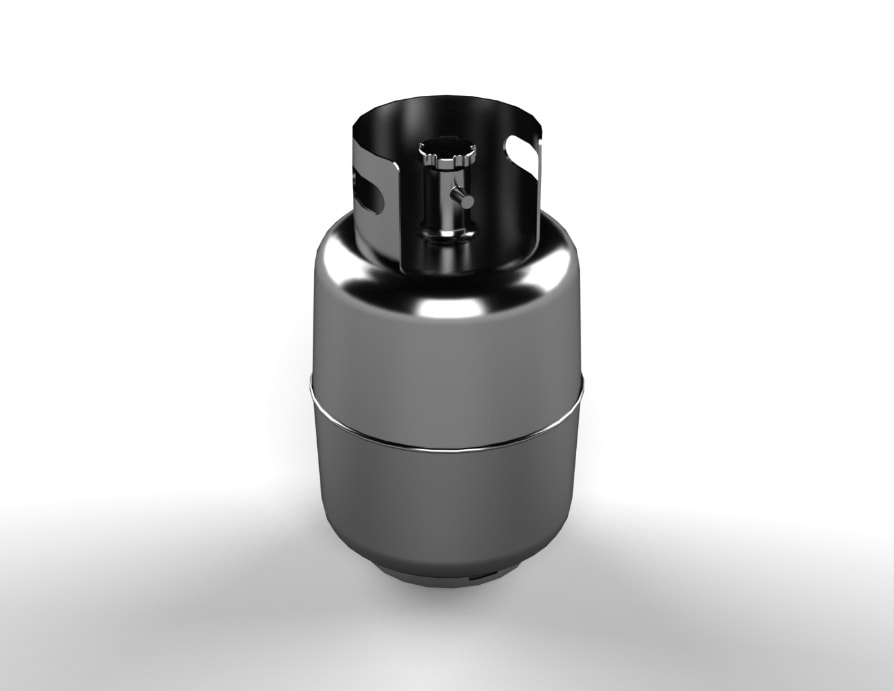
#glowup
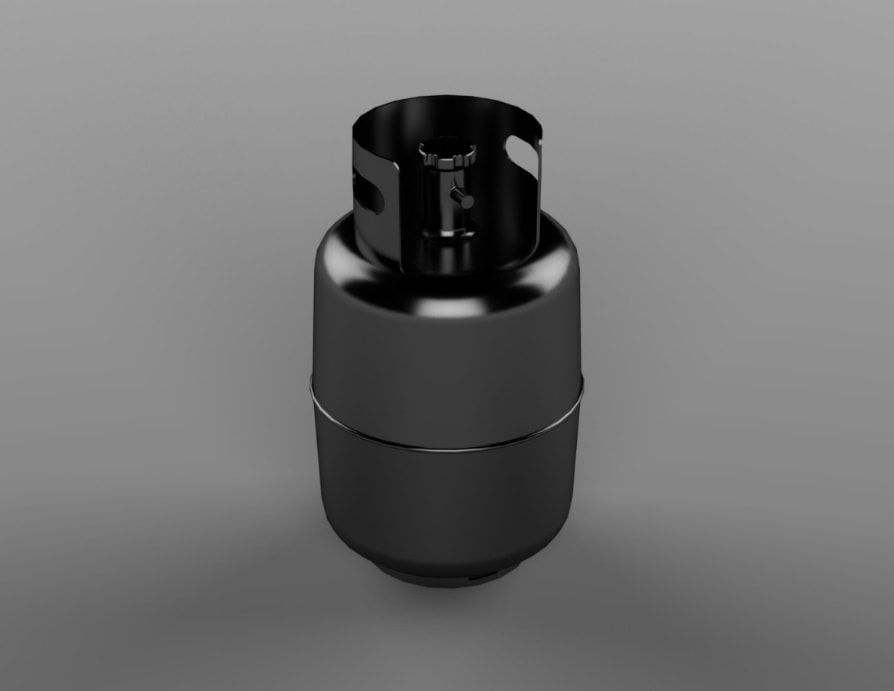
4. Saturation: Increases/decreases the color saturation of the image. Increasing it makes the colors look more dramatic, decreasing it makes them look more washed out.

#50ShadeofGrey
5. Exposure: Increases/decreases the density (brightness) of the scene.
#shinebrightlikeadiamond
6. Gamma Correction: Sets the gamma of your monitor. It controls the brightness of the image to look more accurate to real life.
#yogammagamma
7.Brightness: Makes the overall scene brighter, adding details to shadows.
#alltanksgotoheaven
Tanks very much for reading.
Madeline Speer
Applications Engineer
Computer Aided Technology, Inc