Converting to DXF using the Task Scheduler
This questions came up recently with a customer. How to automate converting SOLIDWORKS parts to DXF? If the part is Sheet Metal, this is easily done directly from the part with a Right Click.
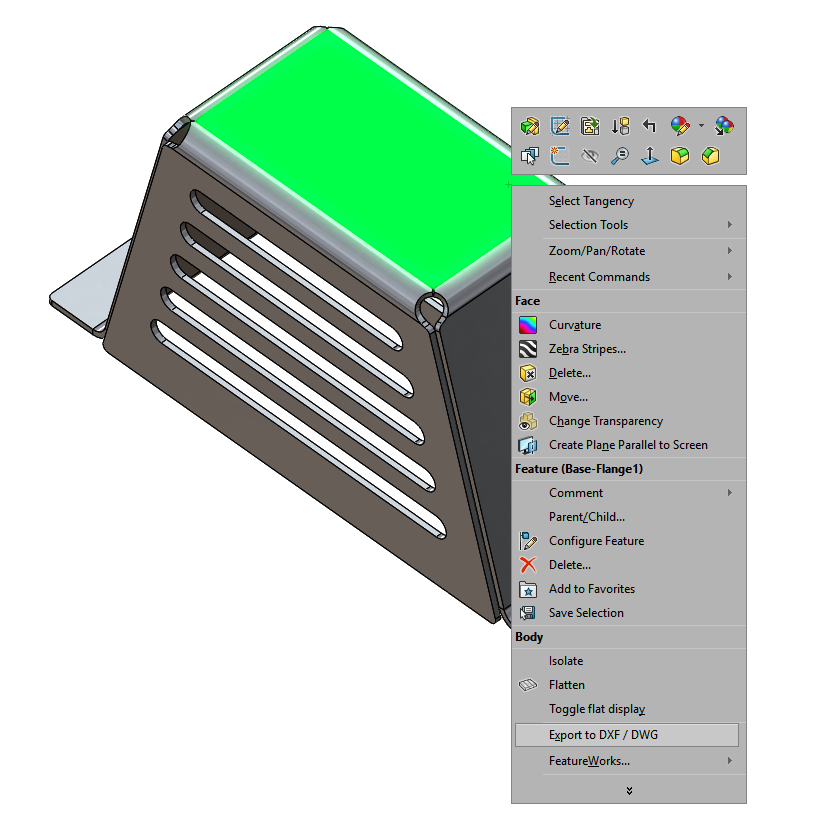
For non-sheet metal parts, this can be completed using the Task Scheduler in SOLIDWORKS Professional 2018. This process will require two trips through the Task Scheduler. The first step will insert the parts into drawings and the second is to export drawings to DXF.
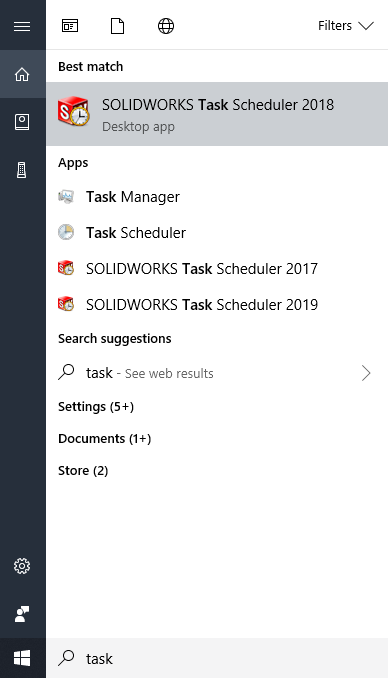
The easiest way to access the Task Scheduler is to search the Windows start menu.
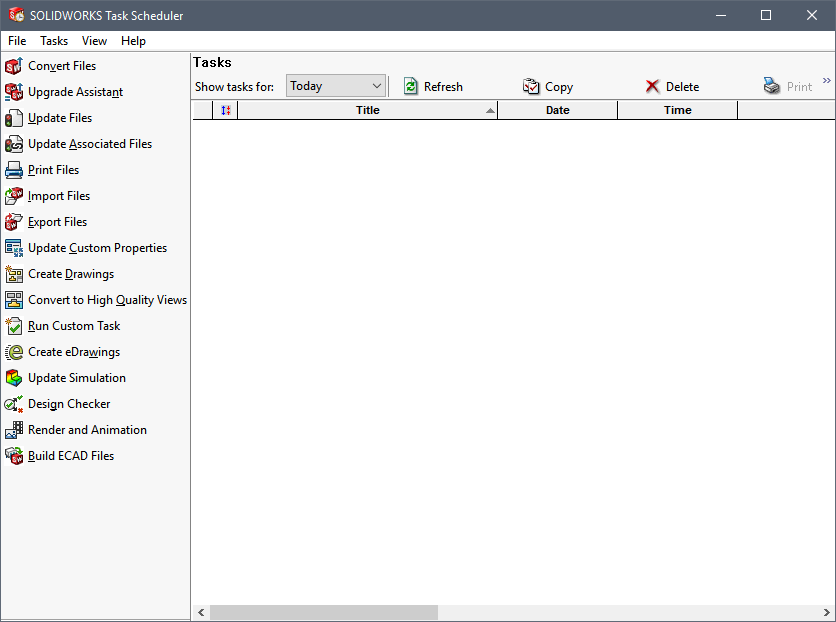
Once running, you can see the list of tasks available. Note that SOLIDWORKS Professional or better is required for all tasks, including the two require here: Create Drawings and Export Files. Once you get into the Task Scheduler, everything is straightforward.
The Create Drawings task requires a drawing template with Pre-Defined drawing views defined. If you’re not familiar with that drawing feature, here’s a link to the SW help topic.
http://help.solidworks.com/2018/english/SolidWorks/sldworks/c_predefined_views.htm
Be aware that the pre-defined drawing views will reference the named view from the part models, so the “Front” view of the model needs to match the “Front” of the drawing. Typically, the named views don’t always match up, so it may take some testing to find the best view to use.
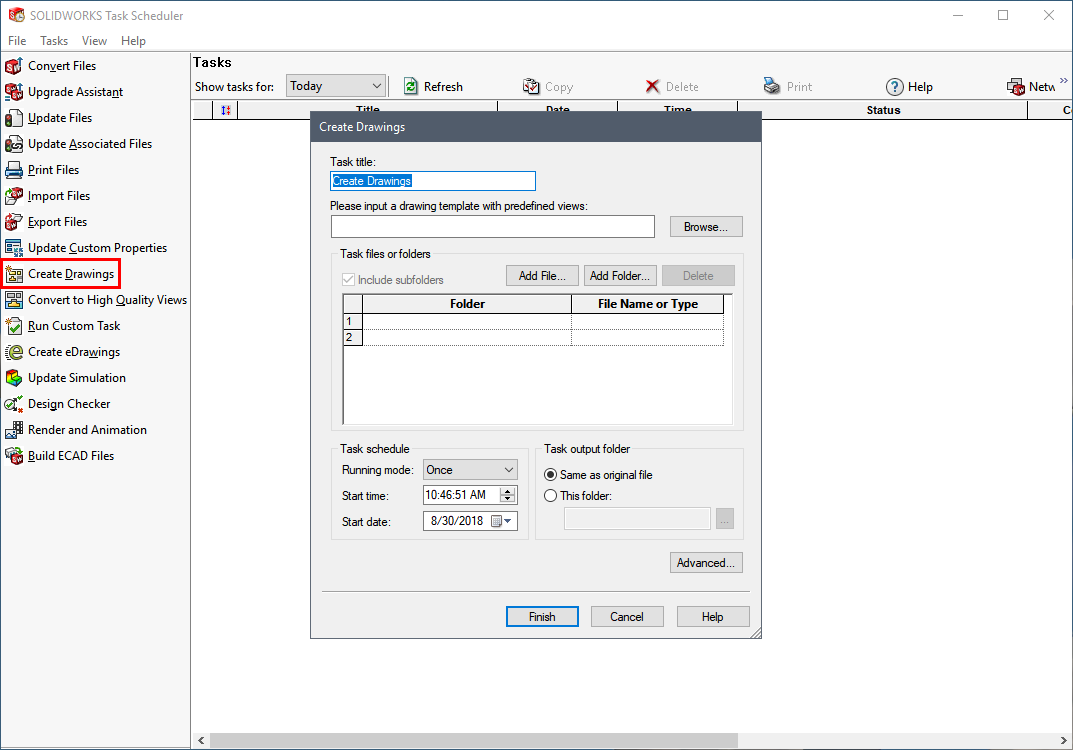
Once the appropriate template is loaded, use Add File or Add Folder to load the list of parts to insert into the drawings. Be aware of the Task Output Folder option, this setting controls if the results are saved in the same folder as the original or a user-specified folder.
Depending on the number of files this can take some time because each file is opened in SOLIDWORKS and inserted into the drawing in the background. For reference, it took about 15 minutes to create 54 part drawings on my computer.
Once the process is complete and the drawings look good, the second step is to have the Task Scheduler convert them to DXF files. Just select the Export Files task and choose the desired file format.
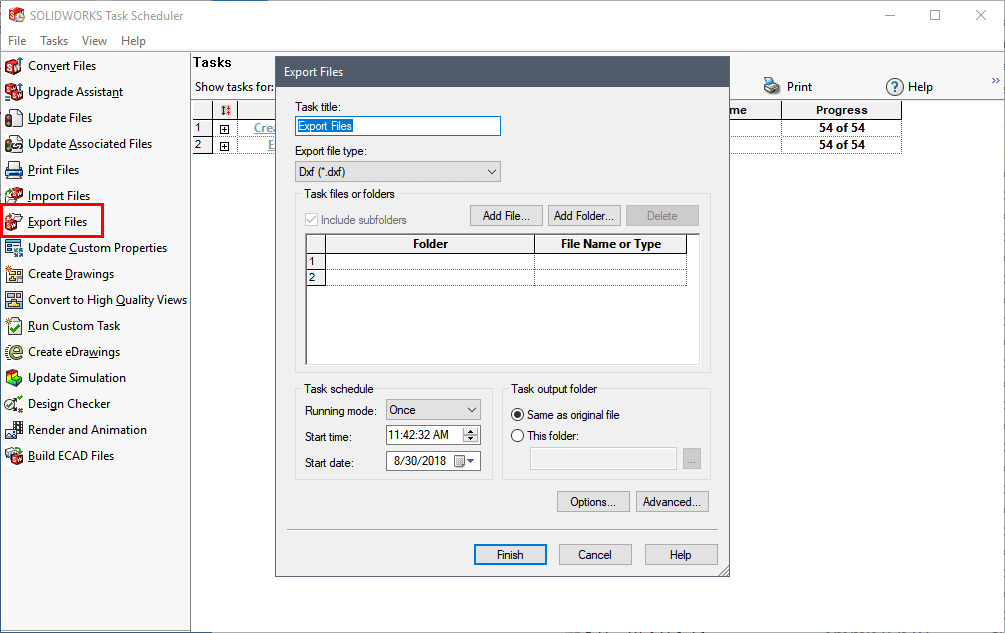
The setup options are identical to the Create Drawings task: Add files or Folders and choosing the output location.
Hopefully, this will help automate the process. As with any automated process, you may not achieve a 100% success rate. Again, this process requires SOLIDWORKS Professional or higher and works best with single sheet drawings.
If the Task Scheduler will not run or you have any significant issues, please reach out to our Tech Support team.
support@cati.com
888-285-2284
Thank you,
Kris Dubuque
Field Technical Services Manager
Computer Aided Technology, LLC