How to Modify your SOLIDWORKS Installation
Modifying a SOLIDWORKS install is a procedure that is commonly used when certain changes are needed. The two primary examples are: When your serial number changes and when you need to install an additional product or add-in.
In order to modify your installation, you will need admin privileges to your machine. You start by navigating to your ‘Programs and Features’ in windows. You can access this from your control panel and going to ‘Uninstall a program’ (For Windows 10 you can right click the start menu and choose “Apps and Features” at the top). In your programs and features page, scroll down until you find your SOLIDWORKS installation.
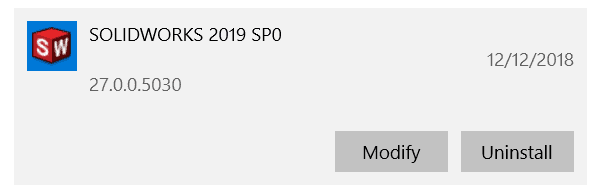
In Windows 10, you will left click to expand your SolidWorks installation and then click ‘Modify’. In Windows 7 (or if you are looking at the ‘classic’ programs and features window in Windows 10) you can simply right click and select “change”. This will launch the installation manager for SolidWorks.
Note: If you do not see a Modify or Change option for your install, then you are likely using an Admin Image. Admin Images cannot be modified, so for any changes in installed products or serial numbers please contact your local IT to find out who deployed the image.
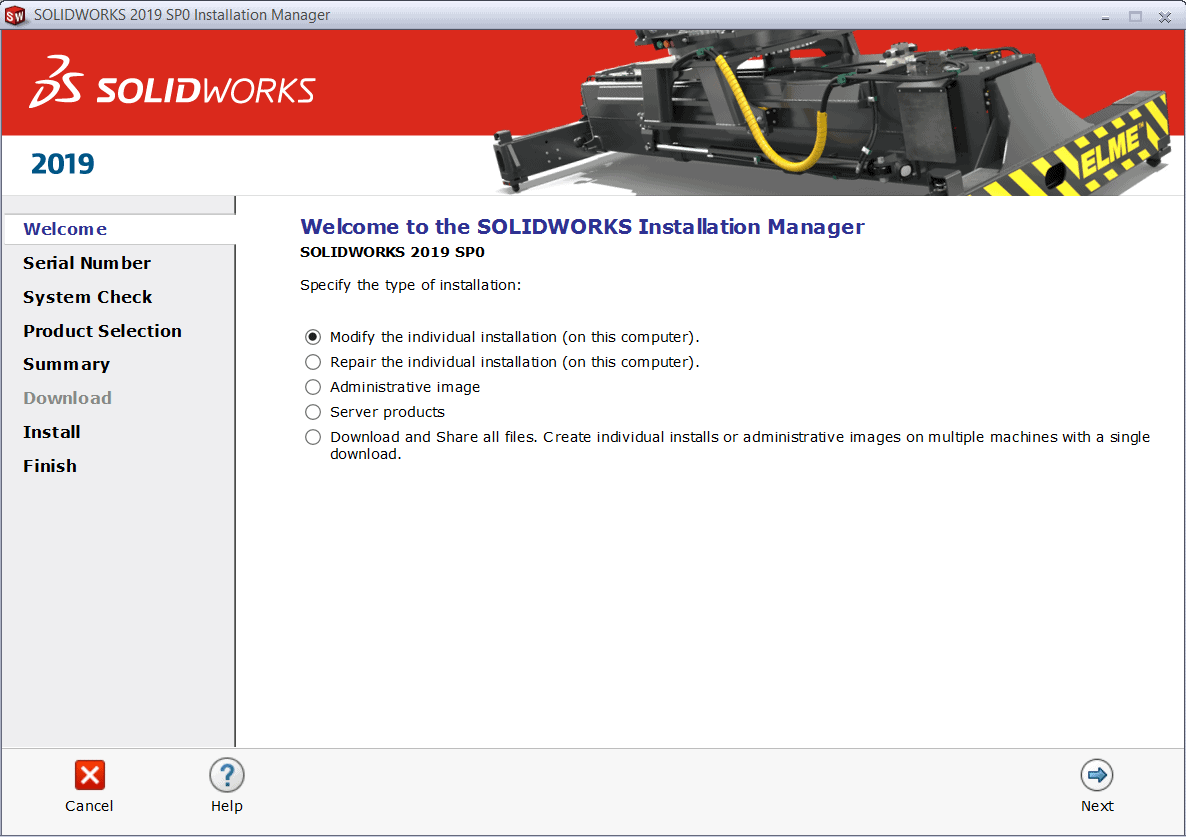
On the welcome section of the Installation manager, choose the first option to ‘Modify’ the installation and then click ‘Next’ to continue to the serial numbers.
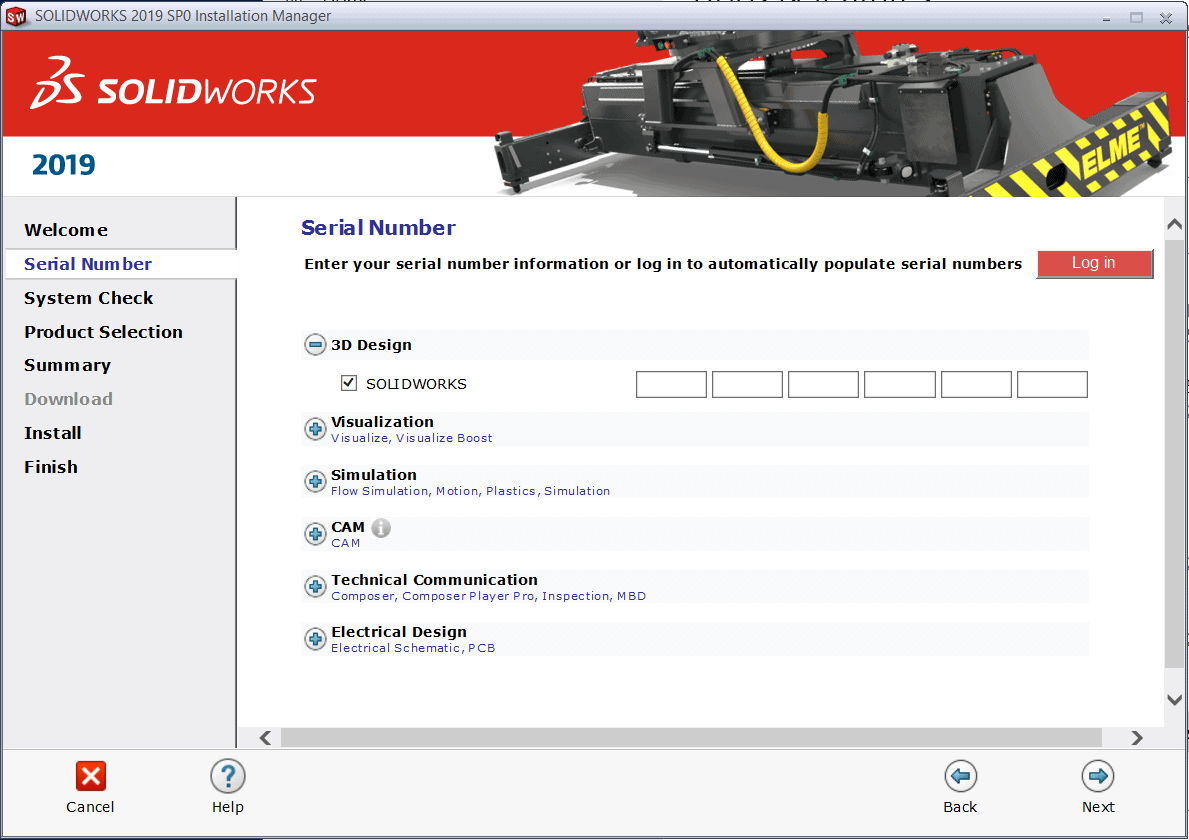
On the serial number page, you can replace your previous serial number with a new one. If you are simply removing a serial number from a section, you will need to delete the whole number before unchecking the section.
IMPORTANT NOTE: If you are removing a serial number that requires activation, be sure to deactivate the serial number before removing/changing it via a Modify Installation. To deactivate a license, simply open SolidWorks and go to the ‘help’ menu and select ‘deactivate license’.
Once you have changed your serial numbers if needed, click ‘Next’ and the installation manager will do a system check before landing on the ‘Product Selection’ section.
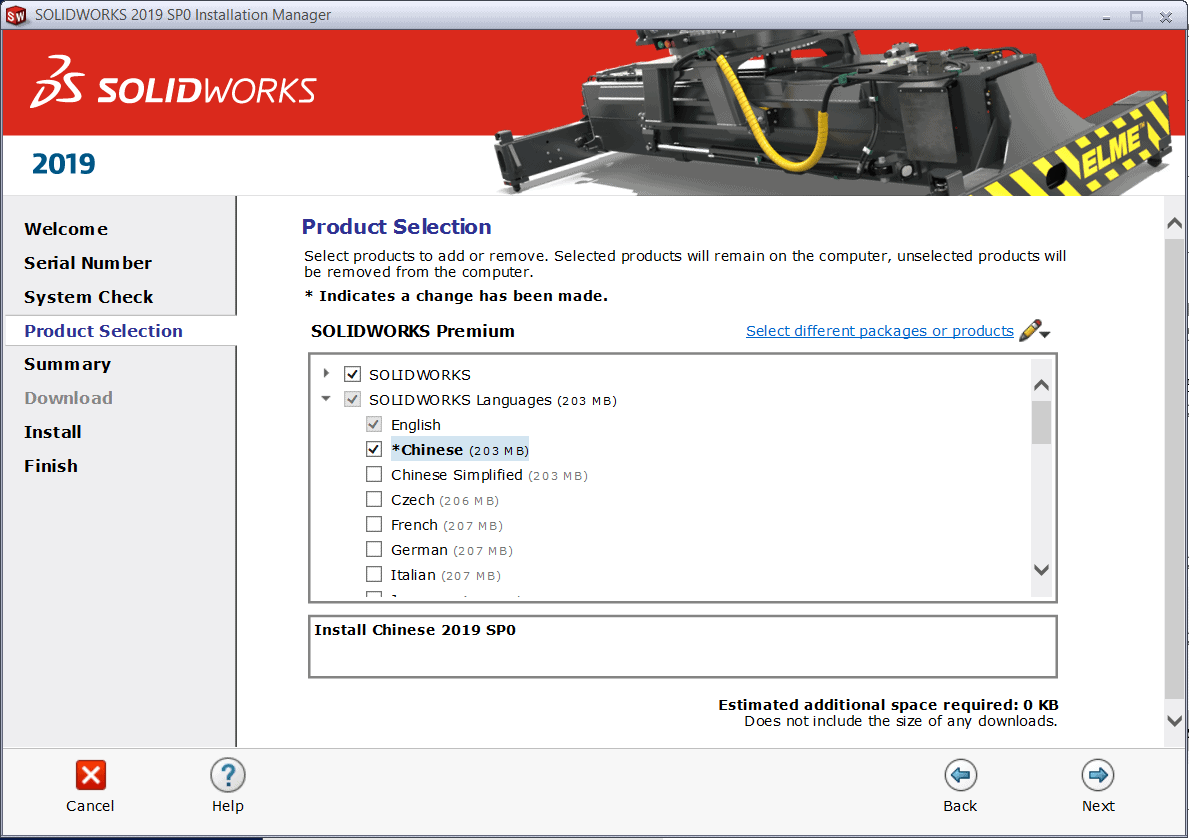
On the Product Selection page, you can now add or remove whatever products you want to be installed on your SOLIDWORKS. Any new selection to install will show up in bold lettering and have an asterisk next to it as seen in the picture above.
As an example: if you find yourself working with drawings that require Chinese characters, but do not have any Chinese fonts installed on your machine, they will show up as boxes in your drawing. You can modify your install to add the Chinese Language Font so that the drawings will appear with the correct font.
Once you are done selecting your products to install, click ‘Next’ to continue to the Summary Page. On the summary page, you can change what products to add or remove. You can also change your download options, though in most cases you won’t change anything on this page. To finish the process, check the box “I accept the terms of SolidWorks License Agreement” and then click ‘Modify Now’ to complete the Modify. After that, you are good to go!
Braden Leasure
Technical Support Engineer
Computer Aided Technology, LLC