Where is my SOLIDWORKS Design Library?
 Nearly every year when I teach a course on SOLIDWORKS Sheet Metal to students at Grand Rapids Community College in Grand Rapids, Michigan, I have to field a handful of concerns regarding the SOLIDWORKS design library. The two most common being “my design library is missing,” or SOLIDWORKS is asking “Are you trying to make a derived part” when trying to use forming tools. Admittedly, it’s rather frustrating to try and use a design library when it’s not available or doesn’t work properly.
The issue these students have is always the same and can be remedied with a three-part solution. In this blog, I’ll cover those three steps to enable forming tools when they aren’t available. Let’s get started.
The three major parts are:
- Make hidden folders visible. The design library and forming tools are stored in files that are hidden by default, so it makes it very difficult to find anything when it’s hidden.
- Point SOLIDWORKS to the location of the design library files.
- SOLIDWORKS has to be reminded that the forming tools folder contains forming tools; otherwise, it treats the forming tools as derived parts.
Note: These instructions are for Windows 10; however a simple web search will display the same steps for other Windows versions.
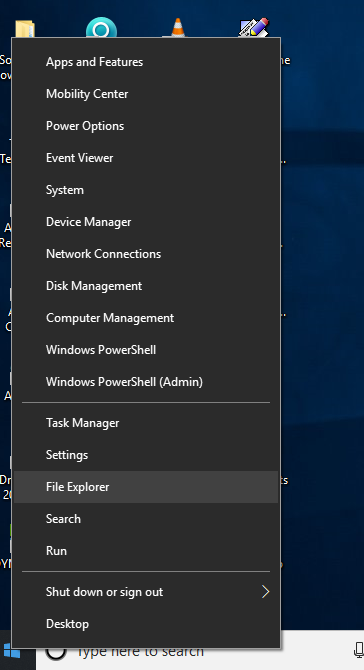
Step 1: Open a file explorer window. My preferred method is to right-click on the Windows icon in the bottom left corner and select “File Explorer.”
Step 2: At the top of the file explorer window, click on the “View” tab. One the View tab is a “Show/Hide” area and in that area is a checkbox for “Hidden Items.” Make sure the box next to the “Hidden Items” is checked.

Step 3: Close the File Explorer window
Step 4. Open SOLIDWORKS
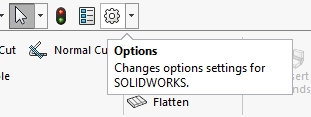
Step 5. Select the Options icon from the top middle of the SOLIDWORKS window.
Step 6: Select File Locations from the right-hand pane in the System Options tab.
Step 7: Click on the drop-down arrow next to “Show Folder for:” and select “Design Library.”
Step 8: Select Add
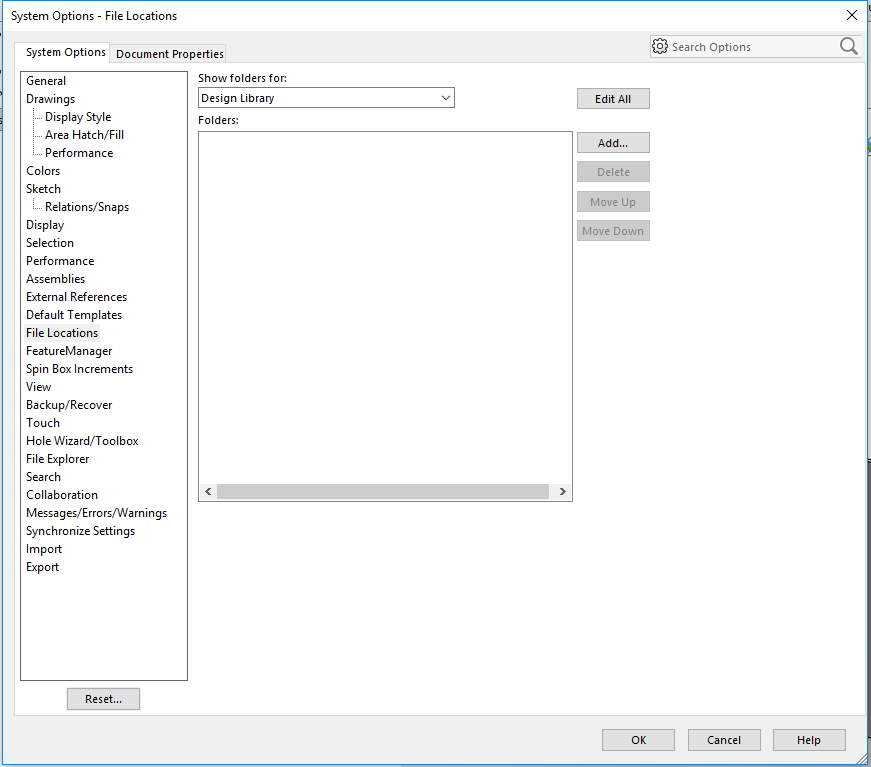
Step 9: Navigate to C:ProgramDataSolidWorksSOLIDWORKS 2018Design Library and click “Select Folder.”
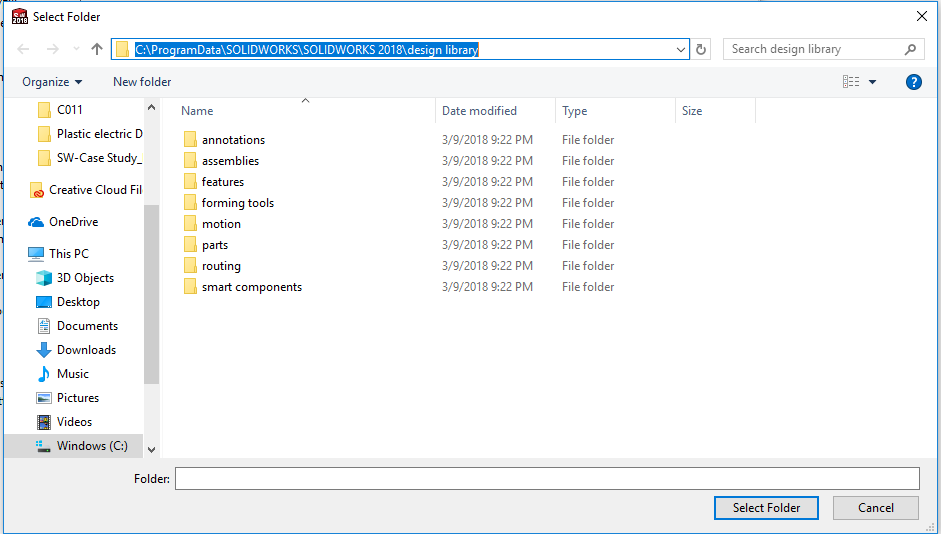
It may be necessary to change the path based on where files are stored or SOLIDWORKS license year (2017 or 2019 for example.)
Step 10: Click “OK” to close the System Options Window.
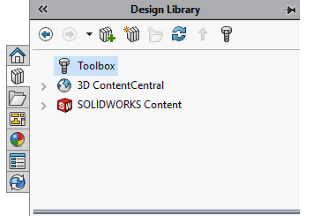
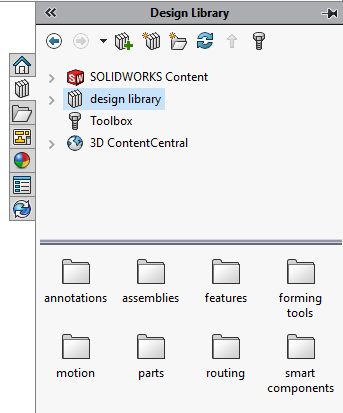
The design library should now appear on the right-hand side of the graphics window, and you have your first success!
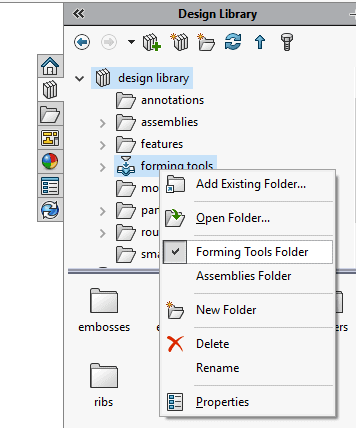
Step 11: Expand the design library and right click on “Forming tools” to check if the folder is identified as a forming tool folder.
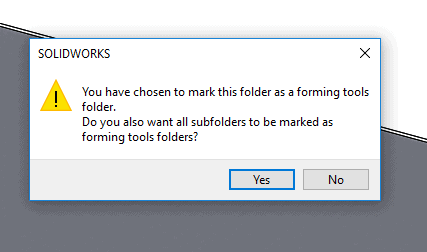
Step 12: Select “Yes” from the following prompt to make all sub-folders forming tool folders as well.
Rejoice! You can now use forming tools to your heart’s content. I hope this blog answered your questions. For more SOLIDWORKS tips and tricks be sure to subscribe to our newsletter.

Related Articles
Top 10 SOLIDWORKS Tips and Tricks of 2018
Leveraging the Where Used Tab in SOLIDWORKS PDM for Standard Parts & Toolbox Components
Using XML Documents as Templates in SOLIDWORKS PDM
About the Author
 Nathan Sneller is a mechanical engineer, entrepreneur, and adjunct professor. Before joining Fisher Unitech, Nathan graduated from Michigan State University, taught Mechanical Design at Grand Rapids Community College and ran an engineering firm where he specialized in the development of electro-mechanical products. In his current role, Nathan advocates for incorporating simulation software into the design process to shorten the development cycle, improve product performance and maximum profitability.