SOLIDWORKS: Cut-List Properties
While modeling a multi-body part file in SOLIDWORKS 2019, the standard Cut-List Properties are enough to get most jobs done and out to manufacturing.
However, what if you need to create custom Cut-List Properties and add several items at a time to this new property. In the next few steps, I will show you a quick shortcut for doing just that.
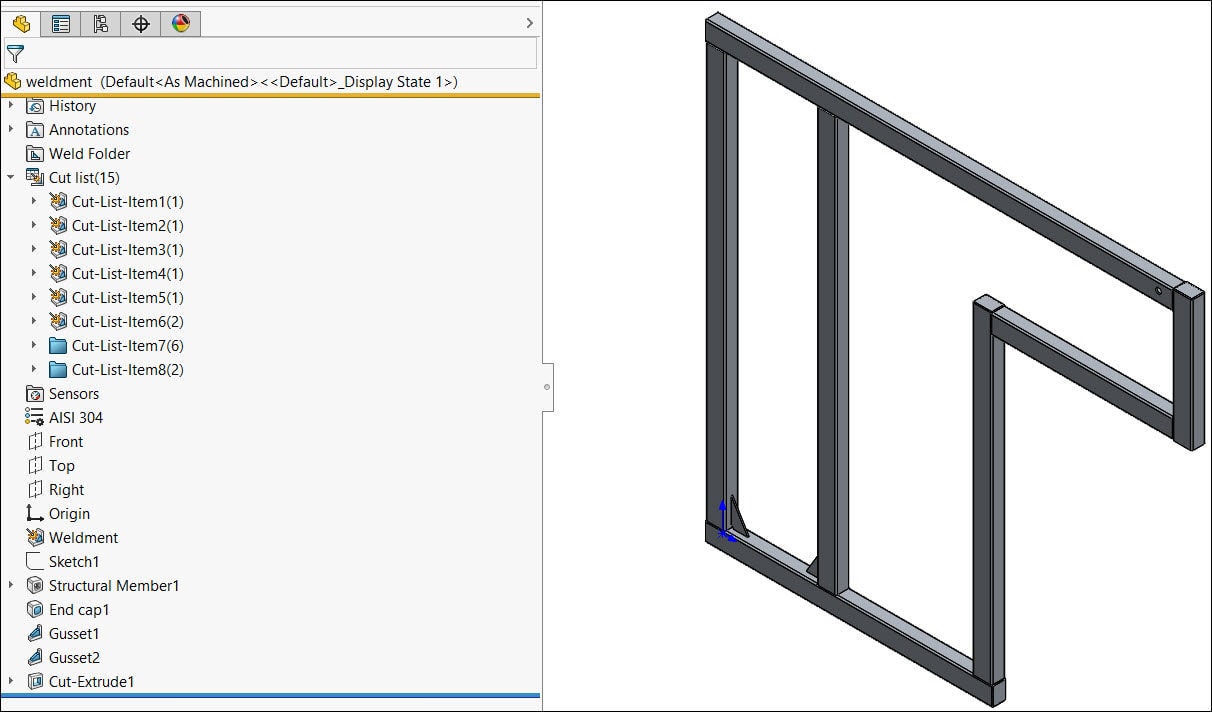
In your part model FeatureManager Design Tree you have access to a Cut-List folder. A quick expansion of this folder will show you a list of Cut-List Items.
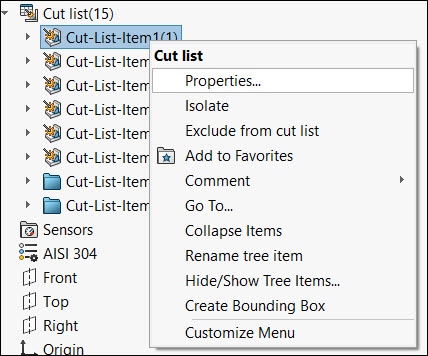
A single right mouse click on any one of these items will yield an option for Properties as shown below:
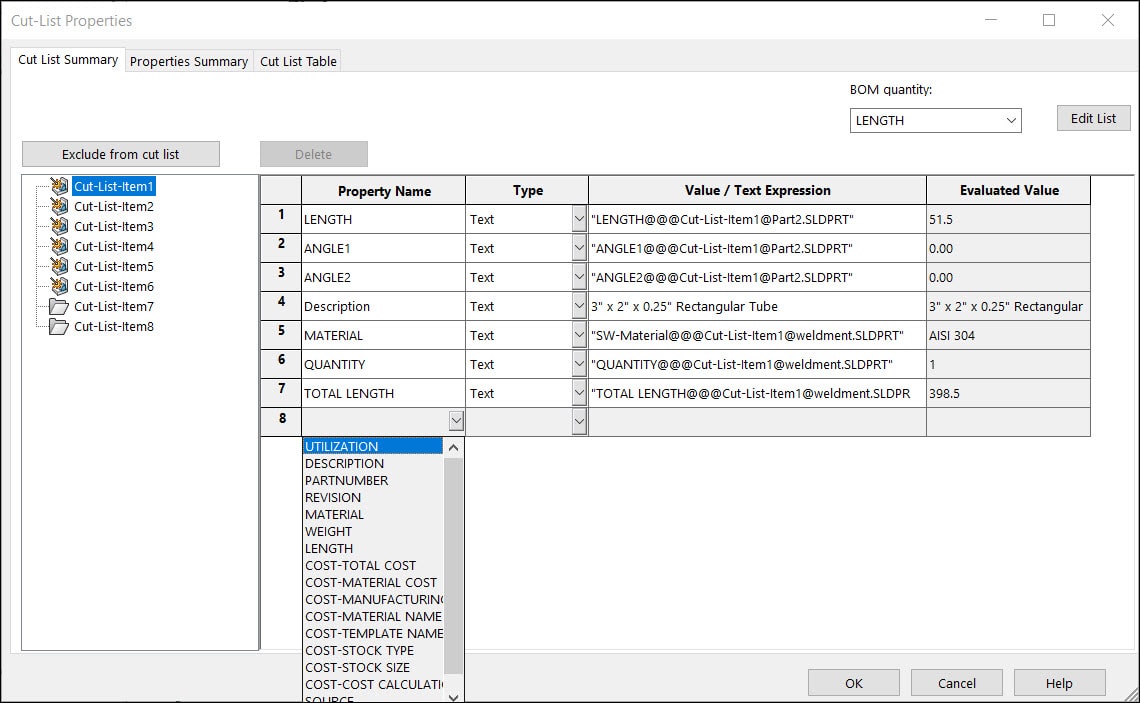
Once the Cut-List Properties dialog box opens, you can see three tabs as well as items listed under each tab. Starting with the Cut List Summary tab you can see all of your items as well as standard properties that usually are auto inserted into your model. In this example, I am using the Part Weldment tool to make a welded frame design.
However, what if you want to add a new cut list property that isn’t part of the default properties? In this example, I am adding in the Property Name “UTILIZATION” to allow us to report an amount of material used per item for this project. I have also already edited the list of standard Weldment Properties that are installed with SOLIDWORKS to have this property available for future designs. I then simply click in the next empty cell for Property Name and pick the property from the dropdown list:
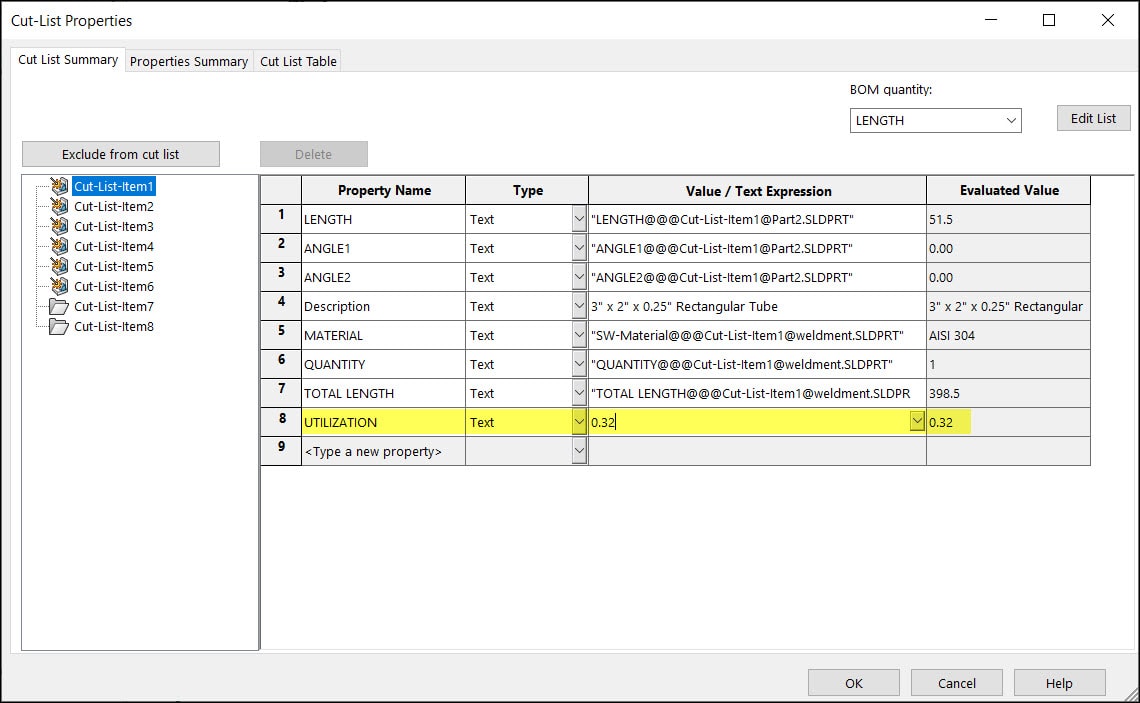
Once I have added in the property name, I can then enter a value for this cut list item.
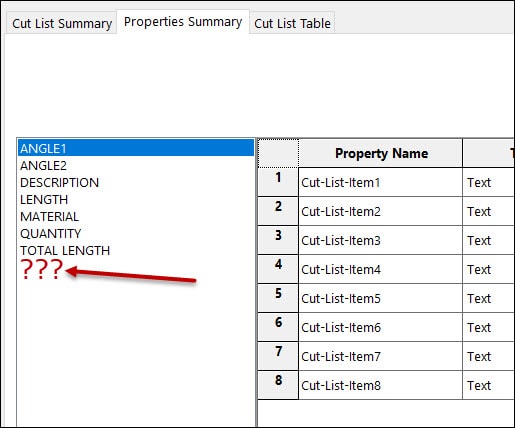
But what if I want to add this to every item? If we look at the Properties Summary Tab, we can see that our “UTILIZATION” property is not listed???
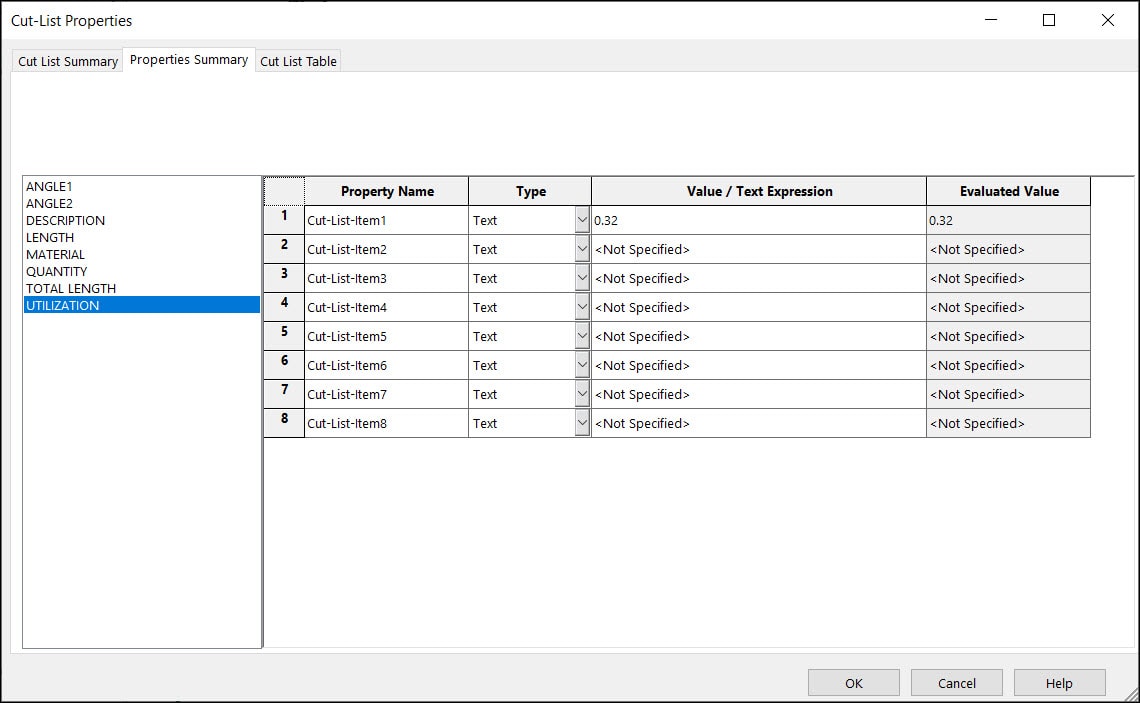
Instead of entering in this new property for each cut list item and then entering in a value for each, here is a short cut. Press OK on this dialog and this will close the box. Then right mouse click again on any item again in the FeatureManager Design Tree and again press Properties. Switch to the Properties Summary Tab and magically the new UTILIZATION property is now available. Select this item:
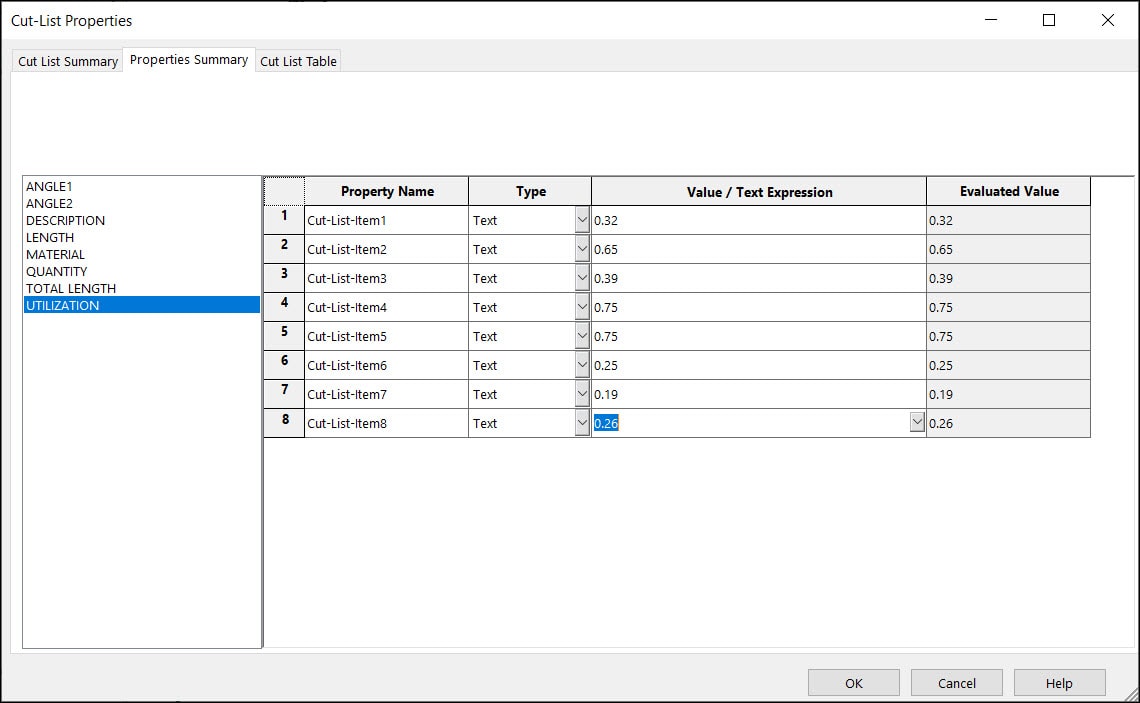
And you can then enter in all the other item’s UTILIZATION values into this Cut List:
So, this is a great short cut for entering a new Cut List Property to your models as well as how to enter in values for this property much quicker than one at a time.
I hope this helps in your future modeling needs. It is always fun to learn new ways to use the tools inside of SOLIDWORKS to help your team design and build great products.
Thank you for taking the time to read this post and I hope this information will prove helpful.
Brian Reel
Sr. Manager, Field Technical Services – West
Computer Aided Technology, LLC