Best Practices for Using TPU 3D Printing Material (Part 1)
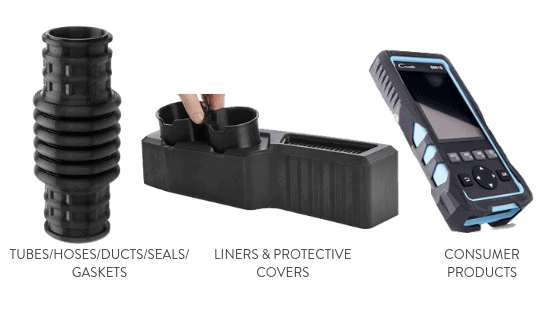
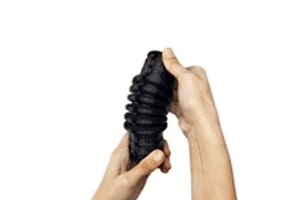 In November 2018, Stratasys announced a new breakthrough TPU (Thermoplastic Polyurethane Elastomer) material for their F123 Series FDM line of 3D printers. TPU92A is a Fused Deposition Modeling material with a 92 shore value and prints in 0.010”. TPU 3D printing material is excellent for applications like tubing, ducts, hoses, seals, gaskets, and protective covers. However, to get optimal results, like any specialty material, there are some specific precautions to take before you start printing your applications. Let’s take a look at some of these best practices.
Hardware TPU Best Practices
Since TPU 3D printing material is an elastomer, it extrudes with a very gummy and rubbery consistency, unlike other FDM thermoplastics that are rigid. Additionally, be mindful of your brush and flicker – they are relatively inexpensive consumables and easy to swap, but it is crucial that they are clean in order to be functional when printing with TPU.
When it’s time to remove finished TPU parts from their build tray, resist the urge to remove support material manually, as it’s more likely to damage the TPU part (as compared to rigid materials). If you find that the thin strands that come off your model are clogging up your support removal tank, a quick and easy way to resolve this issue is to use a heat gun to remove/melt the strands, so they don’t come loose during cleaning (eventually clogging the tank).
My last hardware tip is to make sure your hands are clean! Oils from your fingers and hands will smudge on the tray, which can lead to part-to-tray adhesion issues. I also strongly suggest printing on a fresh tray surface and for optimal part quality, one part per build.
Software TPU Best Practices
Referencing back to my tip about one part per build, the reason for this is the purge tower. Allowing there to be one purge tower per part maximizes the amount of cleaning the tip goes through for extrusion. You can still recapture some print quality with multiple parts on the same bed by saving individual part files with purge towers for each in GrabCAD. (Unfamiliar with GrabCAD Print? Here’s what you need to know.)
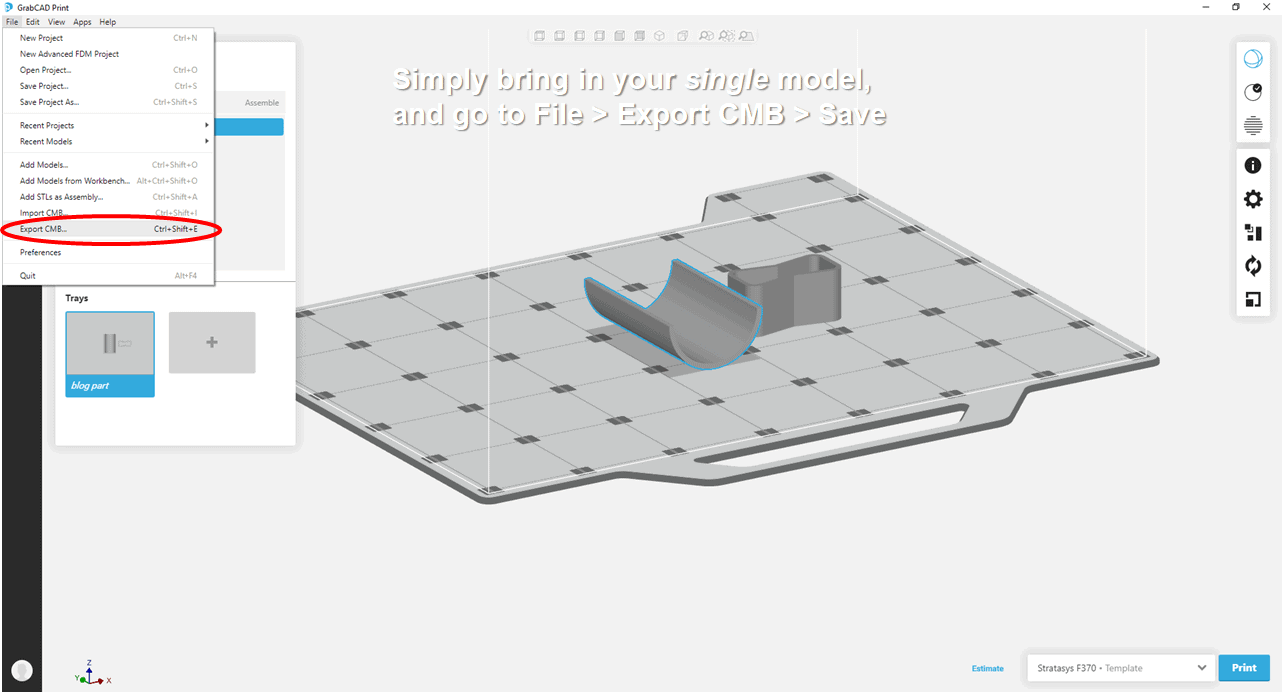
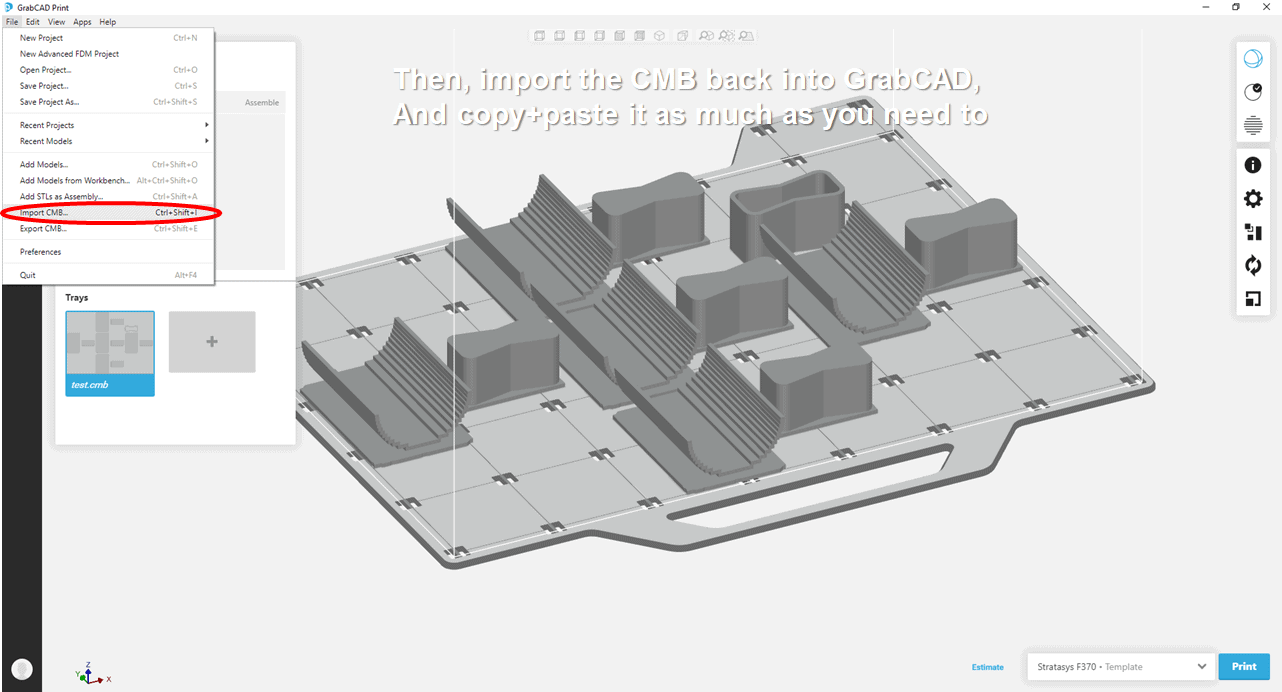
This particular method won’t achieve part quality as well as printing on a single piece with a purge tower, but it will be an upgrade from printing multiple parts with only a single purge tower.
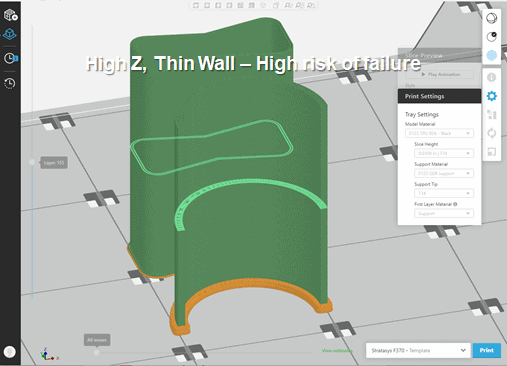
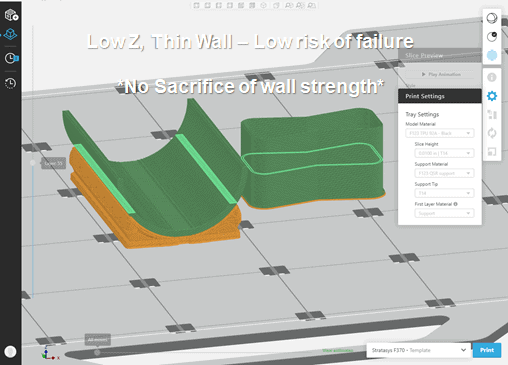
Being less rigid than other materials, stability can be a concern with TPU. But orienting for stability often comes at the expense of strength. Luckily, TPU layer adhesion is much better than most common FDM materials, allowing more flexibility (see what I did there?) when it comes to orientation. This will enable you to find new ways to orient parts when printing with TPU, and still achieve the expected level of strength and flexibility. This is particularly useful for thin-walled parts (e.g., living hinges). Let’s say you have a curved hinge that you would normally stand up in the Z to have the layer lines in parallel with the hinge. TPU gives you the option to lay it down and still receive good results as illustrated below.
Here is a snapshot of some quick and easy information to help you better understand how TPU works and what factors to keep in mind:
- TPU uses 55 degree self-support angles instead of 45
- Orient for stability – as low in the Z height as you can get
- Do not use TPU heads with other materials
- Always, always use a purge tower
Lastly, here are some best use cases for TPU 3D printing to give you some ideas on applications for the material:
For more information about the Stratasys F123 Series or TPU 3D printing material, contact us.

Related Articles
Introducing Breakthrough TPU Material: Stratasys TPU 92A
Know Your Stratasys FDM Materials: ABS, ASA, and PLA
How Important is Orientation to Your Model?
About the Author
 Gerald Matarazzo is a certified Additive Manufacturing (AM) Application Engineer, AM Designer, AM Service Engineer, Project Manager, and Lean Six Sigma Green Belt based out of Boston, Massachusetts. Gerald has a B.S. in Data Analytics and began his career in Additive Manufacturing by starting and leading a makerspace turned service bureau in college. Gerald joined the Fisher Unitech team in 2018 with over 3 years of professional AM experience and is the Lead AM expert for the Fisher Unitech New England territory. Gerald is an experienced educator and presenter providing highly customizable, pre-to-post printing turnkey solutions.