SOLIDWORKS: Make Sketching a Snap with Snapping Tools
Everyone who designs parts in SOLIDWORKS likely spends most of their time in the sketching environment. Sketching is the basis for most of the common features in SOLIDWORKS, so being a good sketcher is essential to becoming a good modeler. SOLIDWORKS fortunately provides plenty of resources to both simplify and expedite the sketching process.
Appropriately defining dimensions and relations in sketches can be a time-consuming challenge, especially for users still familiarizing themselves with SOLIDWORKS. These tasks can be made easier by taking advantage of snapping capabilities. The two tools I want to explore in this article—The Grid and Quick Snaps—can help you to effectively lay out your geometry and capture useful relations as you sketch. Both of these utilities are easy to use and understand, and they can definitely help you save some time defining your sketches.
The Grid
The grid essentially turns your graphics area into graphing paper, providing you with references to which you can snap your sketch entities. To display the grid, you can activate it from the Hide/Show Items drop-down list in the Heads-Up View toolbar, or you can go into the Grid/Snap section of the Document Properties and check the box for “Display grid.” The other options in this menu include “Dash,” which will make the grid lines dashed rather than solid; and “Automatic scaling,” which will modify the appearance of the grid when you zoom in or out. You can also set the spacing between the major grid lines, the number of minor grid lines that appear between each pair of major lines, and the number of snap points on each line segment. Note that since these are Document Properties, you may want to create a template after making any changes to avoid having to set them again.
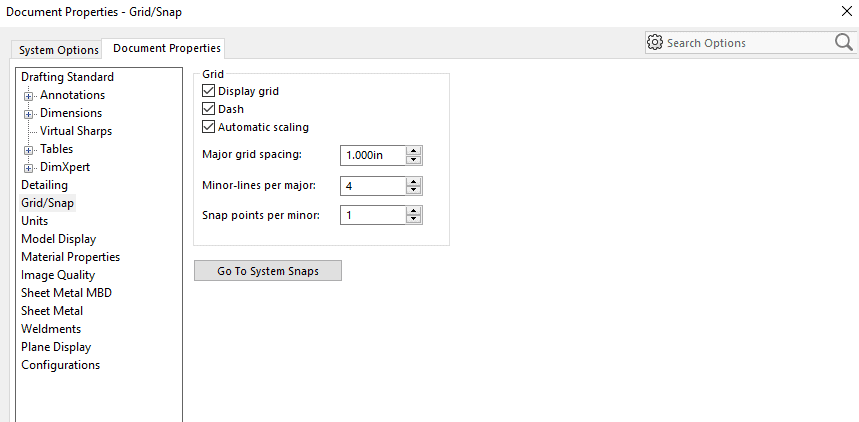
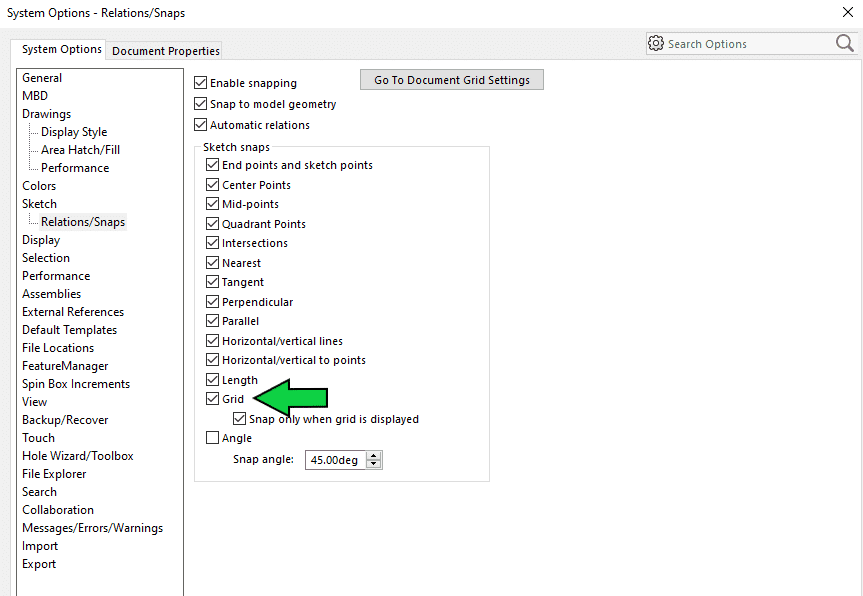
Before leaving the Options dialogue, you may want to look at a couple more settings related to the grid. You can either click the “Go To System Snaps” button shown in the Grid/Snap Document Properties menu, or you can browse to Sketch > Relations/Snaps in System Options. In this menu, you can determine whether snapping in general should be enabled and define which entities can be snapped to. To snap to the grid, you’ll need to check the “Grid” box under the “Sketch snaps” heading. The “Snap only when grid is displayed” checkbox below determines whether you can snap to the grid at all times or only when it is visible.
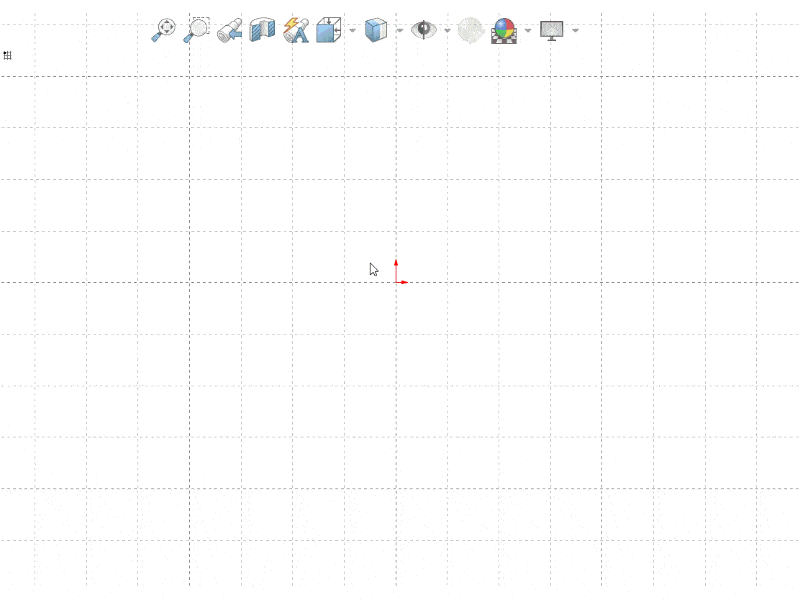
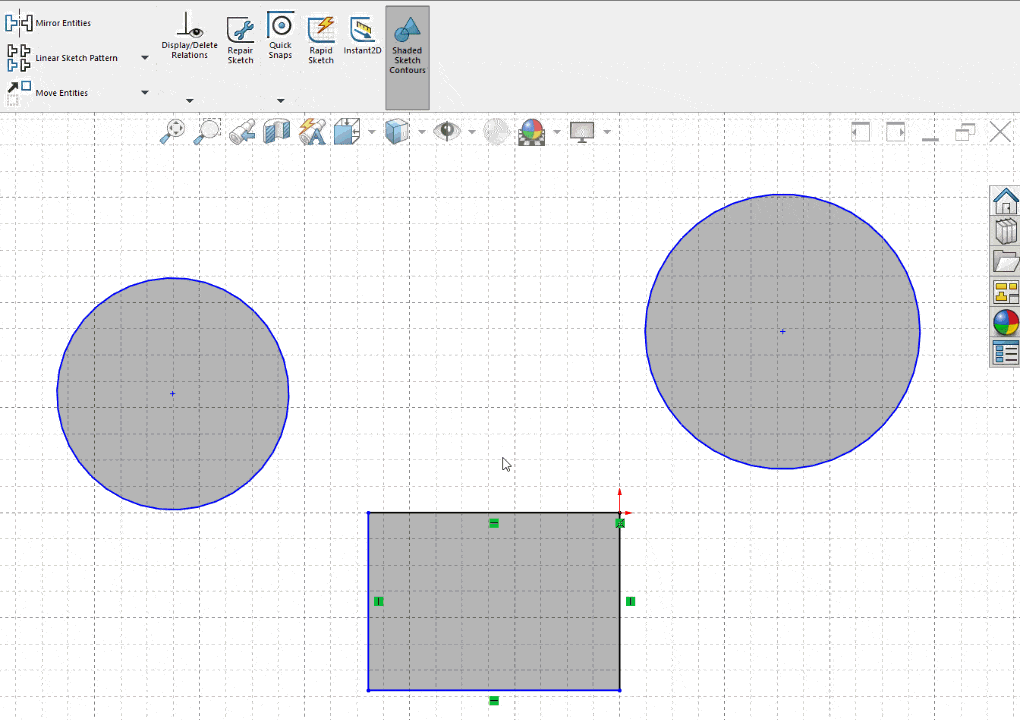
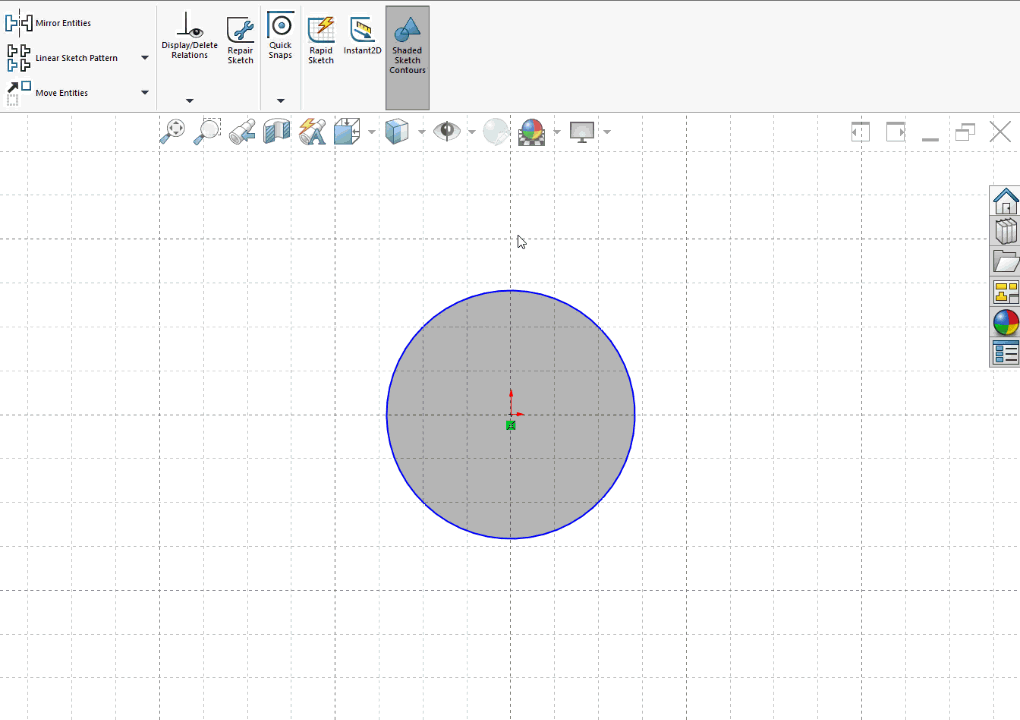
With the grid settings enabled, you can utilize the snap points of the grid lines as you’re sketching. This can be helpful to make sure your profile is scaled appropriately, and it can make it easier to capture vertical and horizontal relations. If you want to place an entity that should not be along on the grid, hold Ctrl to turn off the snapping capabilities.
In the video below, I have my settings defined such that each line has two snapping points, which is why SOLIDWORKS is picking up the “midpoints” on the grid. You’ll see that when I hold down the Ctrl key, my line is no longer trying to snap to the grid.
One last item worth mentioning: The grid is also accessible in drawings. Follow the same procedure as described above to enable it. The drawing grid could be especially helpful if you are working on a sketch for a title block.
Quick Snaps
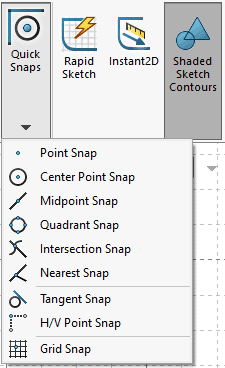
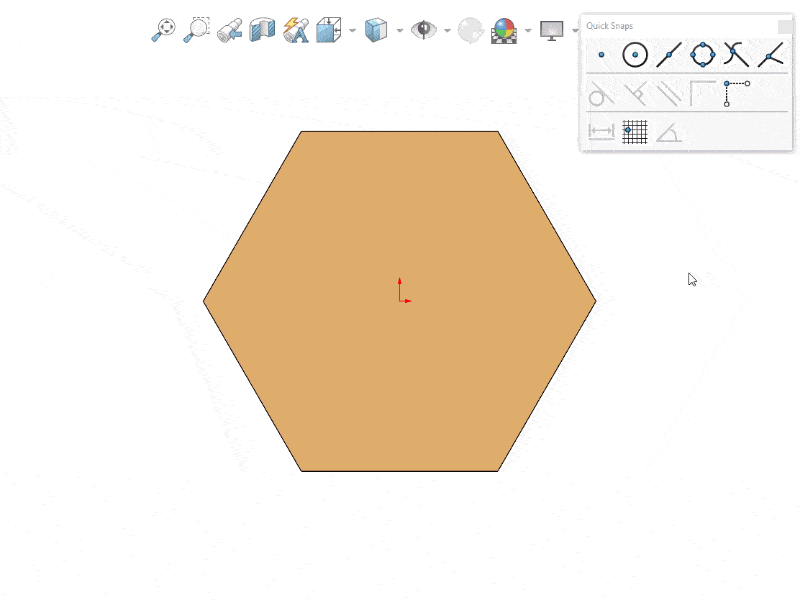
The Quick Snaps tool makes it easier to select specific items in your sketch when adding geometry. You can define what you want to snap to and SOLIDWORKS filters out all other possible snaps. Quick Snaps can be turned on from the right-click shortcut menu, from it’s own toolbar (I’ll talk more about this later), or from the Sketch tab in the CommandManager. The one prerequisite for using Quick Snaps is that you must have activated a sketch tool. Otherwise, the options may be greyed out or absent.
Once you have selected a sketch entity, activating Quick Snaps will reveal a list of possible snaps. The image below is not the full list of Quick Snaps. Some options only appear after you have clicked in the graphics area to start placing a new sketch item. For example, there is a Parallel Snap that lets you capture a parallel relation between the line you are creating and one that is already in the sketch, but it will only be available once you have located the first endpoint of the line. This list is what you will see if you enable Quick Snaps before starting a new entity.
In the video below, you can see an orange dot or line appear over the item to which my line is snapping. As I move around the graphics area, this indicator re-positions itself to snap me to the closest entity that satisfies the condition I chose.
The Tangent Snap and H/V Point Snap options are a bit less straightforward than the others. With Tangent Snap selected, you can click on the item you want to be tangent to, and it is automatically going to make you tangent to that entity at the point of contact. This works for circular and elliptical sketch entities and edges. In the video below, as I move around the circumference of the circle, the line is always oriented to be tangent to the circle.
The H/V Point Snap will try to snap you to a location either horizontal or vertical to an existing point. You will see dashed reference lines between the point and your cursor once it identifies a possible snap. (I have turned off the grid in the video below to make these lines more visible.) This will not save a horizontal or vertical relation between the two points, so you will need to add that relation manually afterwards if you want it to be locked in. That said, this snap will at least make it easier for you to arrange your sketch entities according to your design intent.

As I had mentioned earlier, there is also a Quick Snaps toolbar. This can be turned on or off from your Customization settings, or by pressing F3 on your keyboard. One benefit of this toolbar is that you can see tooltips explaining what each snap does; if you are using SOLIDWORKS 2020, these can include an animation of the tool in action as well. This toolbar also offers another special ability that is not possible from the CommandManager or shortcut menu: If you double-click a particular snap, SOLIDWORKS will continue to give you that snap until you turn it off or end the sketch tool. This can be a huge time-saver. For instance, if you are trying to connect the midpoints of several lines, you can double-click the Midpoint Snap and automatically snap to the midpoint of each line you choose.
I hope this information has been helpful! I’d recommend turning on the grid or practicing with Quick Snaps the next time you’re sketching in SOLIDWORKS, especially if you’re not fully comfortable with the process of adding constraints. These tools can help make your sketching space more organized and provide you with easier access to specific geometric relations, allowing you to spend less time worrying about where to click and more time focusing on your design.
Anthony Sandri
Application Engineer
Computer Aided Technology, Inc.