Olympic Lifting Platform DIY Planning with SOLIDWORKS
SOLIDWORKS – Olympic Lifting Platform DIY Planning with SOLIDWORKS
Hello All, hope everyone is doing well! Like some of you I have been at home doing some home improvement projects as well as some interesting hobby projects. One thing we have missed at our house is the gym. We were able to scrap together a few things but were finally able to procure a home power rack that can be used for multiple things. Now, where to put it? How to mount it?
Many people have gone and turned their garage into a gym, but I like my garage and dedicated areas to secure my vehicles and tools. So, at my house we have decided to turn our basement into a small gym, it has high enough ceilings for overhead movements and the Power Rack will fit under the height requirements. So now I know where I am going to put it, but how am I going to mount it? After all, the basement is carpet.
After dabbling around the internet, people can tell you how, but they could never show you. SOLIDWORKS is not just for big companies, it is also a great tool to use for planning your weekend projects.
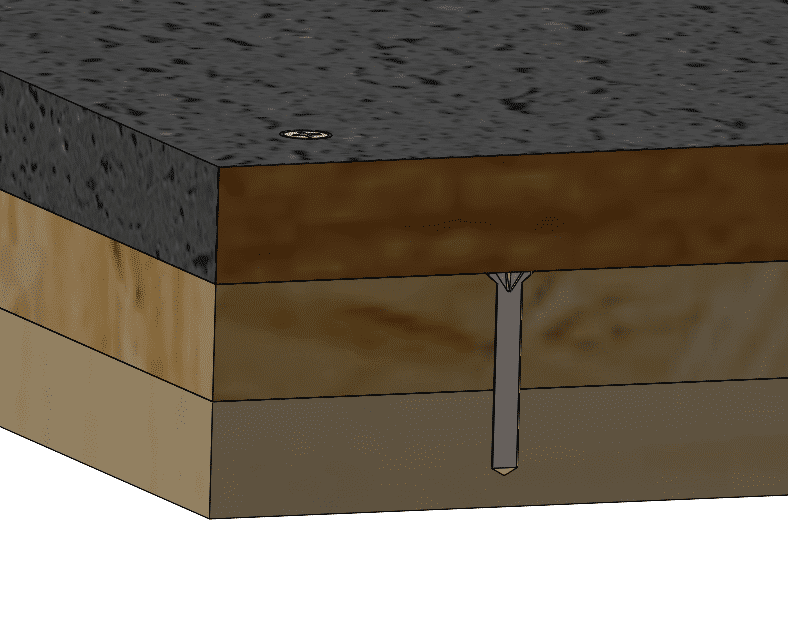
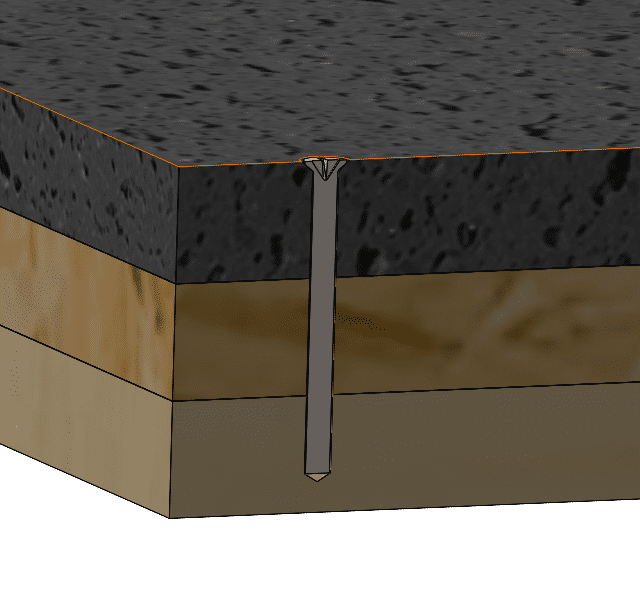
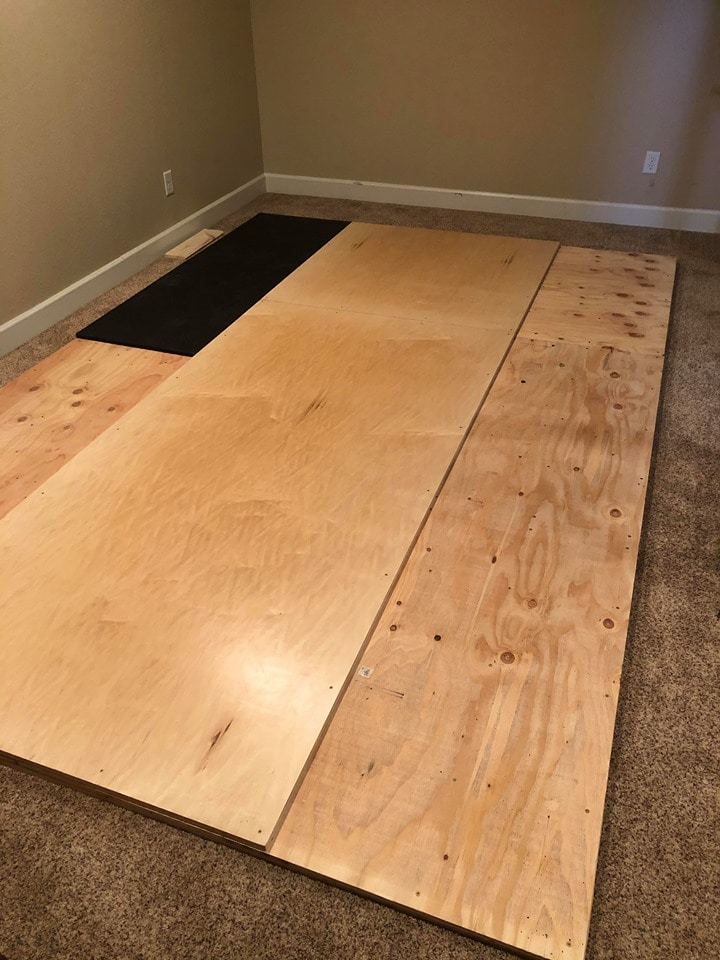
Let us Dive into how I prepped. First off, my choices of using ¾” Thick wood and Mat is because I am not putting this on solid concrete flooring, instead I’ve put it on the existing carpet and needed stability. That is why I am also using MDF as my base. It is super flat and will hold everything down as the base layer. Do your own homework and planning for thickness.
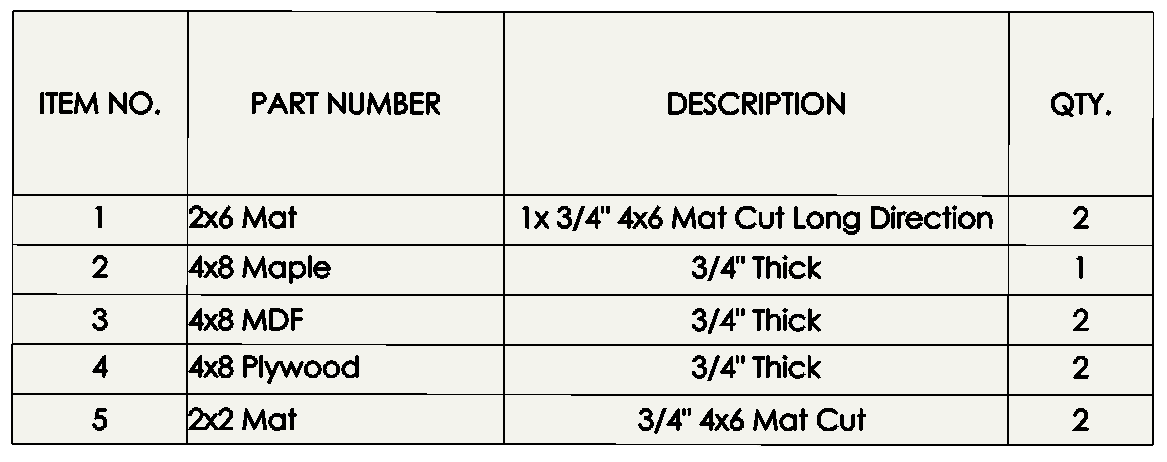
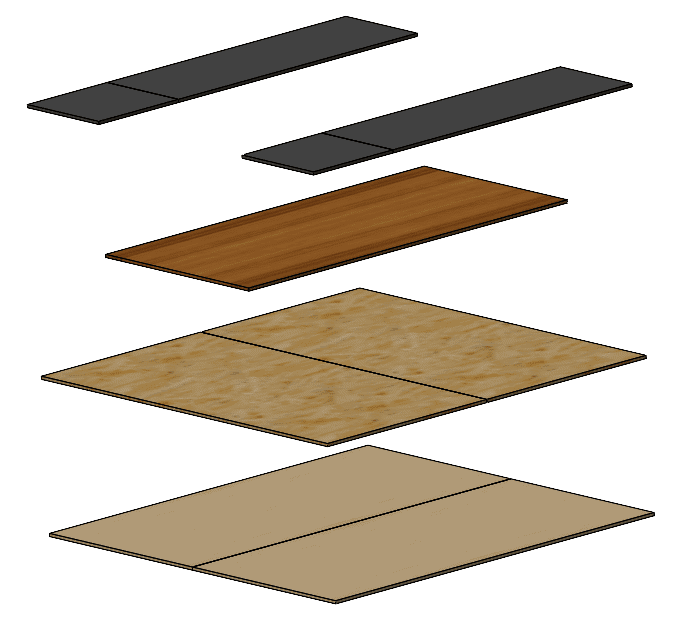
The first thing I did was looked up the ACTUAL dimensions of my Mats/Plywood/MDF/Maple boards.
Everything was true to size Except the MDF boards, they had a 1” offset. Knowing that, I could have had it pre-cut at the store to save some time. Bring your Tape Measure with you to the store to verify.
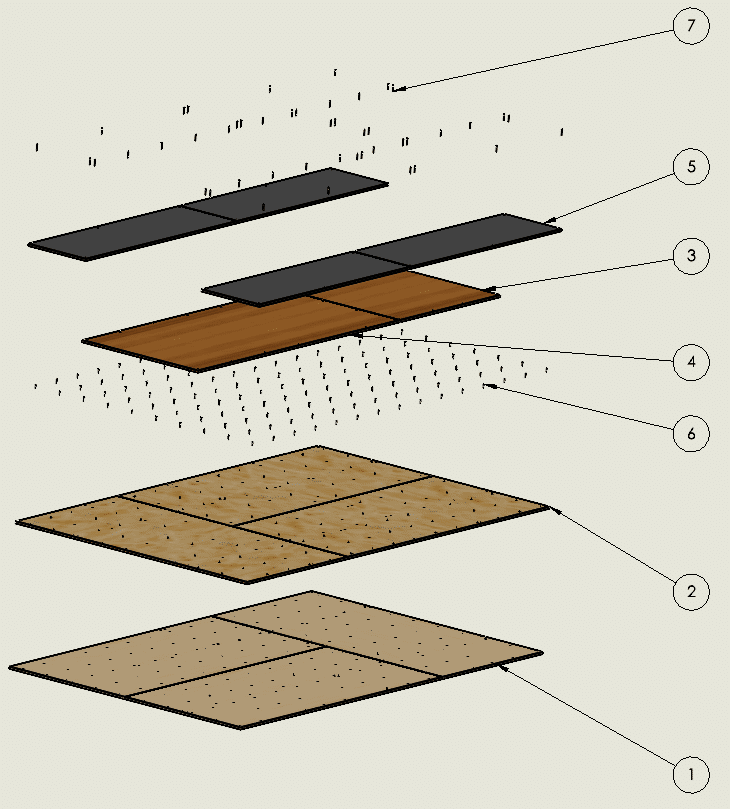
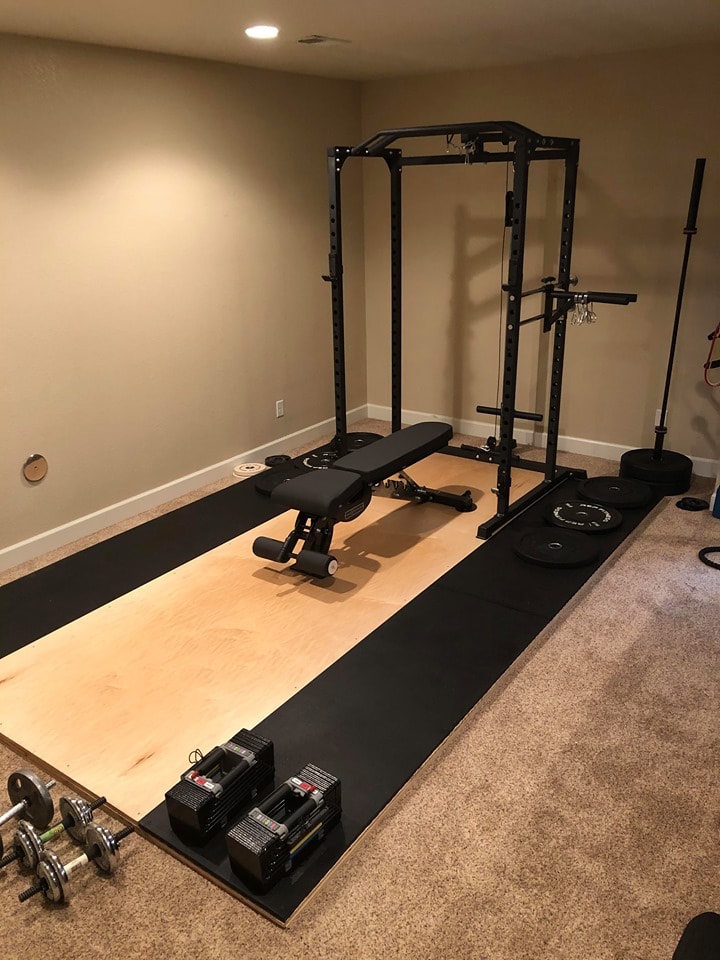
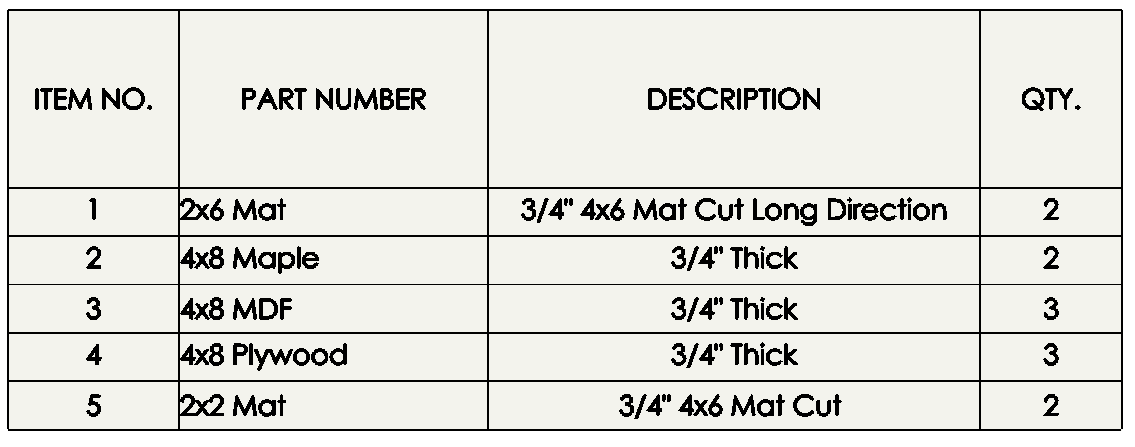
Materials Needed for MY 12’x8’ Lifting Platform and Power Rack. 4’ was just for Mounting the Power Rack. The other 8’ was for Olympic Lifting and general-purpose area. I wanted Wood there to secure the rack to the floor using Lag Screws through the base of the Rack into the 3 layers of wood beneath it. Length and size will depend on your equipment.
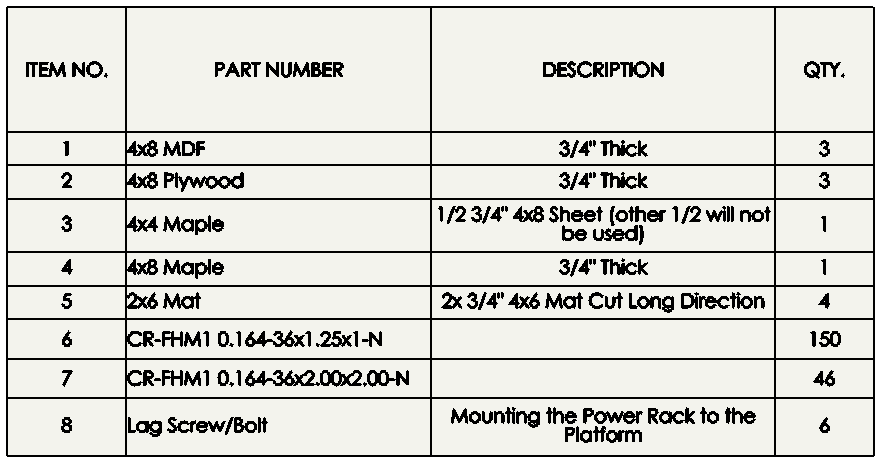
After putting in lots of Screws, I can honestly say that the Star Bits are a game changer. Do not cheap out because you will be putting in lots of screws and I had Zero stripping or slipping issues with these. I did not use any glue, as I might want to move it someday.
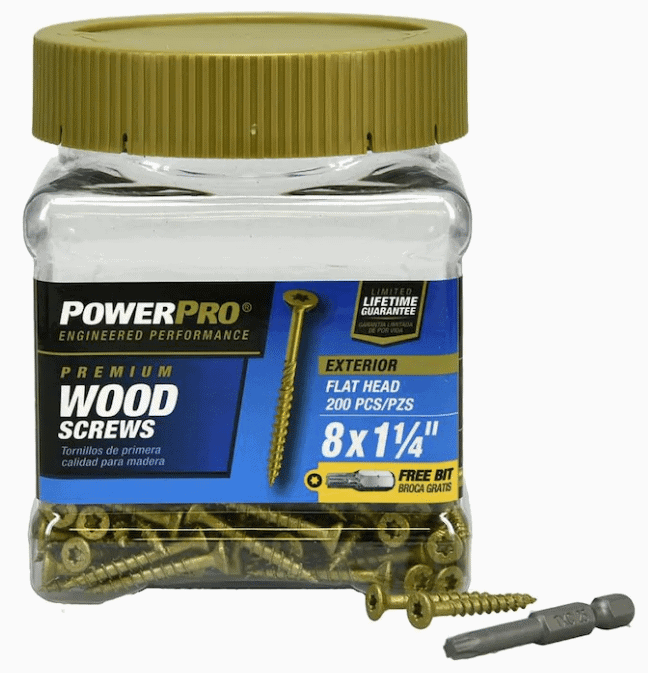
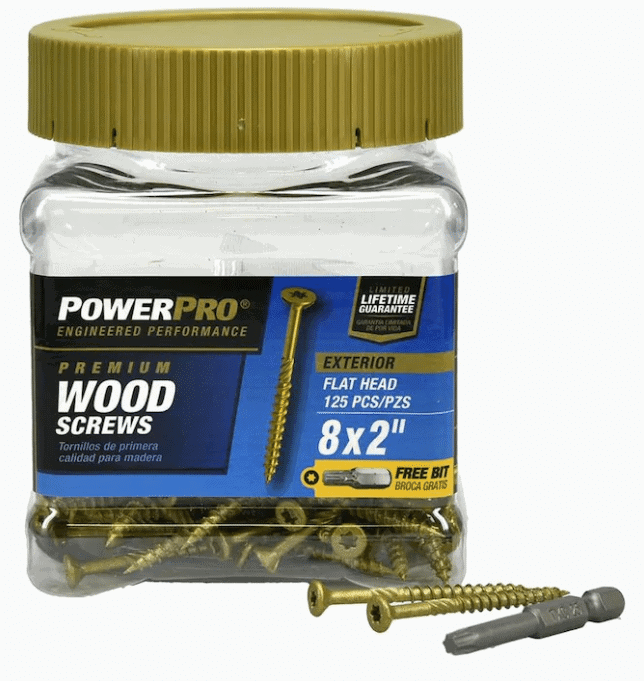
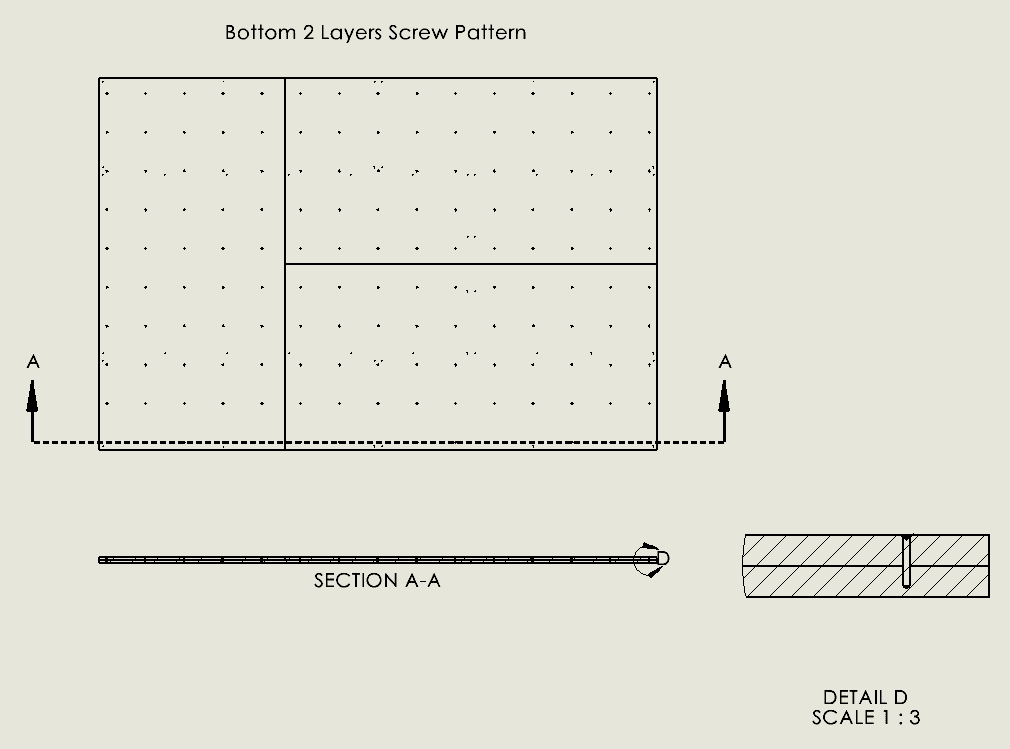
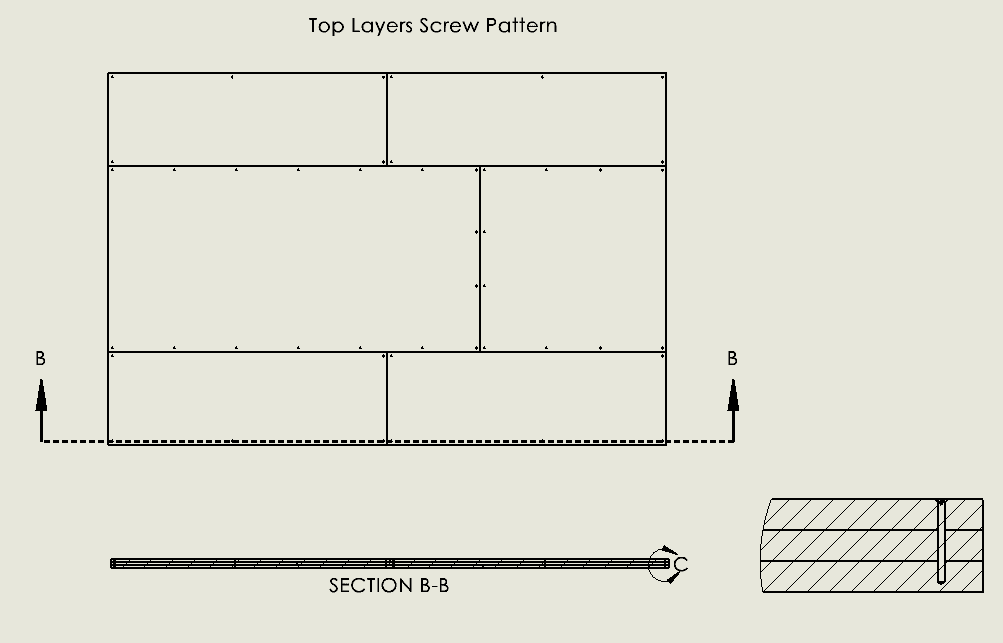
The bottom two layers were fastened using a 1foot grid. Going down the seams first, then filling in the grid after. That should use about 150 1-1/4” screws. The top layer with maple and mat, I used 16” spacing, only along the sides with the 2” long screws. This should anchor all 3 layers together, and that is why it is significantly less of them. On a side note, I had to predrill all my holes. I had 2 drills, so it was not that bad.
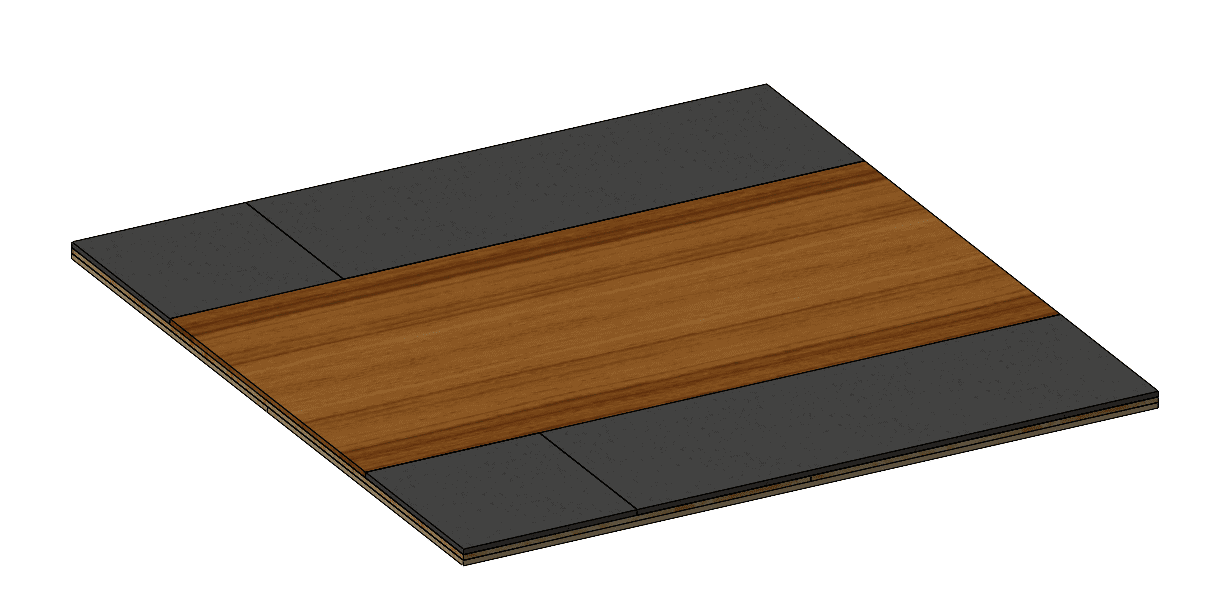
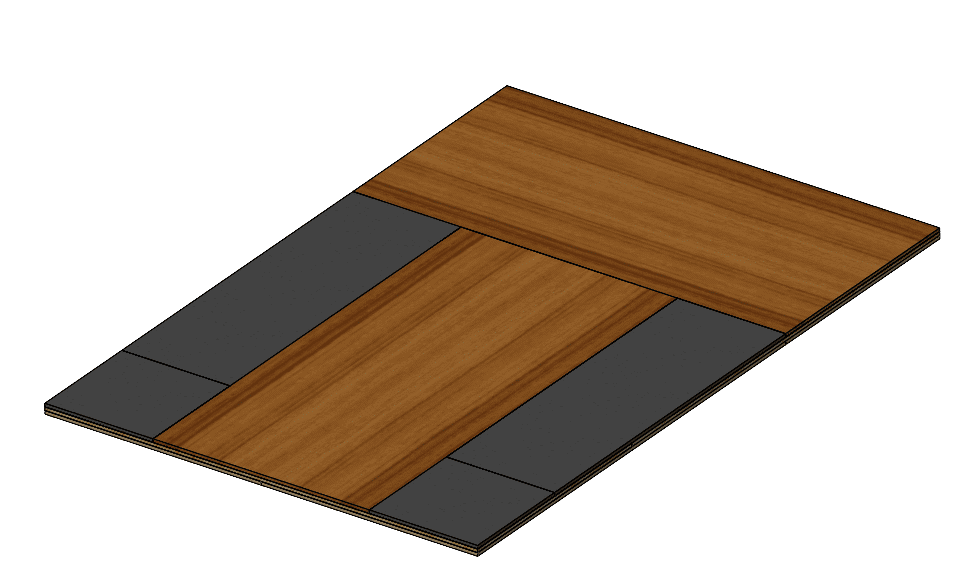
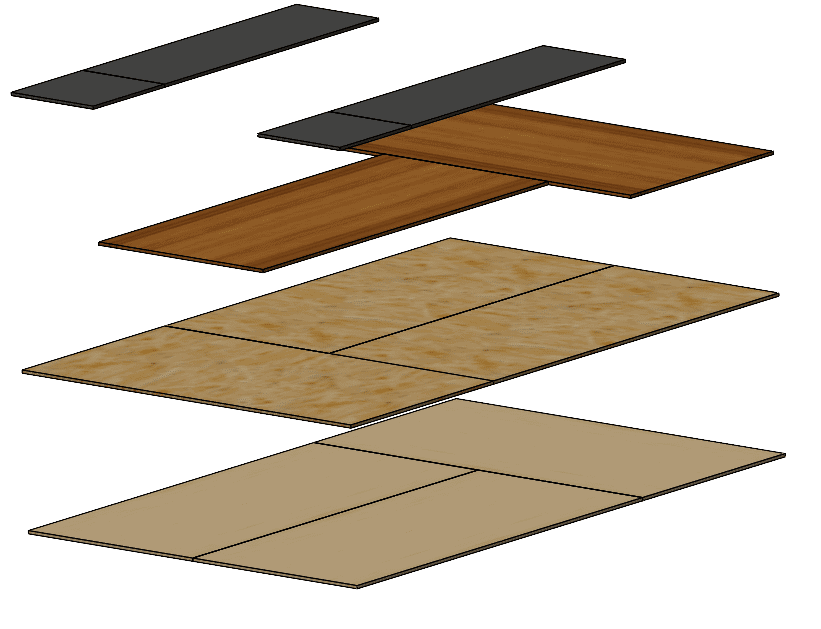
Layout:
Bottom Layers Screw Pattern
Top Layer Screw Pattern
Finishing Touches:
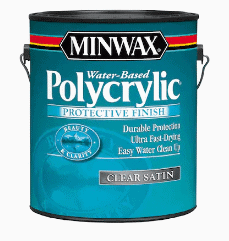
To protect the wood, we used MinWax Polycrylic Clear Satin. Only needed One Quart of the stuff. To apply we used a brush. One coat let it dry, then sanded with 200 grit sandpaper with a block, then repeated for a second coat. It adds protection but does not make it too slippery and the floor still had good natural look, feel and grip.
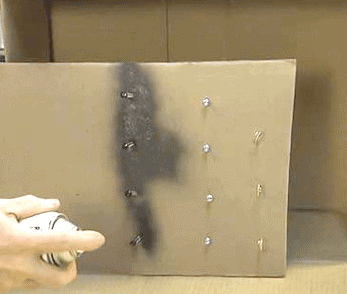
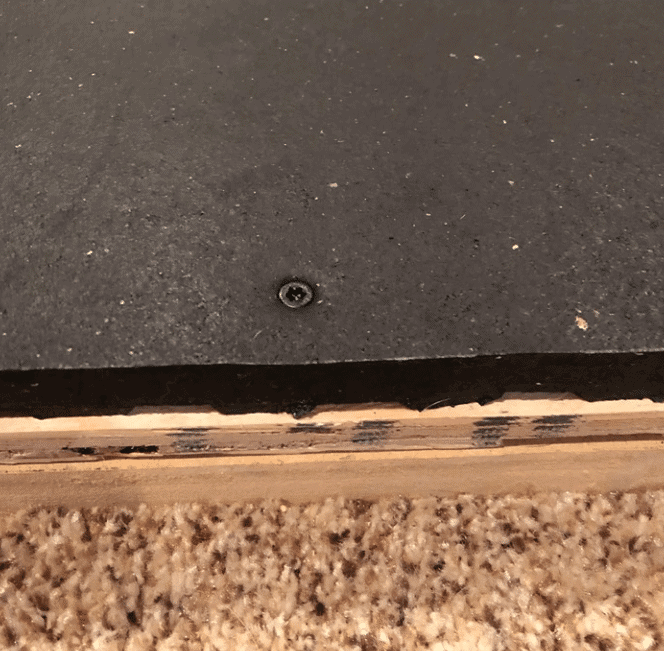
The other thing we did was painted the top of the screws black that went over the Mat. Flat Black spray paint worked great! The trick was to put the screws into a piece of cardboard, then spray paint the top.
Progress photos

I hope you enjoyed my build!
SOLIDWORKS can easily help you figure out what you need before you even go to the store. Once you have the basic parts created, you can easily make iterations to accommodate your needs. I did not go through the extent of making all the holes for hardware as that is pretty much the same. I did want to show that making design changes is easier in SOLIDWORKS than in real life.
For Example:
8×8 Platform
8×12 using the full sheet of the Maple at the top
I hope you were able to enjoy my build. We have gotten good use out of it so far, and for those hobbyists out there looking for information about this, I hope I gave you some good information.
Craig Maurer
Application Engineer
Computer Aided Technology, Inc.