Create Custom Appearances in SOLIDWORKS
Save yourself time and avoid unnecessary modeling by creating or adding custom appearances to your SOLIDWORKS models. Trying to 3D model something as complex as netting, knurling, or mesh can be very time-consuming to design. These designs also take a lot of SOLIDWORKS computing power and greatly impact rebuild time and performance. So, if netting is something you’re not manufacturing in-house, I strongly recommend using SOLIDWORKS appearances.
How To Search Appearances
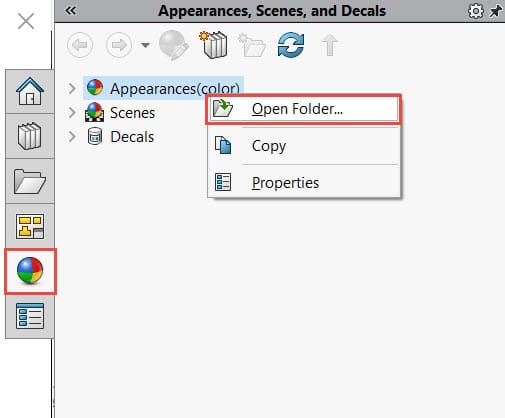
To quickly locate an appearance, I suggest doing a search through the Materials files. You can find the file location by going to your Task Pane> Appearances tab > right-click Appearances> Open folder. This will open up the appearances folders in File Explorer.
With File Explorer open, use the search bar to comb through the materials. Be sure to search from the materials folder so you get a more comprehensive search. This is also a good time to add a Custom Appearances folder while in the correct file path for appearances.
How To Edit Appearances
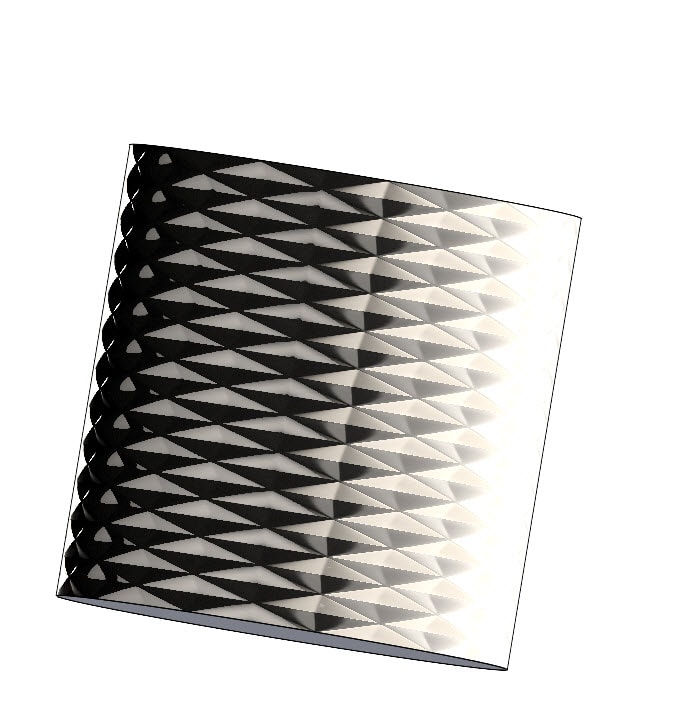
SOLIDWORKS has provided many tools to alter an existing appearance which is great because it provides a lot of flexibility. In the picture below, I’ve applied Steel Knurling to a model surface to show the default appearance before any changes are made.
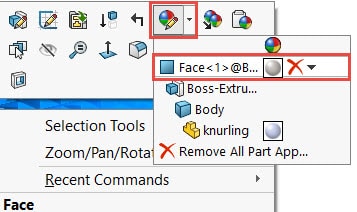
To customize this appearance right-click on the model’s surface > Edit Appearance> Face.
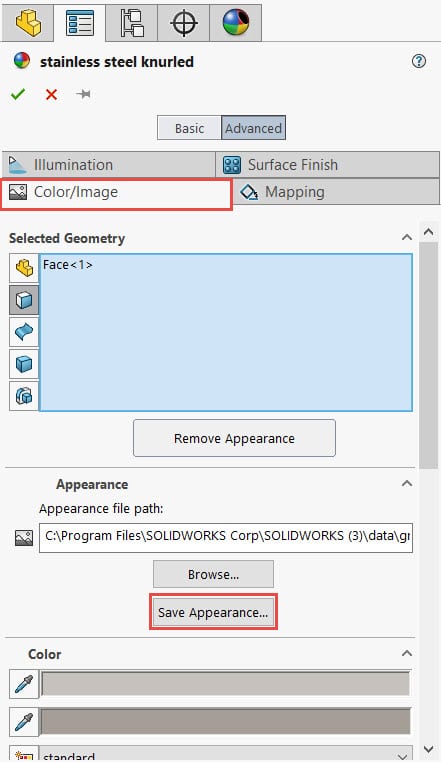
In the editing properties window, switch from Basic to Advanced to access more tools. Use the Mapping tab to change the direction and size of the knurling.

With the appearances editor still open, save these changes to reuse them on another model. Go back to Color/Image Tab > Appearance > Save Appearance and save to the Custom Appearance folder created earlier.
How To Create An Appearance
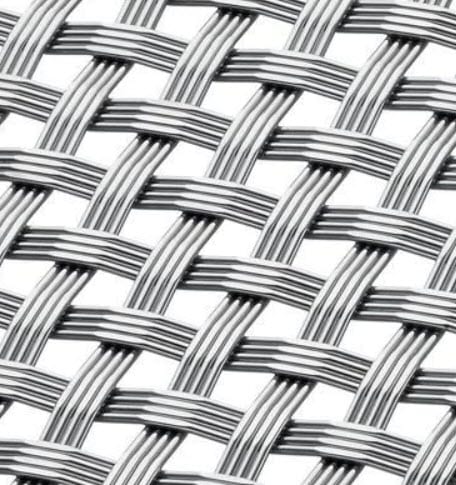
Don’t see an appearance that fits your needs? Not a problem, adding a custom appearance is very easy and simple. First, find a picture online that closely resembles that appearance you’re looking for. For my example, I’ll use the wire-woven metal mesh picture shown below. This is just a screenshot saved as a jpg file.
With a model open, apply any appearance to a face, surface, or body. Since we are adding a new appearance, the material type or color does not matter here. Navigate back to the appearance editing properties and make sure you have the Advanced editing tools activated. On the Color/Image tab, go to the Appearance section and Browse for your saved picture.
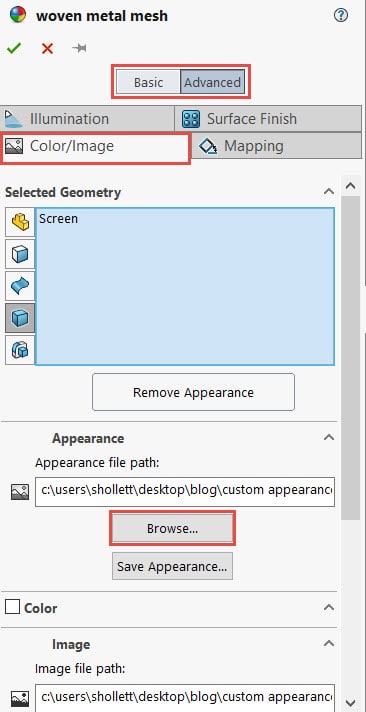
Once the jpg file is selected, SOLIDWORKS will convert it to the correct file type and allow you to save it to your Custom Appearances folder. Then the woven wire mesh is applied the model below.
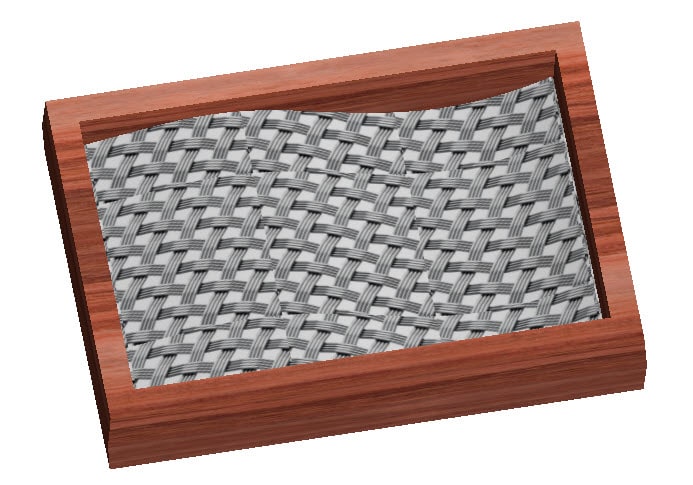
Appearances allow you to get the feel for the final product without having to put in more design time. Keep in mind that the file size is much smaller than If I modeled woven mesh, making it easier to share with colleagues or clients and easier to store on the cloud or on your computer.
Sara Hollett
Application Engineer
Computer Aided Technology