Advance FDM Mode Lesson 2: General Tour (Part 4 of 4)
Welcome to the final part of our General tour of GrabCAD Print – Advance FDM Mode. In part 4 we will dive into the Slice preview and touch on the Manufacturing notes, If you are following along from lesson 2 part 3 then you will just need to open the Slice Preview menu. If you are just joining again after a long a good night’s rests from playing with all the Selection settings, then be sure to open your edited project file to see all the changes done to the Strength and Rigidity of the part.
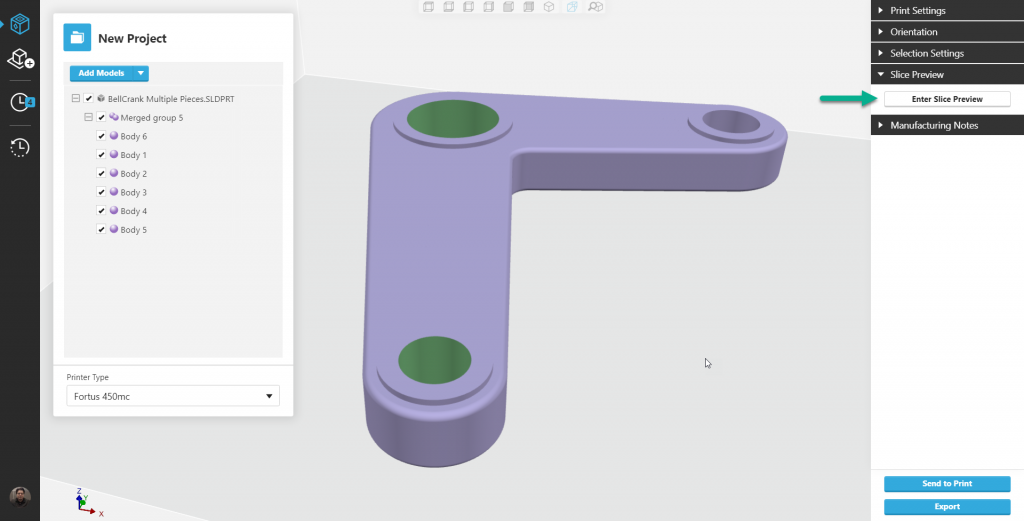
Once you are in the Slice Preview menu, click “Enter Slice Preview”
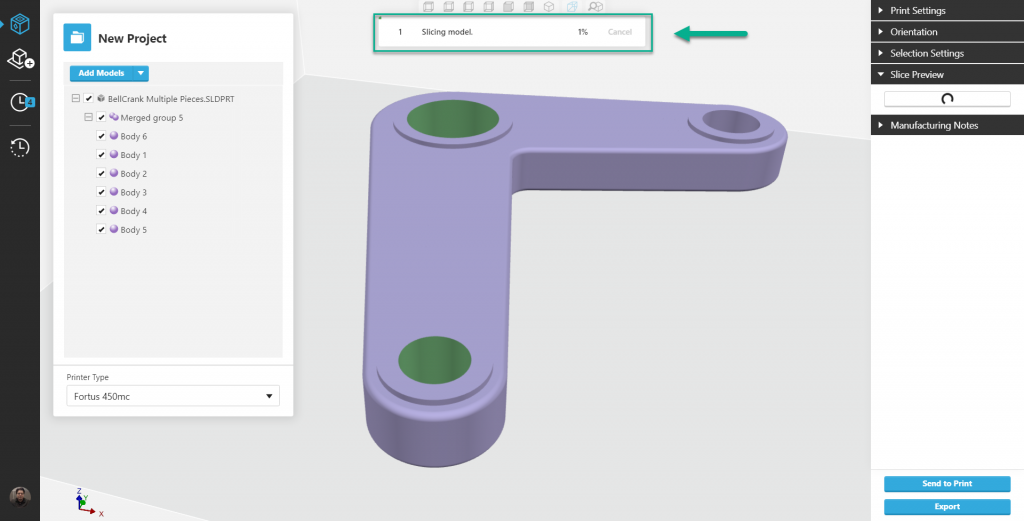
The Loading bar will appear at the top of the screen showing you the process of the slicing process. Depending on your part complexity and your computer specs this may take a short or long time to complete. (Good chance to peek at your emails or grab a coffee if you have an older machine)
The new Slice Preview Landing page will be different then Adv. FDM mode, first off your part will be constrained to a build volume. Also, the Slice Preview Menu has grown to include more sub-menus.
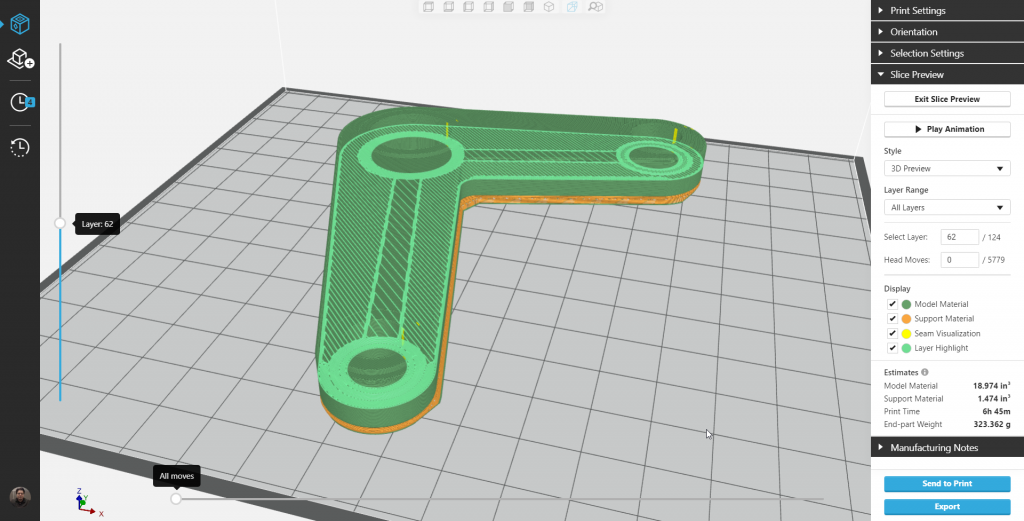
The first new button is “play Animation” which makes for some interesting videos/gifs you can add to presentations for a nice wow factor. Also allows you to get a full understanding of what the whole part looks like layer by layer all the way through the print.

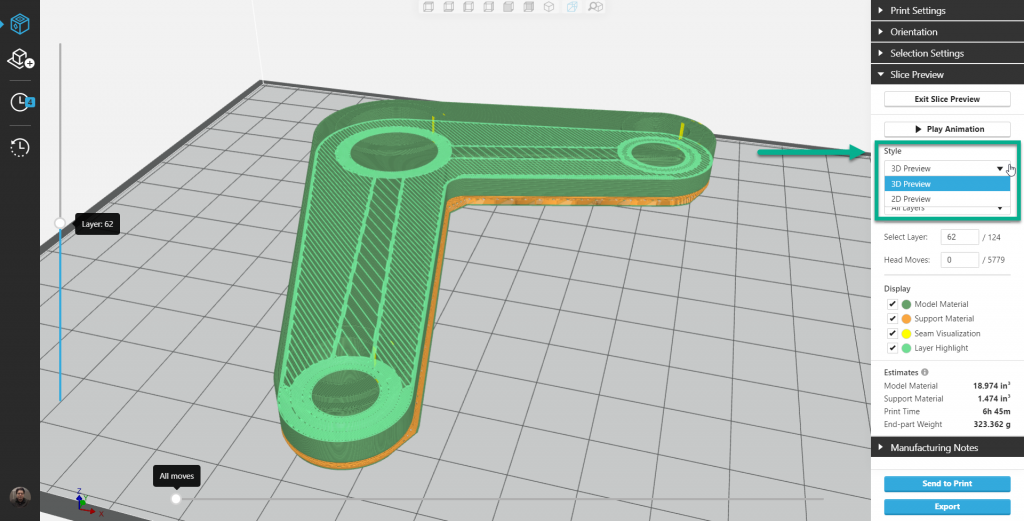
Under Play Animation is a “Style” drop-down menu, where you can choose if you wanted to view the preview in 2D or 3D
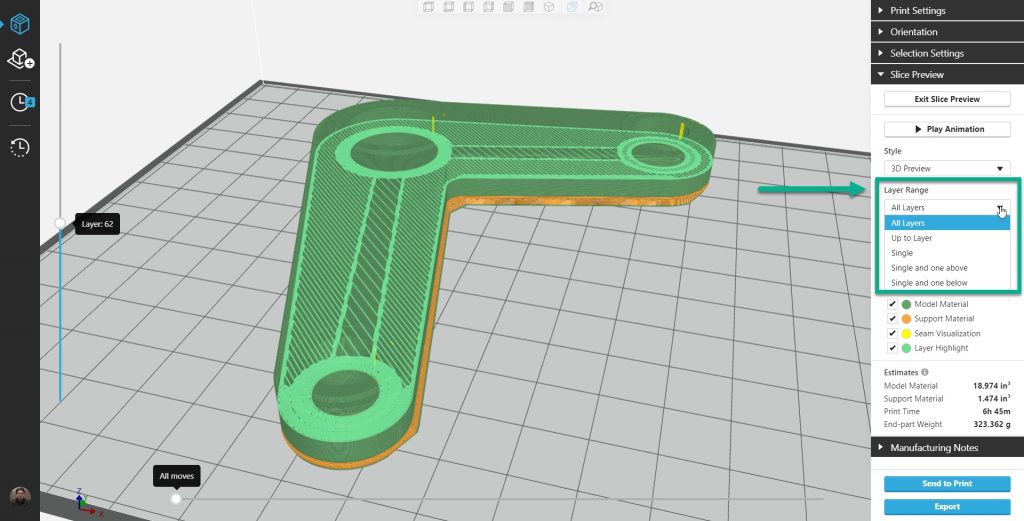
Under the Style menu, is the Layer Range, this allows you to control the layers which are visible in the preview. If you select “single” from the drop down menu you will only see the current slice playing in the animation. The option “up to layer” only displays the layers under current layer.
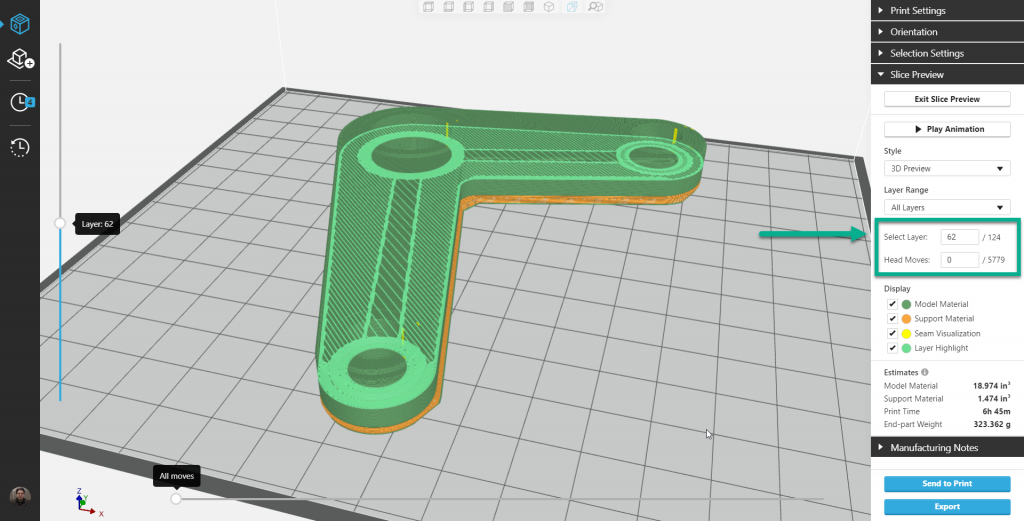
The next set of Sub-menus are the “Select Layer” & “Head Moves” where you can manually type in the layer or head move you want to see.
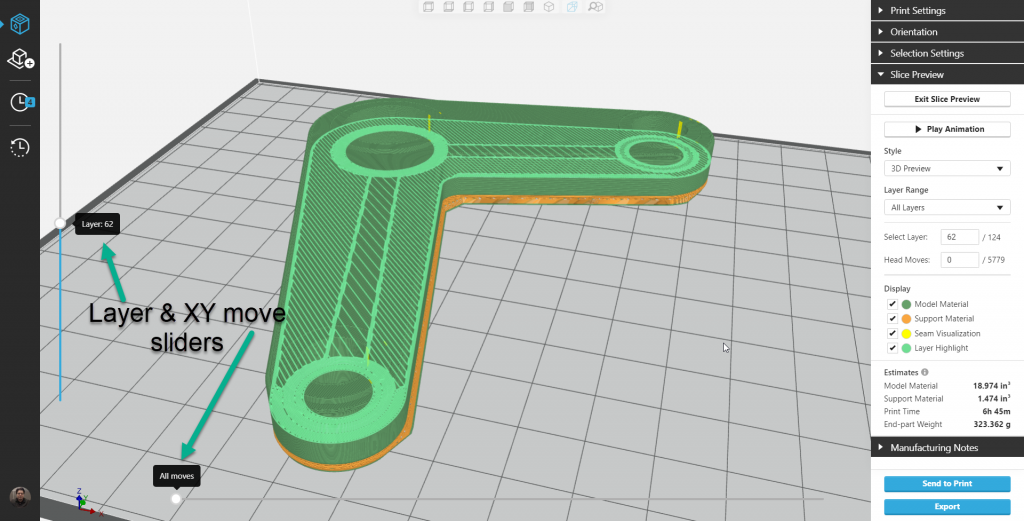
If the manual way of finding the layer/head move of interest is too hard, there are sliders which control the current slice and head move position. For a more semi-automatic feel while scrolling through the the layers at your own pace.
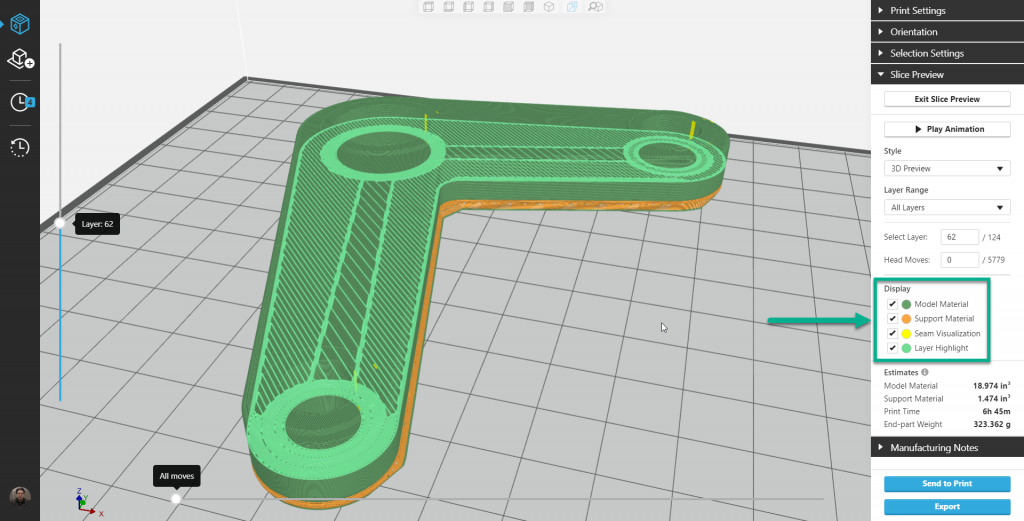
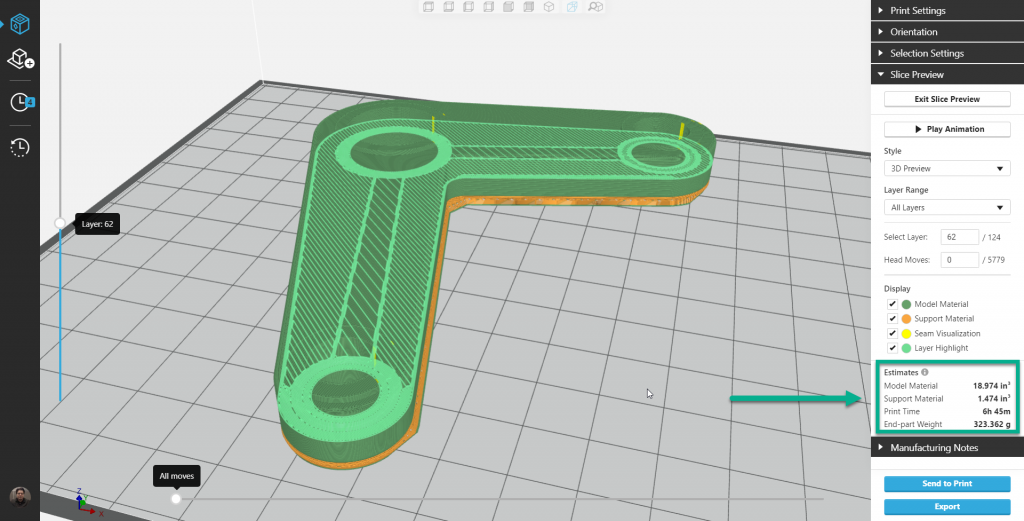
The final menu under Slice Preview is the Display check box menu. Selecting or deselecting the boxes will reveal or hide different elements of the slice preview.
The final window under the Slice Preview is the “Estimates” which will reveal useful information if you are trying to print faster or more cost effective.
Advance FDM Mode: General Tour
1 of 4: General Menus & Add Models
2 of 4: Print Settings & Orientation Menus
3 of 4: Selection Settings Menu & Face and Body tabs
4 of 4: Slice Preview Menu and Manufacturing Notes