How to Create a Sandbox Vault in SOLIDWORKS PDM
 It is very important after creating a vault in SOLIDWORKS PDM and going live to not try and make changes on the fly. Any changes should always be tested in a Sandbox vault (or test vault) first before carrying them over to your production vault. The steps it takes to create a Sandbox vault are effortless and you’ll be happy you took the time to create it. Making changes outside of a sandbox vault can cause irreversible setbacks. Here’s how it’s done.
The first step is to create a new vault. Load the Administration tool, right-click on your server and select Create New Vault.
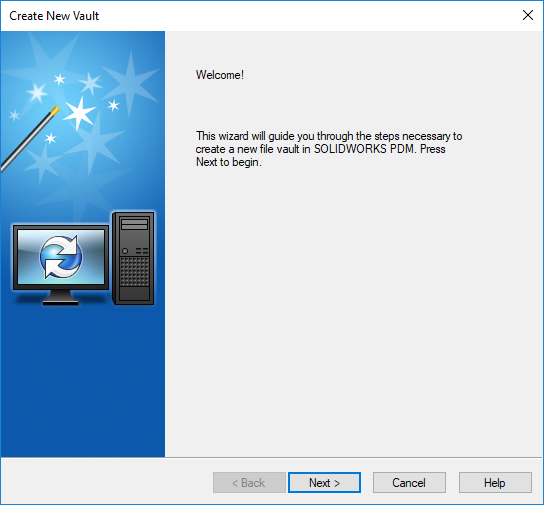
Select Next > to continue.
Choose the appropriate version of SOLIDWORKS PDM and select Next > again.
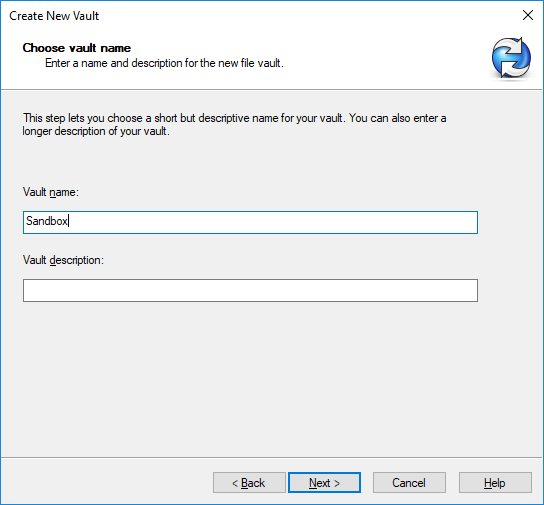
Enter a vault name and select Next >.
On the next screen, select the default archive folder and select Next >.
Enter in the correct information for the SQL server on the following screen and select Next >.
Continue through the prompts until the Configuration vault screen appears. It is important to select the Empty configuration.
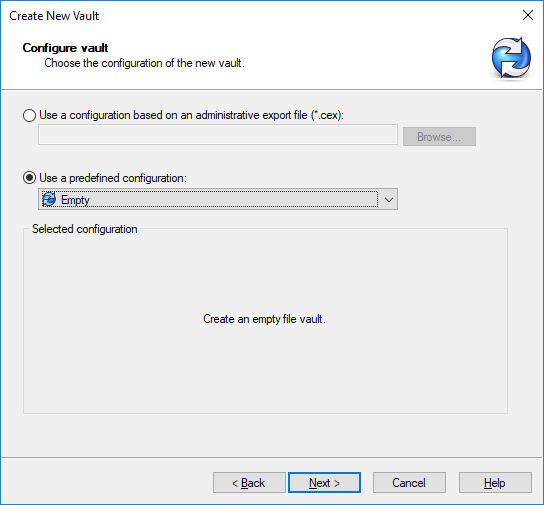
Select Next > and then Finish to complete the vault creation.
Next, right-click on the vault in the administration tool and create a vault view. This step is necessary because some configurational settings such as Data Cards and Templates will not copy if there isn’t a current vault view.
Now you are ready to copy in the settings. Right-click on the production vault and export. A window will pop up that contains all the settings.
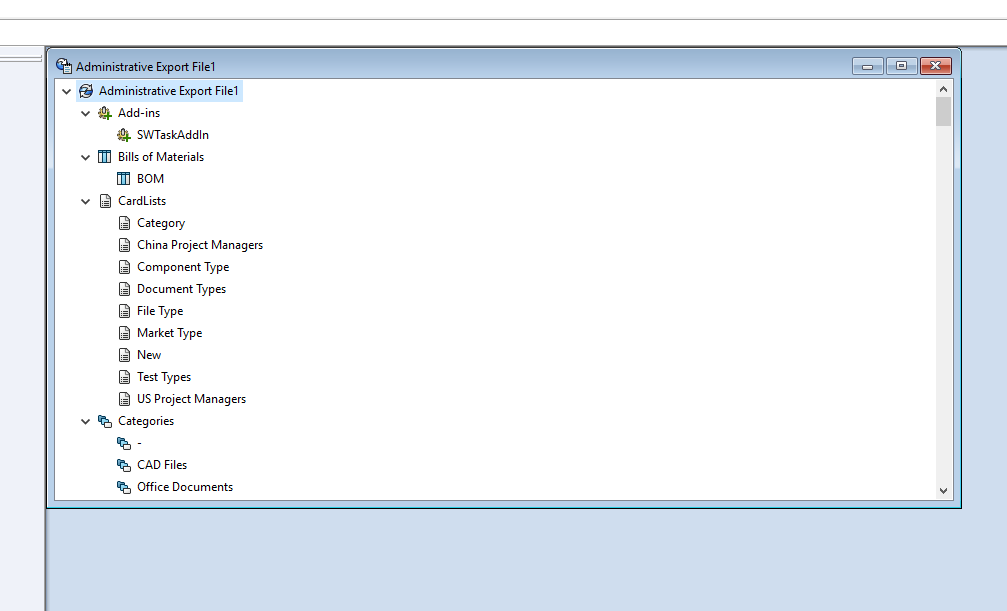
You can just drag and drop the top node (labeled Administrative Export File1 in the image above) on the new Sandbox vault.
Here are a few items that don’t transfer over with an export and import:
- – Dispatch scripts
- – Folder Permissions
- – Admin can possibly lose access to search cards and templates
It’s important to double check that the admin user has access to everything in the vault. Folder permissions will not copy so they must be set manually on all groups. Dispatch scrips will have to be saved and loaded separately.
Once your changes are complete, tested, and ready to import to the production vault they can be exported and imported with the same method. Everything will save over the originals except workflows. Workflow changes need to be implemented manually. Once they are re-imported, check that the Admin user still has access to everything.
I hope you found this tip helpful. For more SOLIDWORKS tips and tricks be sure to subscribe.
Related Articles
SOLIDWORKS PDM Administrator 101
Resetting the PDM Admin Password in SOLIDWORKS
6 Questions (And Answers) for a Successful PDM Vault Implementation
About the Author
 Lindsay Early is an Application Engineer Consultant and has been with Fisher Unitech for seven years. Lindsay is a Certified SOLIDWORKS Expert and Elite Application Engineer having earned over 14 SOLIDWORKS Certifications including Mechanical Design, Simulation, and Data Mangement.