Design Reuse in SOLIDWORKS Electrical (Part 1)
When was the last time you designed something completely from scratch? I wouldn’t be surprised if it was hard for you to remember. A lot of electrical designs reuse common circuits. If updating a product line with new features or improvements, you don’t want to manually re-draw everything that is staying the same. Or maybe it is a new product line, but there are components that are borrowed from other products. With the pressure to get products to market as quickly as possible, you want to get the design finished as quickly and efficiently as you can so that you don’t have to skimp on testing to make sure you don’t have, for example, exploding batteries.
Everyone can copy and paste, but SOLIDWORKS Electrical takes the next step making it far easier to find the circuits you need in, and simplifying the inevitable tweaking after inserting it into the design. Just because a circuit breaker was labeled CB20123 on the last project doesn’t mean you want it labeled that way now. With “macros”, in SolidWorks Electrical, we can take those designs and reuse them in any project. If you’re anything like me, you hear “macro” and immediately think of typing out VB code in Excel. But don’t worry, you won’t need to do any programming or record any steps. All it requires is a drag and drop. This is illustrated in the example below.
Creating a Macro
The creation of a macro is simple: Select a portion of the schematic that you want to reuse, and then drag and drop into the “Macros” Tab on the right pane. You might have to enable the macros tab on View -> Dockable Panels -> Macros Palette (looks like a star). Give the macro a name, description, and any other properties that would be useful in describing the circuit.
This does more than save just the graphical information. In my example above, it includes all the intelligence built into the circuit as well. Referenced symbols such as the breaker, contactor, terminal strips, and motor, manufacturer parts, wire styles, cables, and connections that are associated with the symbols; all included. Now that our macro is now added to our right pane it will be available for future use, not only for you, but for anyone else who uses SOLIDWORKS Electrical on your network. And when it gets inserted into a project you won’t have to worry about updating it to match the new project’s configuration.
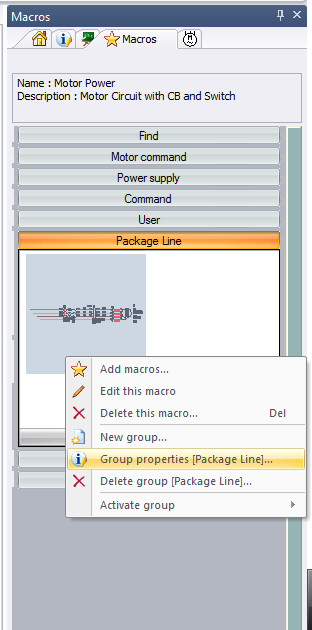
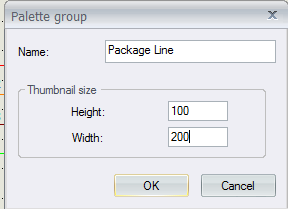
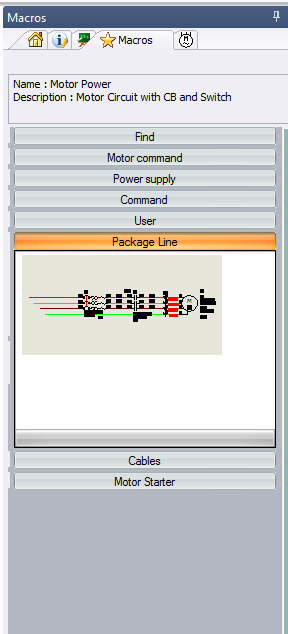
One thing you’ll probably want to do is change how the macros are organized in the right pane, and how the preview image is displayed. With a right-click in the left pane, we can create new groups, rename the group, delete groups, or change the size of the macro thumbnail. In this example, I made the thumbnail preview larger so it would be easier to determine which macro is to be used.
 |
 |
 |
Using a Macro
To apply the macro, it is also as simple as a drag and drop. Left click and drag the macro onto your schematic to add it, lining up any wire connections.
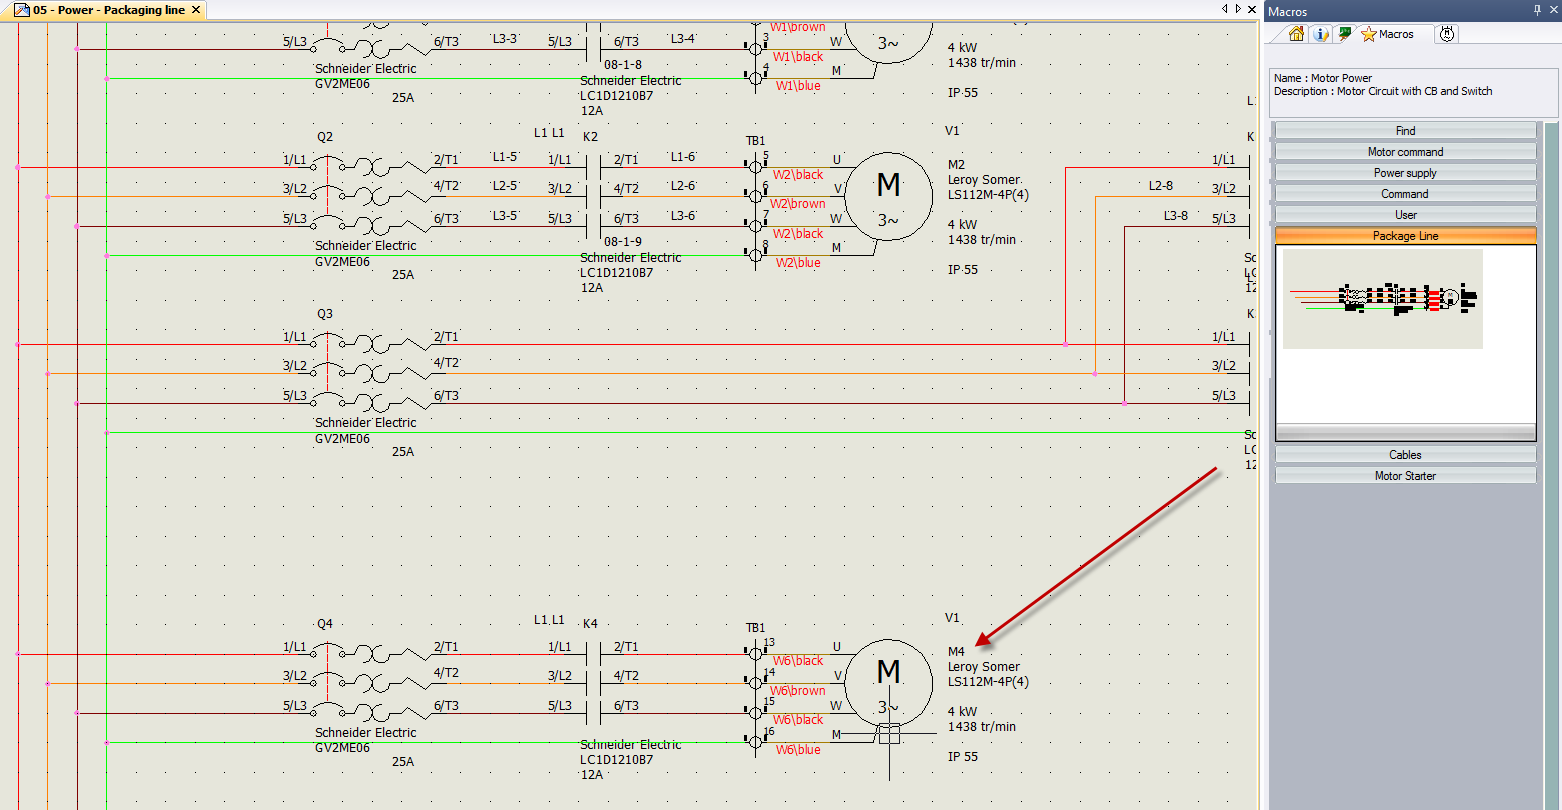
Everything in the macro gets added to the schematic, and the appropriate components added to your tree with new tags. Note how the new motor took an unused tag. In this case, it was “M4”. Also, the breaker “Q4” and contactor “K4” took unused tags while keeping the same manufacturer part. The terminal block was a little different though. “TB1” kept the symbol on the same terminal strip, but added new terminals for each of the connections.
We could have done the same thing using a copy and paste of schematic items. The advantage of using macros, however, is that we can reuse these items in any project. You won’t have to remember which project contained that circuit you want to reuse, then search in the pages of that project. Everything is organized according to your preferences, and you can even search by description or macro name.
One last thing to note: a common question is whether the circuit keeps a link to the macro library so that changing the schematic would change the macro, or vice versa. There is no link. Once you place a macro in your schematic you can edit it however you’d like, and it won’t mess anything else up. It is just like you built that circuit from scratch, except much faster.
In part 2 of the series I will be looking at project macros. So far, we’ve just worked with circuit pieces. Project macros are doing the same thing with entire pages in the project.