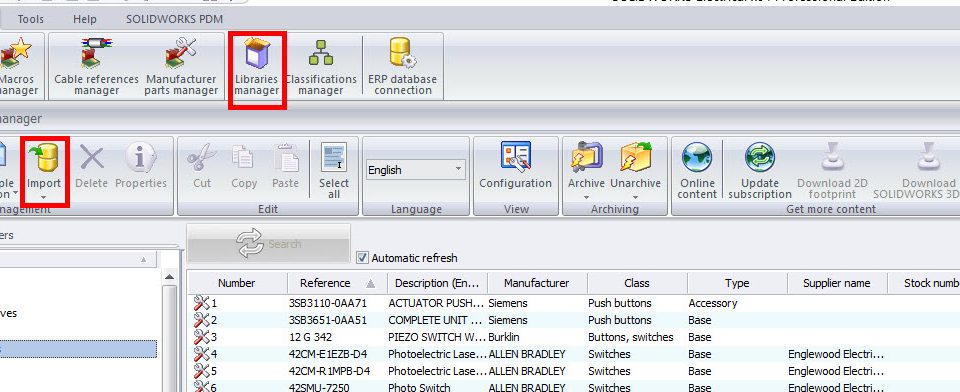
Importing Manufacturer Part Data
Adding your own list of content definitions to the Library of parts data is not a difficult process. SOLIDWORKS Schematic has a feature allowing data to be imported in the form of Excel files or text files for part and attribute creation.
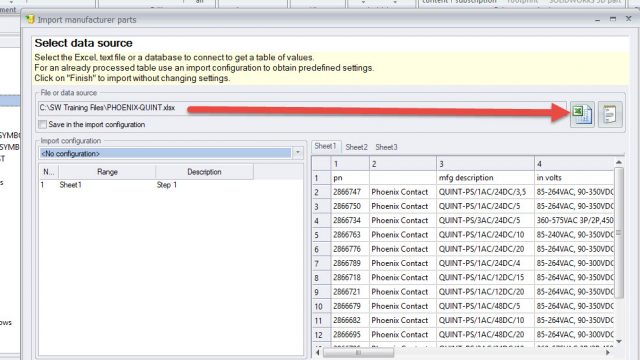
Step 1: Importing the Data
You are able to select the type of files (text or Excel file) as the data source and to be imported.
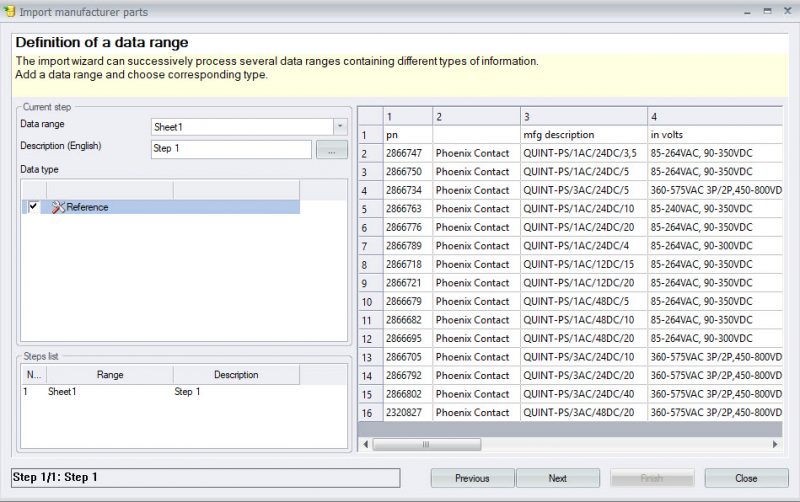
Step 2: Definition of a Data Range
Pick the Data range for data to import: Select the range of data (an Excel file can contain multiple sheets).
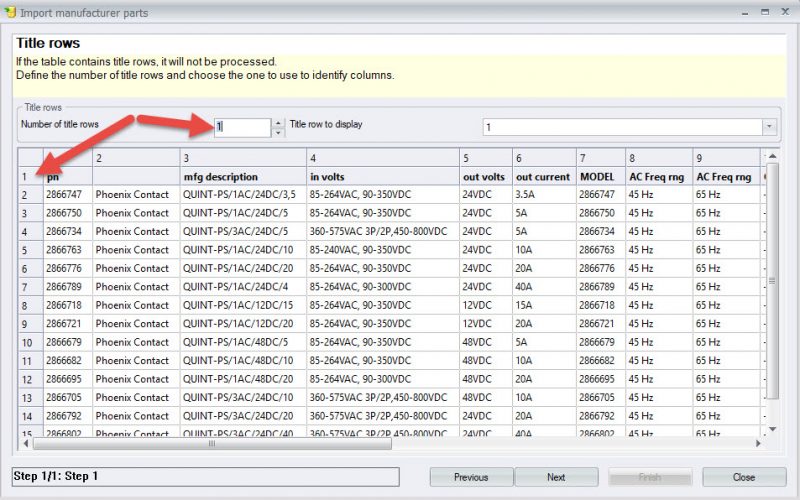
Step 3: Title Rows
To make your sheet easier to read you may have added column headers. To filter out those column headings, select the number of rows of data including the title and the number of lines to be excluded.
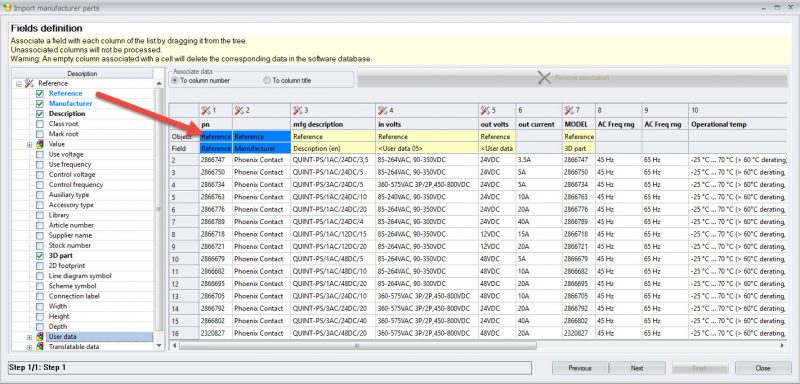
Step 4: Field Definition
In this step, we are using the wizard to match attributes of data to the data of the manufacturer’s parts in SOLIDWORKS Electrical.
Select the attribute type and, using drag and drop, drag it to the appropriate column to create a link.
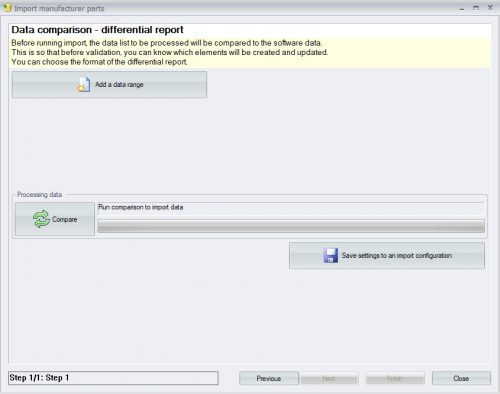
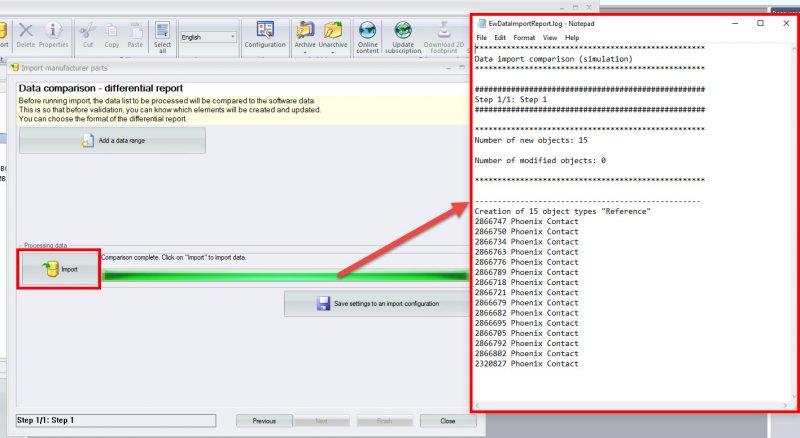
Step 5: Data Comparison – Differential Report
The last step of the wizard allows you to test the import (Compare button) before carrying out the import process. After selecting the Import button, a separate report file opens displaying the list of operations carried out during this import. It will list out the number of new or modified for existing part data
Step 6: Processing the Data
Import: After the test, you are then presented with an Import button to update the project database with your new data set. While you are in this step of the process, you are also able to save the “configuration” or steps in the setup of this data set for future use.
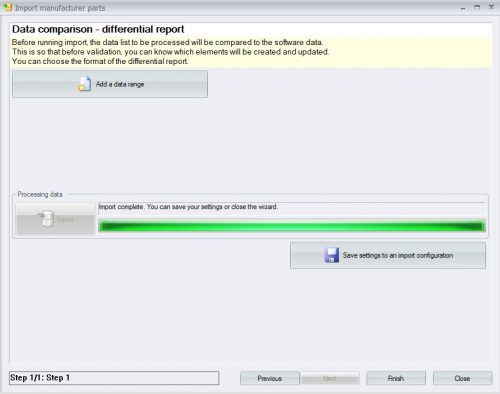
Click the Finish button to exit the wizard.
You now have your data set imported and have created your own content in a very short amount of time
Corey Kubichka
Electrical Product Manager
Computer Aided Technology, LLC