Light Settings in SOLIDWORKS Models
SOLIDWORKS Ambient Lighting
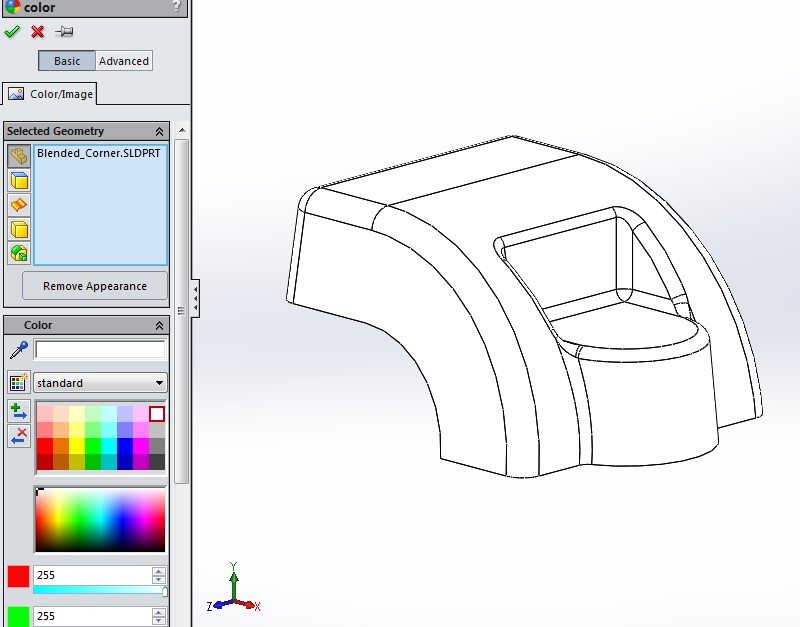
Do you ever change the color of your SOLIDWORKS part, and then realize that it still doesn’t seem to match the color that you selected? Does your part often seem to appear too dark? This is probably due to the settings for the SOLIDWORKS ambient lighting in the part or assembly file you are viewing. If so, this is easily adjusted by editing the light’s properties.
In the part file below, the part color is set to “white”. You don’t need to look too closely to notice that the part actually appears much darker.
To access the light settings, expand the display manager pane and access the scene/lights/camera options.
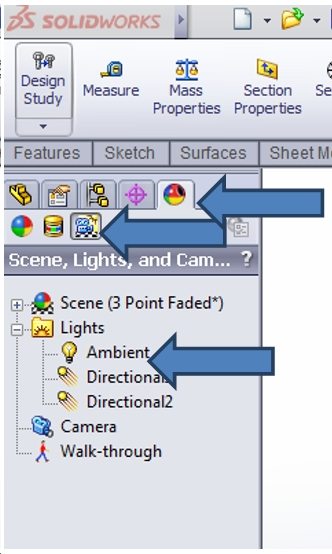
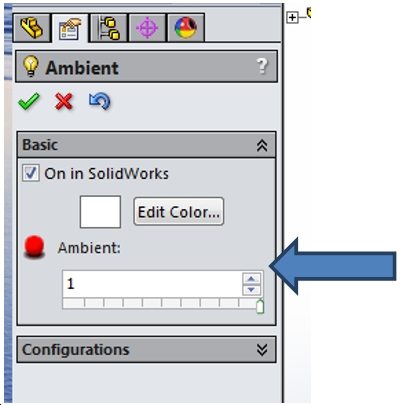
Right click on the ambient light and edit the light.
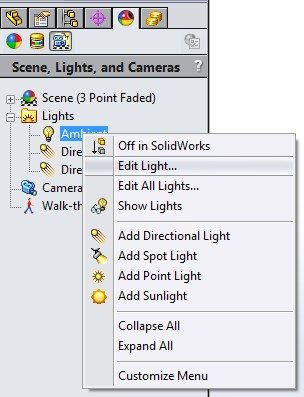
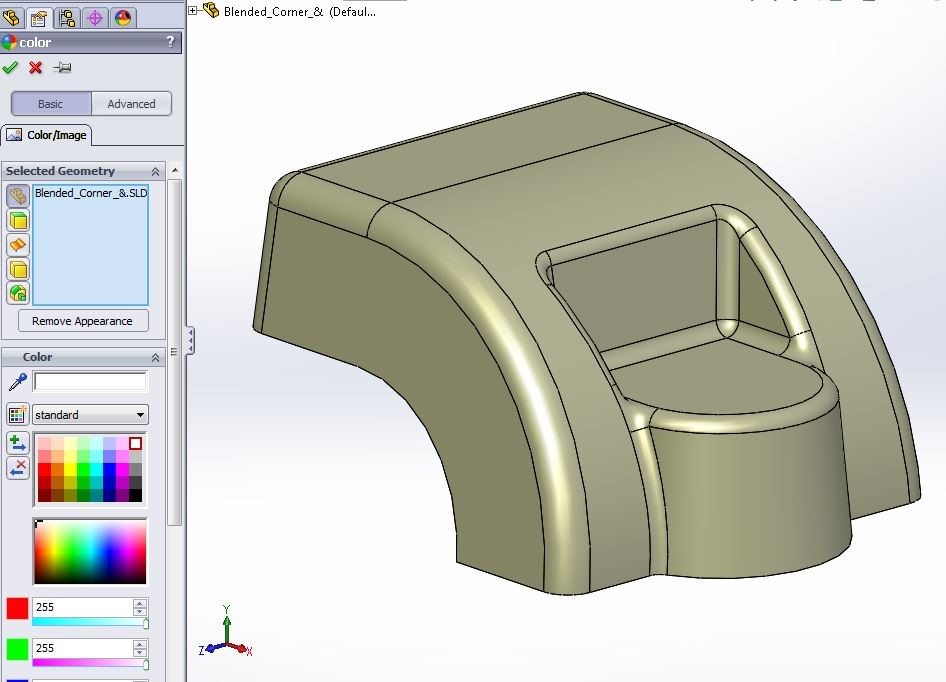
Increase the value to something much closer to the maximum value of 1.
You can see that the part now appears much closer to the selected color.