Managing and Customizing Materials in SOLIDWORKS
Managing your SOLIDWORKS Favorites
SOLIDWORKS has a variety of tools that help identify product mass, simulate fatigue, or apply appearances. Product material choice has a direct impact in all of these. While it’s probably not surprising that SOLIDWORKS has an expansive material library to select from, it might be more surprising that you can manage and customize materials with great ease. Let me show you how!
Let’s walk through the basics of choosing materials, before talking about managing material favorites and adding your own materials with custom properties in SOLIDWORKS.
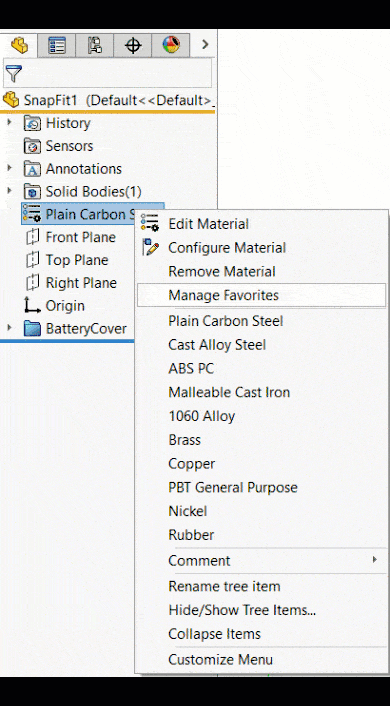
Users may assign materials by visiting the SOLIDWORKS FeatureManager Design Tree. We can then right-click the “Material <not specified>” area in the Design Tree, where we can select materials from a comprehensive list, or from our favorites
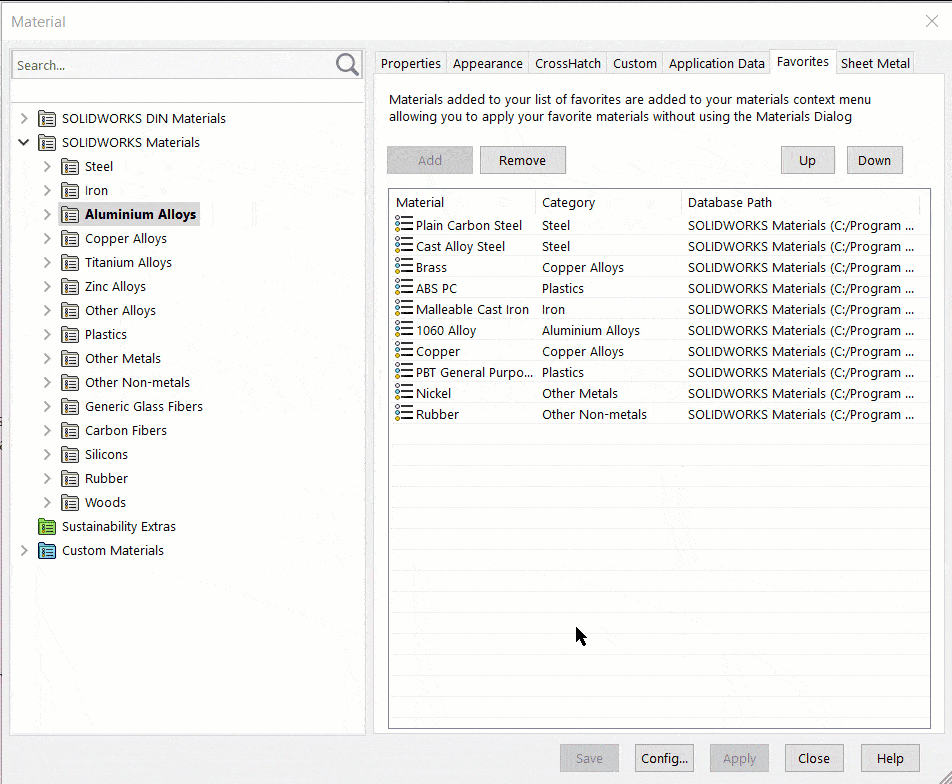
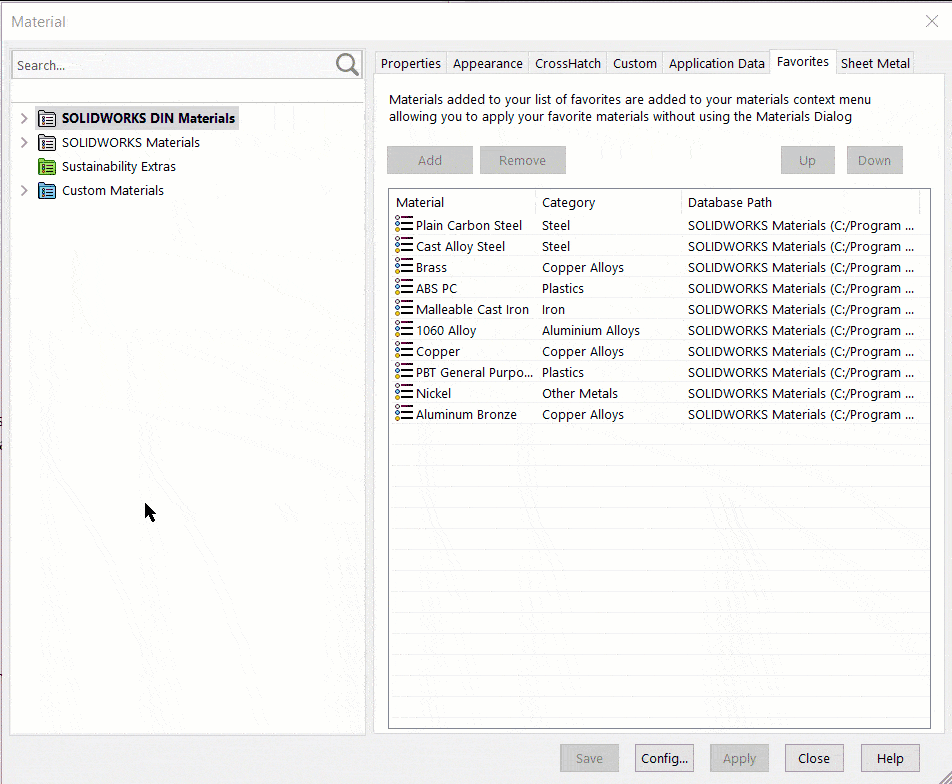
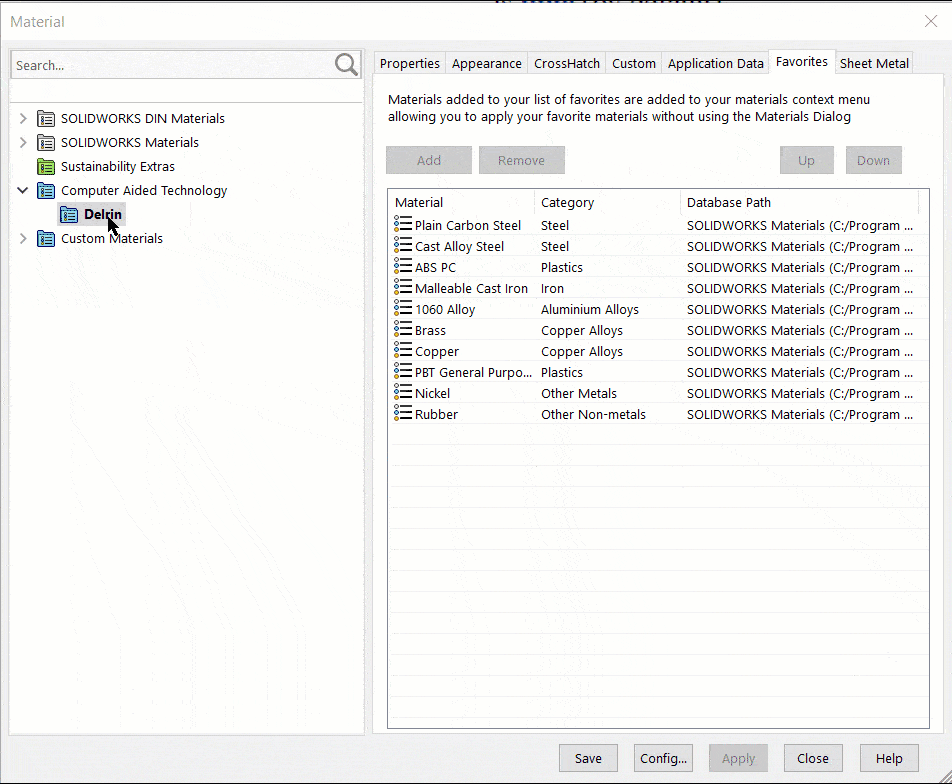
“Manage Favorites” allows you to re-position and configure the flyout menu material options.
To re-position a material on the list, select it, then click “Up” or “Down”, as seen below.
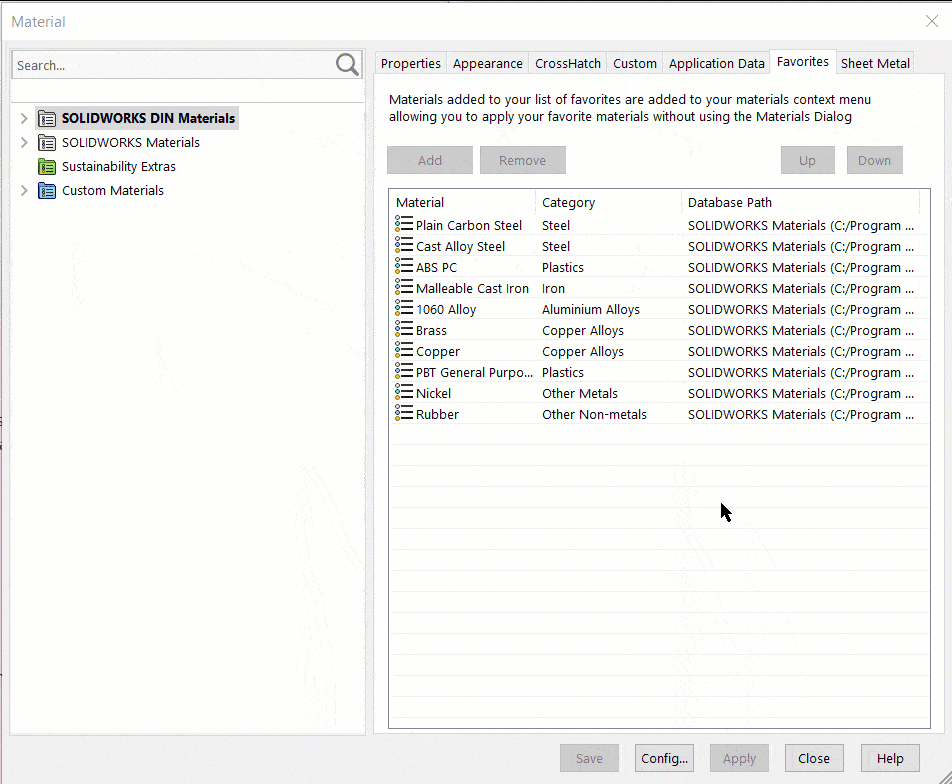
You can also add or remove from your list of favorites.
Creating SolidWorks Custom Materials
SOLIDWORKS prevents users from making any material changes to the default library. If we are to create custom materials or change their properties, we must first create a custom location. In doing so, it is helpful to understand the folder structure. The folder structure is as follows: Library>> Category>> Material. The top-level folder is called a library. We can create a new library by right-clicking the white space and selecting “New Library”.
Note the folder we’ve created is blue. This indicates that this is a custom material library.
We then can create new material categories, which store groups of materials with different properties. A category folder can be created by right clicking the newly created custom library.
Finally, we can add our material. Again, right click on the newly created category and select “New Material”.
The material properties can then be added by accessing the “Properties” tab in the manager.
Add the necessary material properties so evaluations of product weight and simulation results are accurate.
Tip: If you wish to change the properties of a default library material, follow the steps I’ve outlined, then right click “Copy” on the desired material. Paste that into your new custom library with a new, custom name. You should then be able to change the material property to suit your needs.
Configuring and customizing your materials is easy to do in SOLIDWORKS! I hope you’ve found this blog article helpful in what you’re trying to achieve.
Best of luck and, as always, happy designing!
Jordan Kleinschmidt. CSWE
Application Engineer
Computer Aided Technology