Reordering your SOLIDWORKS Inspection Project
The idea for this post is the result of a recent SOLIDWORKS Inspection tech support call. It’s a very simple question, “how do I change the order of my ballooned characteristics in my SOLIDWORKS Inspection project?”
Maybe before we discuss how to change the order of the characteristics, we should talk about how they’re added in the first place. In these examples, I’ll be setting up a SOLIDWORKS Inspection project using the SOLIDWORKS Add-In.
Automatic Extraction
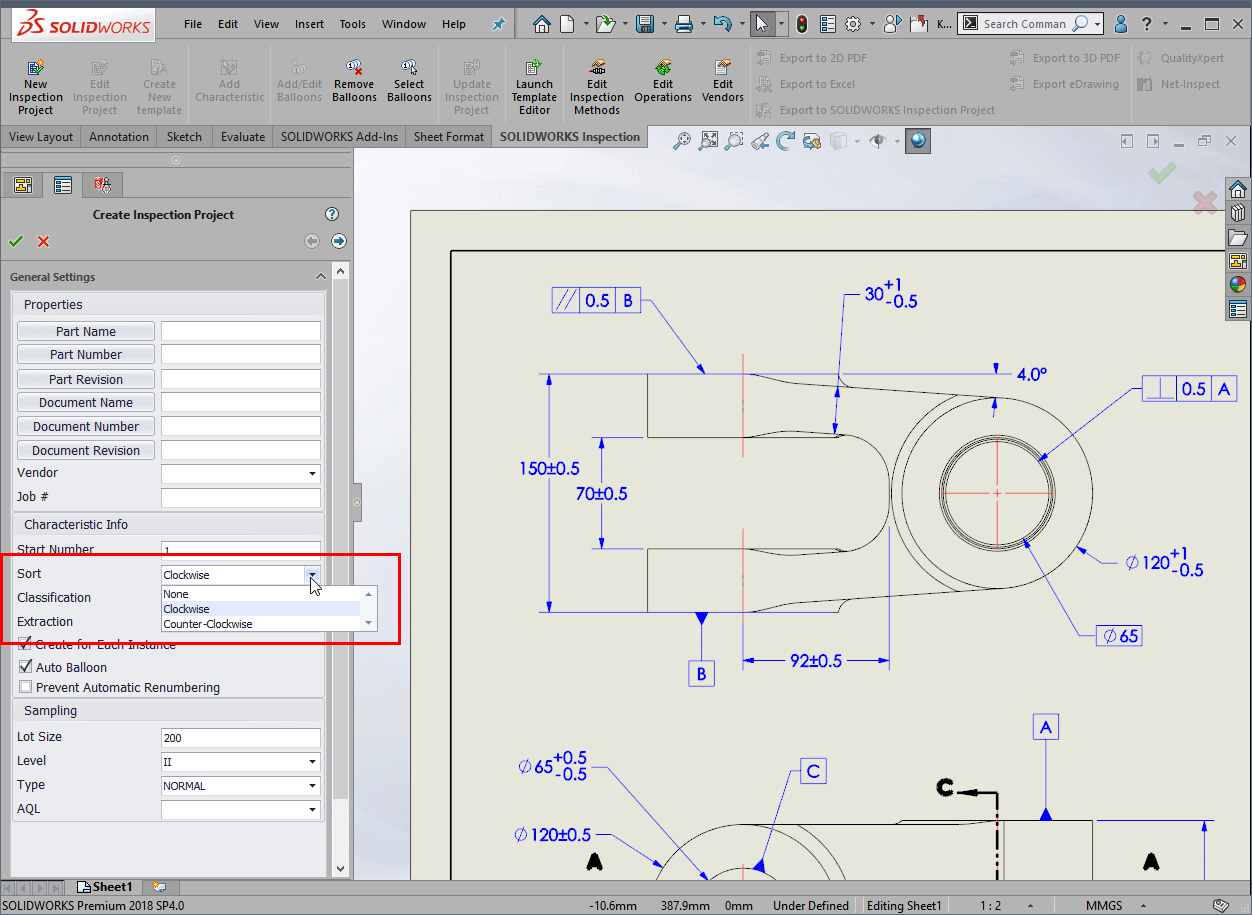
The order of the characteristics in your Inspection project are controlled through your selections in the Characteristic Info area. If you use the Automatic Extraction, SOLIDWORKS Inspection will select and balloon everything based on the Sort selection. The Sort options consist of: None, Clockwise and Counter Clockwise.
No Order
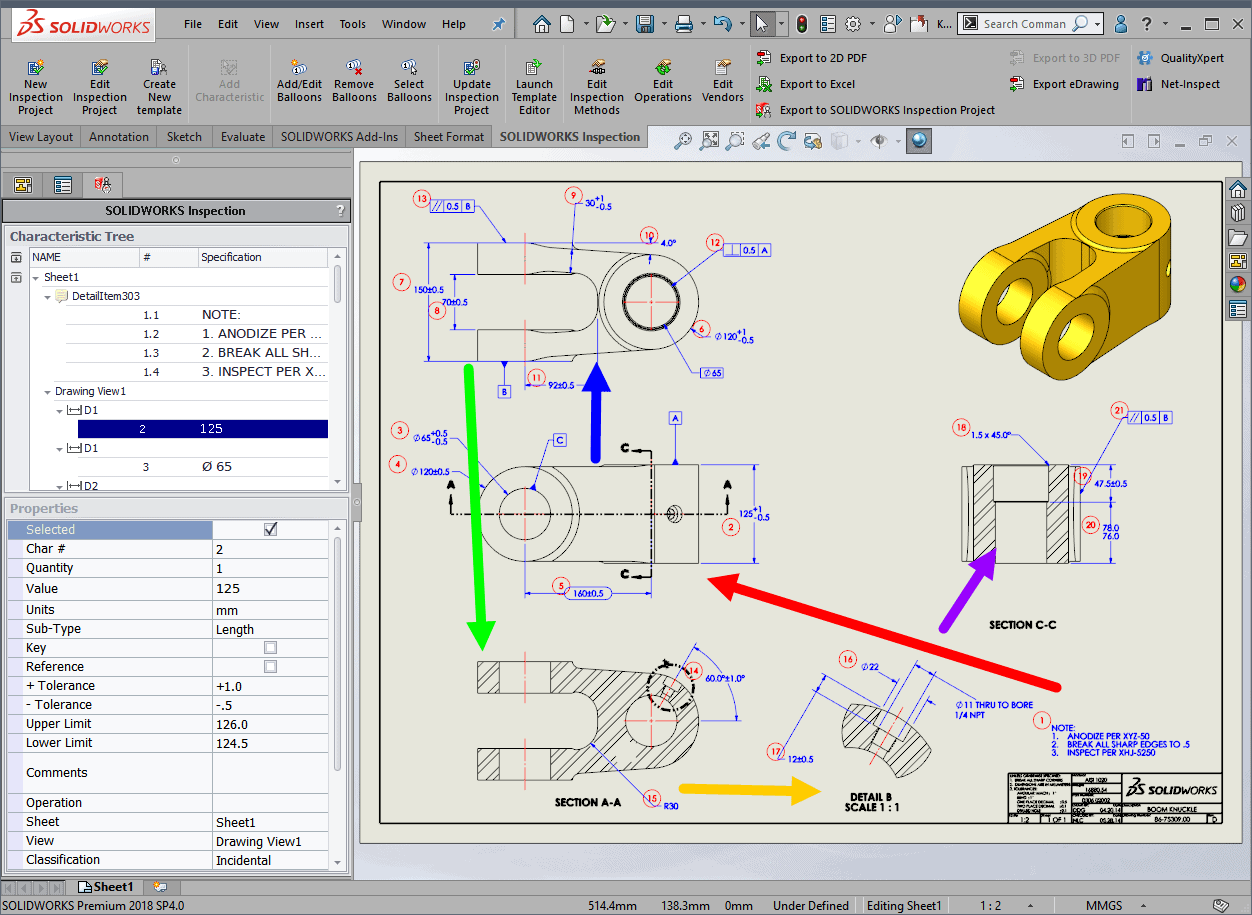
Even though the Sort is set to None, the order begins with the note in the lower right corner and then moves from view to view throughout the drawing. I’ve added colored arrows to show the “order” of the selected views. It may appear random but it’s following the order of drawing view creation.
Clockwise and Counter Clockwise
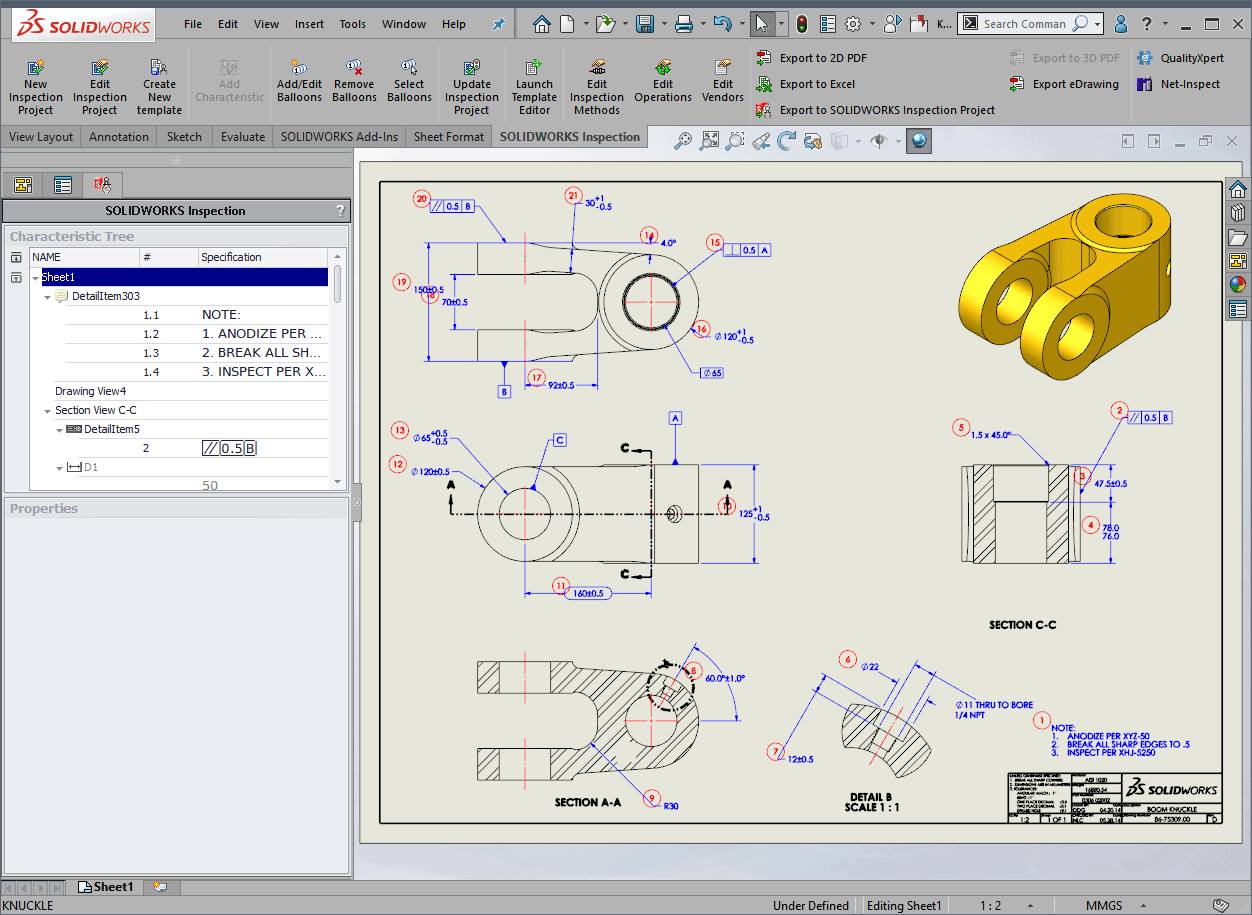
Both start with a (seemingly random) dimension and order the characteristics accordingly. Clockwise is shown in the example below. Again, the note is numbered first and then the extraction method begins a clockwise progression from Section C-C on the right side of the drawing through the remaining views.
Manual Extraction
If none of the automatic sorting methods give acceptable results, the other option is Manual Extraction. This puts you in complete control of the order of the characteristics. Once set to Manual Extraction, the Sort is set to User Defined and greyed out.
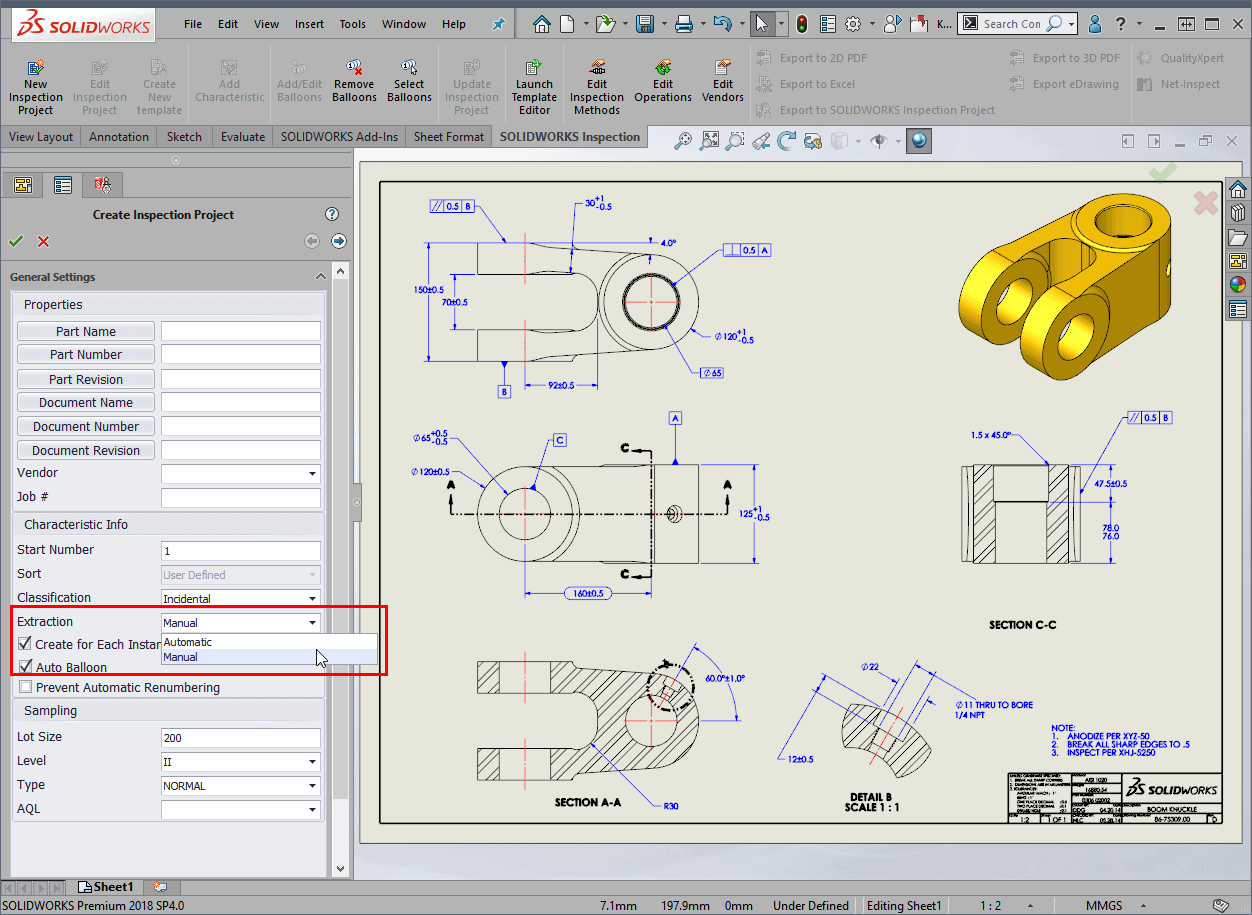
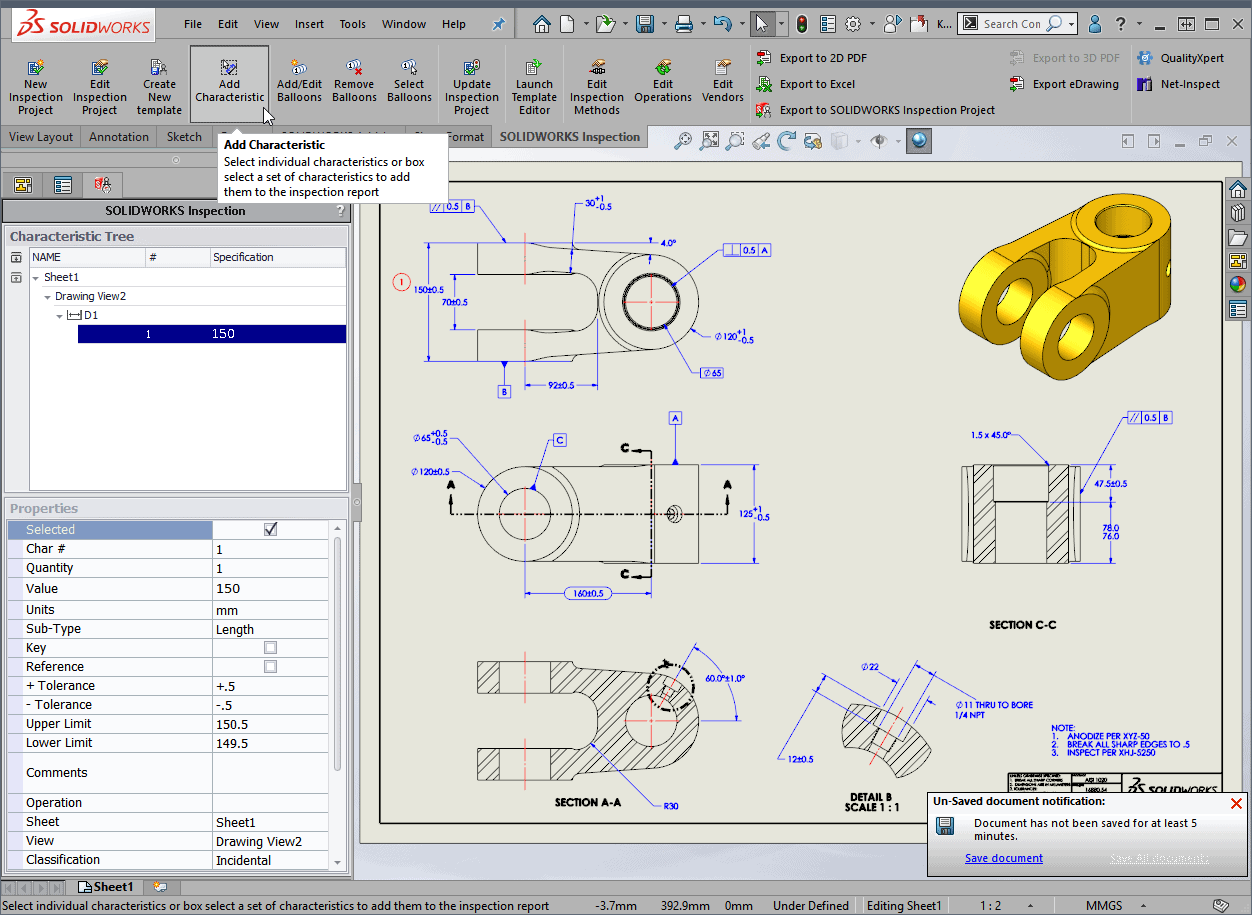
You’ll now use the Add Characteristic command and select the Dimensions, Tolerances and Notes in the order you want the part inspected.
This technique works well and gives you full control over the characteristic order but it’s time-consuming. You may not want to do this on a drawing that contains hundreds of characteristics.
Reorder the Characteristics
Now that we’ve covered some background information on how the Automatic Extractions work, let’s look at changing the order. It’s easy to do if you know exactly where to click the mouse. This example is an Automatic, Counter Clockwise extraction and I’d like to take characteristics 4 and 5, the 150mm and 70mm dimensions and reorder them to characteristics 2 and 3. Selecting the dimension in the drawing highlights its position in the Characteristic Tree.
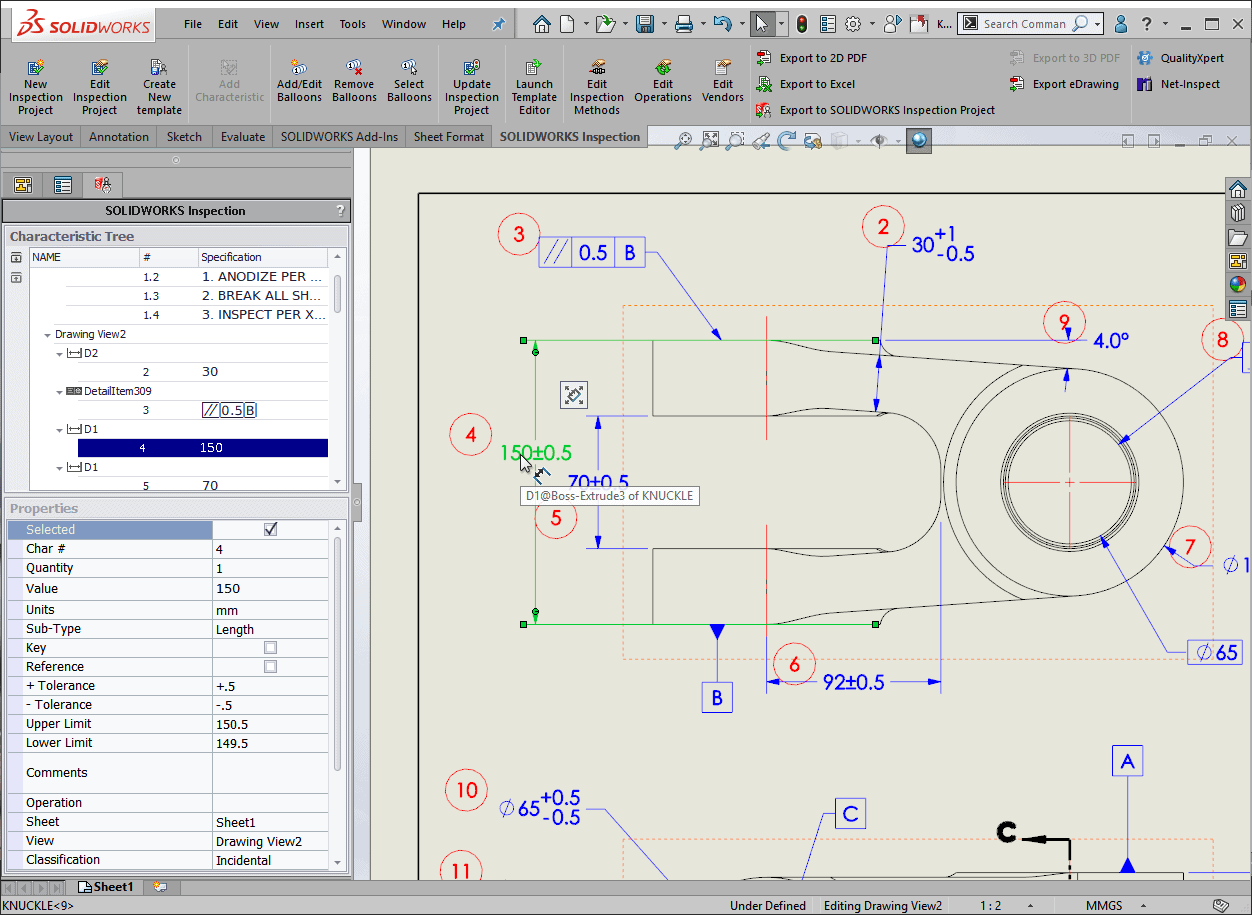
One would assume (shame on me) that this blue highlighted bar is where we drag and drop to reorder this characteristic. Unfortunately, that’s not the case and doing so will lead to nothing happening and a bit of frustration.
We need to select directly above the characteristic number and dimension value. This is where we’ll hold down the left mouse and drag and drop the characteristic.
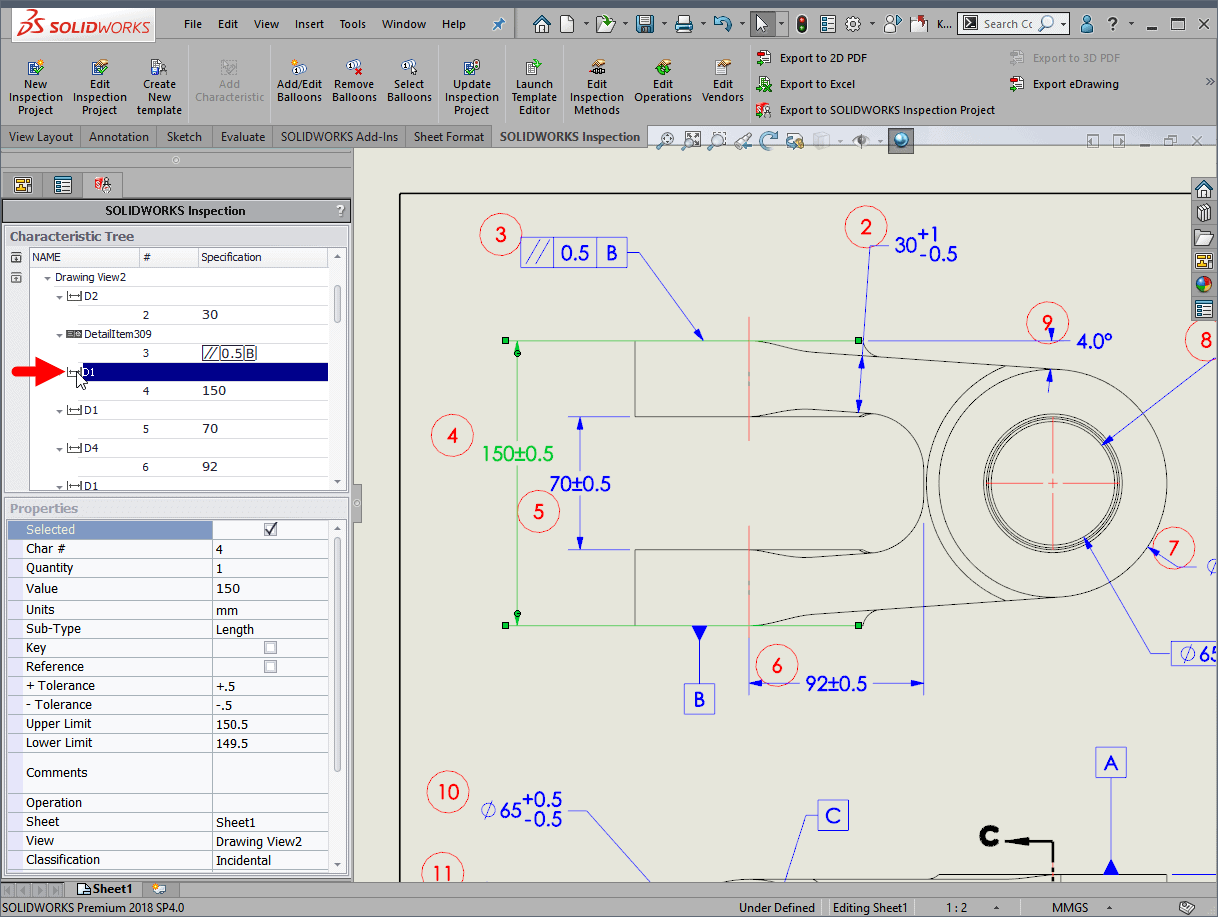
This animated image shows this procedure in action. An easy to overlook selection that makes all the difference in the world.
So now you have the tools to place your inspection characteristics in any order to match your inspection process.
Kris Dubuque
Field Technical Services Manager
Computer Aided Technology, LLC