Rotate Slot in Hole Wizard
A common question I have received on support is, “How do I rotate my Hole Wizard slot to be vertical or to be at a specified angle?”.
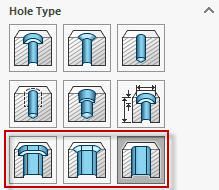
To place a Counterbore Slot, Countersink Slot, or Slot, you must first select Hole Wizard and choose the Hole Type on the “Type” tab of the Hole Wizard command.
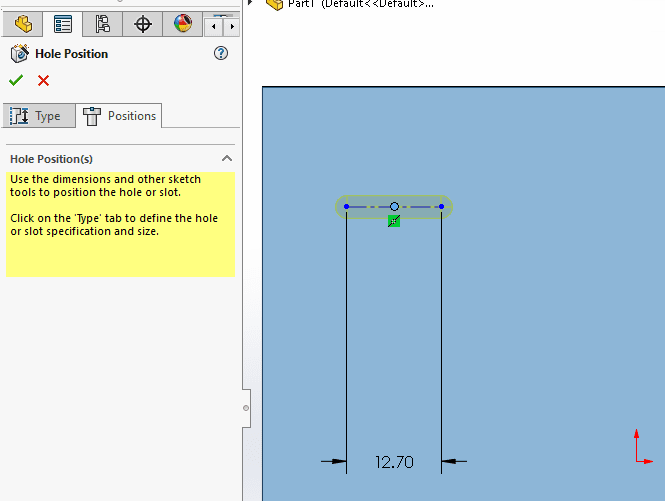
After specifying the appropriate Standard, Type, Size, Length, and End Condition as you would for any other Hole Wizard hole, select the Positions tab of the Hole Wizard command. Then, place a point (using the Point Sketch Tool) at the midpoint of the slot.
By default, even though you place a point for the midpoint of the slot, the slot itself is previewed as Horizontal, as seen in the preview below:
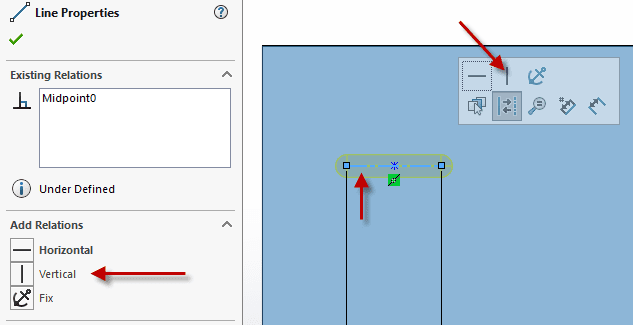
Notice that although we only added a point, a centerline is automatically added as well. This centerline is what we can add relations and dimensions to in order to place the slot at an orientation other than horizontal. To do so, while still in the Hole Wizard command, deselect the Point Sketch Tool and select the centerline. Once selected, you can easily select the Vertical relation. At this point, we could also specify an angle at which we would like the line if the slot is supposed to be at any angle other than vertical or horizontal.
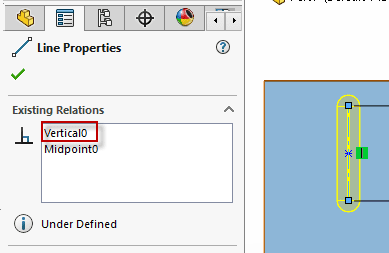
Now that the vertical relation is added, the slot rotates to the vertical position.
Conveniently, if additional identical slots are required to be placed on this face, you can easily continue adding the new slots in the same orientation by choosing the Point Sketch Tool again.
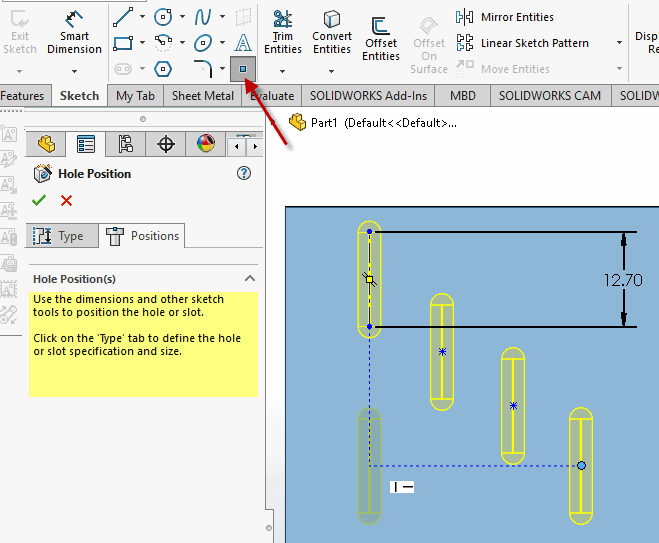
After placing all the desired midpoints in the appropriate orientations, click the green check mark to finish creating the slots.
Nicole Kelley
Support Engineer
Computer Aided Technology, LLC