Setting Parts Colored and Opaque when Editing in SOLIDWORKS
When editing a component in the context of an assembly, SOLIDWORKS automatically makes all of the other components transparent. This makes it easy to see through everything else, to get at what you need, but can bring on its own challenges.
This blog will demonstrate step-by-step instructions on how to override this default behavior to get assemblies looking just the way you need.
SOLIDWORKS Tech Tip
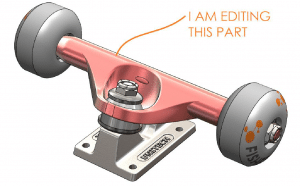
When opening an assembly, the default display style looks something like this:
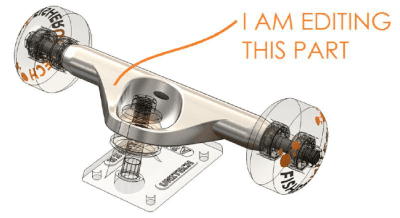
All of my other parts go transparent, which makes it easy to see the part that I am editing, but difficult to select edges/faces from the other parts in my assembly.
To get the display to show as it does in the introduction image (above) we can adjust the following three settings:
Step 1. TOOLS > OPTIONS > SYSTEM OPTIONS > DISPLAY > “Assembly Transparency for in context edit” – Set this option to Opaque Assembly.
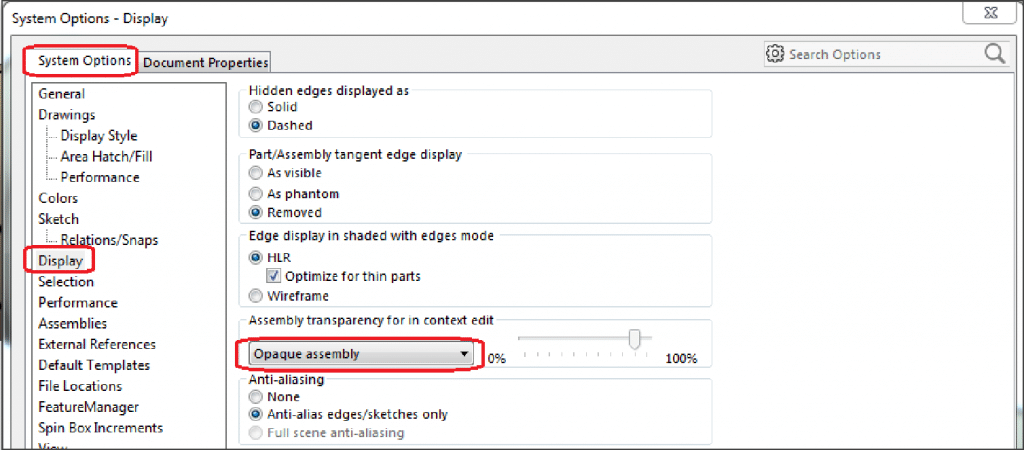
This option will cause all of the parts in the assembly to become Opaque (solid) whenever you choose to edit one of the parts (or sub-assemblies).
Step 2. TOOLS > OPTIONS > SYSTEM OPTIONS > COLORS > “Use specified colors when editing parts in assemblies” – Set this option to CHECKED.
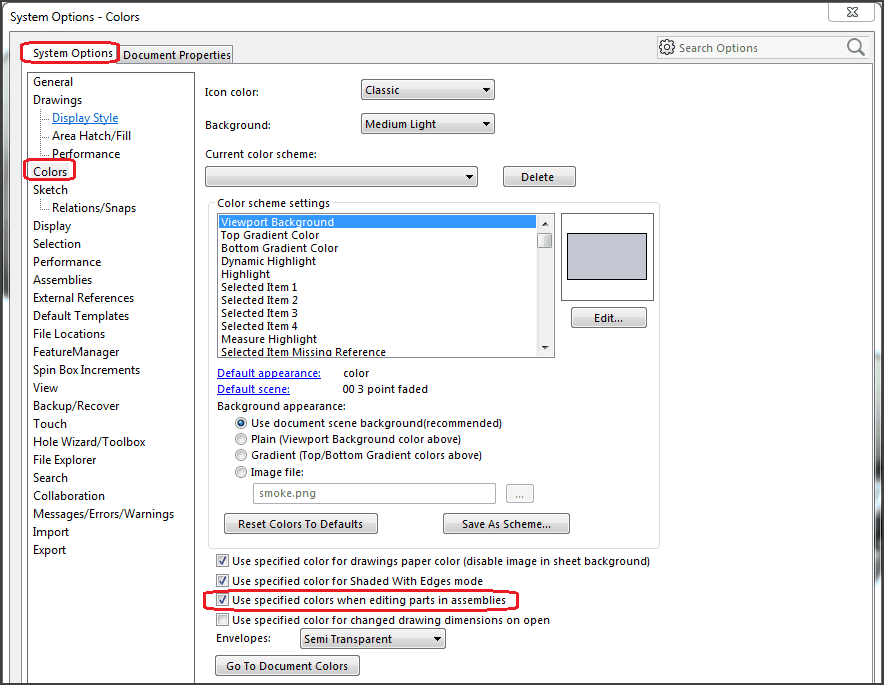
This option will allow us to specify which color the part you are editing will become, and which color all the remaining parts in the assembly will become, whenever we enter EDIT PART mode (while working in the context of an assembly).
But where do we specify these colors? See step 3.
Step 3. TOOLS > OPTIONS > SYSTEM OPTIONS > COLORS > “Current color scheme” – Scroll down to “Assembly, Edit Part” and choose the EDIT button.
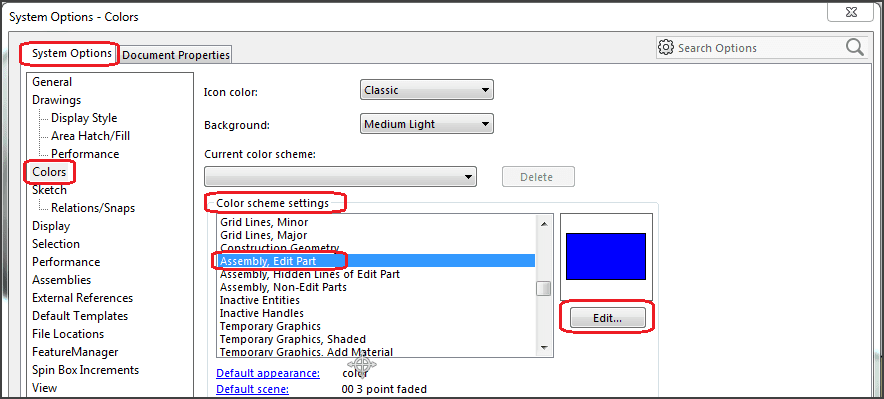
This option allows us to specify the color of a part that we are editing.
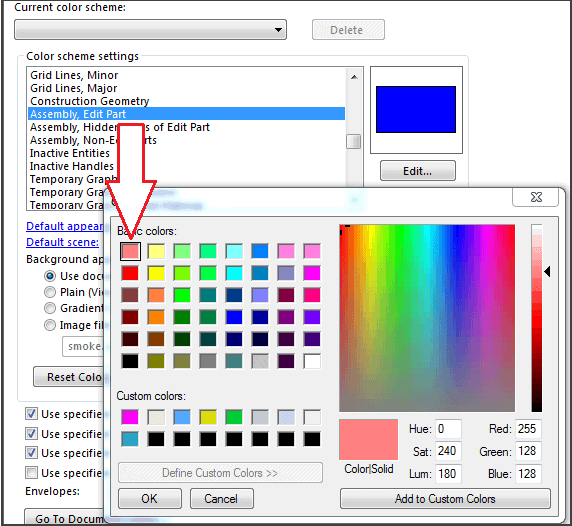
Select a color (I chose mauve)
Conclusion
We set our assembly to remain OPAQUE (or SOLID) whenever we enter EDIT PART MODE. We then told SOLIDWORKS we wanted to use “specified colors” when entering EDIT PART mode, and we set the specific color to MAUVE (for the part being edited). This should make it much easier to select edges and faces from other components in our assembly design.
And as a bonus, it’s also a lot less taxing on your graphics card!
Have a question regarding SOLIDWORKS or on this tech tip? Contact our CATI technical support team.