SOLIDWORKS 2017 Enhancement You May Have Missed – Wrap on any Face
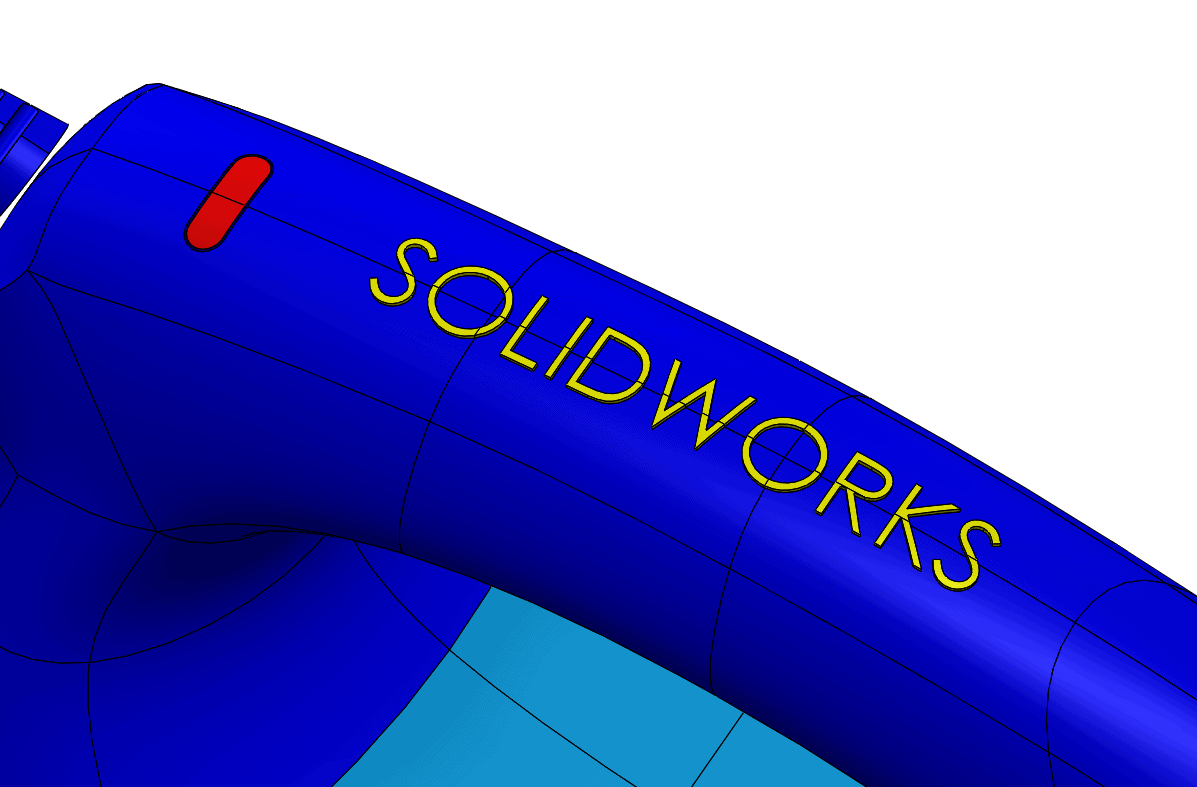
I have always loved the Wrap feature in SOLIDWORKS. It is a great way to get geometry onto a face or set of faces. The issue I had with it though is that you were limited to a cylinder or a cone for the feature to work. Well, that is no longer the case. In SOLIDWORKS 2017 that limitation has been eliminated and you can now wrap sketches onto multiple surfaces of any shape.
This feature is great for:
- Industrial Designers
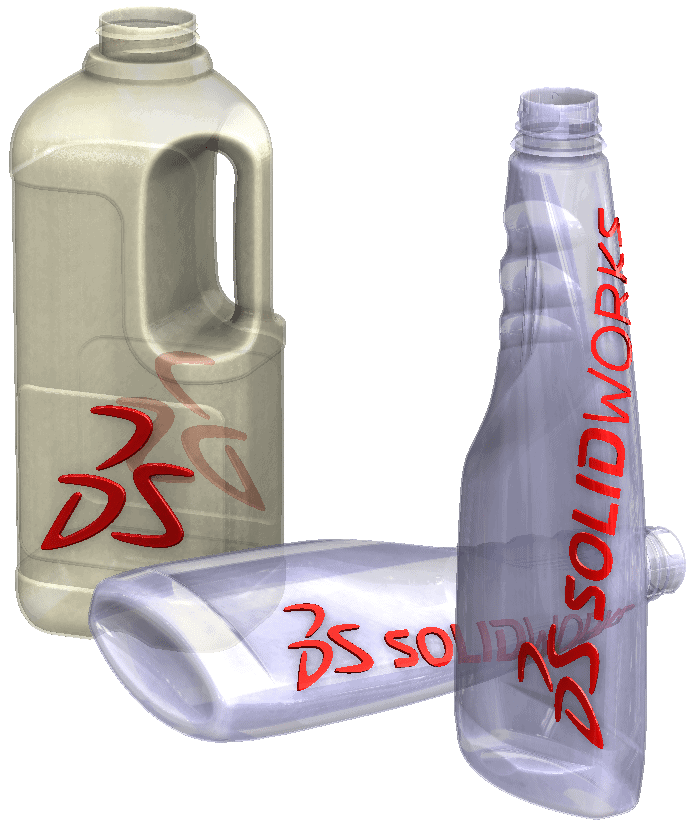
- Products with interesting or complex logo’s
- Label panels
- Tire side walls
- Blow moldings
- Roto moldings
- Stamping
Let’s take a look at the new and improved Wrap Feature in SOLIDWORKS 2017.
We will be using a file from the What’s new so you can follow along if you would like.
It is located here drive letter:UsersPublicDocumentsSOLIDWORKSSOLIDWORKS 2017whatsnewpartsiron.sldprt

1. Select the Wrap Type.
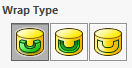
- Emboss = Creates a raised feature
- Deboss = Creates an indented feature
- Scribe = creates a split face
2. Select which one the two Wrap methods you would like based on the geometry you are wrapping onto.

- Analytical = This is the legacy behavior in which a sketch can wrap completely around a cylinder or a cone.
- Spline Surface = This is the new part of the Wrap feature because it has the ability to wrap a sketch on any face type.
3. The Wrap Parameters are next.
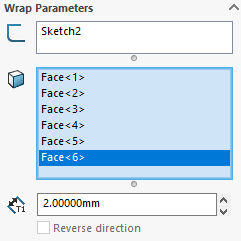
- The first selection is the Sketch you want to wrap.
b. The next step is to select the face or faces you want to wrap onto.
c. Then just enter your thickness value if you are using the Emboss or Deboss.
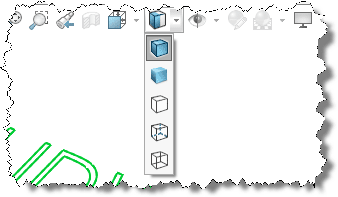
4. Pull direction is also an option.
- This is useful for molded parts.

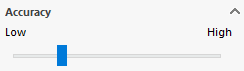
5. Accuracy can then be adjusted.
- Be careful because this will affect your part performance.
6. If you want the feature to stand out just change the color of it. Draft and fillets can also be added if you so choose.
7. This new enhancement makes it so much easier to obtain the results needed.