SOLIDWORKS Electrical: Creating Variable Length Custom Ducts
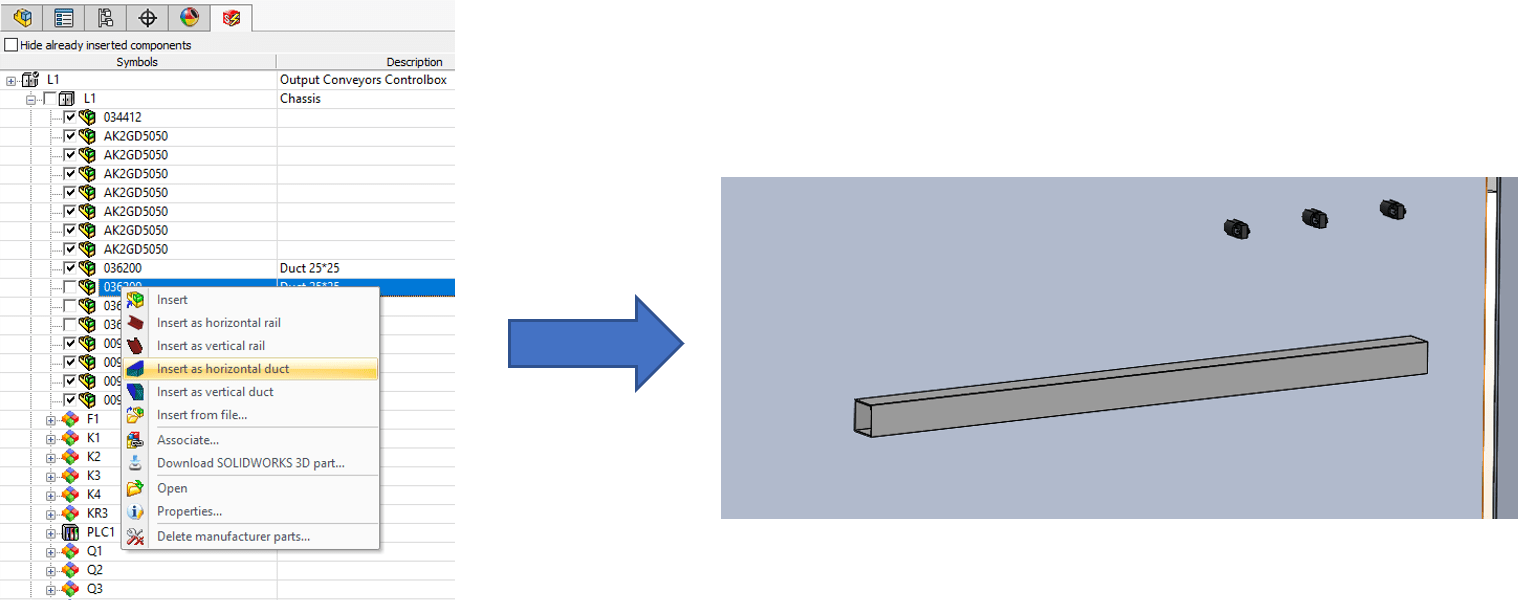
When placing wire ducts in your 3D model, if you select the “insert as duct” option, it will place a generic looking hollow box, sized according to the manufacturer part properties, and then ask you for the length.

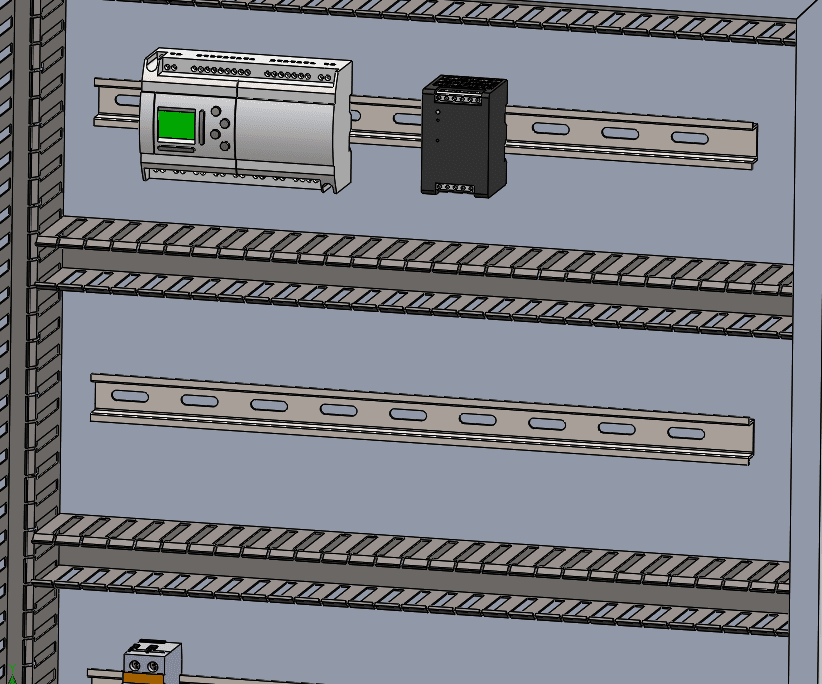
This works great, but some people want their ducts to look more like the real thing:

If you have a model of the duct, and it is linked in the manufacturer part properties, then you can just select “insert” instead of “insert as duct.”
Many people are aware of that. However, how do you change the length of that duct? It will be placed exactly the size of the original part file. It doesn’t size it according to the manufacturer part properties, and if you use the command to “Change length of rail or duct” it will throw an error saying it can’t be done. I know of people that have just set up configurations, but duct length doesn’t always fit into nice neat length designations. What we need to do is set up the part so that SOLIDWORKS knows it is a duct.
1. Set up the configuration
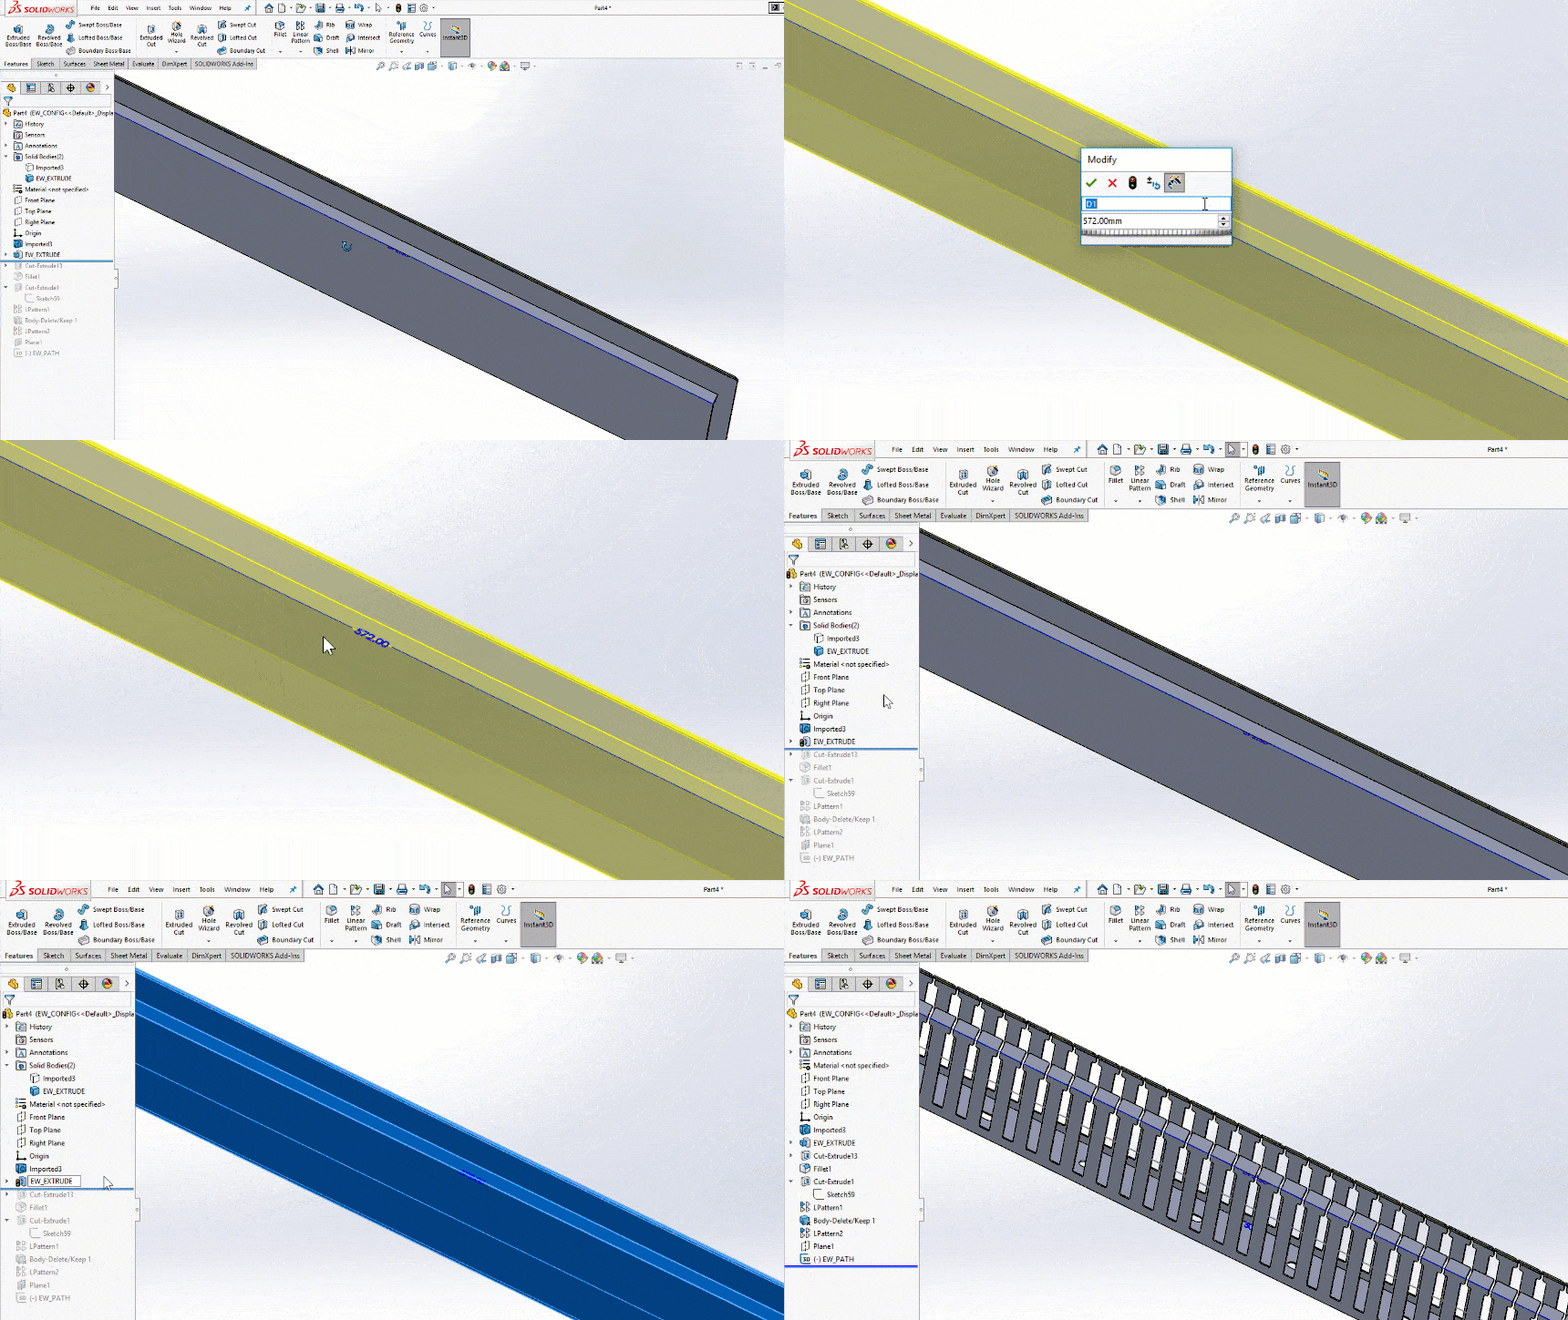
In the configuration tab, rename the default configuration to EW_CONFIG
2. Rename the extrude features
The extrude depth dimension should be EW_DEPTH
The extrude feature should be EW_EXTRUDE

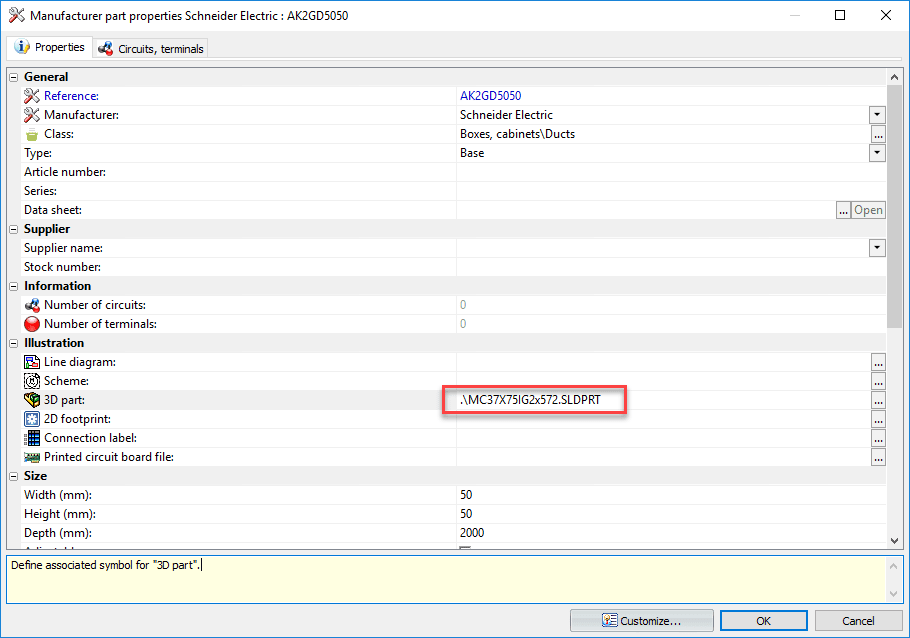
3. Link the manufacturer part metadata to the 3D part file
You may have already done this. If you edited the part that was originally linked, then you should be fine.

4. Right-click the part in the electrical feature tree, and select Insert (not Insert as duct/rail)
5. Place the part
6. Change the length using the “Change length of Rail or Duct” command.
Please note that the width/height of the rail still will not change to match the metadata in the manufacturer part properties, if it does not already match it. The assumption is that you will have specific part files for specific manufacturer parts and therefore it will already be the right size, except for the cutting of the length required.
Brian Cooke
Application Engineer, Electrical Specialist
Computer Aided Techology, LLC

 Blog
Blog