SOLIDWORKS: Fill Patterns
Do you ever find yourself needing to create a series of holes on the walls of a Sheet Metal part to use as vents? What about adding a bumpy texture to a surface to aid with grip? Or maybe you need a quick way to reduce weight after running a Simulation analysis? For these and many other cases, the SOLIDWORKS Fill Pattern is an effective way to quickly fill planar areas.
Fill Pattern, which is often overlooked in favor of traditional linear and circular patterns, allows you to select co-planar faces or a bounding 2D sketch and fills that area with a pattern. The shape and density of the fill can be controlled using a wide variety of options. Fill Pattern will even create basic cuts such as circular and diamond shaped holes within the command, so there is no need for extra sketching. Let’s take a closer look!
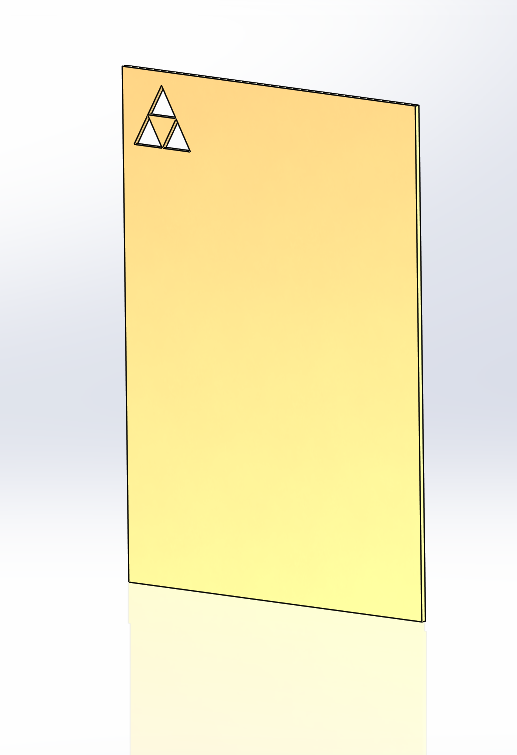
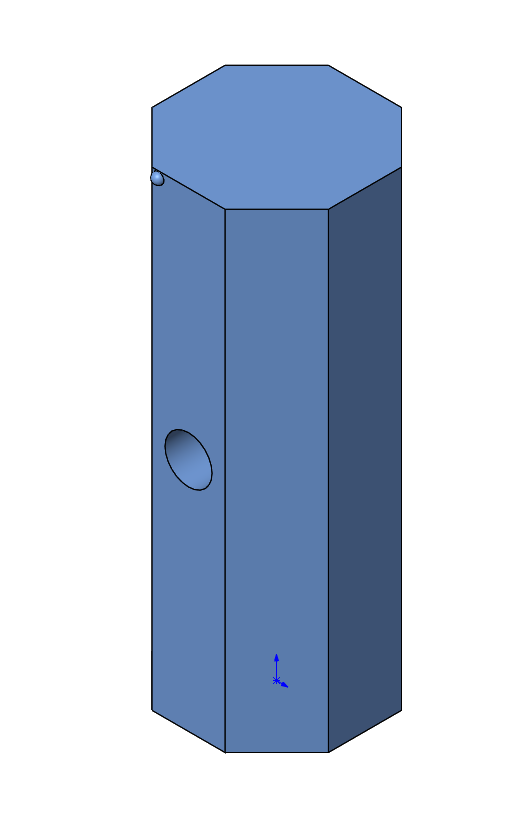
I have a basic cut made on the face of this part.
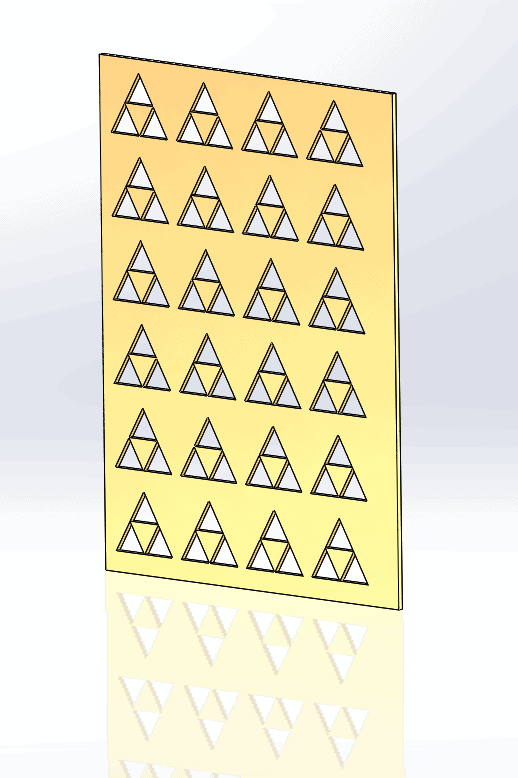
We want to repeat this cut as an array across the face. We could use a linear pattern, but that involves choosing directions and doing the math (yuck) to figure out the spacing or selecting additional references to specify the spacing. Instead, let’s try a Fill Pattern here.

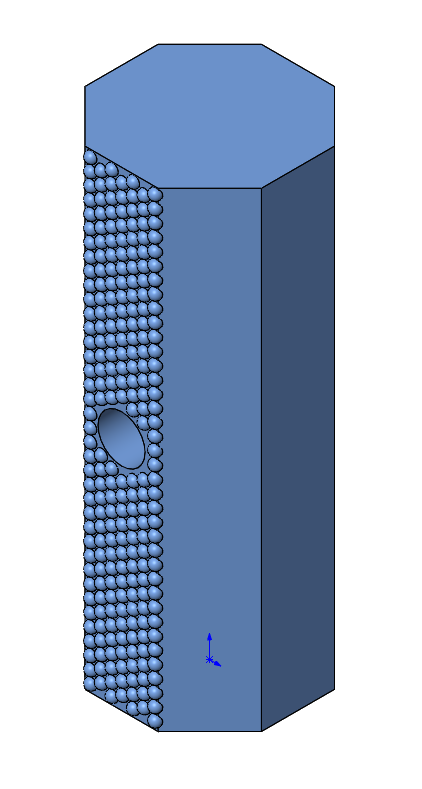
After selecting the face as the fill boundary (we could have chosen a bounding sketch if we only wanted to fill part of the face), we can choose the Pattern Layout. There are four types available: Perforation (staggered), Circular, Square, and Polygon. Each layout has its own settings for fine tuning the shape and fill density. We’ll go with a square spacing, and after playing with the dials to choose the spacing that is needed, the pattern is ready in a lot fewer clicks than a linear pattern.
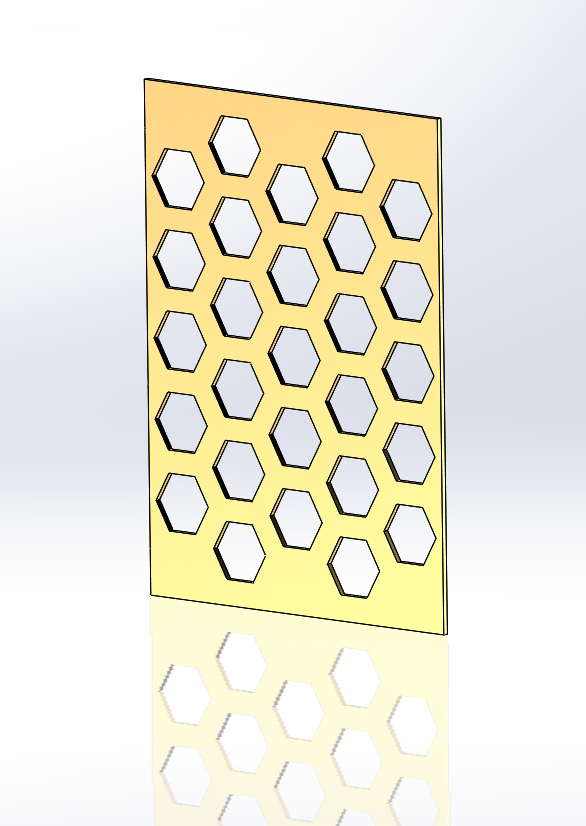
Using the “Create seed cut” option allows us to create a Circular, Square, Diamond, or Polygonal cut simultaneously with the fill. We have full control over the size and location of the seed shape. In this case, we’ll go with a hexagonal cut rotated 90o in order to create a honeycomb shape.
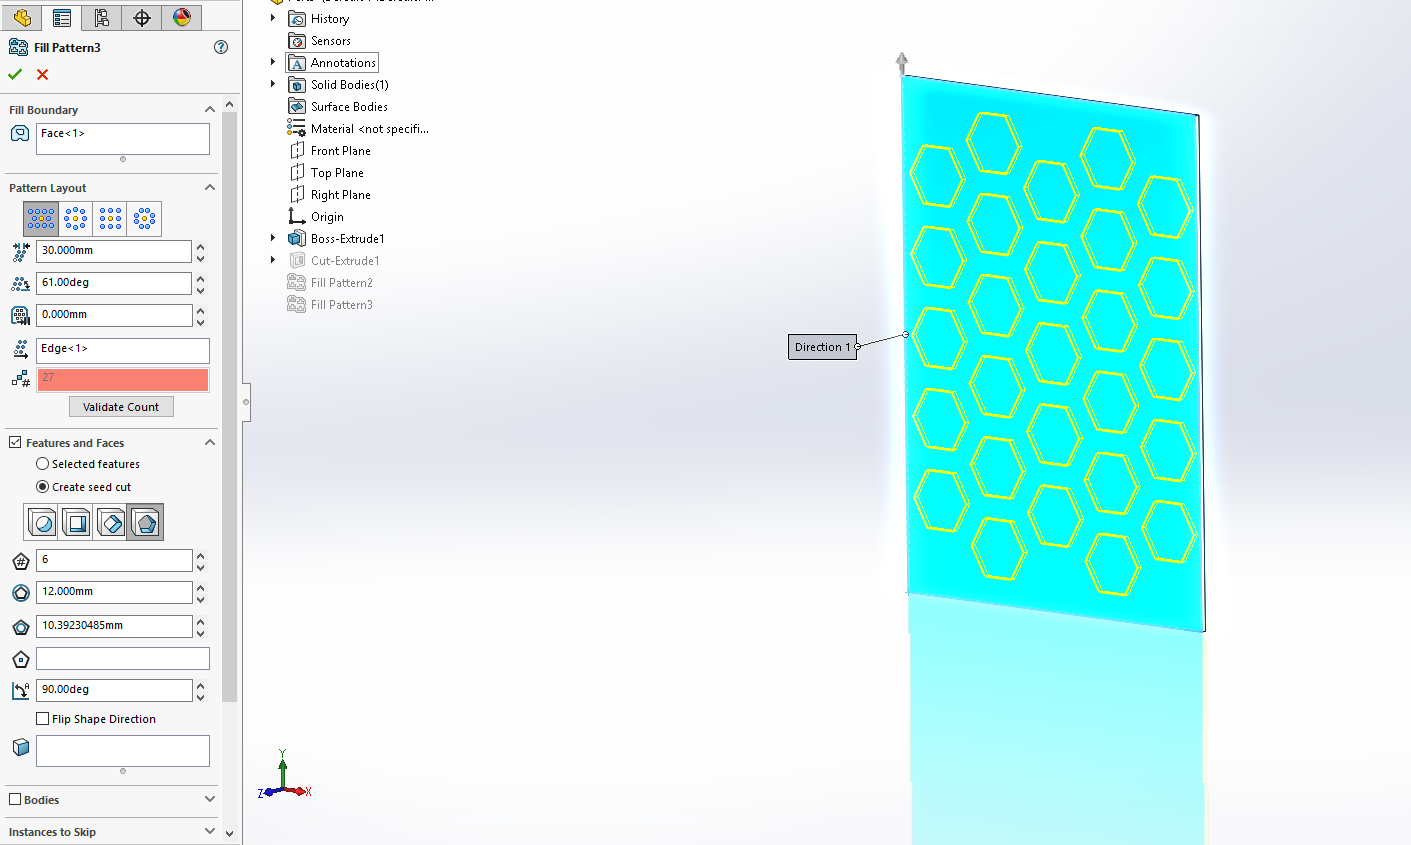
In this case, a Geometry Pattern was used since all holes are through all. Because each pattern instance is meant to look identical to the seed, using Geometry Pattern saves a bit of computing time and increases model performance.
Fill Patterns also work for bosses. In this case, we want to pattern the revolved boss to create a grip on this side of the part.
Not only is the fill able to pattern the boss, but it also automatically avoids the hole, removing the step of selecting pattern instances to skip.
So the next time you need to quickly create a pattern of features across a face, consider a fill. You might save yourself a good deal of time.
Until next time,
Aarya Engineer
Application Engineer
Computer Aided Technology